I am excited to share another DIY project from my own wedding: table numbers.
For the look, we wanted rustic. Something with burlap (love!). Something simple. Something that complimented the entire table setting.
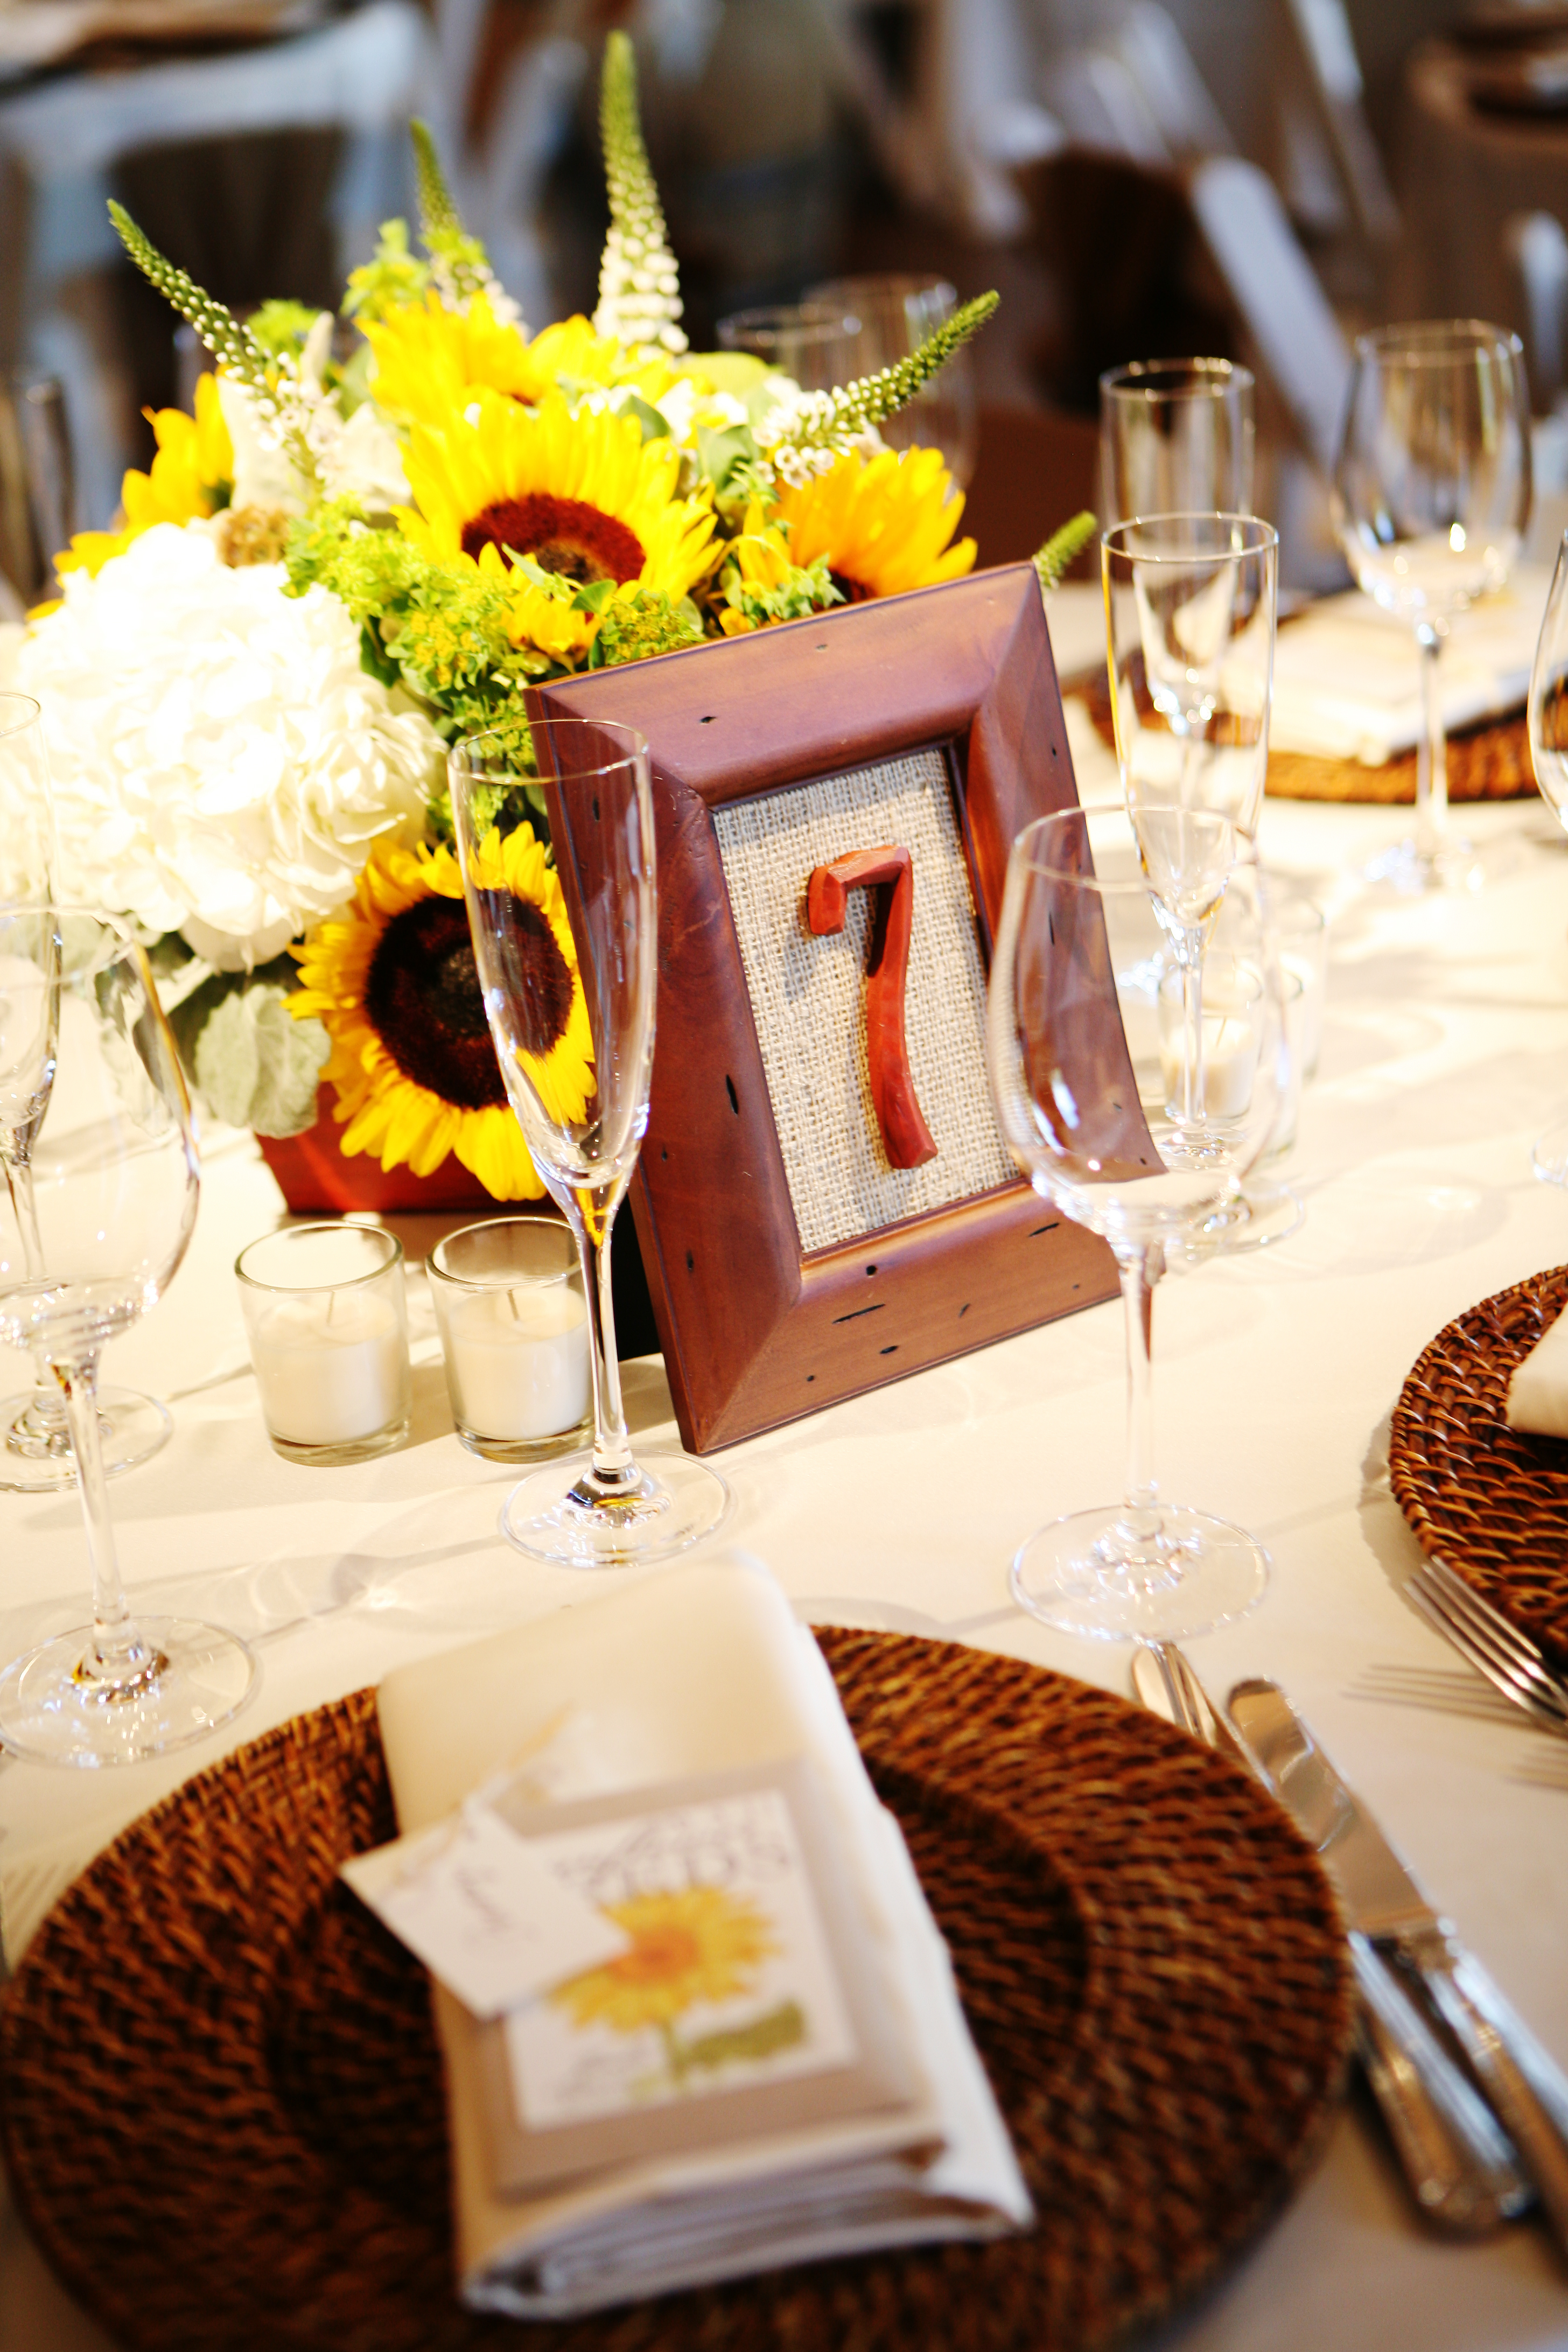
Here are easy DIY steps to make table numbers with burlap fabric.
You will need:
– hot glue gun
– glue sticks
– scissors
– frames
– wood numbers
How to:
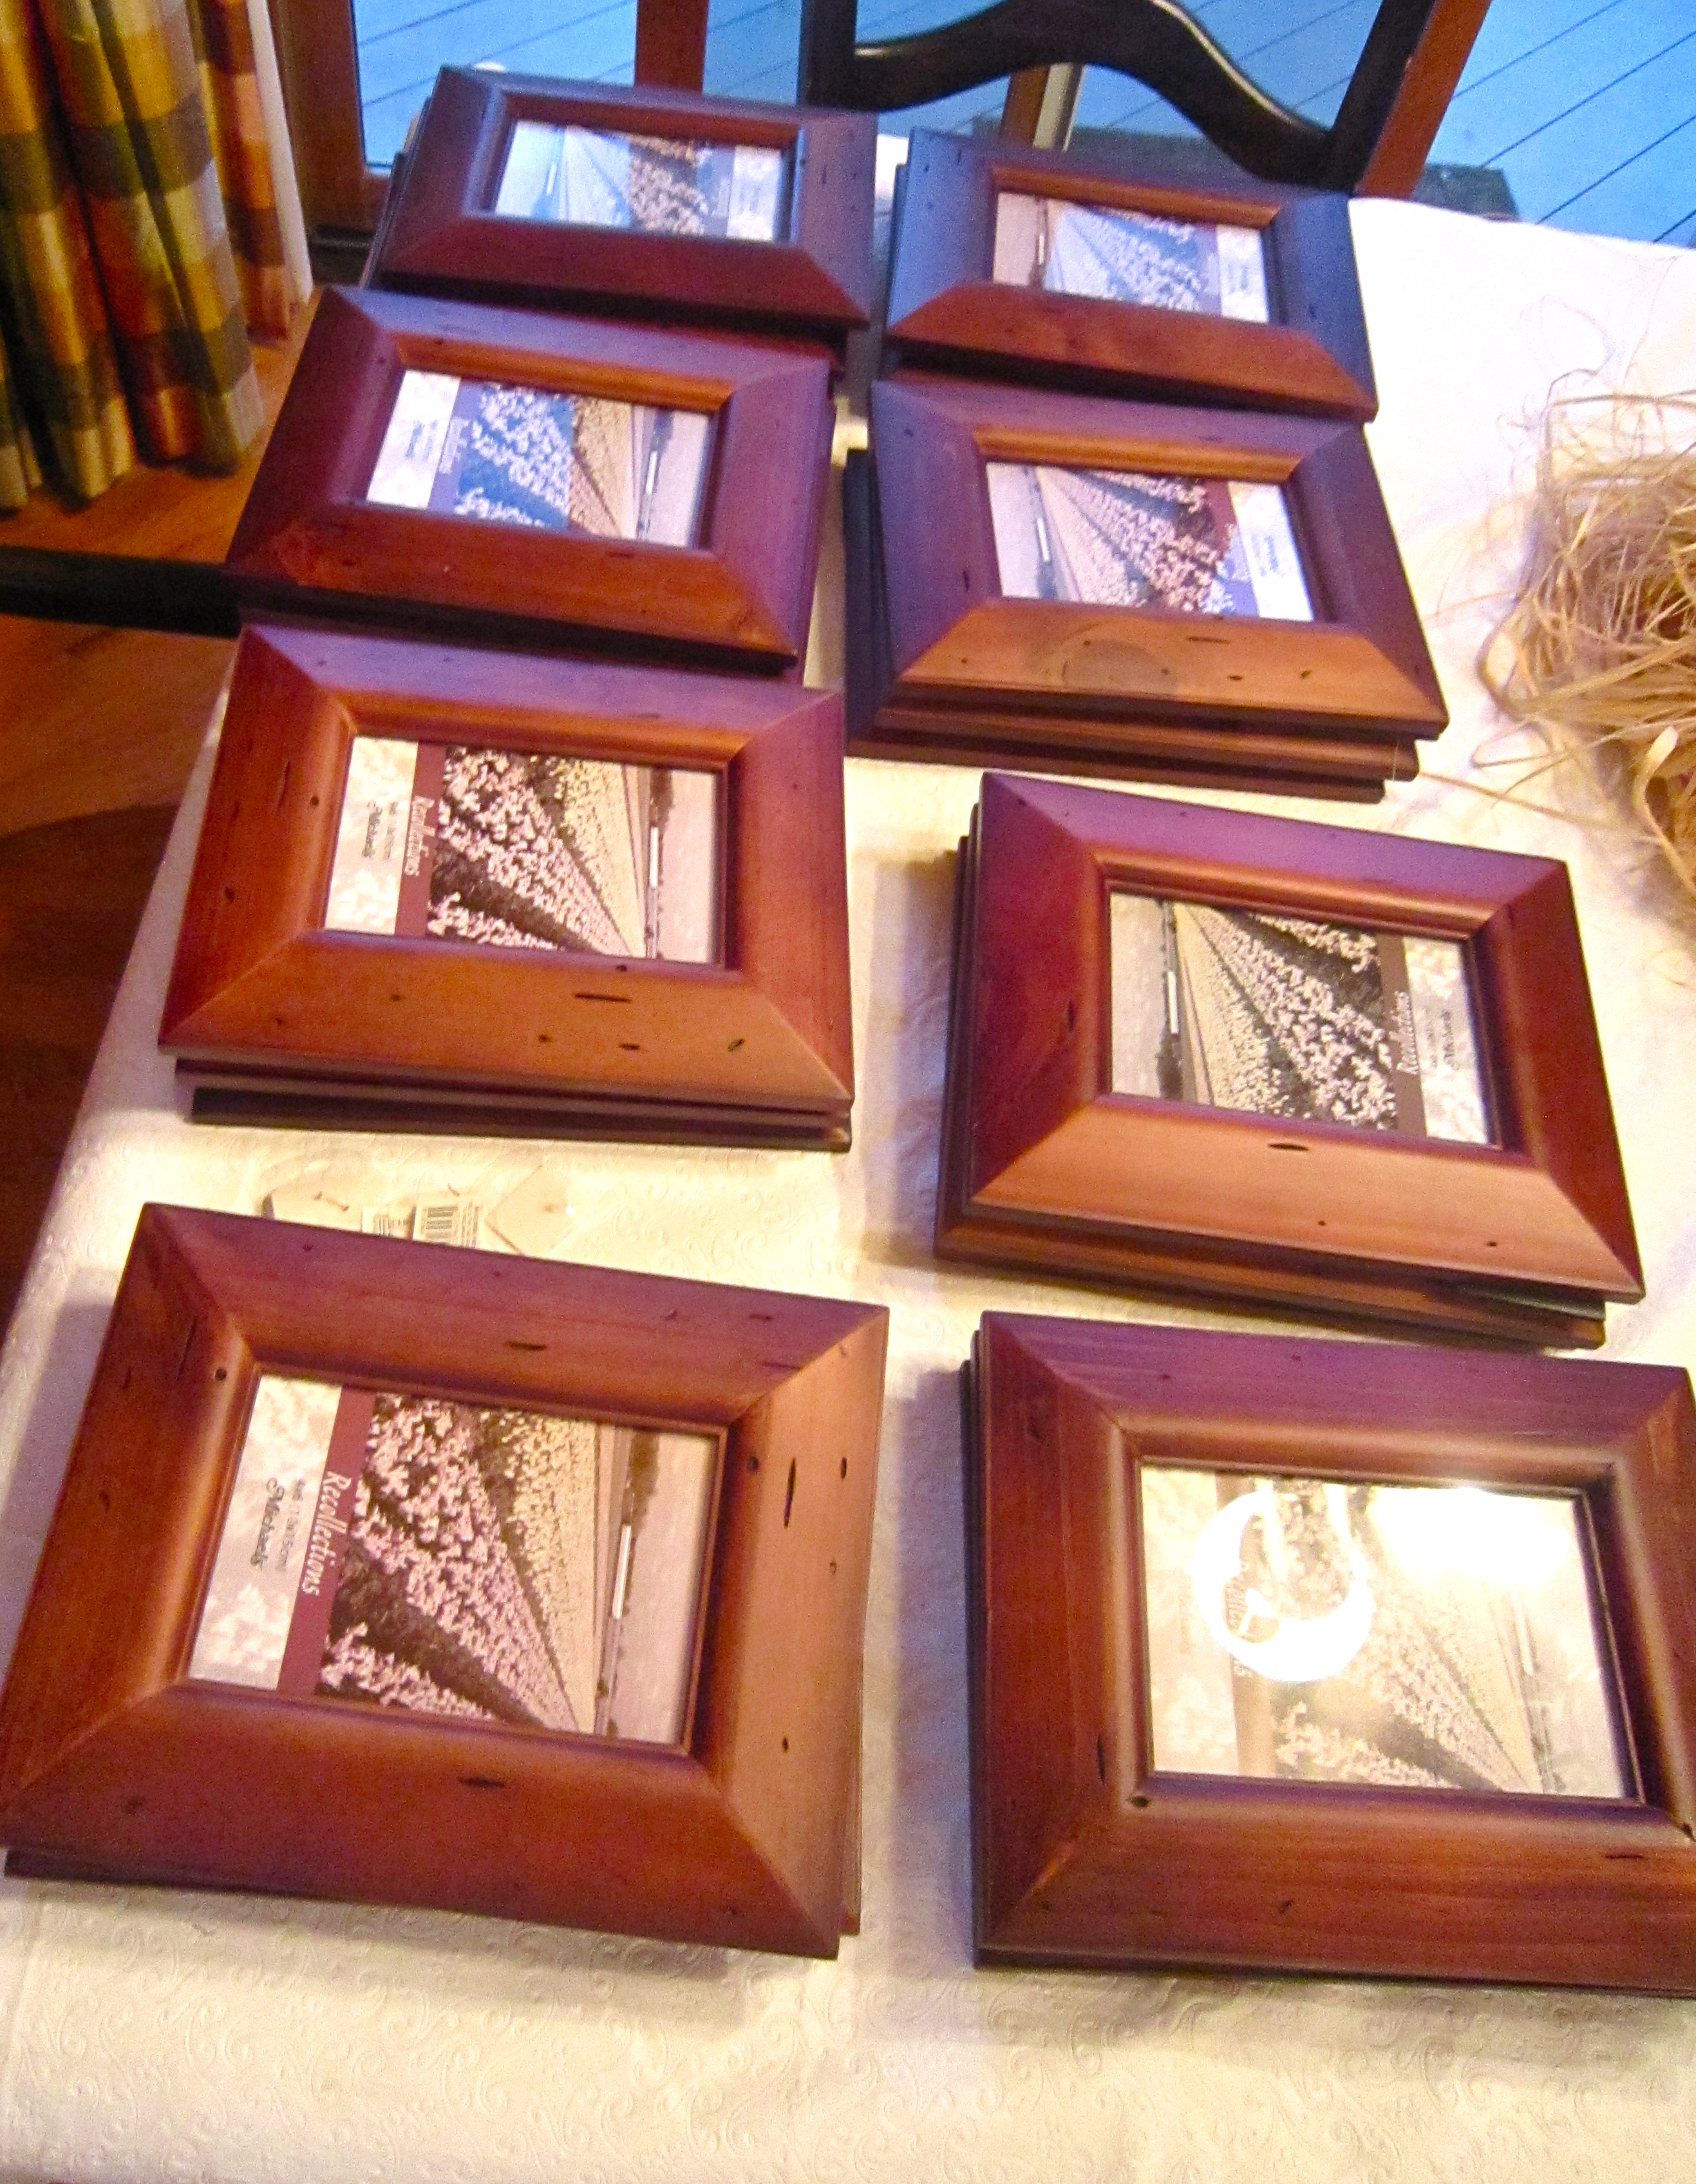
1. Stock up on frames from Michaels.
{hint: never buy frames that aren’t on sale at Michaels! if there’s not a sale goin’ on, wait a few days and there’s guaranteed to be one!}
2. Purchase your fabric. Super cheap.
{we went to Hobby Lobby}
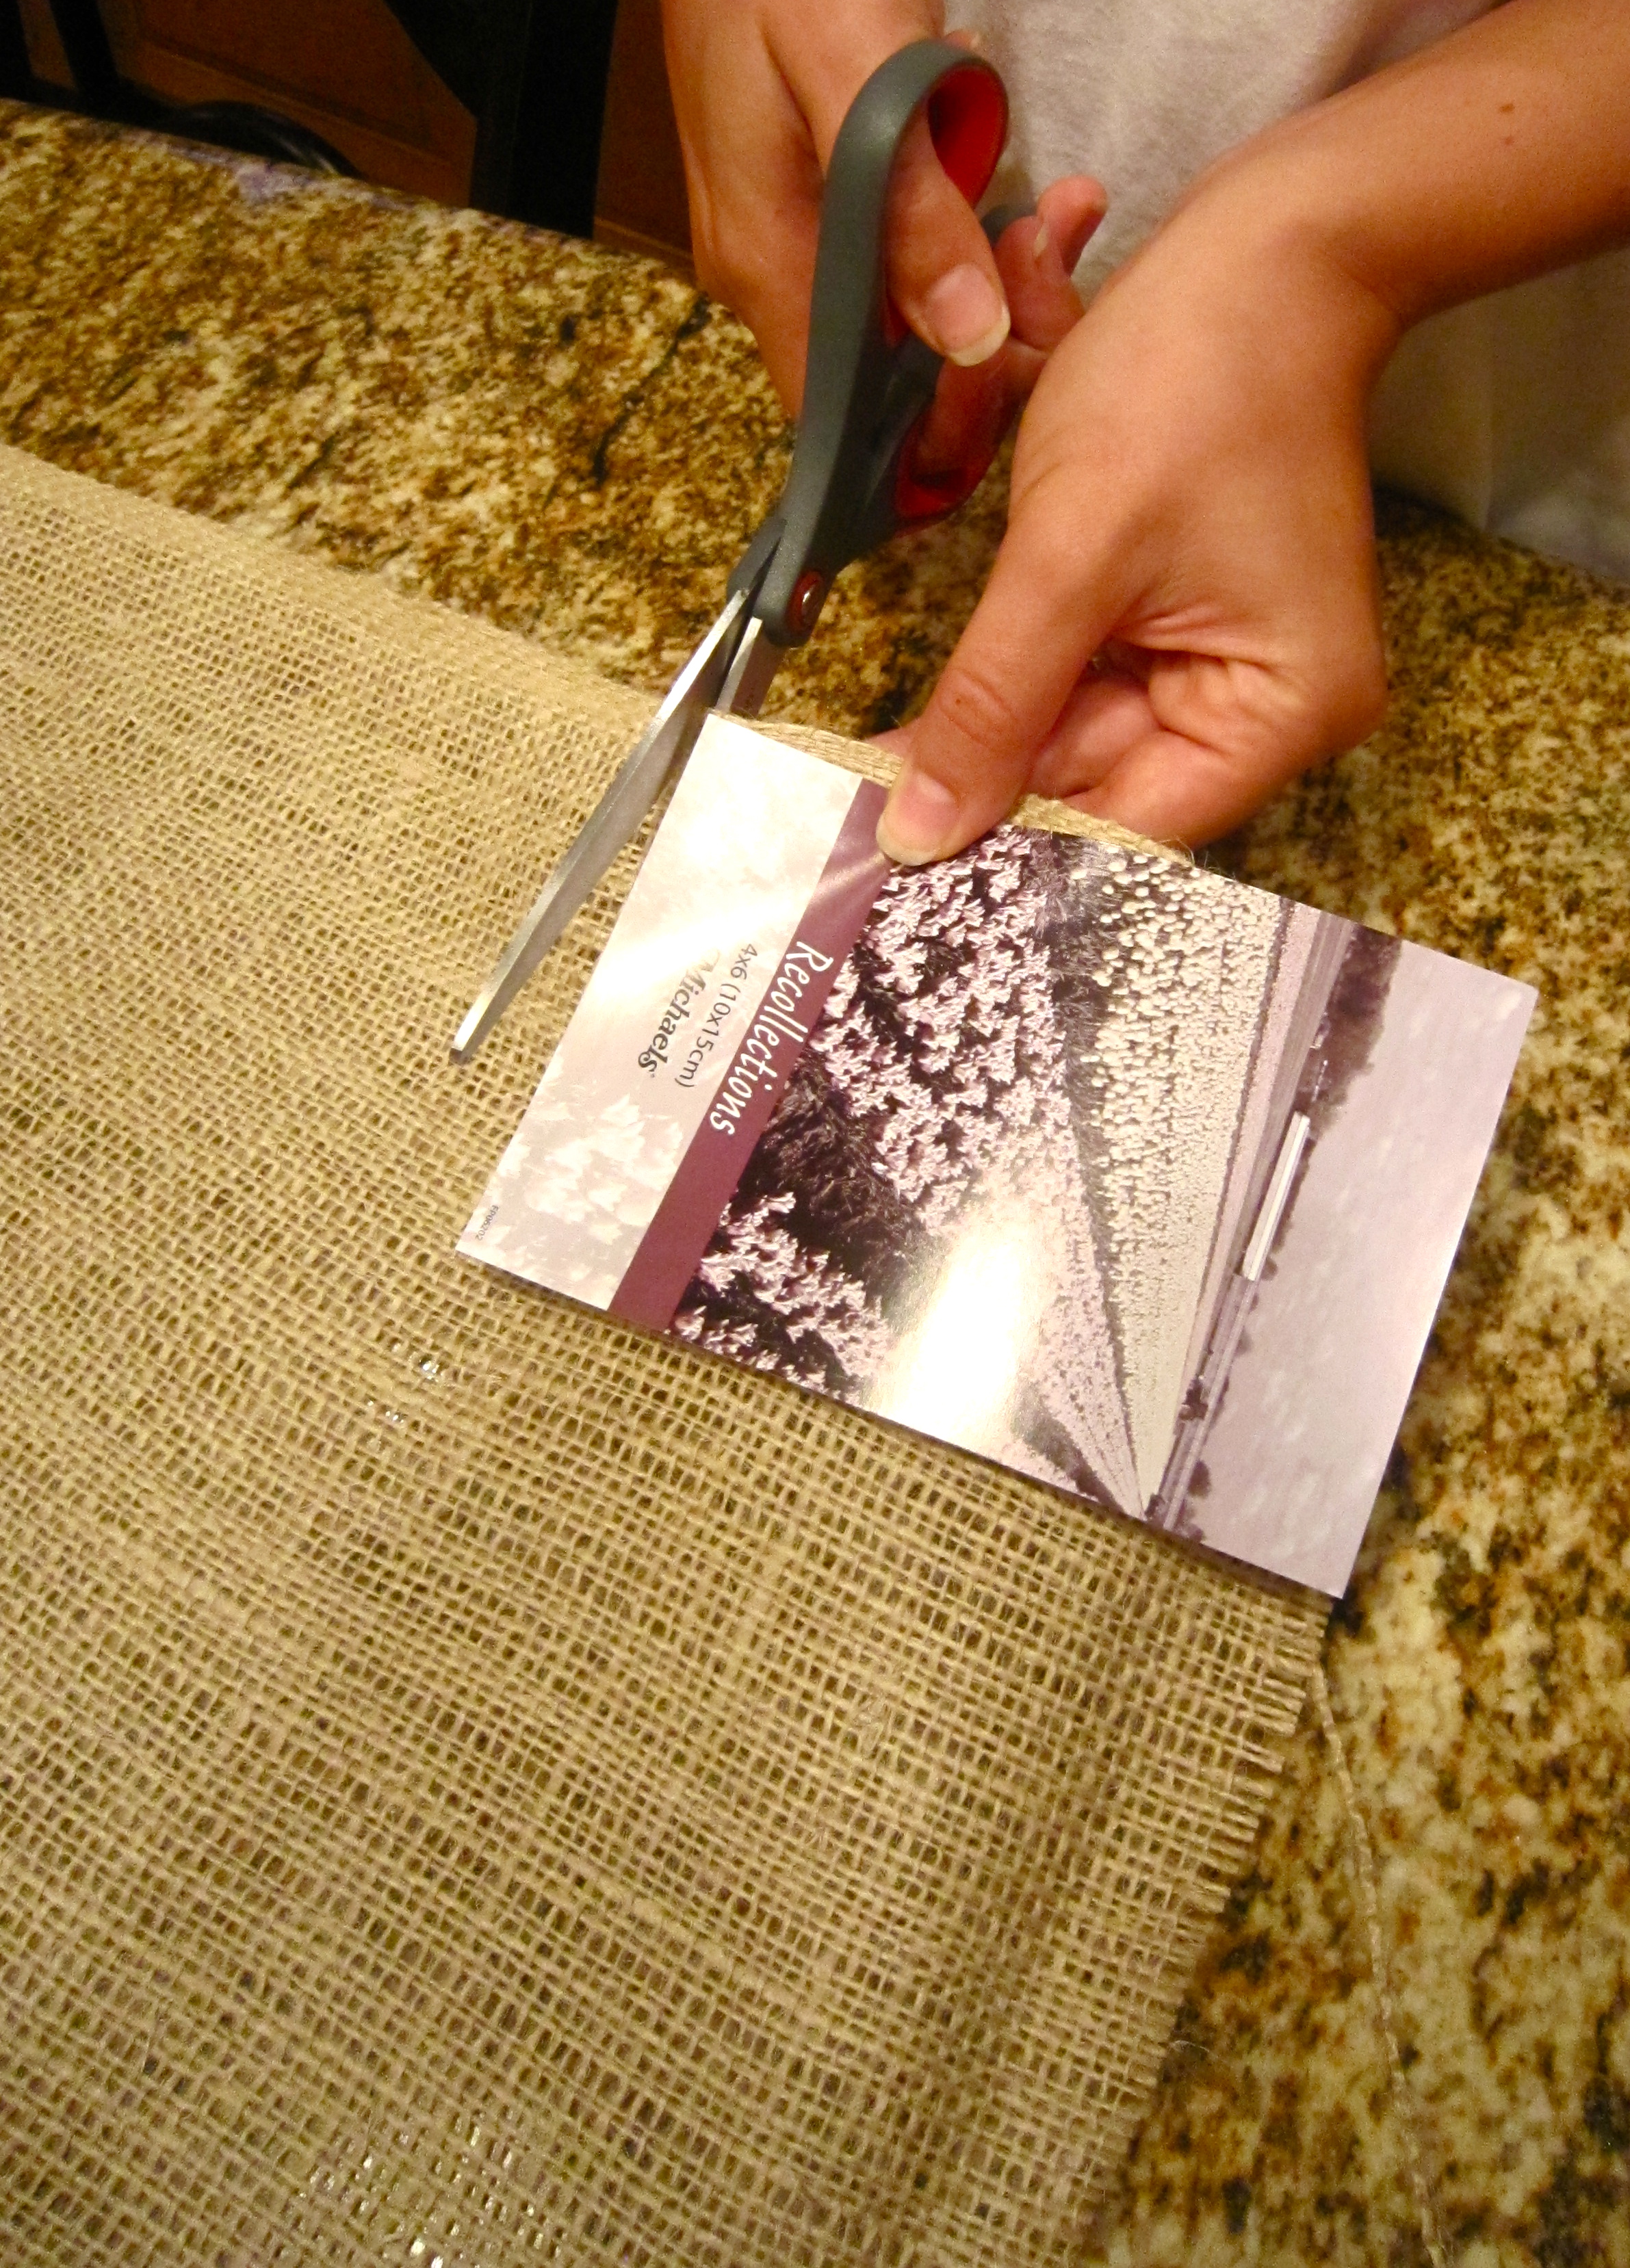
3. Since I’m not the most patient person in the world, I decided to skip tracing the sample photo onto the fabric and dug right in to cutting while tracing.
{it’s okay if it’s not exact – the frame won’t show the edges in the front !}
4. Cover the entire glass with glue from your glue gun. Be quick – it dries fast! Press firm into the fabric after placing it onto the glass. Burlap is tricky – it’s tough to get it to stick completely. Don’t worry if it’s not entirely stuck onto the glass. When you glue the numbers on, that will act as a double coat of glue 🙂
{ps the glue won’t ruin your frames. it’s very easy to peel off – dry or after soaking in hot water for a few minutes! you can definitely reuse the frames!}
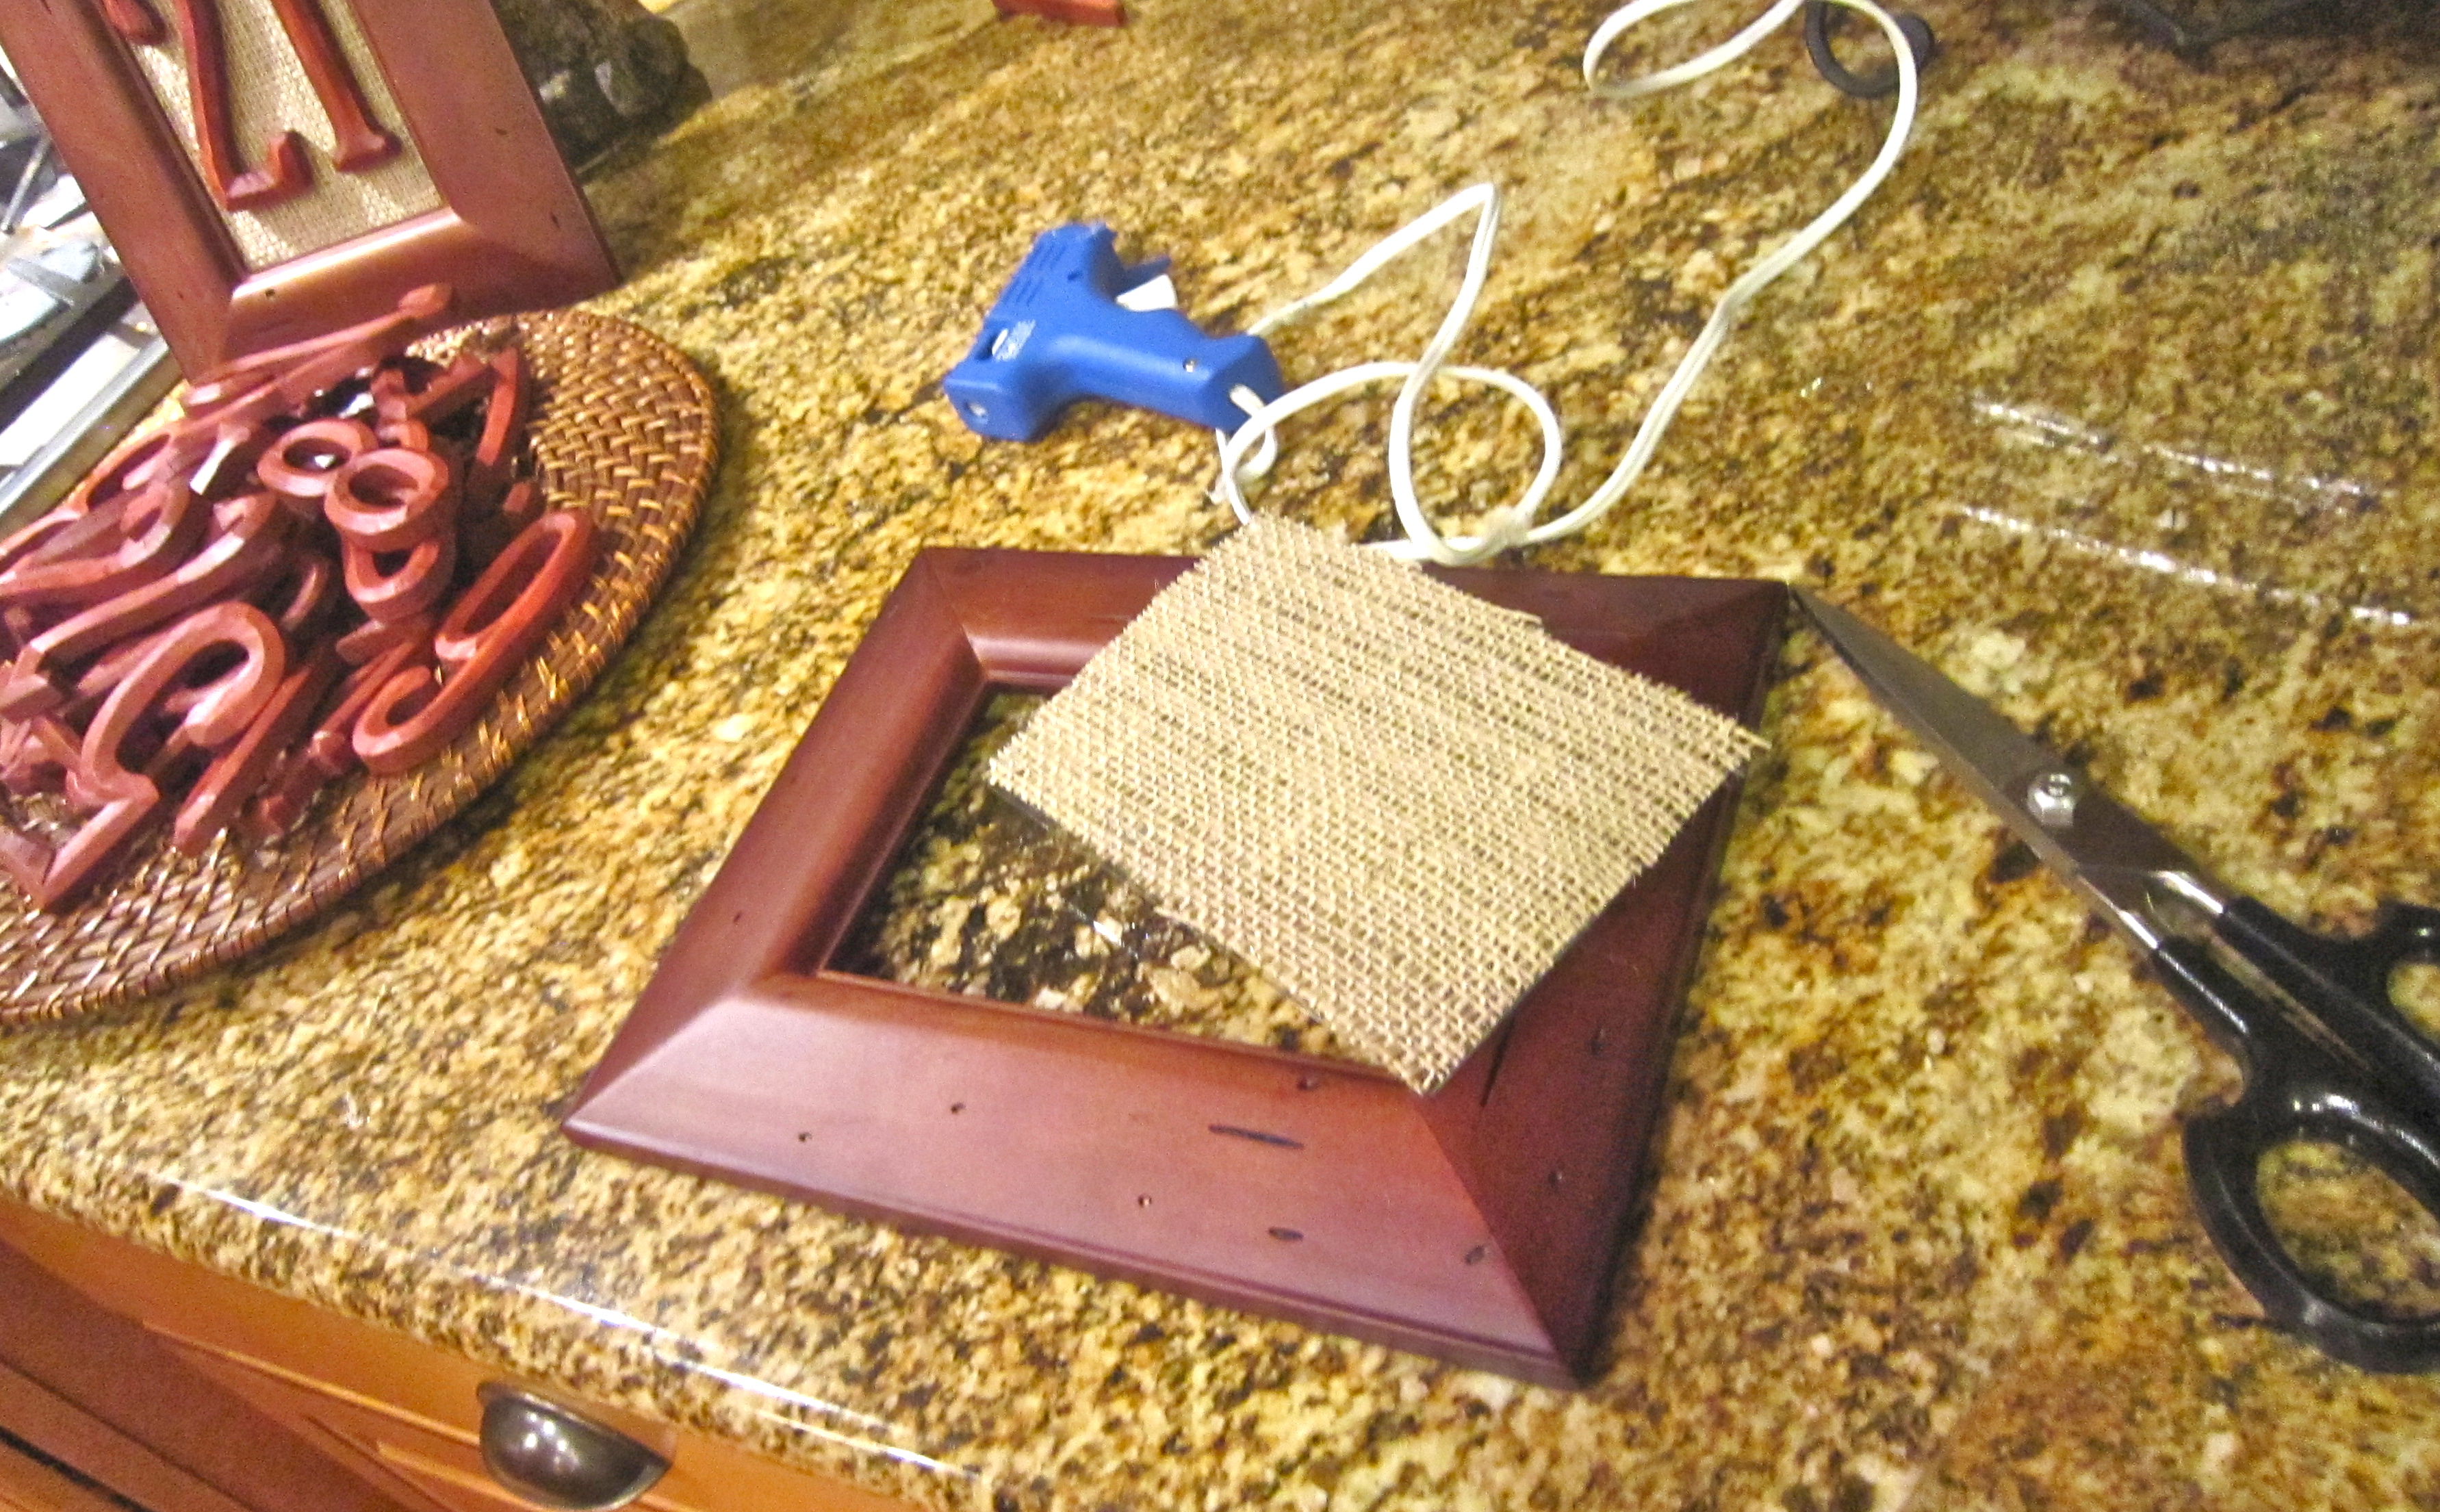
5. Place your new burlap covered glass into the frame and close the backing.
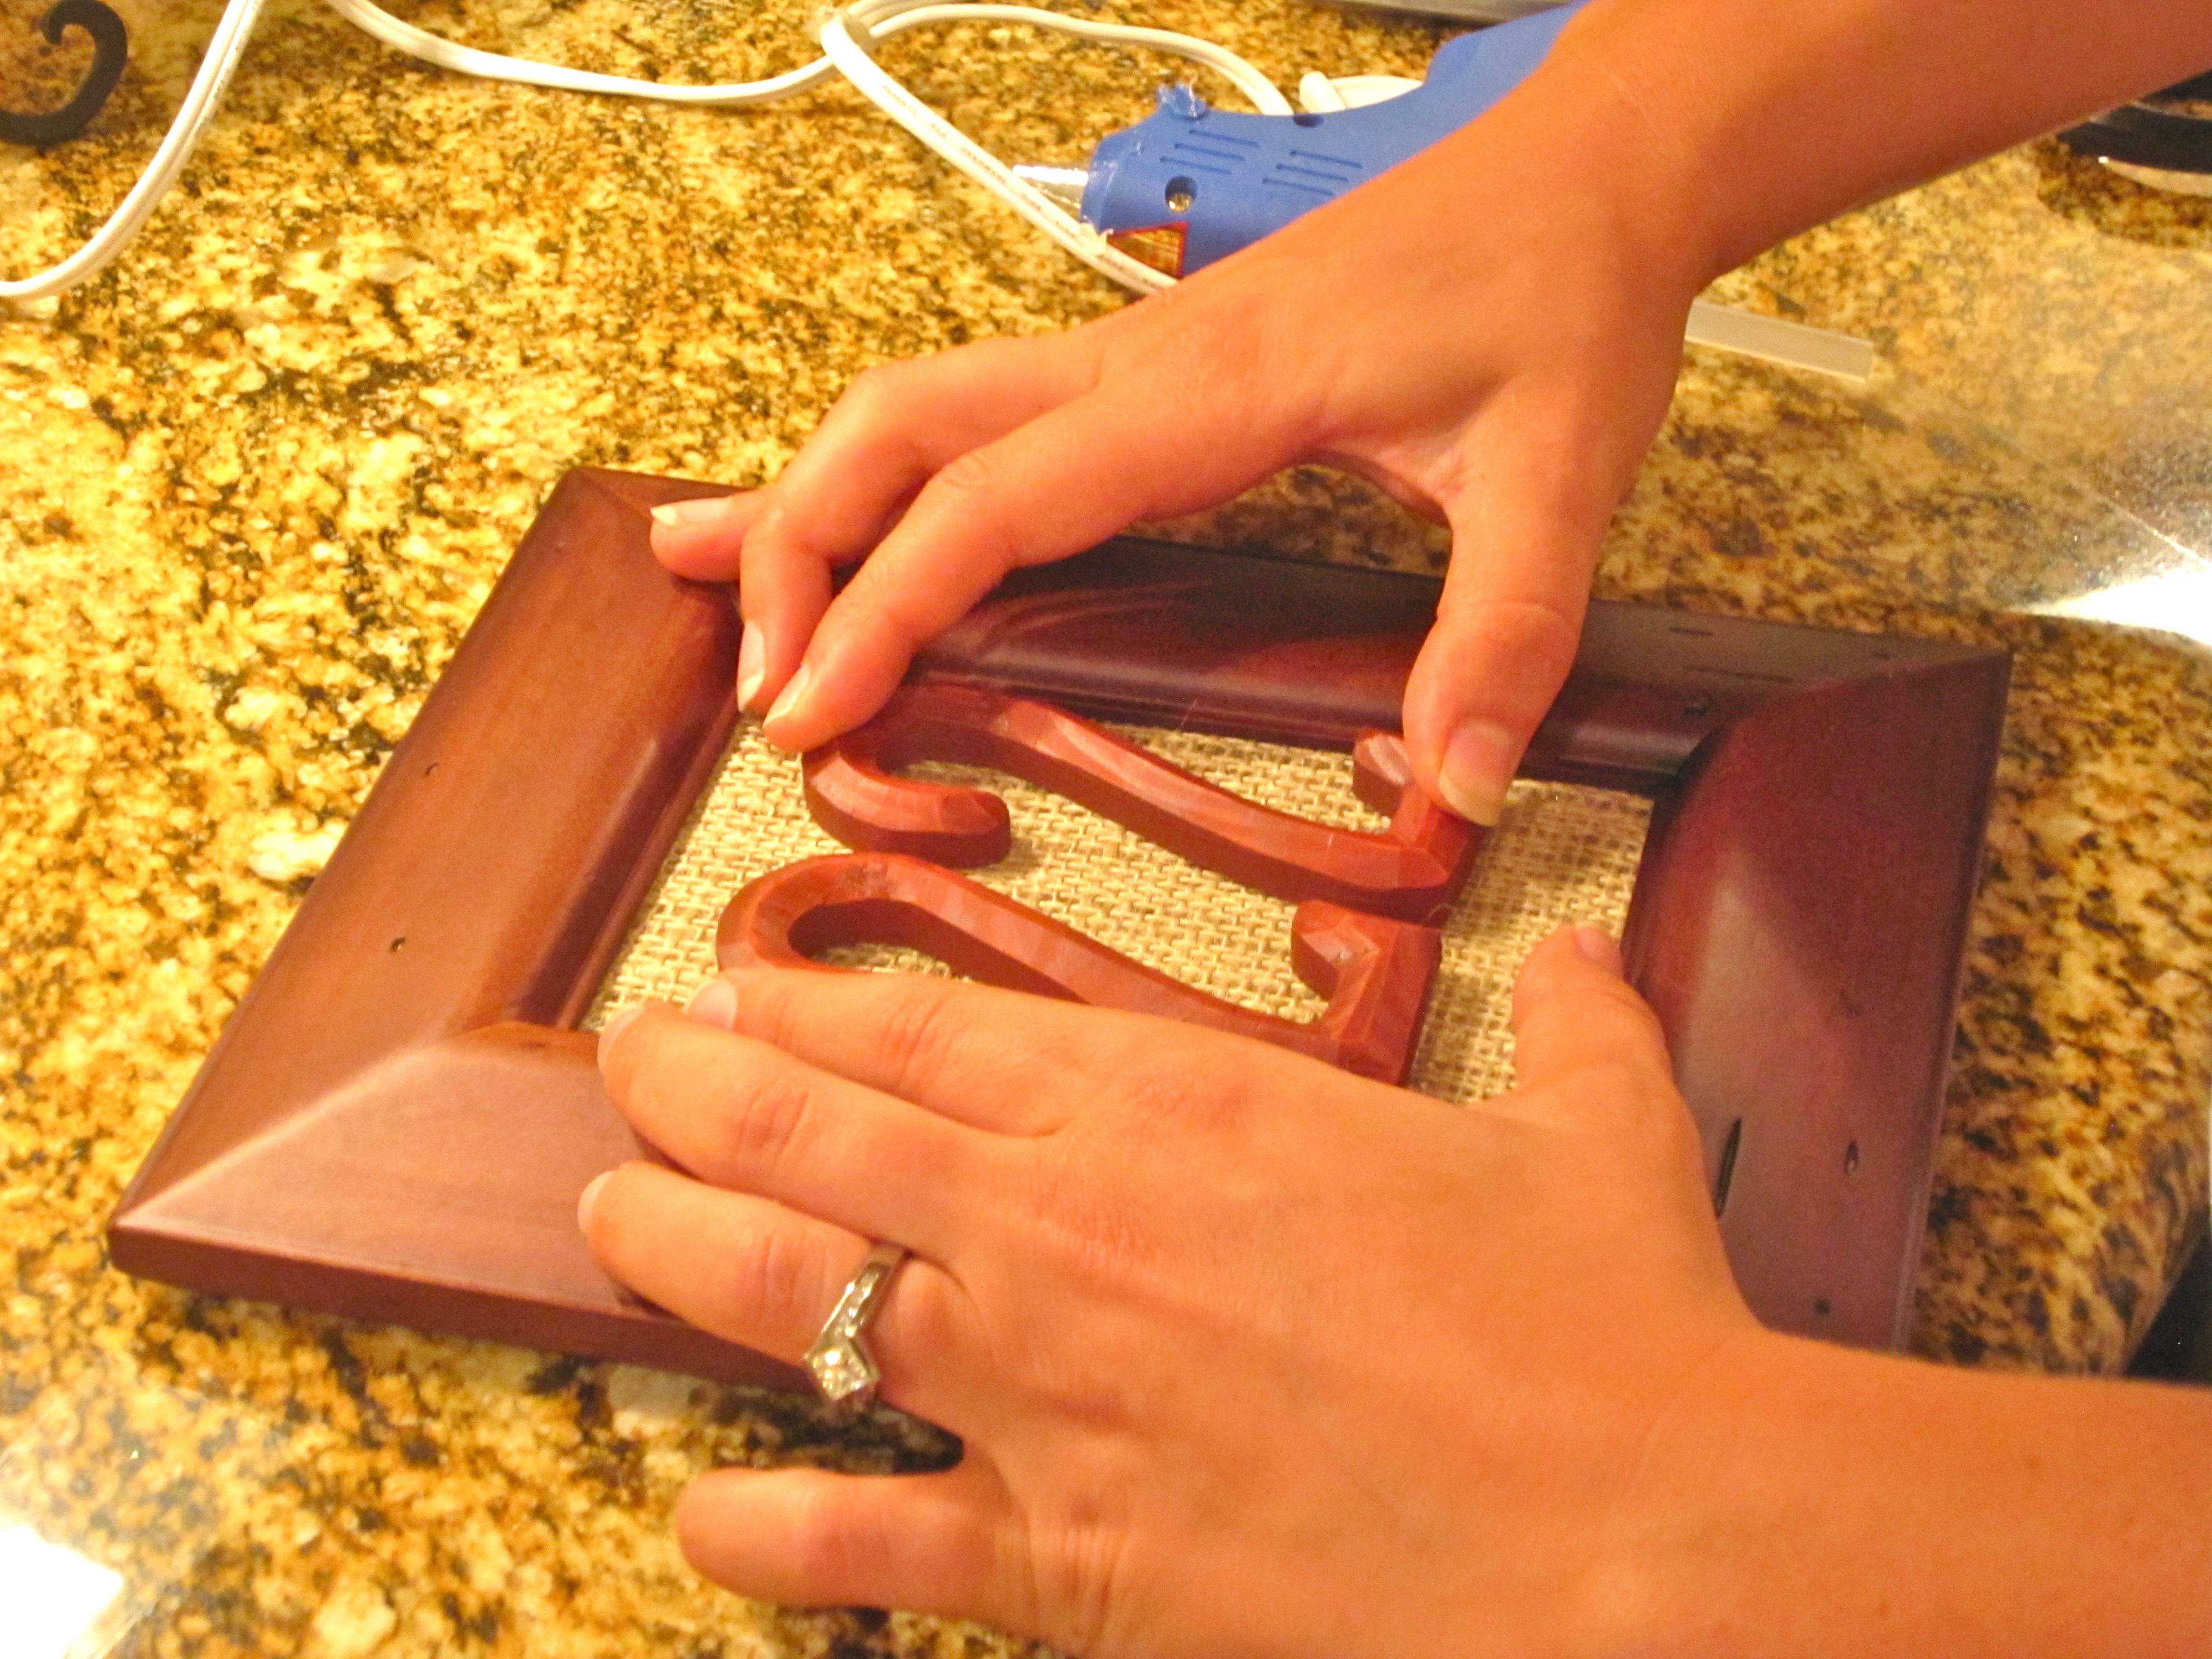
6. Glue your wood numbers and carefully place onto the burlap.
{we went to Hobby Lobby for the numbers and stained them red with a wood stain from Home Depot}
7. Voila! You’re done! Absolutely beautiful 🙂
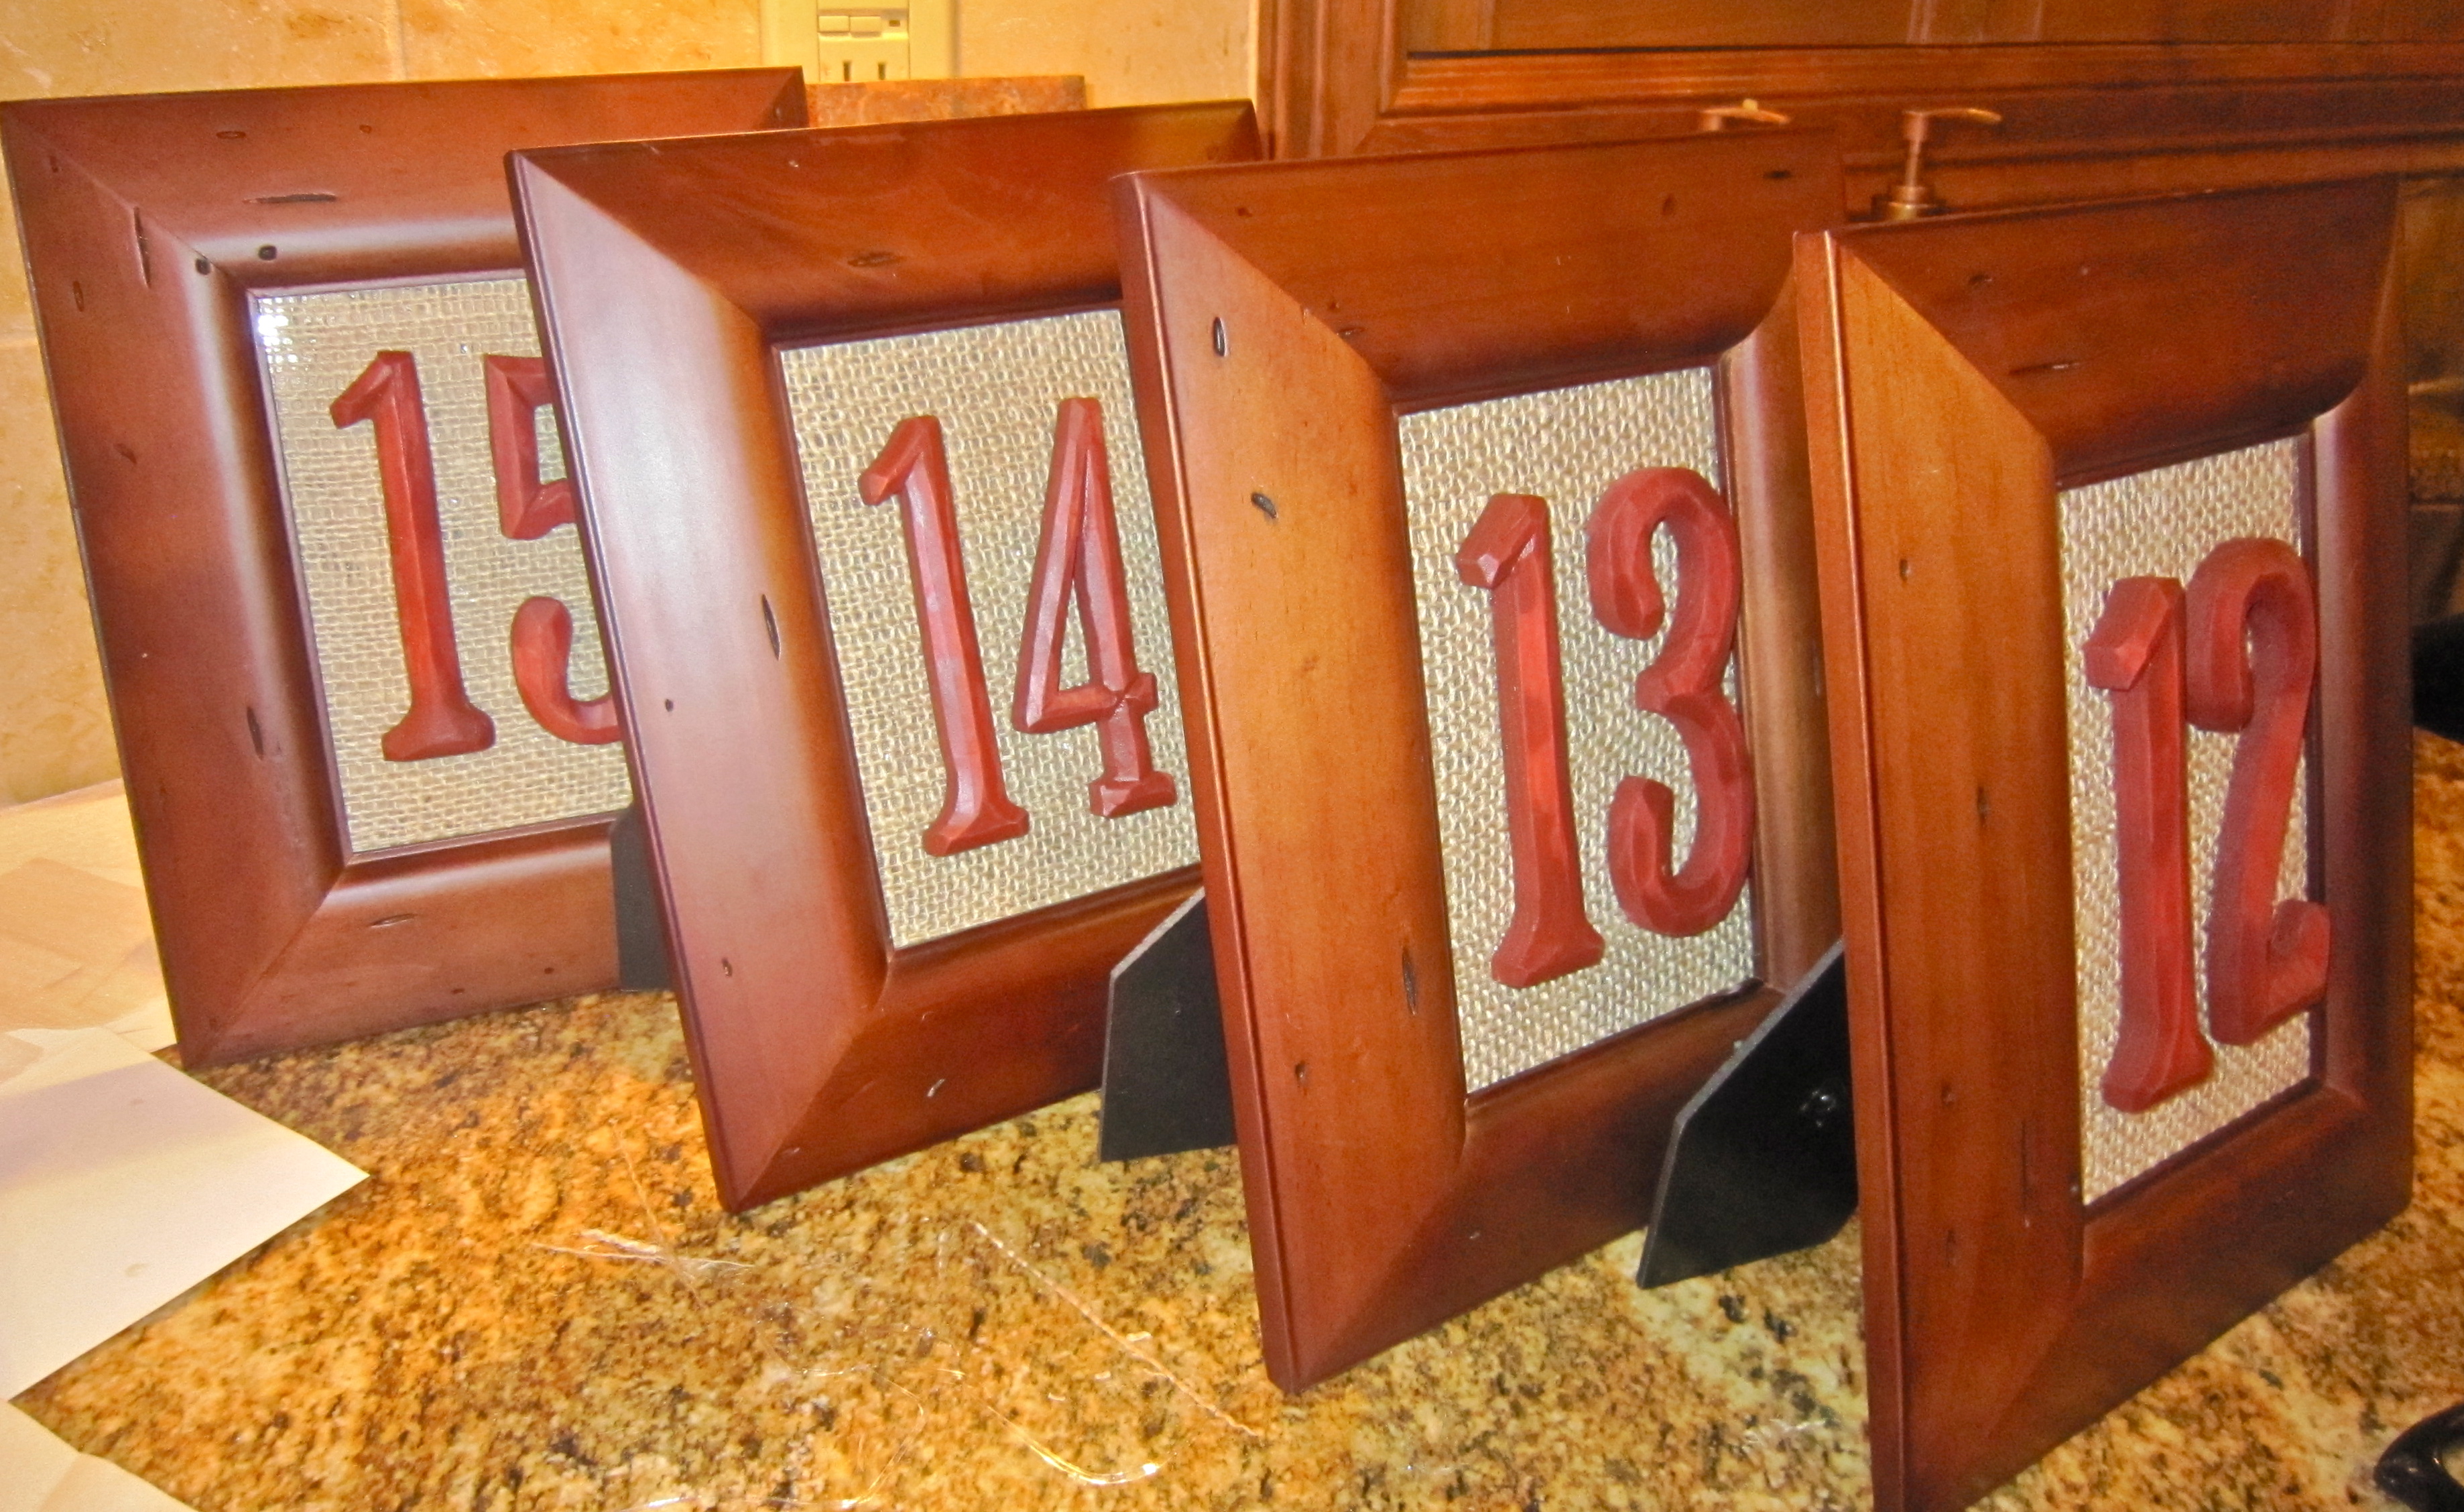
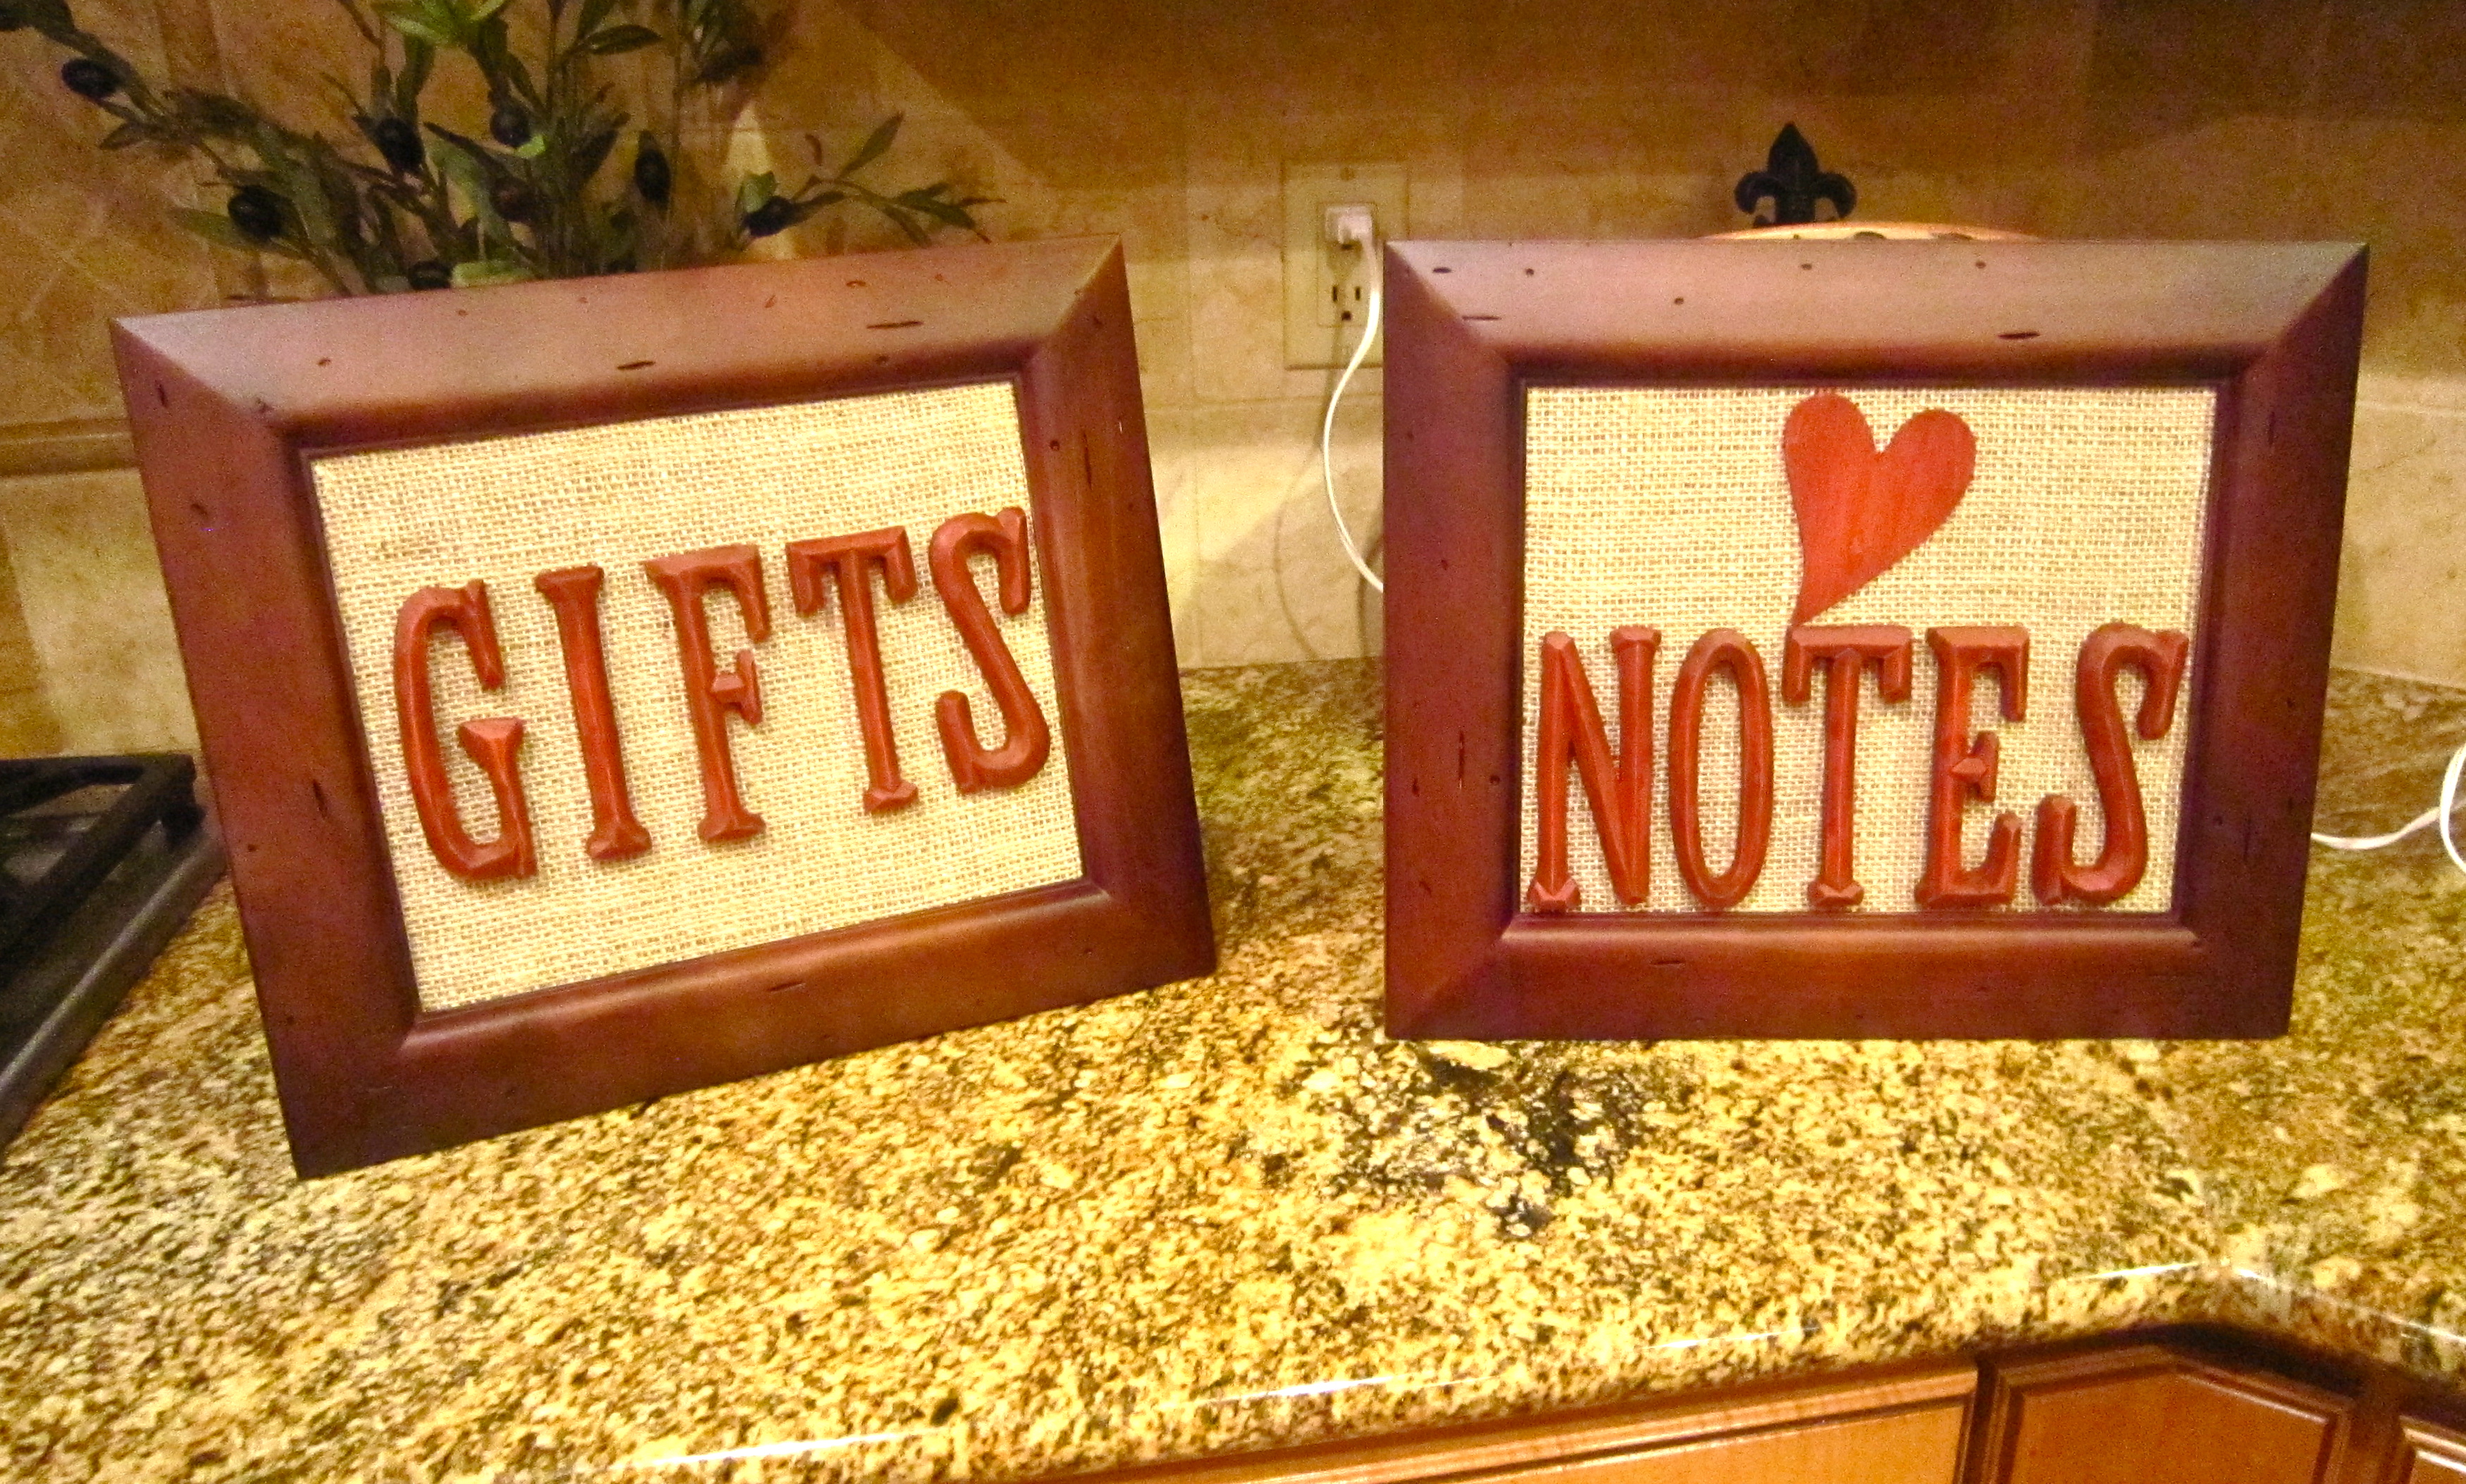
Be creative!
I used these two for the gift table and guest book table to throw into the mix – so fun!
{images via Tutto Bella & Jenna Walker Photographers}
Speak Your Mind