Back To School DIY Squeeze Coin Purse

retro-vinyl-coin-purse-treat-yourself

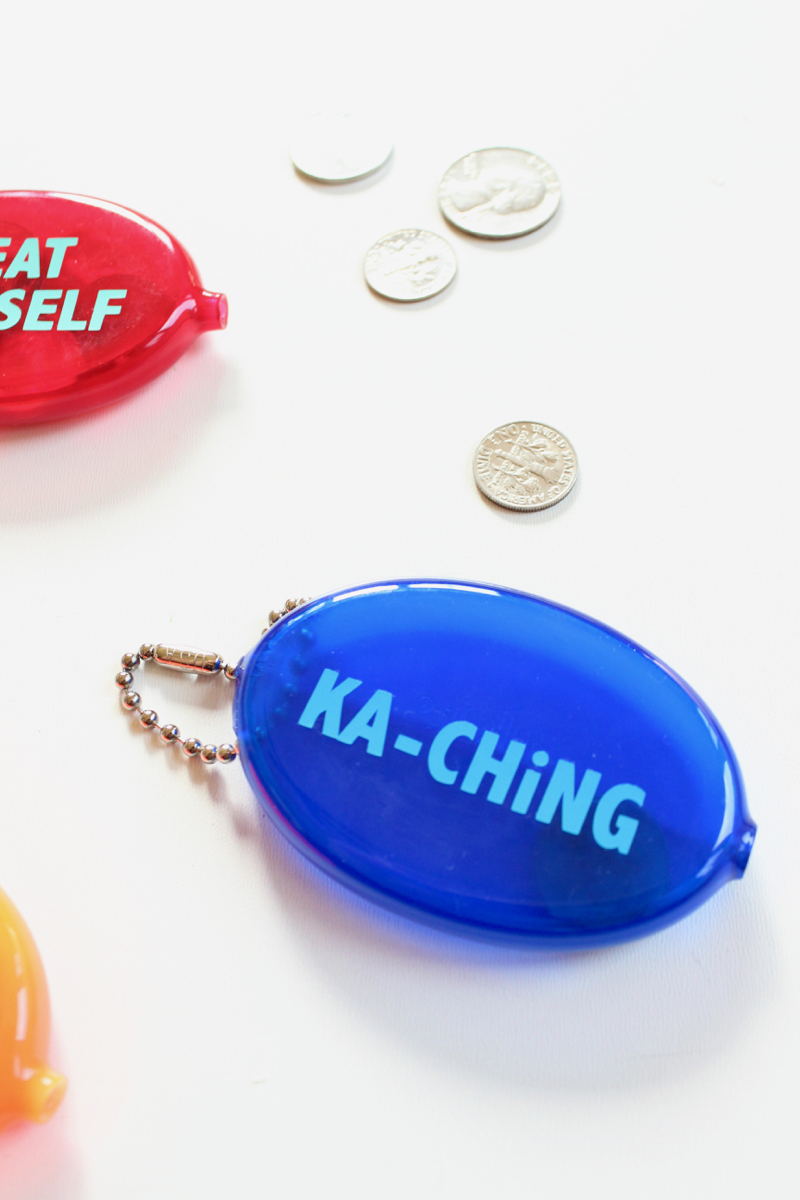
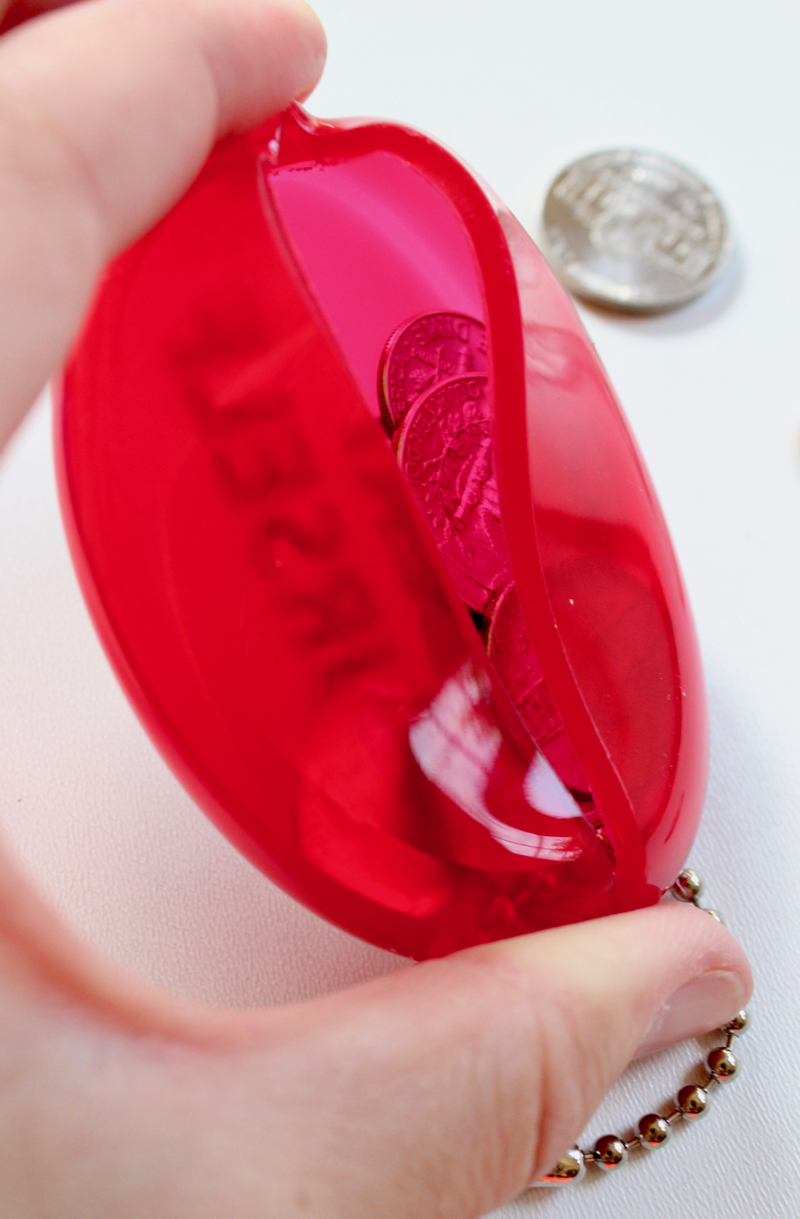
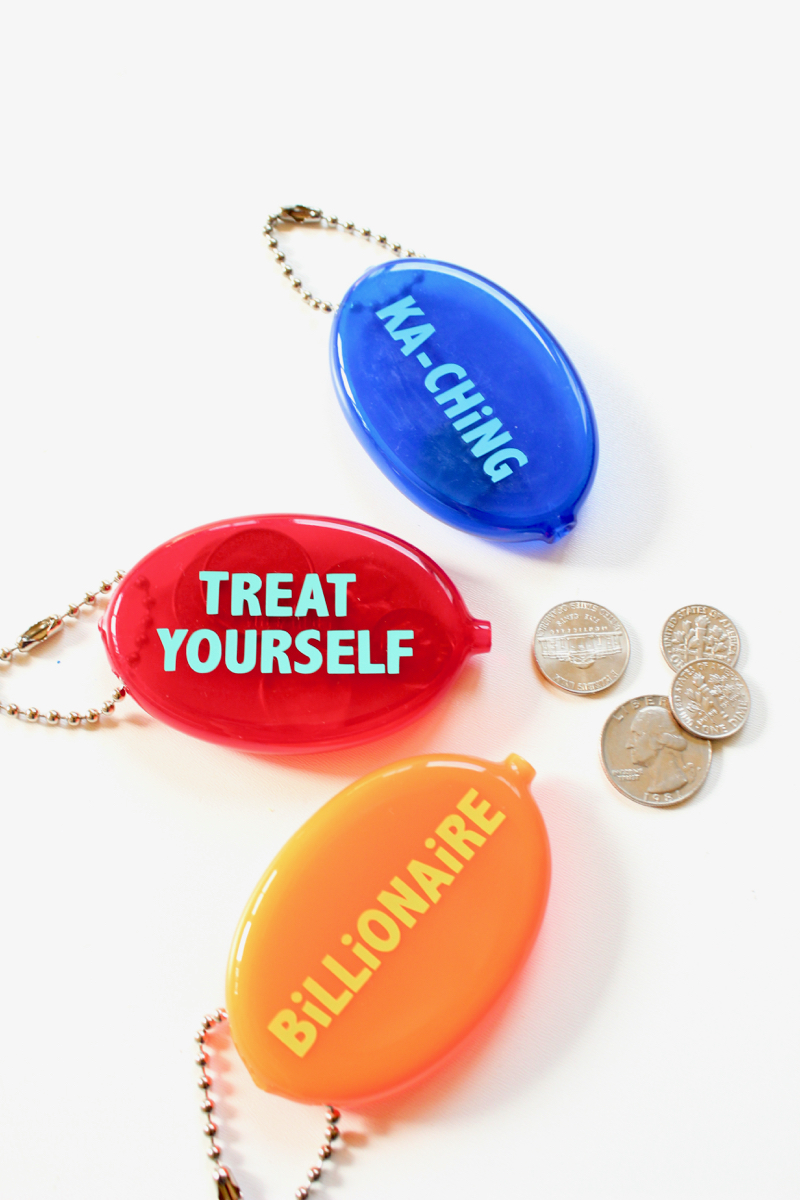
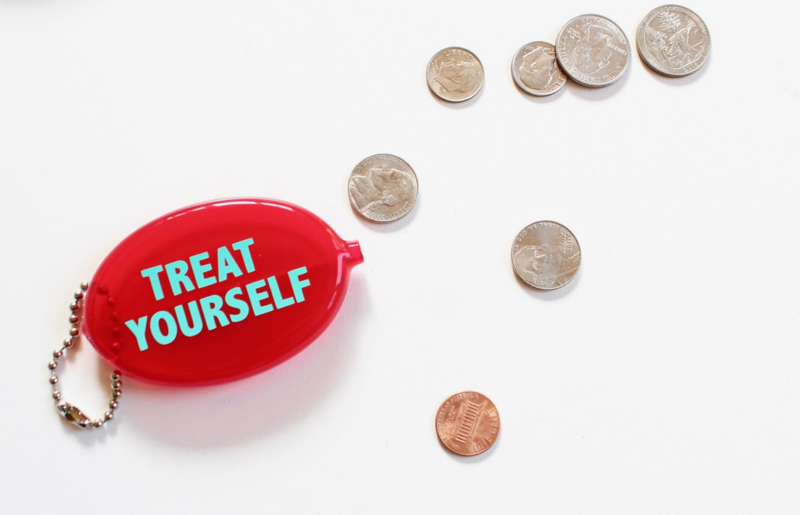
This post gave us that nostalgic, warm and fuzzy feeling, because we were reminded of our childhood. We crafted with the retro oval squeeze coin purses our grandparents, aunts and uncles (and even us) used to carry loose change in. It’s a throwback to our past, because we always love a good retro find. Plus, school is (almost) back in session, and these coin purses fit easily in or on backpacks for our kids to bring loose change for yummy bake sales. We also made one funny adult version (visit our Instagram to see what it says here), because we wanted in on the coin purse fun, too.

This project will take less than 30 minutes, and you can customize it any way you like, such as adding a monogram, funny phrases, emojis, etc. It makes great classroom gifts, or cute gifts for friends. We used our Silhouette CAMEO electronic cutting machine for $-related phrases. If you don’t have one, you can always buy permanent vinyl stickers. It’s a one-step project – design and cut vinyl lettering, and then add it to the squeeze coin purse.

Materials:

ka-ching-retro-squeeze-coin-purse

retro-vinyl-coin-purse-treat-yourself

retro-vinyl-coin-purse-treat-yourself

retro-vinyl-coin-purse-treat-yourself

Affiliate Disclosure: This post contains affiliate links, which means j. sorelle receives a small commission from the sale of certain items; however, the price is the same for you, whether it’s an affiliate link or not. 

How To Throw A Backyard Movie Night Under The Stars

DIY outdoor movie night-the-sandlot

There’s something so nostalgic about watching a movie outside under the stars. It just feels like summer, and we don’t know about you, but it gives us all the feels – happiness, comfort, excitement, relaxation and childhood. We grew up going to Drive-In Movies. Those kinds of theaters seem to be few and far between, but honestly, these days we’re opting for a snuggle in our own backyard to watch a movie under the stars.

Recently we had the neighbor kids over for a DIY backyard movie night. Jessica would have preferred to spend week crafting fun DIY decor, a sign, cute favors – the perfect set up. But, honestly time (and energy) didn’t allow for that this summer, so with a quick text invite, and bring your own blankets (so we had more than enough), the kids had a blast watching a movie under the stars. The weather was perfect, the company was amazing, the popcorn was plentiful and the movie was a classic. Oh summer, please stay forever!! We can’t wait to get another movie night on the calendar. Here’s some tips to throw a fantastic DIY movie night this summer. Again, nothing fancy with our photos – we need an iphone upgrade but until that happens, our 6S will have to “give you an idea” of our memorable movie night.

1. Set Up A Screen
You can go so many different ways to set up a screen. You can build one with PVC pipe, buy a huge screen or a smaller screen, hang or tie screen material, or use sheets. We had a large piece of pegboard (the sheets they sell at Home Depot) for a separate project, so we literally set it up on a large bench, leaned against (in between) 2 trees, spread out two white sheets over it, and used chip bag clips to keep it in place. It worked like a charm! BTW, two sheets worked better than one, but if you have a black sheet, that would work behind one white sheet, too. If you buy the sheet of pegboard or white board from Home Depot, it runs about $20.

the-sandlot-outdoor-movie-night-diy-movie-screen

2. Be Wise With Your Movie Pick
Pick your movie carefully. We wouldn’t want to go to an outdoor movie night showing a scary movie, or something out of our league. We had a wide array of kids, from ages 5-12, and both boys and girls. Our movie was a classic most kids love, even the girls, and it fit our PG age range. We know it’s one of our faves – The Sandlot. We hosted the movie night around the 4th of July, and baseball is so American to us, it’s all about childhood and summer, and there’s a great firework scene in the movie. It was a hit!

the sandlot-diy-outdoor-movie-night

the sandlot

3. Buy or Borrow A Projector
We have an awesome neighbor who let us borrow her projector. If you are lucky like us, ask nicely, and you won’t have to spend any money on the projector. If you want to invest in one (we are considering it after we realized how much fun movie nights are), there are some options here and here. We played the movie from Amazon Prime via our ipad. You will need a cord to connect to an apple device. Also, don’t forget a bluetooth speaker for great movie sound.

4. Serve popcorn and candy
A night at the movies isn’t a night at the movies without popcorn and candy boxes. We filled popcorn bags with popcorn, and more popcorn, and more popcorn. Everyone had their choice of candy, $1 each from Wal-Mart.

lightbox-now-showing-sandlot-popcorn-box-diy-outdoor-movie-night

5. Blankets, Blankets and More Blankets
We live in the Colorado Rocky Mountains, so it gets chilly at night. Everyone dressed in warm sweatshirts and sweatpants, and brought along a blanket or sleeping bag. We laid down picnic blankets, and the kids snuggled on top. You will need extra blankets for those who may forget, and for those who get extra cold like us! We rearranged some patio furniture in the back of the yard, so some kids got a seat off the ground. Make sure to have lots of extra pillows on hand. The kids wanted more and more pillows as the night went on.

diy outdoor movie night

6.  Have Bug Repellant On-Hand
Whenever outside camping or hiking (or in this case an outdoor move night), it’s good idea to have bug repellant on-hand. We love doTERRA’s TerraShield. Check for possible sensitivities, and share the bug repellant love.

7. Have A Dance Party Before Showtime
It doesn’t get dark until around 8:40 p.m., and the kids showed up early to the movie showing. To kill time, we had a dance party in the backyard. It was so fun! Kids showed off their amazing moves, and it got everyone laughing and moving before the movie. We used a bluetooth speaker, cell phone and our Spotify account to play some sweet jams.

8. Create An Experience
Like we mentioned, Jessica would have wanted to build a popcorn bar from scratch, create a theatre sign, etc. But since simple was the theme of the night, we used items we had on-hand to add that extra special touch. We set up our lightbox with The Sandlot words on it. We hung outdoor lights on the patio and outside dining table. Not only did it make it not so dark outside, but it also created a special ambiance. If you want to keep it easy and affordable, you can print fake money and have kids “buy” candy and popcorn, and fake tickets would be a nice touch, too. Be resourceful, and decorate with that you have. Keep it easy so you will want to host a movie night again!

now showing-the-sandlot-american-flag-lightbox

the sandlot-diy-outdoor-movie-night-american-flag

Happy summering, y’all. We hope you get outside to watch a movie under the stars.

Note: This post contains affiliate links.

SHOP THE POST:
[show_shopthepost_widget id=”3210771″]

DIY Wood Box Frame With Colorful Tissue Paper

diy-wood-box-frames-with-tissue-paper-mod-podge-kids-art-project

These wood boxes have been sitting in my garage for 6 months. I had an original plan for them, and honestly I can’t remember if it didn’t work or fell through. Whatever the reason, I’m really glad I had them, because these DIY wood frames with tissue paper were born. My daughter and I spent the afternoon crafting these frames for friends and family, and then we made extra frames to add to the gallery wall in her room. They are such a happy and colorful addition!

The wood box frames are from Oriental Trading. If you haven’t had a chance, enter in the drawing for $250 gift card to Oriental Trading. You can buy these wood box frames, and a whole lot more! Oh my goodness, the things we could buy and the parties we could decorate for $250! Enter here.

Materials:

Directions:

Step 1: Rip or cut tissue paper into lines/shapes. You can go for a “ripped” look, or a more precise “cut” look. For the confetti, buy a package of pre-cut confetti, or use a hole punch to make circles.

wood-box-mod-podge-foam-brush-art-craft-colorful-tissue-paper

Step 2: Apply a thin layer of Mod Podge to the wood box, and add pieces of tissue paper. Gently press down on the paper so it is “stuck” on the wood box, and try to remove line/bubbles without ripping the paper.

rainbow-tissue-paper

Step 3: Once you have the design you want, add a layer of Mod Podge over the entire wood box and tissue paper. It will appear white, but that’s ok because it will dry clear. Once it’s dry, you can apply another layer of Mod Podge if you want. After you applied the Mod Podge, and it’s completely dry, flip the wood box over and use an X-acto knife to trim the excess tissue paper around the edges.

tissue-paper-confetti-mod-podge-wood-boxes-art-project

tissue-paper-confetti-wood-boxes-art-project

tissue-paper-confetti-wood-boxes-art-project

tissue-paper-wood-box-frame-xacto-knife

Step 4: Once the Mod Podge is completely dry, find the top/center of the box to add the bulldog clip. Make a small dot with a pencil, and then drill with a small drill bit. Align the bulldog clip with the drilled hole, and then use a screwdriver to tighten a screw.

tissue-paper

teal-bulldog-clip-screw-rainbow-frame

Step 5: Clip a 4×4 photo in place. Now, you have a colorful, adorable frame. You can make 12 of them for $17.

diy-wood-box-frames-with-tissue-paper-mod-podge-kids-art-project

diy-wood-box-frames-with-tissue-paper-mod-podge-kids-art-project

diy-wood-box-frames-with-tissue-paper-mod-podge-kids-art-project

diy-wood-box-frames-with-tissue-paper-mod-podge-kids-art-project

Note: This post contains affiliate links. 

$250 Oriental Trading Gift Card Giveaway

IMG_5027 (1)

Oh my goodness, we have an amazing giveaway with one of our favorite companies, Oriental Trading. When we think about parties, decorations, DIY’s, and crafts, Oriental Trading is top of mind.

Recently, we’ve been playing around with DIY Balloon garlands. It’s been a party of balloons in our house for several weeks now with all the lingering balloons. We get the kids in on the blowing and tying action, so it’s fun for the whole family. Oriental Trading has everything we need for our balloon garlands (tutorial coming soon). It’s a wow-factor for any party, and an affordable one. Get balloon happy like us and check out the awesome selection at Oriental Trading.

If you have a party coming up, want to stock up on school or craft supplies, or you’re hosting an upcoming holiday, enter the giveaway today to win $250.  The giveaway starts July 11 at midnight and ends July 25 at 11:59 pm (Pacific Time). Enter below.

$250 Oriental Trading Gift Card Giveaway

After you enter the giveaway, check out some of the other amazing blogs included in the giveaway:
Happy Family Blog
Teacups and Fairytales
Suburban Wife City Life
Little Bits of Everything
Living La Vida Holoka

Celebrate Toy Story at Walt Disney World With A Fun DIY T-Shirt

toy-story-t-shirts-woody-and-buzz-disneybounding

Jessica’s family went to Walt Disney World this past spring. We went as children with our parents, and when she went back, although there are new, awesome additions, it felt like that world had remain untouched. Yes, there were notable differences – everyone is on smart phones now (their app is amazing), security was more intense than she remembers (a good thing nowadays), FastPass is wonderful (makes lines more bearable), and it was more painful being the one actually paying for it all. But, precious memories came flooding back. The matching neon Mickey shirts our mom made us wear, the famous Mickey flower garden (and photo opp), a pretty Main Street, U.S.A., animated characters brought to life, Splash Mountain, happy vibes, and yes, It’s A Small World looked and sounded exactly the same.

Disney has certainly made it a magical world for generations, and Jessica was happy to share that magic with her kids. Despite having blown out his back earlier in the week, Jessica’s husband was a total trooper, and rode every ride (and stood in every line). The kids loved every minute of it. We felt the pure exhaustion after all the excitement and crowds at the end of the day! So happy we stayed for the fireworks show – worth it (near the back with a quick beeline to the Monorail). She can share tips of the day if y’all are interested – it’s a compilation of tips from great friends, and first-hand experience. Let us know at hello@jsorelle.com.

Jessica and her family missed the opening of Toy Story Land on June 30th, and her kids say it’s another reason to go back! It’s a story all our children adore, and it was even an animated film we grew up with, too. Before she left, Jessica made DIY t-shirts to celebrate the opening of Toy Story Land at Walt Disney World. She went with classic phrases by the lovable characters, Woody and Buzz. The boys took it to the next level by Disneybounding, which is dressing up as the character without wearing a costume (basically wearing everyday clothes inspired by favorite Disney characters). They love their shirts, and it was a great DIY project anyone can do. Tulip ColorShot Instant Fabric Color paint was amazing to work with – we can’t wait to work with it again! See the full tutorial on Momtastic.

toy-story-t-shirts-woody-and-buzz-disneybounding

toy-story-t-shirts-woody-and-buzz-disneybounding