We have high hopes for 2016. But that doesn’t mean life won’t take some twists and turns along the way – some good and some bad.
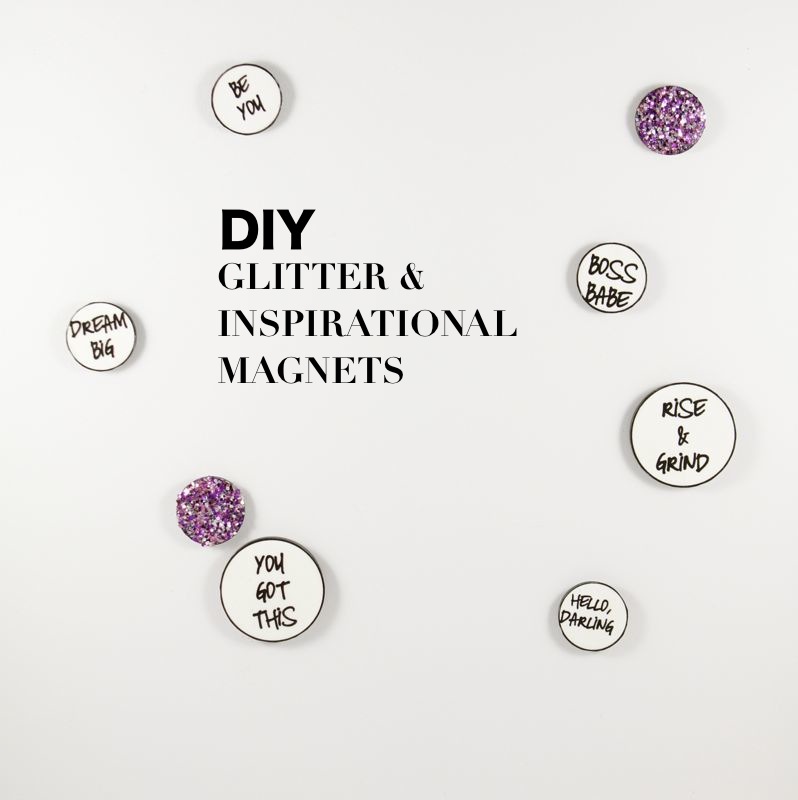
We will try to remain motived and optimistic no matter what life throws our way, or what side of the bed we wake up on, but just in case we need a little extra motivation in the office, or at home, we made some magnets. You should do it, too!
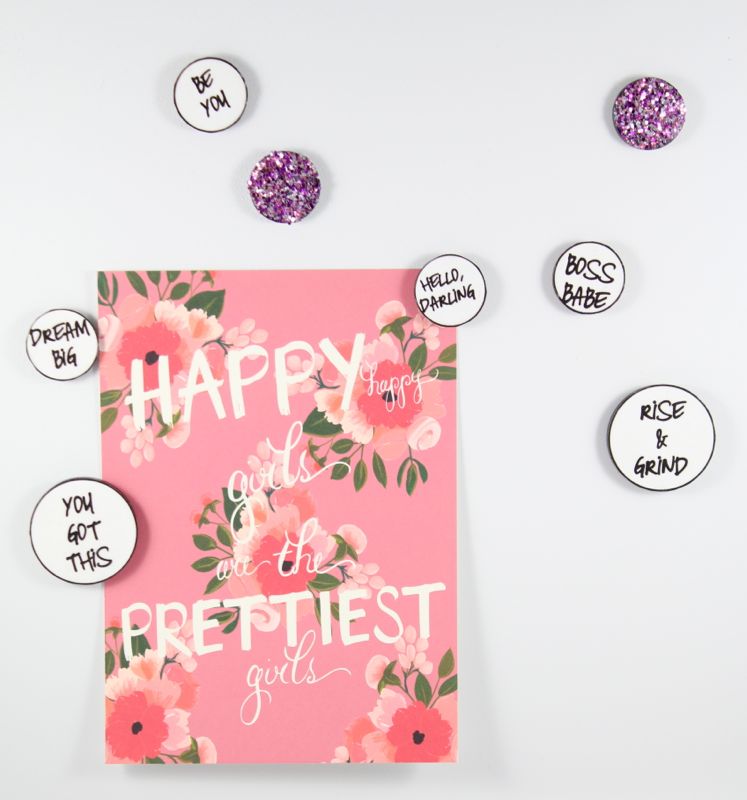
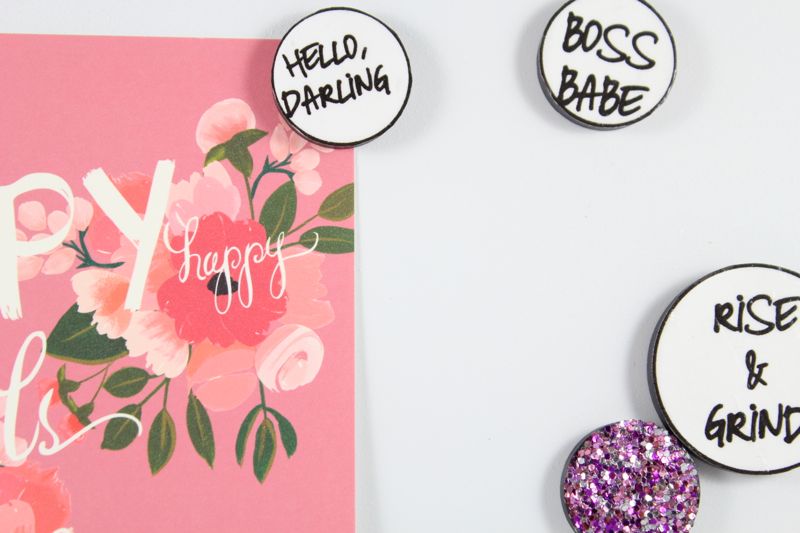
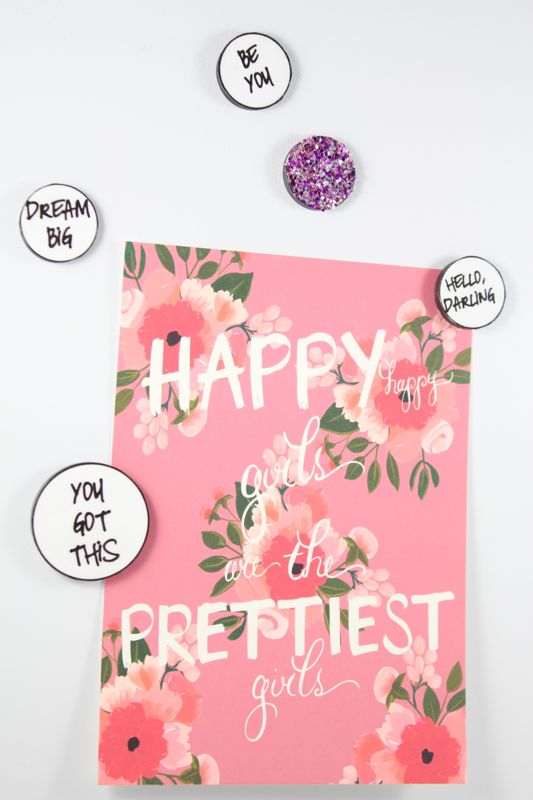
Once you make the magnets, find happy art prints and photos with good memories to put the magnets to use. We love this art print, Happy girls are the prettiest girls, from one of our faves, The First Snow.
Materials:
- magnets – 1 in. diameter and 1-1/2 in. diameter from Home Depot
- glitter
- Mod Podge
- White card stock
- Paintbrush
- Scissors
Directions:
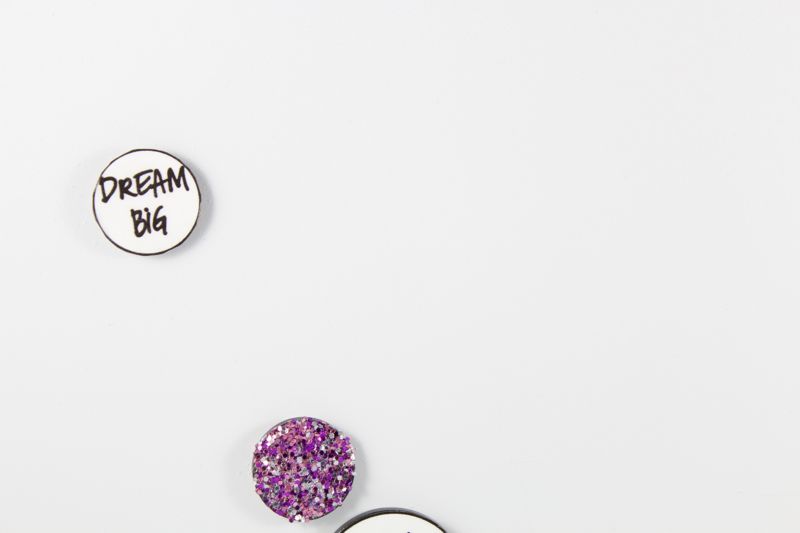
- Design circles with your motivational words to the size of your magnets. You don’t need a fancy design program – we just used Microsoft Word.
- Print on white card stock.
- Cut the circles out.
- Use the paint brush to add a thin layer of Mod Podge to the top of the magnet. Place cut-out circles on top and press down. Remove excess around the sides if you have any.
- Paint a thin layer of Mod Podge to seal the top. Don’t swipe it too many times, or the ink will smudge.
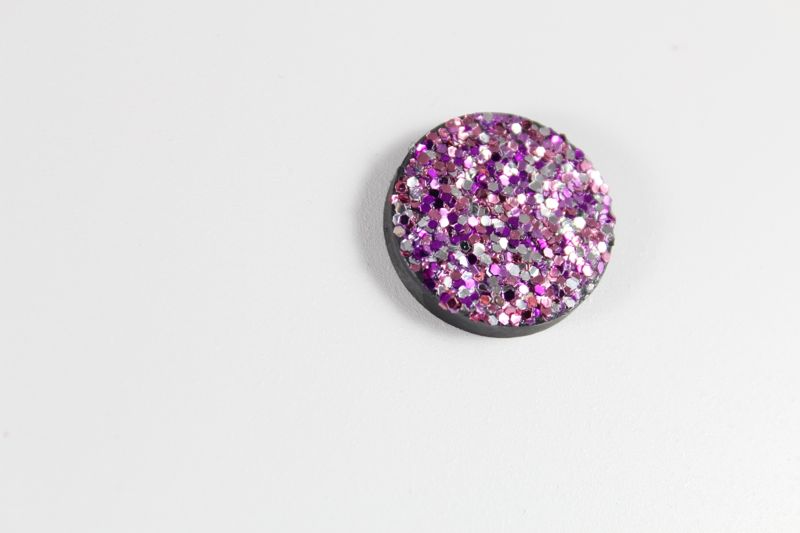
- For the glitter magnet, paint a layer of Mod Podge on top of the magnet. Sprinkle glitter on top until the entire magnet is covered. We used 3 different pinks and a silver.
- Let the glitter dry. After about 10 minutes, gently dab a generous layer of Mod Podge over the glitter. It will look white, but it will dry clear. This step will seal the glitter so it doesn’t fall off.