Christmas Craft for Kids and Tweens: DIY Glitter Snow Globe

DIY glitter globe-holiday-craft-and-tween-gift

My son’s teacher has a DIY calm down jar in the classroom for kids to play with, or to shake when they need to calm down. Something about the way the glitter falls in the liquid is mesmerizing, and calming for kids. Like T. Swift says, “You need to calm down.” Now, there’s a jar for that. Haha.

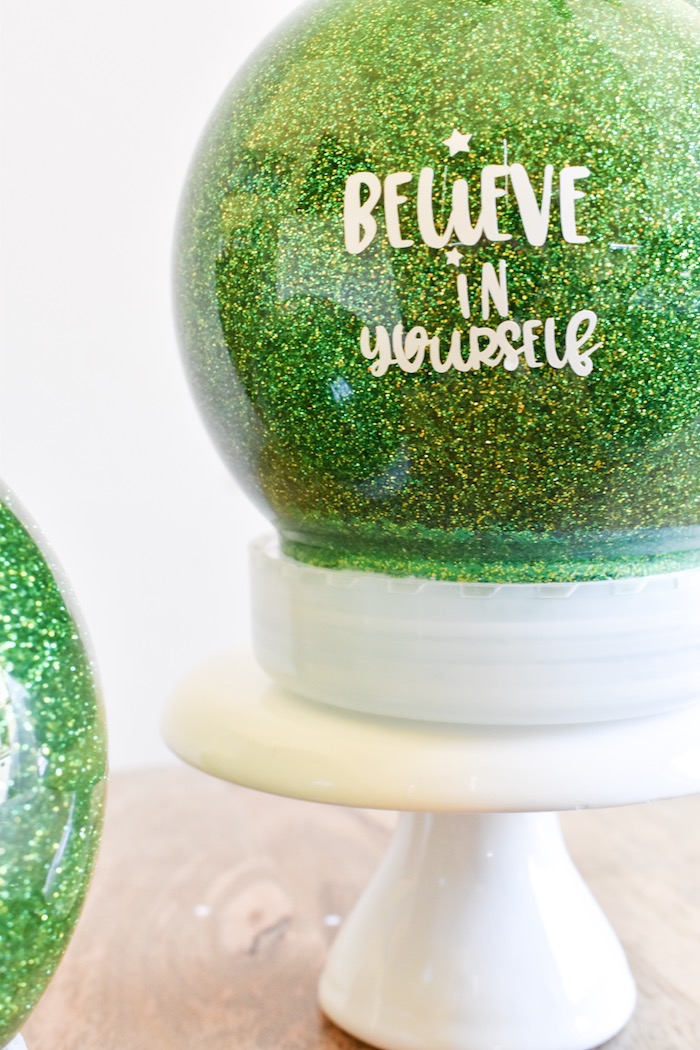
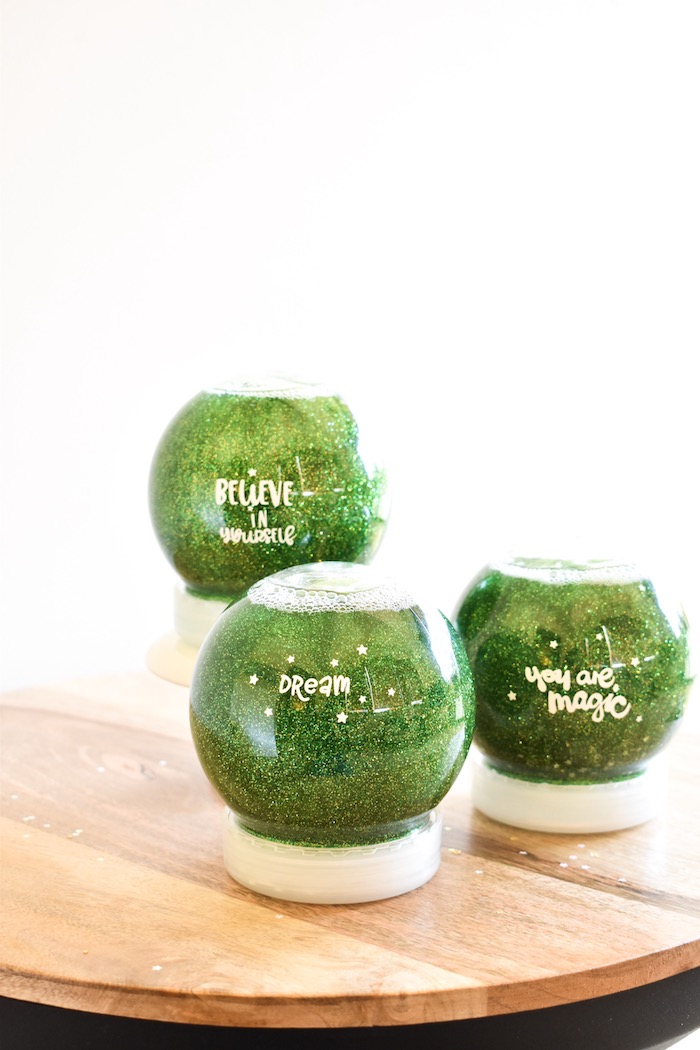
Glitter is fun, especially when it’s contained, and there’s something magical about snow globes this time of year. So we combined the two for the cutest DIY glitter snow globe. This time of year is crazy, so if anything, no matter how simple, can help kids (or adults) calm down, it’s worth trying. Plus, these make adorable gifts for friends for kids and tweens. Let’s get this glitter party started.

DIY glitter globe-holiday-craft-and-tween-gift

DIY Glitter Snow Globes

Materials: 

Instructions:

Step 1: Fill the snow globe about 1/2 full with warm water.

Step 2: Add the glitter glue. I used 1 bottle for all three snow globes, and all got equal amounts. So, 4 tablespoons of glue per snow globe is a good start. In a mason jar, which is larger, you can use 1/2 cup glue.

Step 3: Add 2-3 drops food coloring. I used similar color glitter glue, food coloring, and glitter – all green tones. But, you could see how it turns out with multi-color glitter and glue. Don’t use more than 3 drops food coloring with these smaller globes, or you won’t be able to see the glitter.

Step 4: Add the glitter. I added about 2 tablespoons glitter per snow globe. You can add more or less if you want. There wasn’t much of an exact science to this. I used fine glitter in all of them, and added star glitter in some as well.

Step 5: Fill the remaining space in the snow globe with warm water, until it’s almost fill (leave a small space at the top so you can still shake it). Push in the inner seal in the globe insert, and then add super glue to the inner rim of the screw top, and then screw it on.

DIY glitter globe-holiday-craft-and-tween-gift

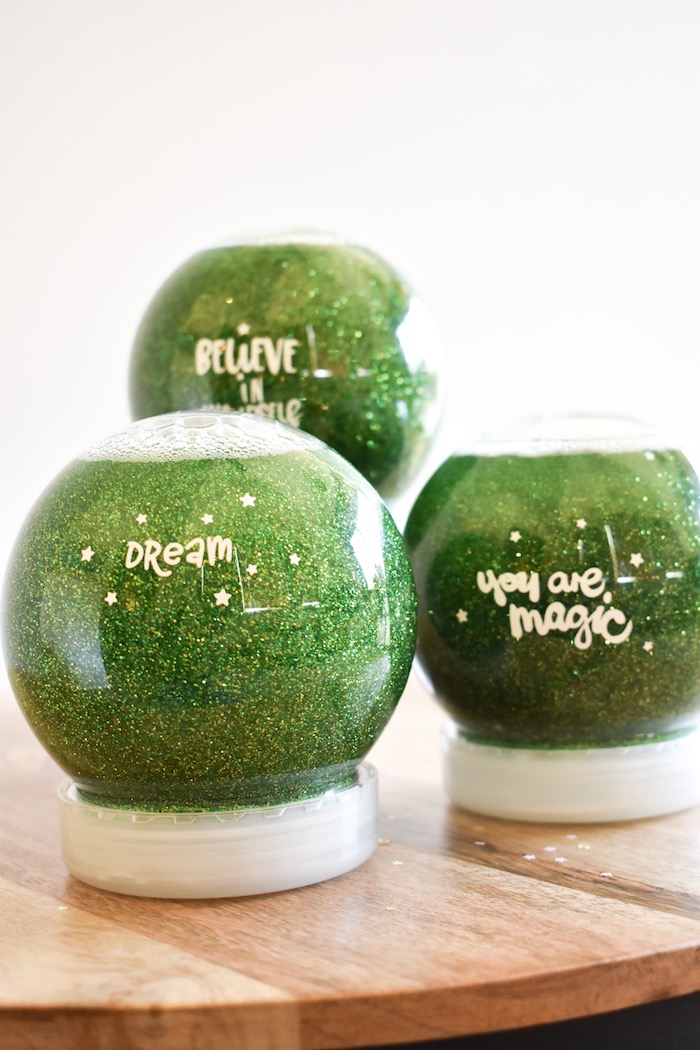
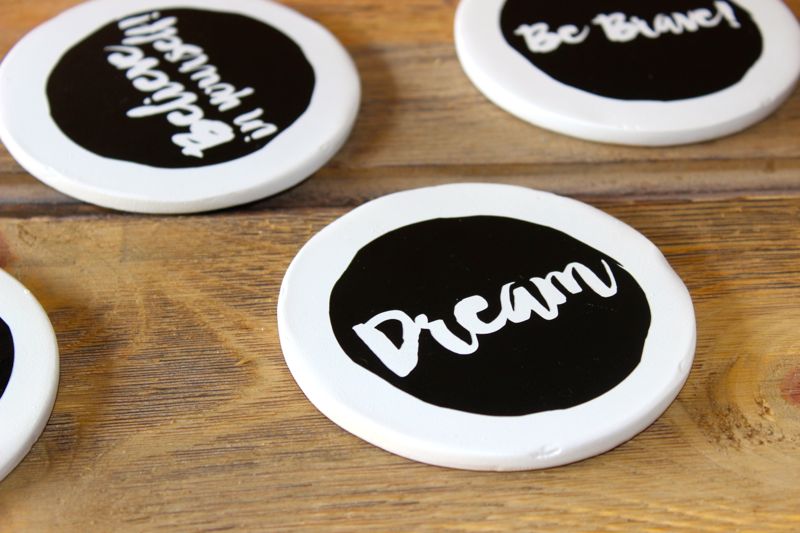
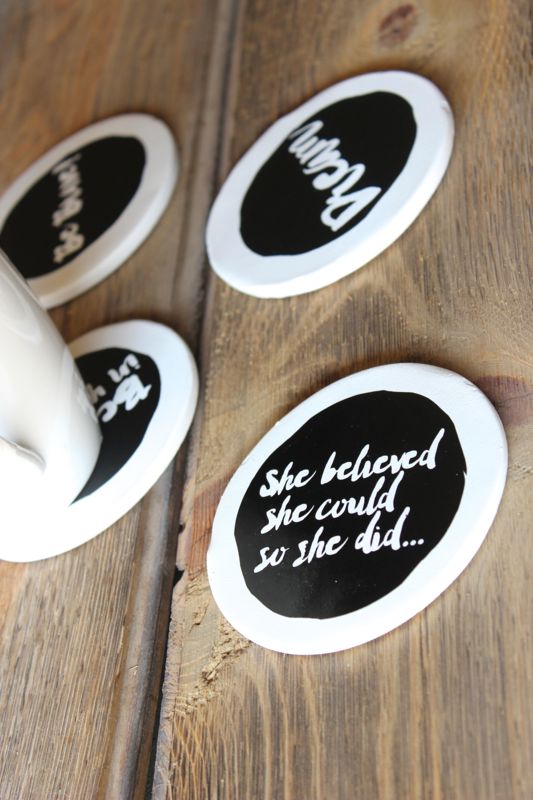
Step 6: This is optional, but you can customize each snow globe you make for friends with vinyl or stickers. We used our Silhouette Cameo to make vinyl words and mini stars for an extra magical touch.

Finally, shake and watch that glitter swirl, and then fall. Merry Christmas, everyone!

DIY glitter globe-holiday-craft-and-tween-gift

DIY glitter globe-holiday-craft-and-tween-gift


affiliate disclosure

DIY Black and White Coasters + Idea Swap

desk-accessory-coffee-coaster-antler-white-black-quotes-diy-gift-dream

It’s National Swap Idea Day. In honor of the swap day, we teamed up with some of our favorite bloggers to create DIY desk accessories to swap with one another. The challenge was to create a DIY desk accessory or DIY desk organization item for under $20. That’s it! Every blogger that participated was assigned to another blogger, so no one went home empty handed…and now we all have a new desk accessory!

I know Jodi and I {Jessica} are in the need of a serious desk overhaul, so we were excited to see what everyone came up with.

Our girl, Christina Williams Blog, was the lucky recipient of our gift swap – DIY black and white coasters with quotes. We all need inspirational and uplifting quotes while we work, and a hot cup of joe to keep us going. So, our black and white coasters with an antler base is a chic way to get rid of those annoying coffee cup rings. Plus it’s a daily reminder to dream and believe in ourselves.

Shh! Jenna secretly wishes she could keep the coasters because it’s black and white {those are the only two colors she likes} and she drinks coffee all day! 

black-white-coasters-diy-idea-swap-desk-accessory-dream-quotes-wood

Here’s how we did it.

Materials Needed:

  • Coasters {we found ours at the thrift store, along with the antler base for $6}
  • White, gloss spray paint
  • Black Vinyl from Silhouette
  • Frog Tape
  • Shellac

Directions:

  • Step 1: Spray paint the coasters, and antler base white. Below is our original thrift store find.

antler-coaster-set-deer-diy-thrift-store-project-idea-swap

  • Step 2: Design or purchase a design from Silhouette with inspiration words. We used our Silhouette electronic cutting machine to cut the vinyl for this project; however, you could easily use Mod Podge to adhere your design and favorite quotes to the coasters, or just paint your own quotes.

black-white-coasters-diy-idea-swap-desk-accessory-dream-quotes-wood

  • Step 3: Transfer the vinyl to the coasters, following Silhouette vinyl transfer directions. Instead of transfer paper, we used Frog Tape.
  • Step 4: Spray the coasters with waterproof Shellac or sealant.

black-white-coasters-diy-idea-swap-desk-accessory-dream-quotes-wood

  • Step 5: Sip while you work.

desk-accessory-coffee-coaster-antler-white-black-quotes-diy-gift

We are obsessed with the Pencil and Air Plant Holder Miranda at One Little Minute Blog sent us. Air plants is just about the only indoor plant we can keep alive, so it’s perfect!

Check out all the amazing projects and women involved – you are gonna LOVE what you find. All projects are featured on instagram, too.