Summer is on our minds. We can taste the refreshing sweetness of watermelon, and feel long summer nights in the air. In the summer, adventure awaits! Whether the adventure is at the pool, in the woods, on the road or in the air, we like to go, see and do with our kids.
In addition to the sense of adventure we’re feeling, we are also slightly obsessed with retro campers and airstream trailers. No, camping is not our forte. We take after our dad on that one, but if we had a retro camper, we may be convinced to venture into the wilderness. Jenna would most definitely have a pair of heels in tow.
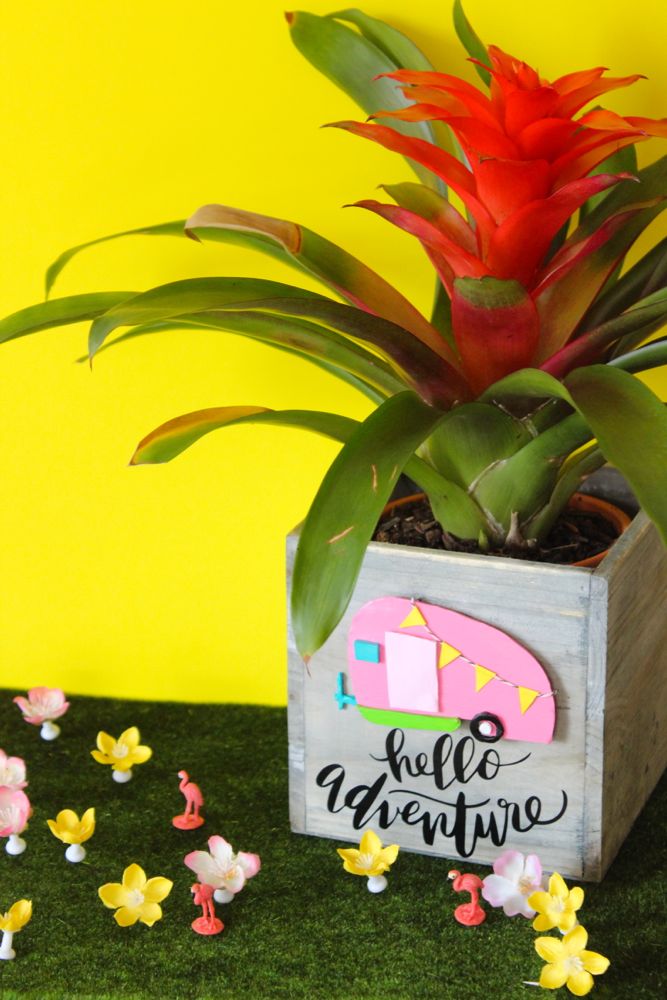
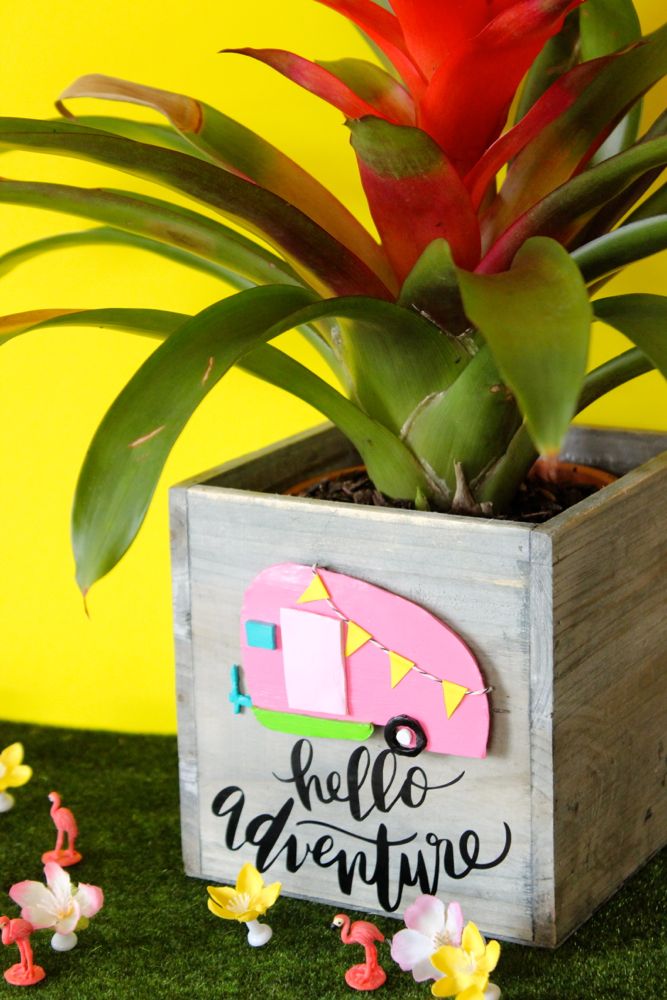
Until that pretty, retro camper comes along, we will have to create our own DIY versions of them. This pink one is going to a special teacher about to venture out to a new school and job. This would also make a great gift for graduates and friends who love to travel.
Materials:
- Oven Bake Clay
- Acrylic paint by Martha Stewart or Folk Art
- E-6000 glue
- Planter
- Plant
- X-acto knife
- Vinyl
- Silhouette America cutting machine
- Painter’s Tape
Directions:
Print a retro camper, designed by the Silhouette America store. If you don’t have an electronic cutter, you can find one online, print, cut and trace.
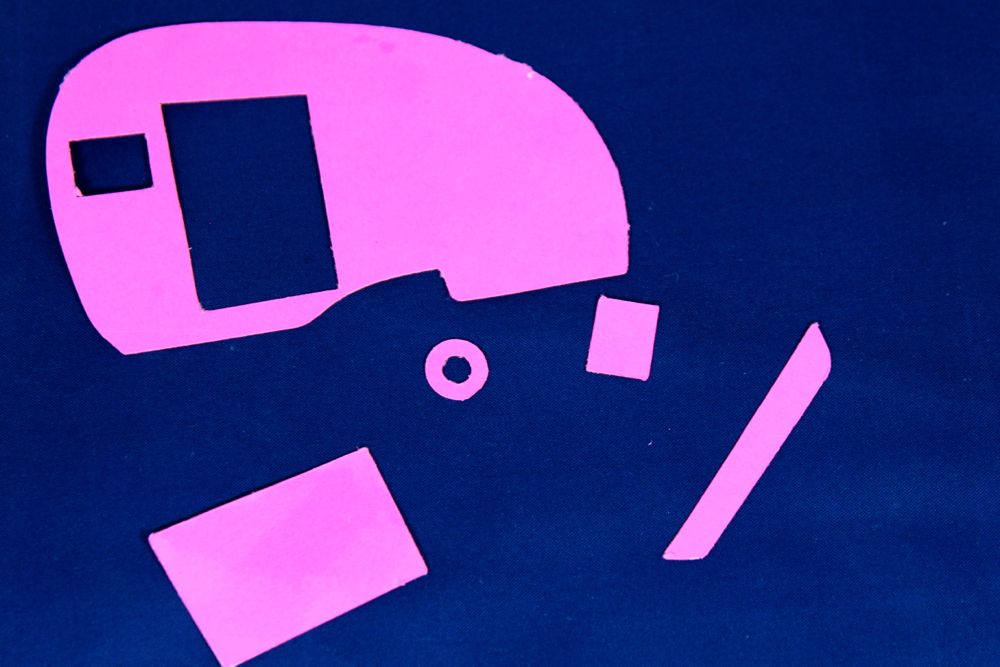
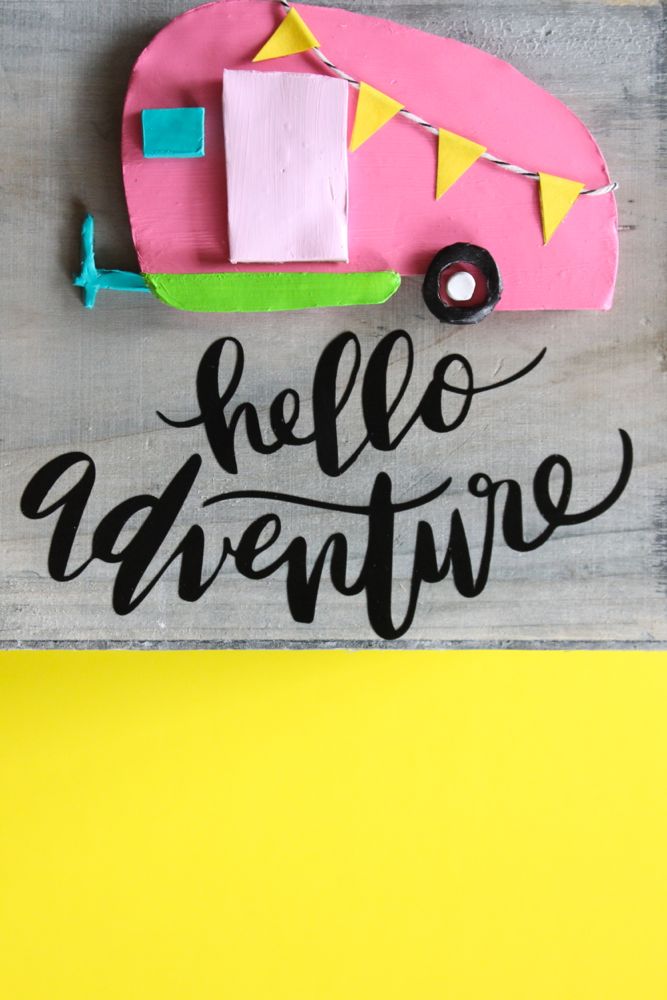
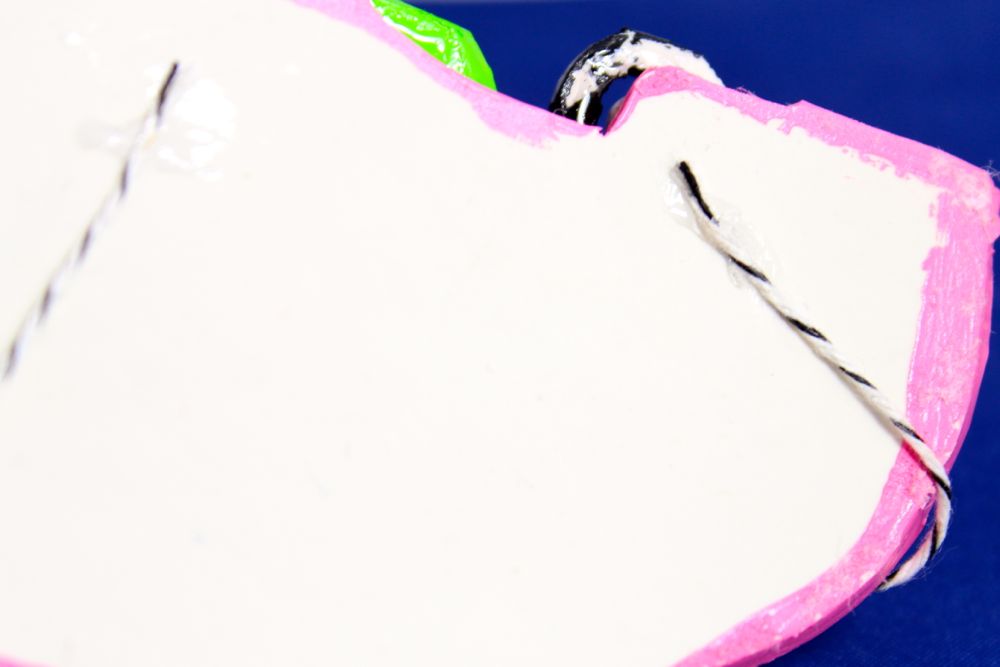
Roll out the clay, place camper shapes on the clay, and trace with an X-acto knife.
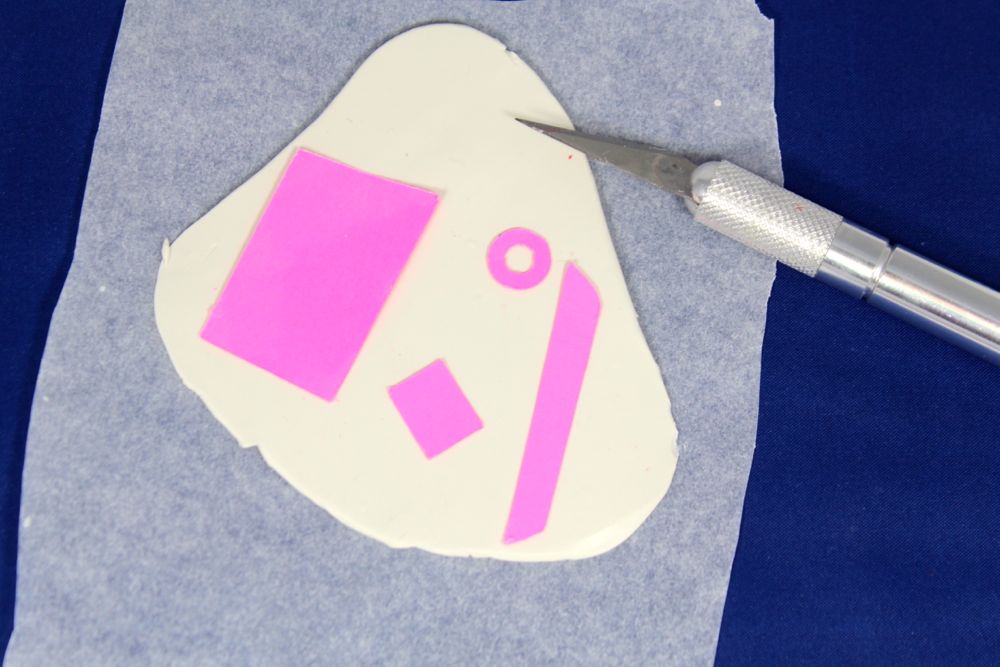
Set the shapes on a cookie sheet lined with parchment paper, and bake in the oven according to package directions.
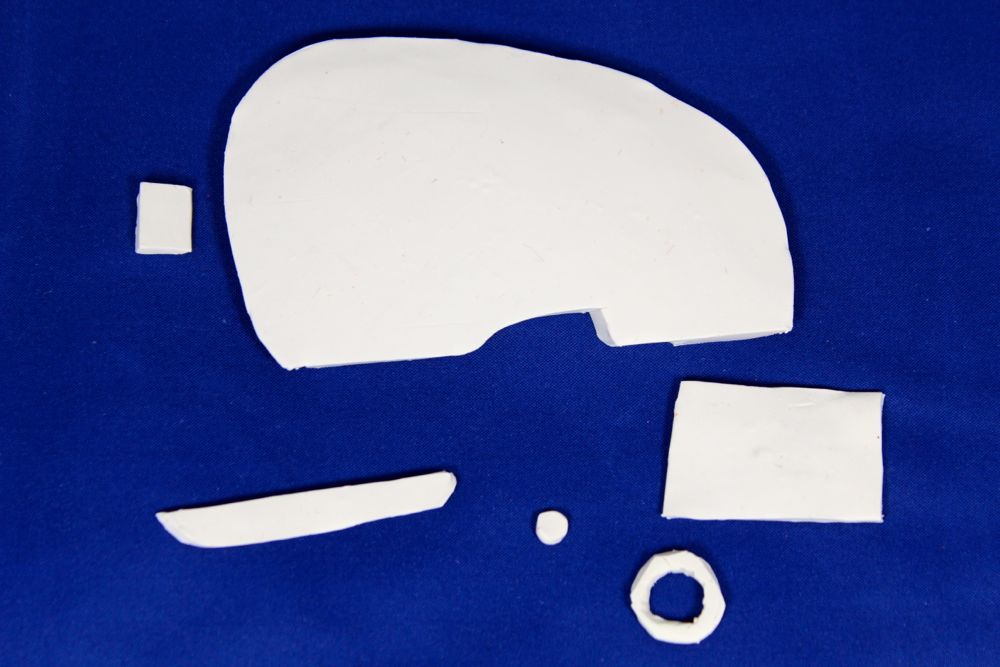
Once shapes are cool, paint them.
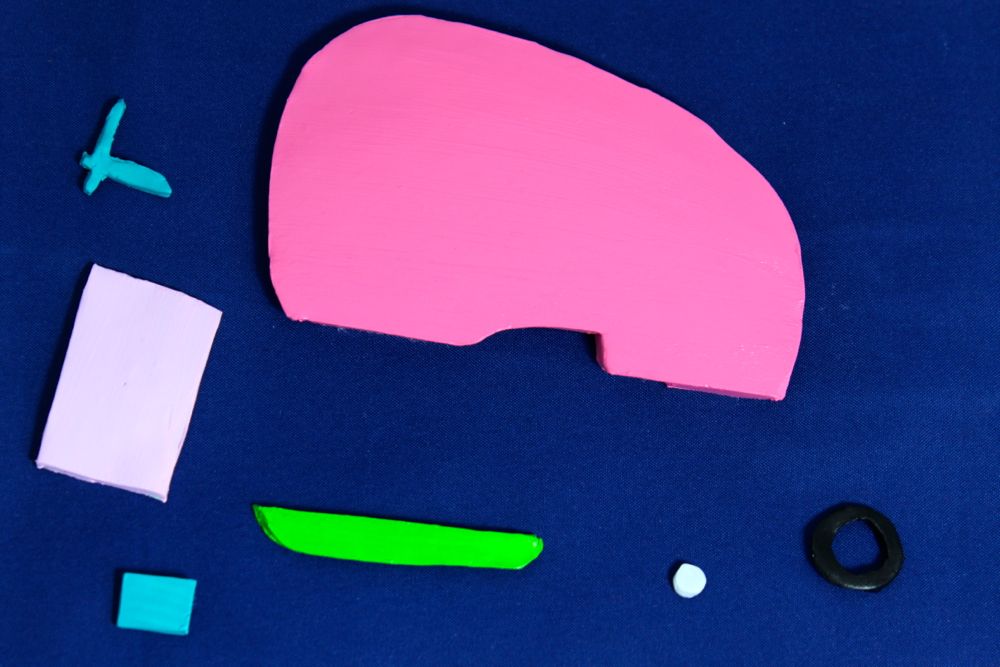
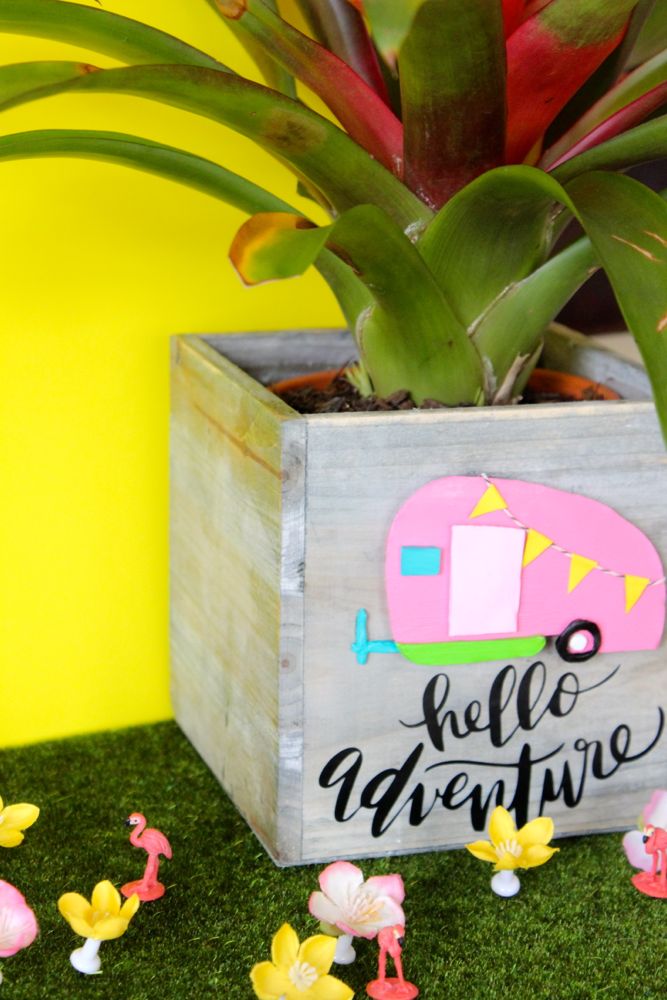
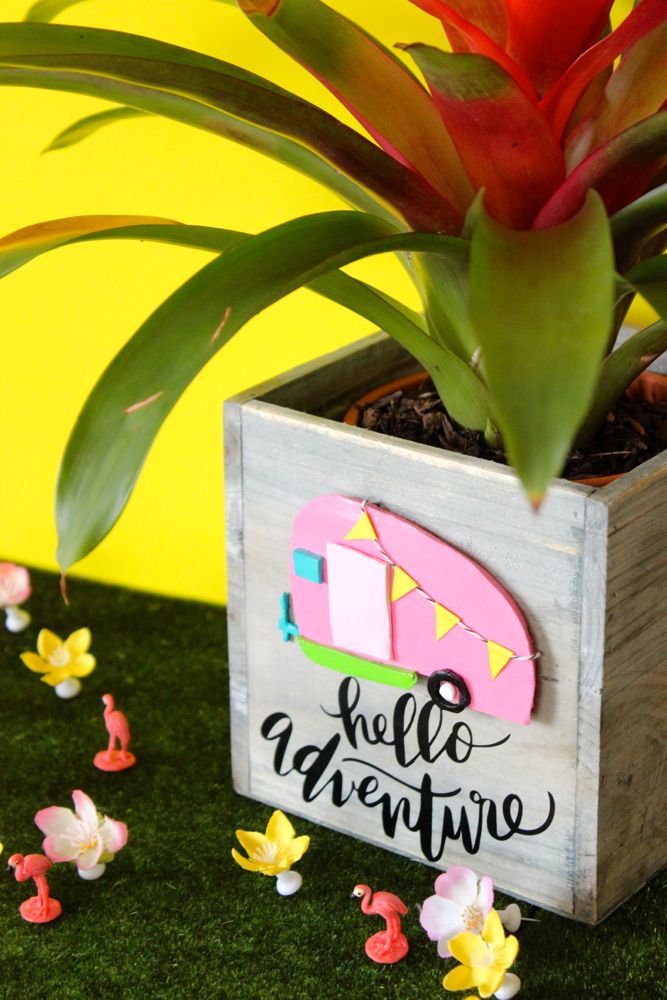
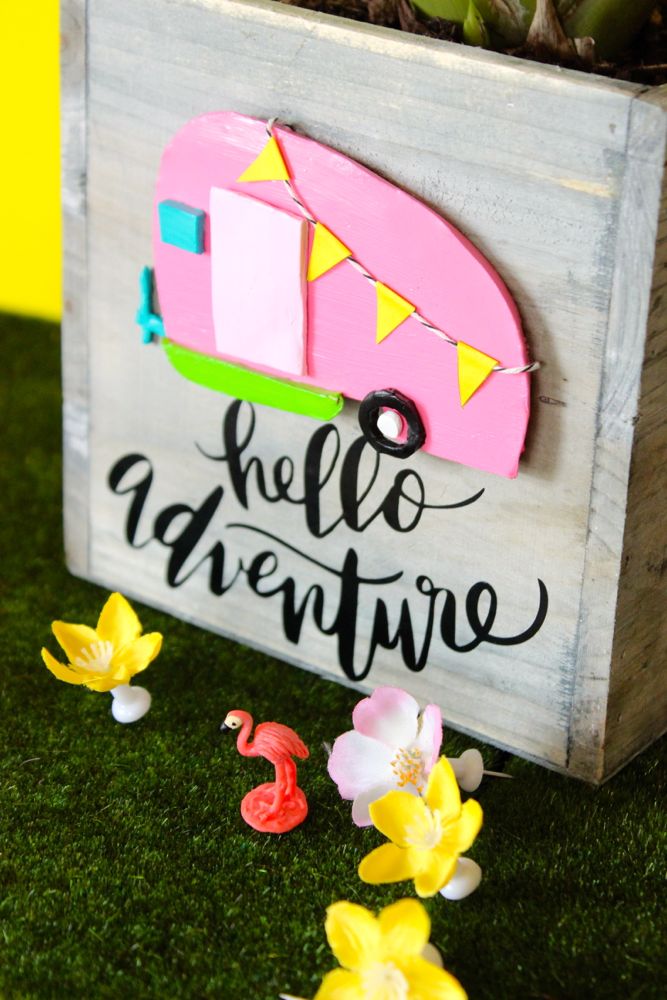
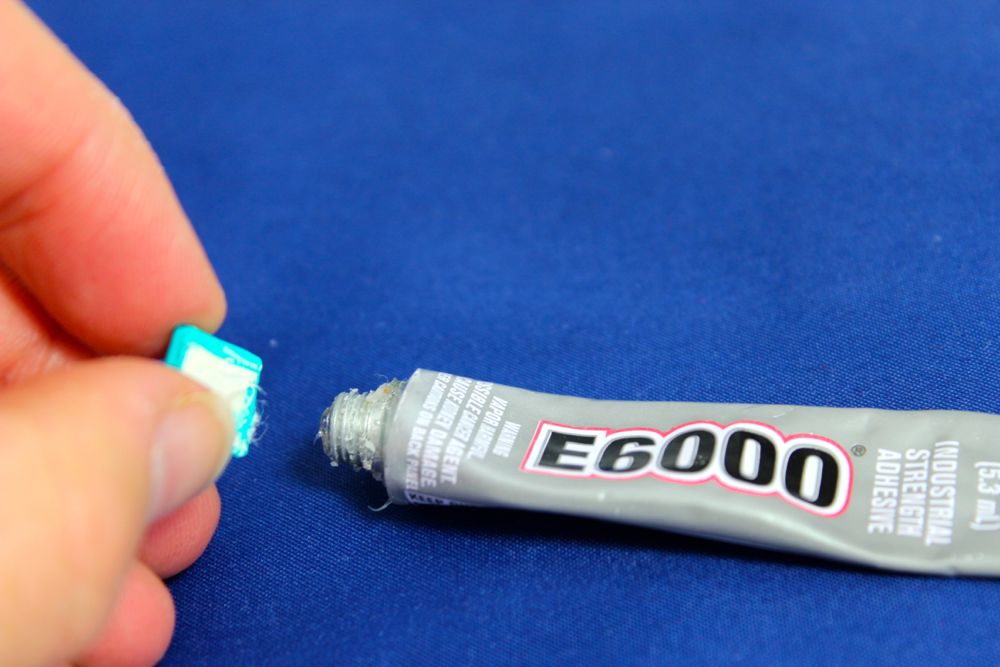
Let the paint dry. Assemble the retro camper with all the shapes and E-6000 glue. We made a yellow pennant flag banner, and love the playful look it adds to the camper.

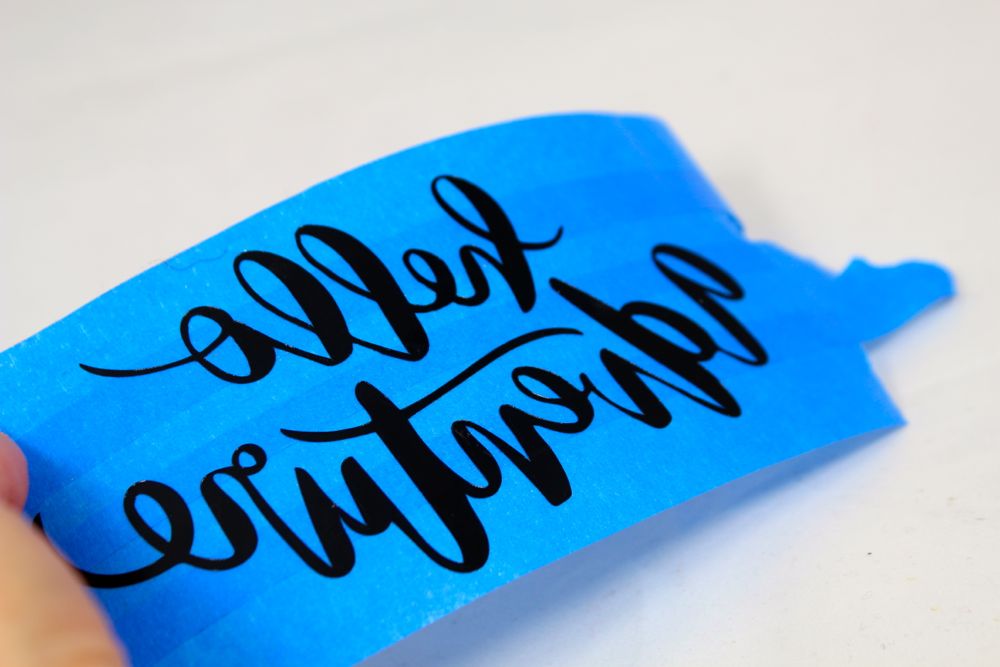
Buy or design a Hello Adventure design from Silhouette, and print the vinyl design according to package instructions.

Place strips of painter’s tape over the top of the design, and remove. The text should now be on the tape.
Place the tape {with text} sticky-side down on the planter, and use a straight-edge to remove any bubbles.
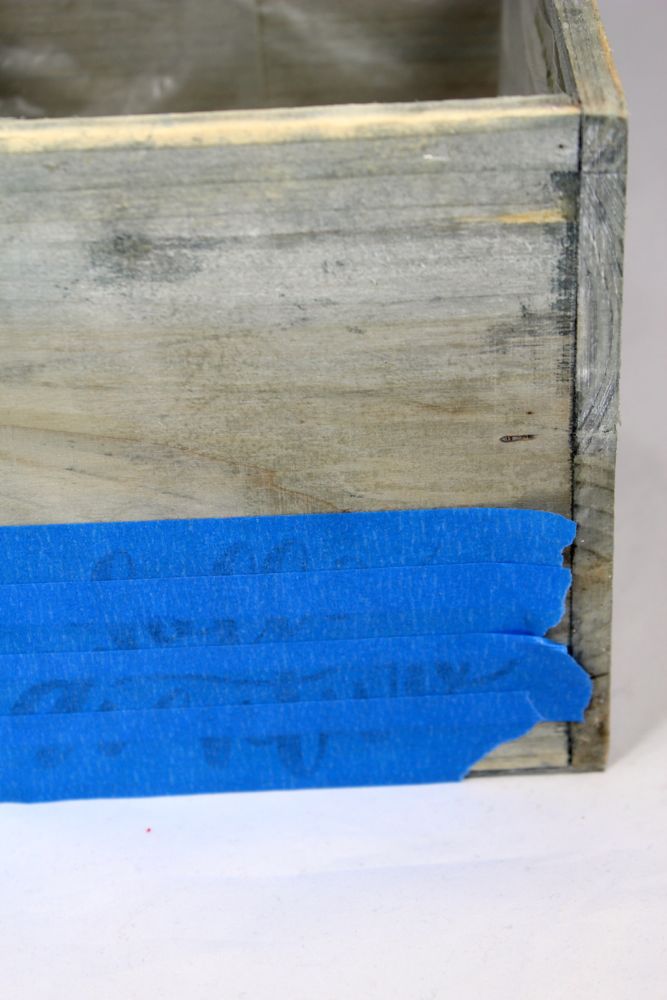
Piece by piece, remove the painter’s tape, and the vinyl should stay on the planter. If your planter is wood like ours, you may have to use one finger to hold the vinyl in place as you pull the tape up.

Add a liberal amount of glue to the back of the retro camper, and glue it to the planter. Let it dry for 12-24 hours so it doesn’t slide down.

Plant a pretty plant.