For us, Halloween is all about fun costumes (we spent our entire childhood dressed alike on Halloween night, and now we do the same with our kids), our mom’s homemade carmel popcorn, carving pumpkins, trick-or-treating and celebrating the holiday with our large Italian family. We don’t get into the scary stuff, horror movies or anything remotely gory. So, our Halloween decor can be a bit of a snooze for those who go all out for the Oct. 31st holiday. Pumpkins, Happy Halloween signs and a few spiders is just about all we have in our Halloween decor collection. It lacks a scare factor, which is ok with us (and our kids), but we stepped up our decor game a bit this year thanks to Oriental Trading Company.
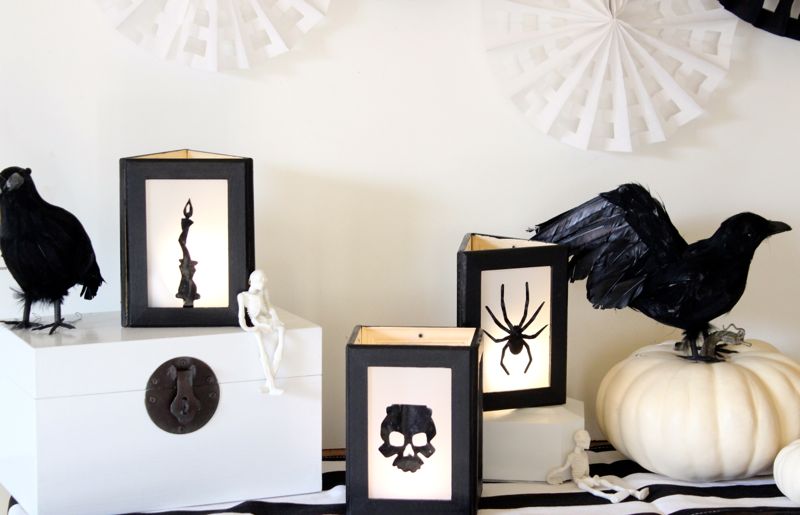
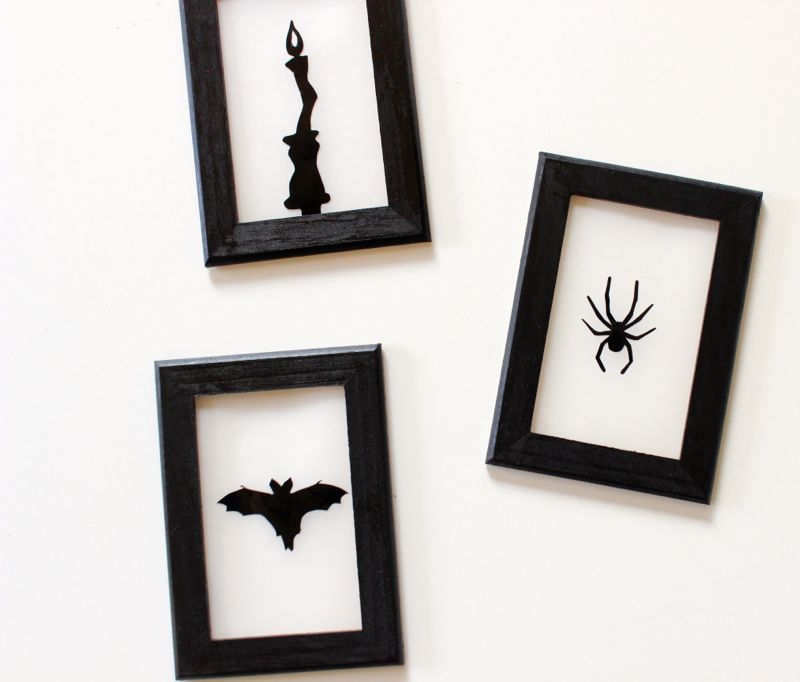
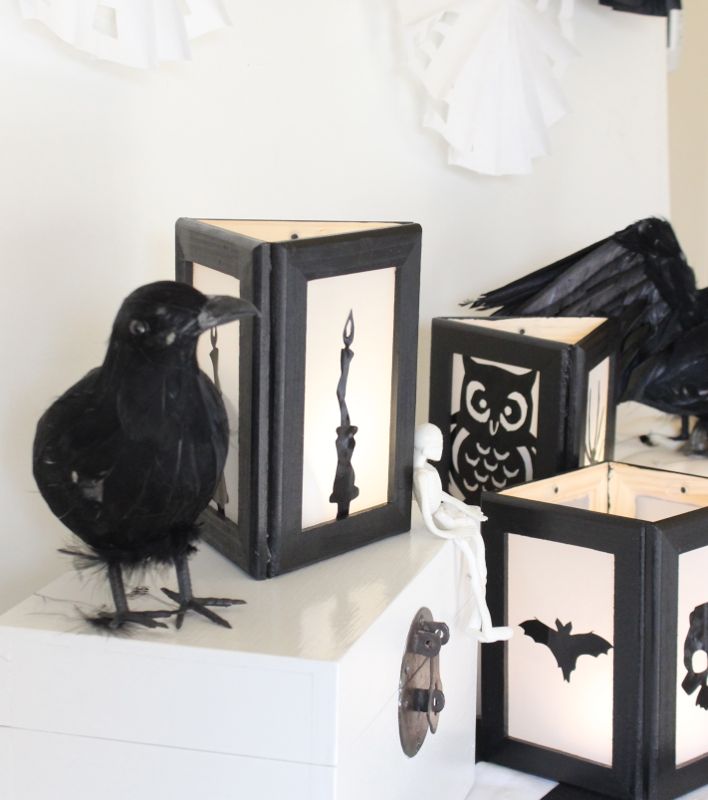
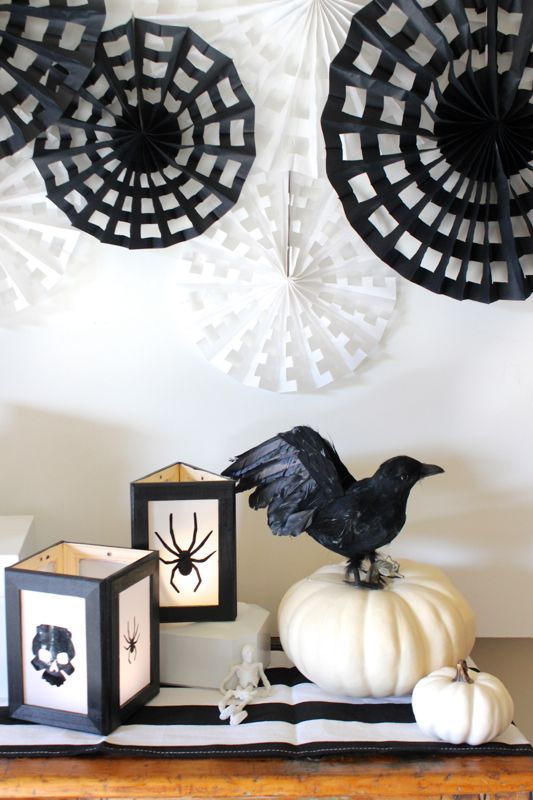
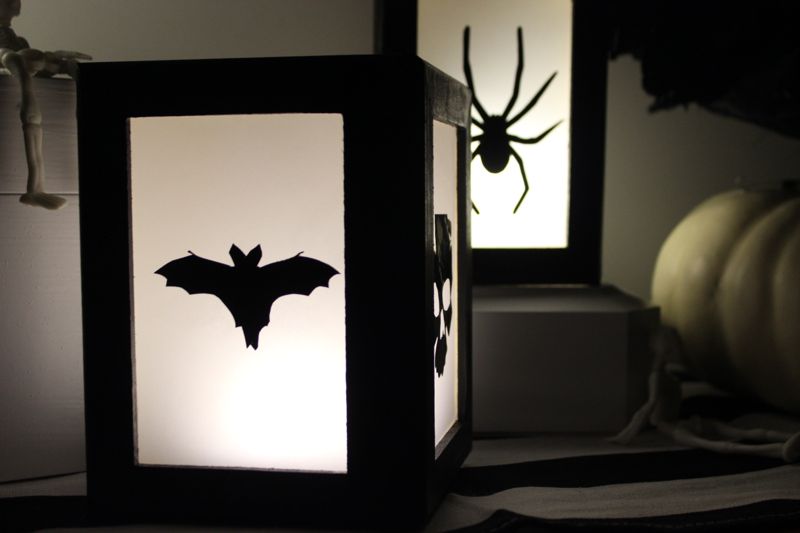
We’re lighting up the night with DIY Halloween silhouette lanterns. We stuck with Jenna’s favorite colors, classic black and white. All the other Halloween”classics” are there, too, including bats, skeletons and crows. We never have, and never will like spiders. But, we love their silhouette in our DIY lanterns.

This DIY lantern is so easy. Halloween will be here before you know it, but everything we made and set-up can be bought in one place, Oriental Trading, and crafted in less than half a day. Plus, you can re-use it year after year. Silhouettes never go out of style. We love, love the black and white table runner. It can be out year-round, and we were impressed with its thick, durable and quality fabric.

Here’s how you can light up the night, too.
Materials:
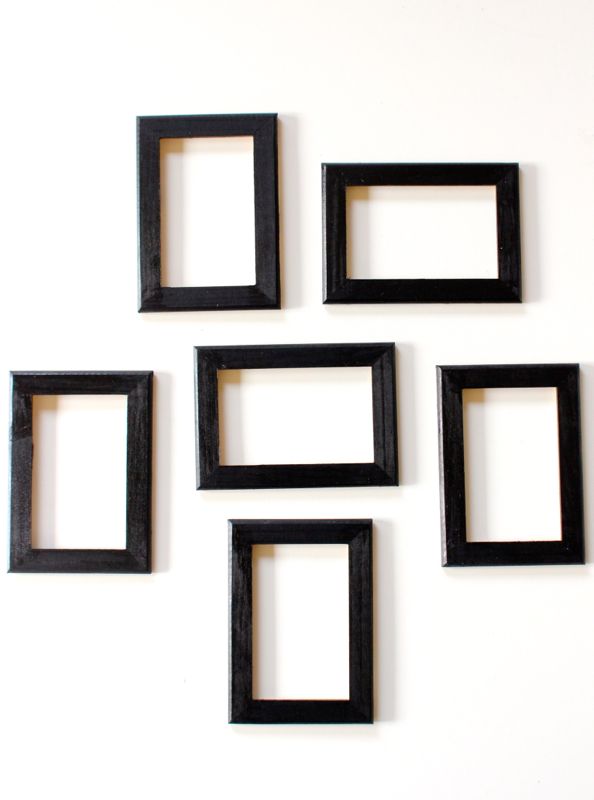
- Wood frames
- Black Acrylic Paint
- Black and white striped table runner
- Foam brush
- Vellum paper
- Wood glue
- Halloween silhouette decor kit
- Halloween spider web hanging fans
- Feathered Crows
- Stretchy Skeletons
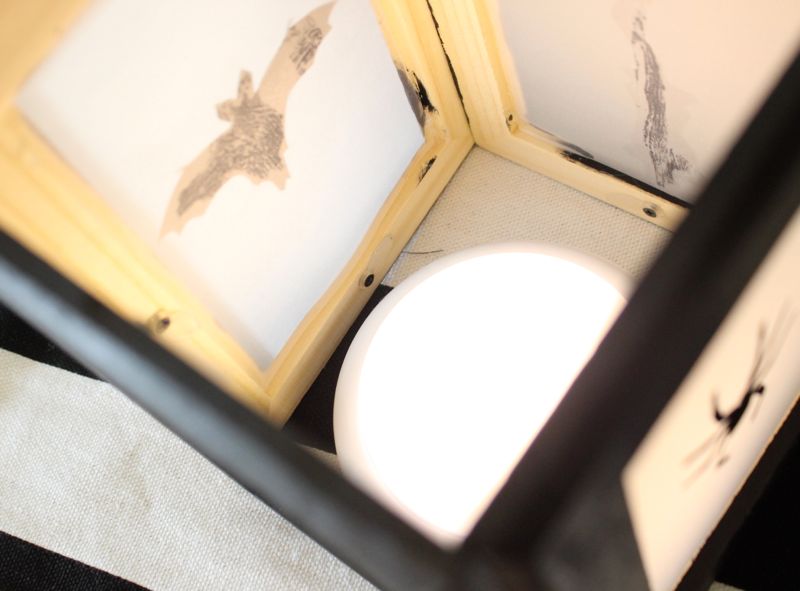
- Battery operated flameless candle, or LED string lights. We had a couple Tap lights lying around, which worked too!
Directions:
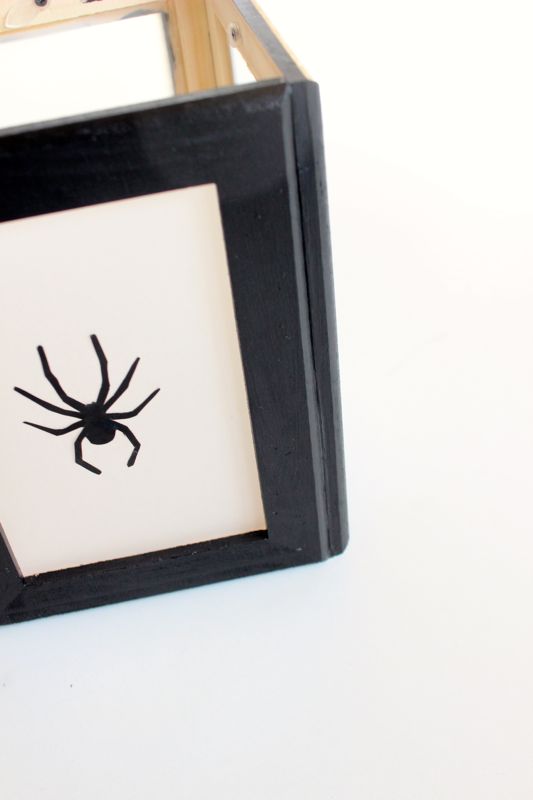
Step 1: Paint the frames black.

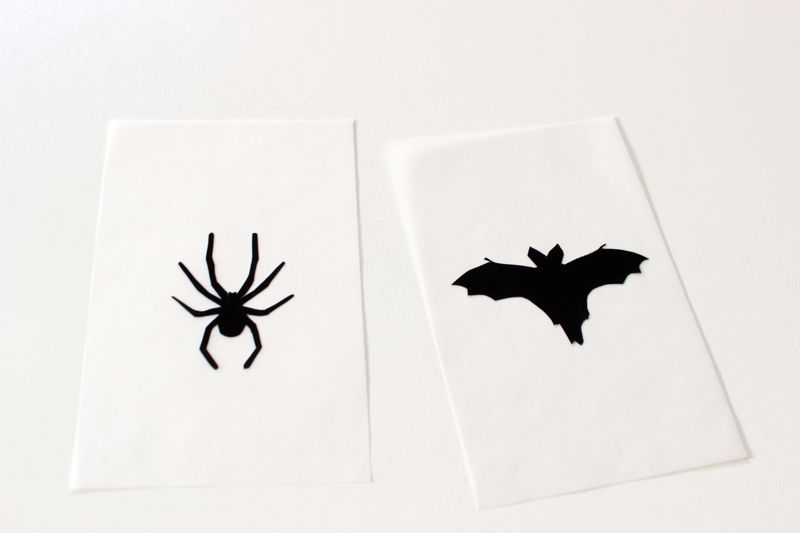
Step 2: While the paint is drying, trace the glass or the wood backing of the frame onto the vellum. Cut the vellum rectangles.

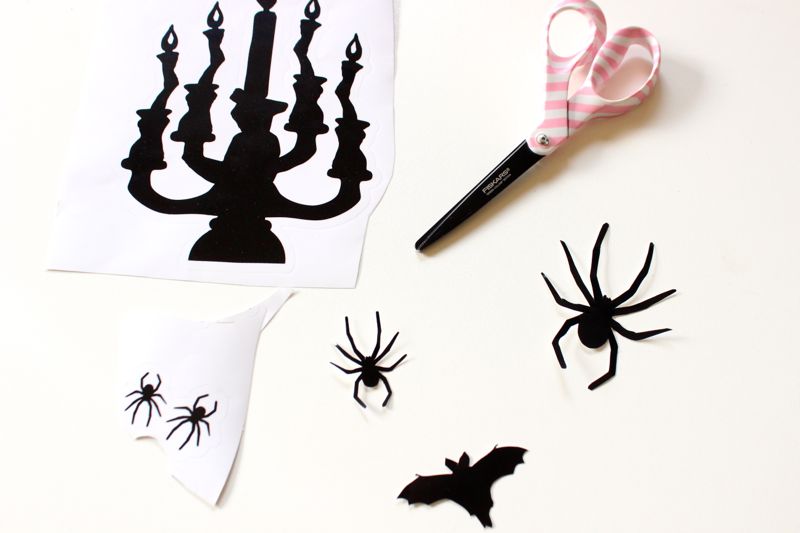
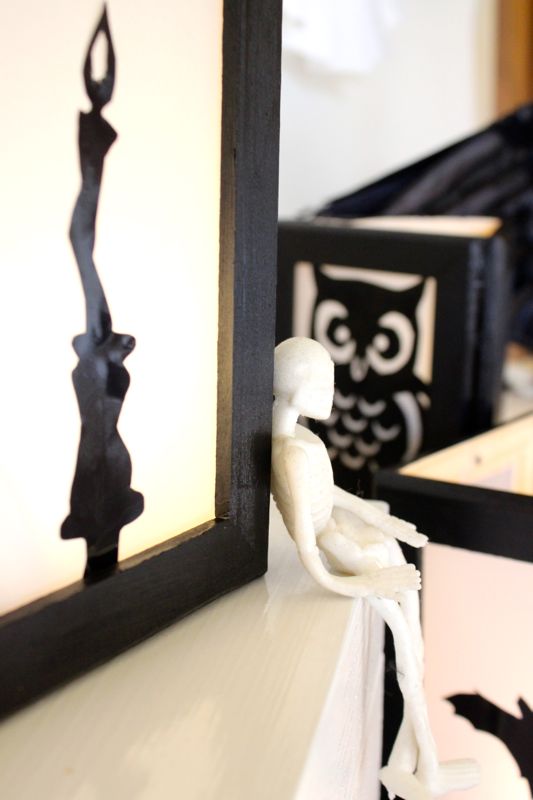
Step 3: Cut the silhouettes. They have a thin border, so it’s best they are cut for a clean silhouette. Some of them are too large for the frames, so they need to be trimmed, or pieces of the silhouettes need to be used. For example, instead of using the entire candelabra, we just cut each individual candle. For extra stick, add glue to the back of the stickers before pressing them into the center of the vellum rectangles.
Step 4: Once the frames are dry, flip them over and use a hot glue gun (or Elmer’s glue) to glue the vellum along the inner frame.

Step 5: Now it’s time to glue the frames together to make lanterns. We made some 3-sided lanterns, and one 4-sided lantern. To do this, patiently hold it up to have an idea of where the glue will need to go, and begin to glue side by side. You will need to hold the frames in place for a couple of minutes, then the glue holds it until it fully dries. If you don’t have patience for this, hot glue will work just fine. After the glue has dried, touch up the sides with black paint to cover up any glue.

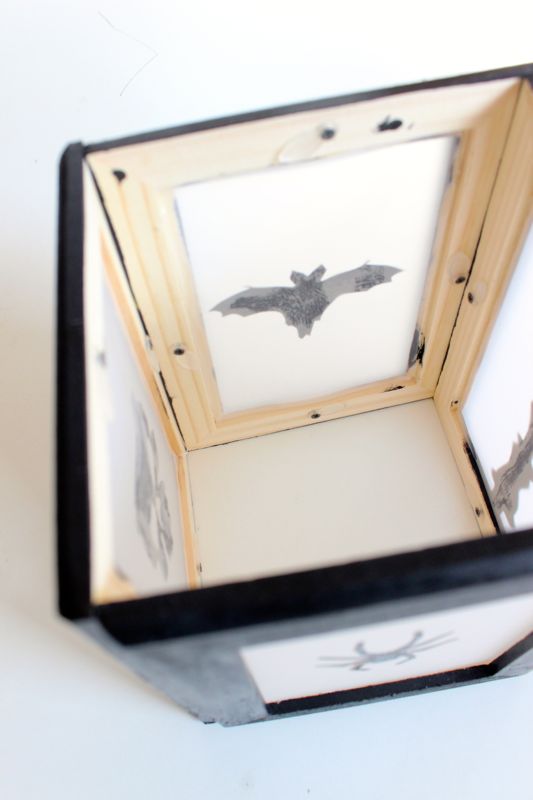
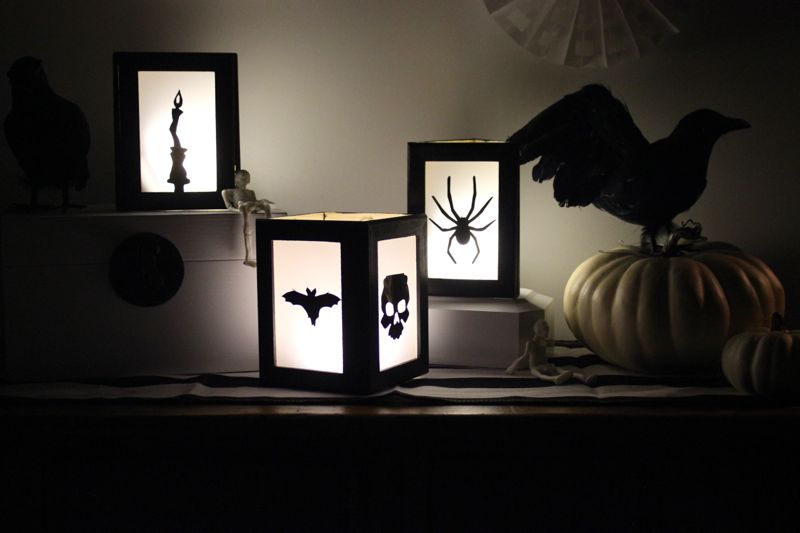
Step 6: Once the lanterns are dry, set them up with lights in the middle. Once the sun goes down, light them up. For a complete “look”, don’t forget the black and white runner, pumpkins, skeletons, spider web fans and crows.


Oriental Trading sent us some items of our choosing for this post, free of charge. We’re so happy they did! All opinions are honest, and our own. No other type of compensation was received. Thanks for supporting the companies that support j. sorelle. We love Oriental Trading, even before this post.
Speak Your Mind