
O Christmas tree, o Christmas tree, How lovely are thy branches. It’s the common Christmas question, do you decorate a real tree or fake tree at Christmas time? We are team fake*. We grew up with a fake tree. It’s prettier (more full), easier and less messy. Plus it actually holds ornaments.
Our team fake comes with an asterisk now, because Jessica has had a real tree for 11 years; approximately the exact time frame she’s been married. We all know that marriage is about compromise, and Jessica just didn’t win that battle. So, every year her hubby treks (with the kids) to find and cut down the tree. Sometimes it’s pretty, other times it’s Charlie Brown-ish. The tradition has been established now, and we’re a sucker for a good tradition. Even Jessica has taken a little liking to it, now, and joined the adventure this year.
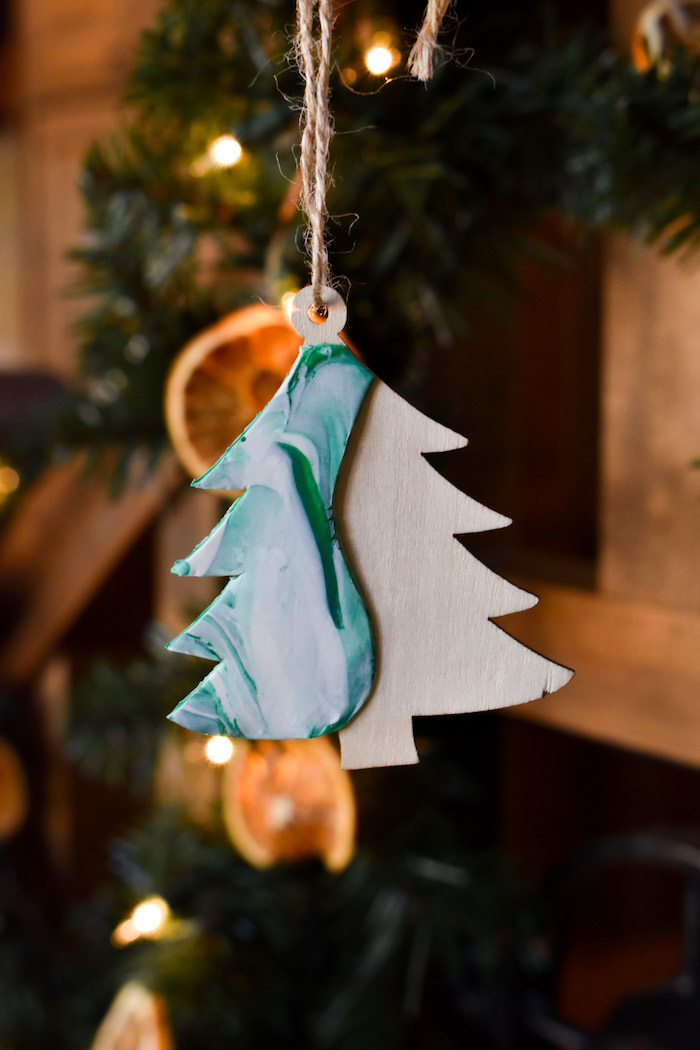
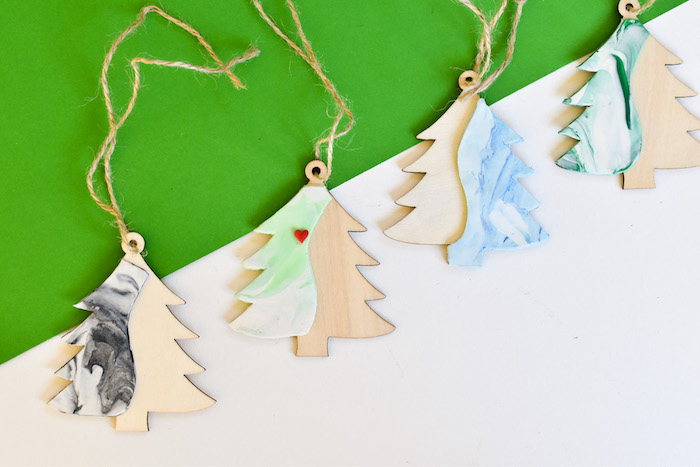
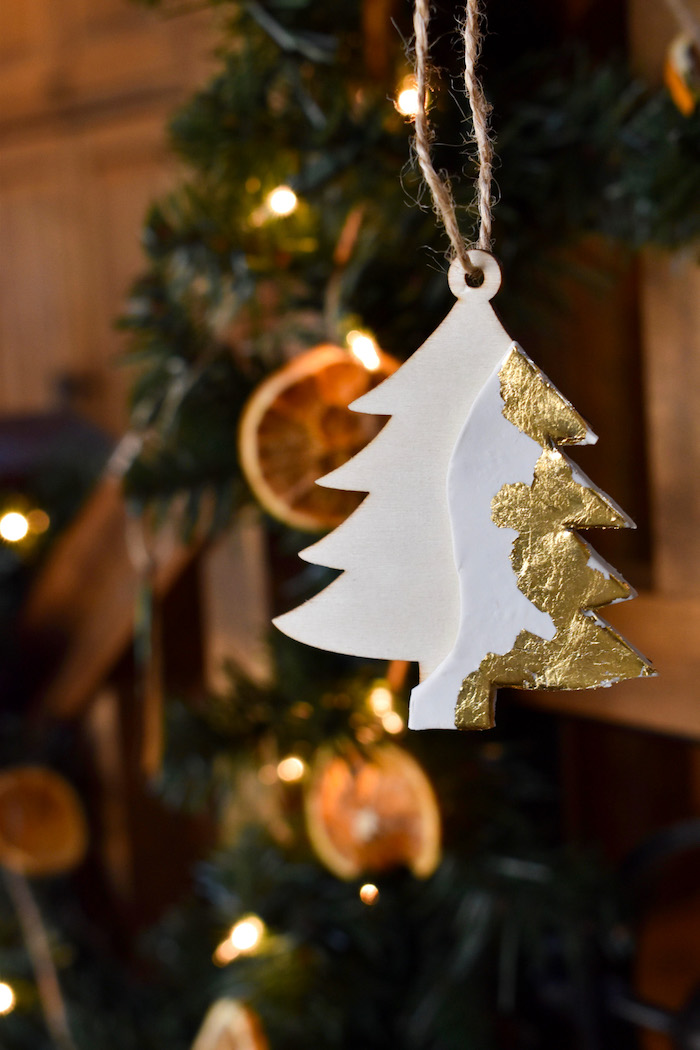
Their excursion to find this year’s tree inspired this DIY craft. No, our actual tree doesn’t look like these modern DIY tree ornaments, but Christmas trees are so magical and so symbolic, we wanted to create a “tree” of our own. With a little clay and wood tree shaped ornaments, this tree is a pretty ornament to hang from any Christmas tree.
Take time to appreciate the tree in your house, the traditions you have, and the memories made around it each and every year. And if you want, take time to make these mini ornament trees, too. You can make a day of it – craft cool trees with clay like we did, or use acrylic paint, glitter, mini pom poms or whatever you want. Get the kids involved, too! They take pride is making ornaments they can display on the tree, and see year after year.
DIY Modern Christmas Tree Ornament
Materials:
- Wooden tree cutouts (you can make 50 ornaments for under $25)
- Polymer Clay (white, a small Sculpey set, or these colors for a marbled look)
- Gorilla glue, the non-foaming kind (it makes a world of difference to not have to deal with the foam)
- Card stock paper
- Sharp cheese-cutting knife or plastic clay knife
- Rolling pin
- Parchment paper and baking sheet to bake the clay
- Chip clamps (or something to clamp the clay to the ornament for a couple hours)
Directions:
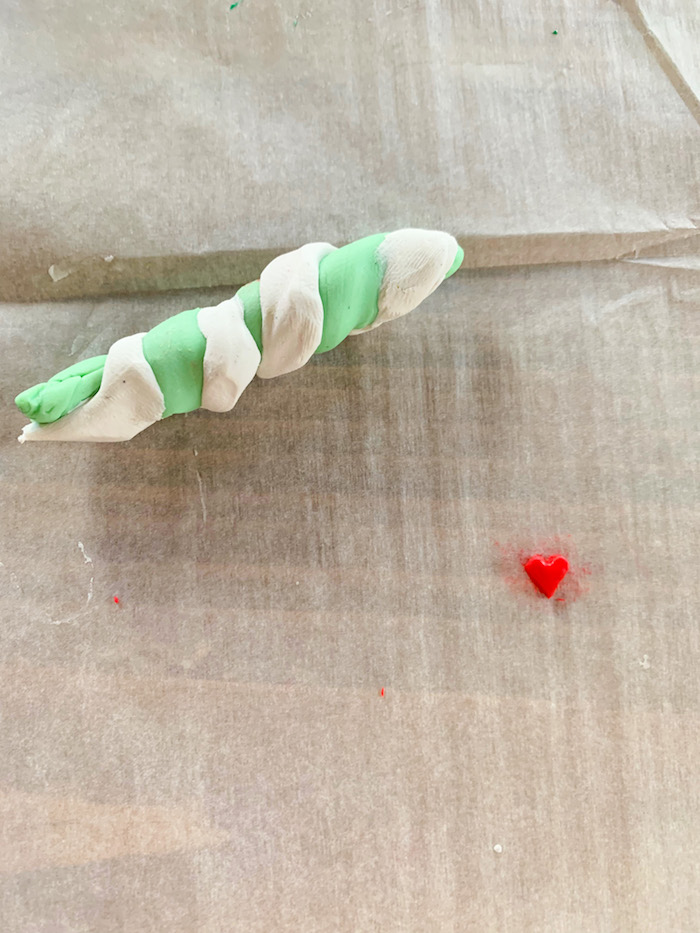
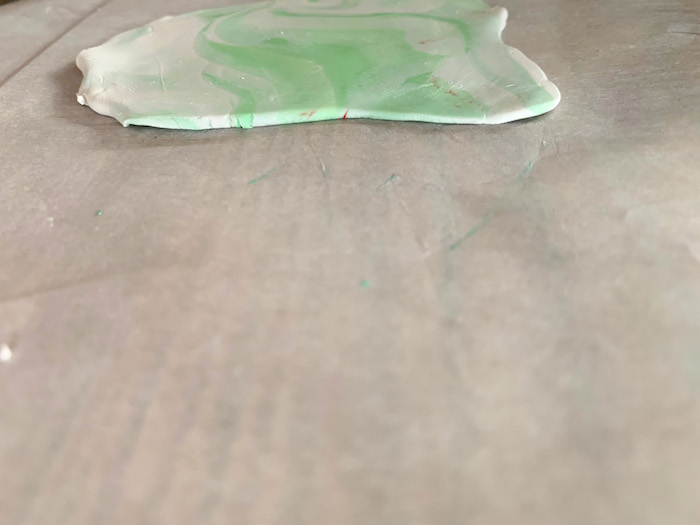
Step 1: For marbled trees, first roll out thin lines of clay (like worms). Combine the worms together, and fold them into one another. Roll out the clay. This should be thin, no thicker than the thickness of the wooden tree. If you want just white or one color, you do not need to roll them into thin lines or “worms.”

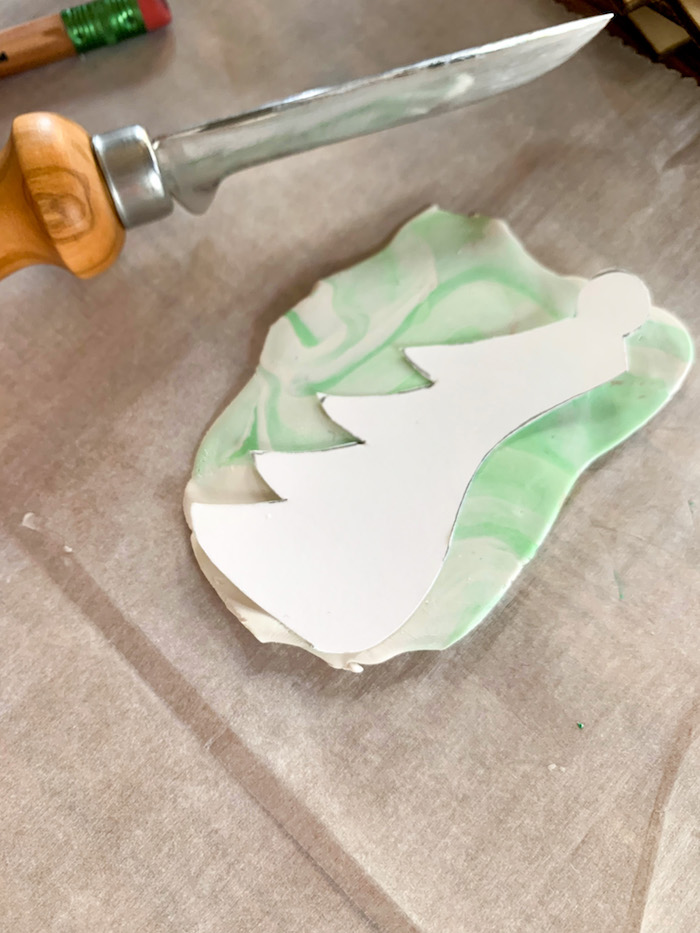
Step 3: Trace the wooden tree on card stock paper, and cut it out. Now, add a fun curve in the middle of it. Cut along the curve. You should have two trees. In fact, it would be fun to make this be a BFF ornament for best friends and split the tree in the middle – one friend gets to keep one half, and the other gets to keep the other half.
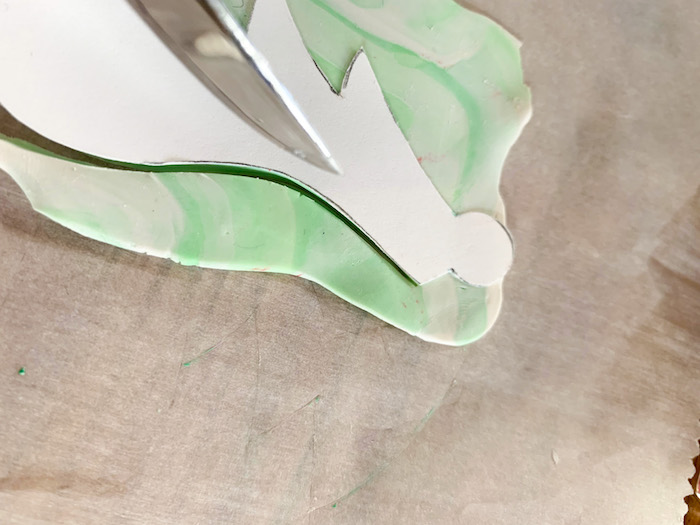
Back to the craft; add the traced paper tree, on top of the rolled out clay, and use a sharp knife, edge or Xacto knife to cut it along all the edges. Once you have the shape, carefully move it to a cookie sheet lined with parchment paper. Bake them according to directions. We baked them at 325 for 10 minutes. If you used non-bake clay, no need to bake then. If you want to make sure the shape fits perfectly, you can set the non-baked clay on the tree before you bake them to cut any additional edges for a clean look.


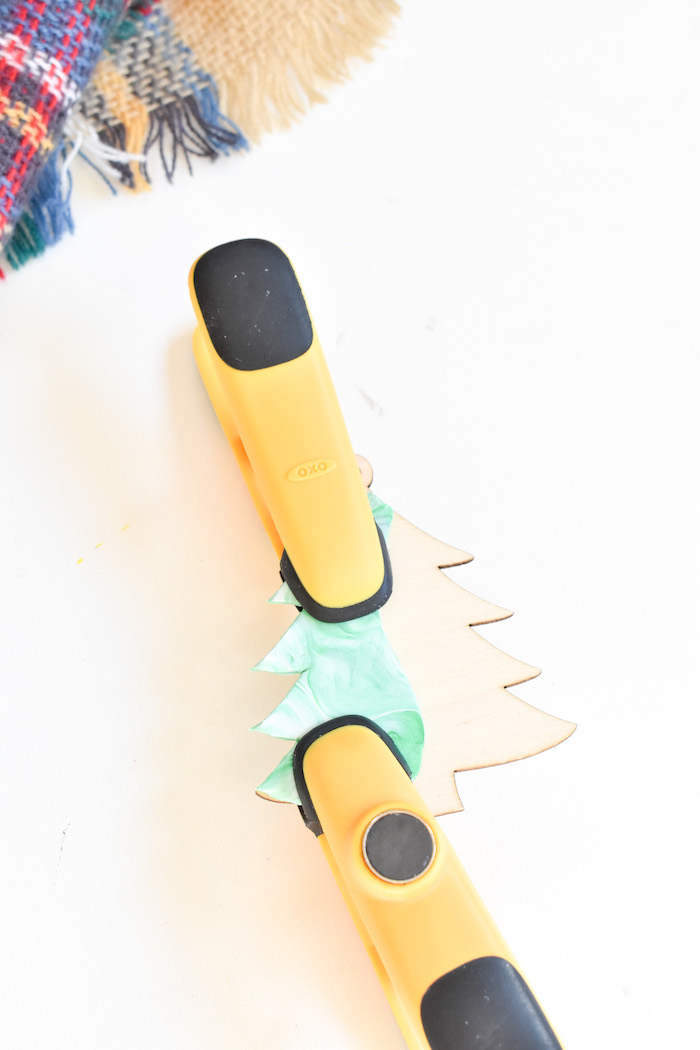
Step 4: Dampen half of the wooden tree with water (the part you are going to glue the clay on), and add Gorilla glue to the back of the clay. Press it gently but firmly into place. Add two chip clamps so the edges are pressed into place and there are no gaps. The directions say to do this for 14 hours. We waited about 5-10 hours for each one to set.

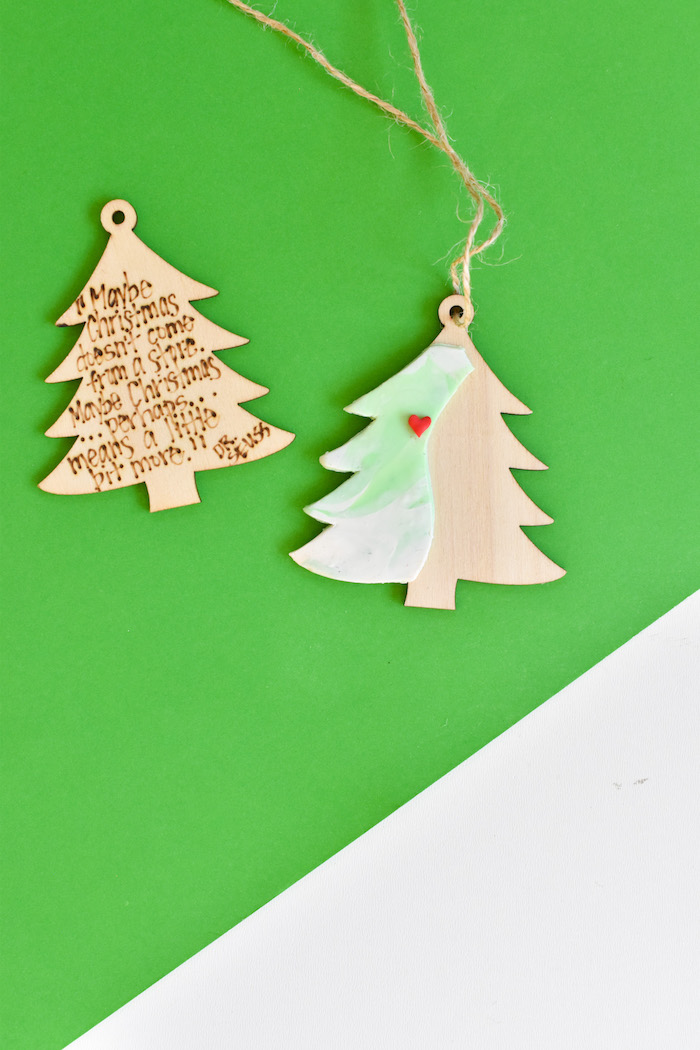
Step 5: Add the twine, and hang. We made a grinch-themed Christmas tree with a red heart, and added the famous Grinch quote on the back with a wood burner. You can add any note on the back of the tree with a wood burning tool (available here for $15) or a marker paint pen.
Merry Christmas, everyone! We hope you find joy this season.
* this post contains affiliate links. Thanks for supporting our blog. It means the world to us.
Speak Your Mind