Paint Scrape Your Way To Beautiful DIY Colorful Coasters

DIY-PAINT-SCRAPE-COASTERS

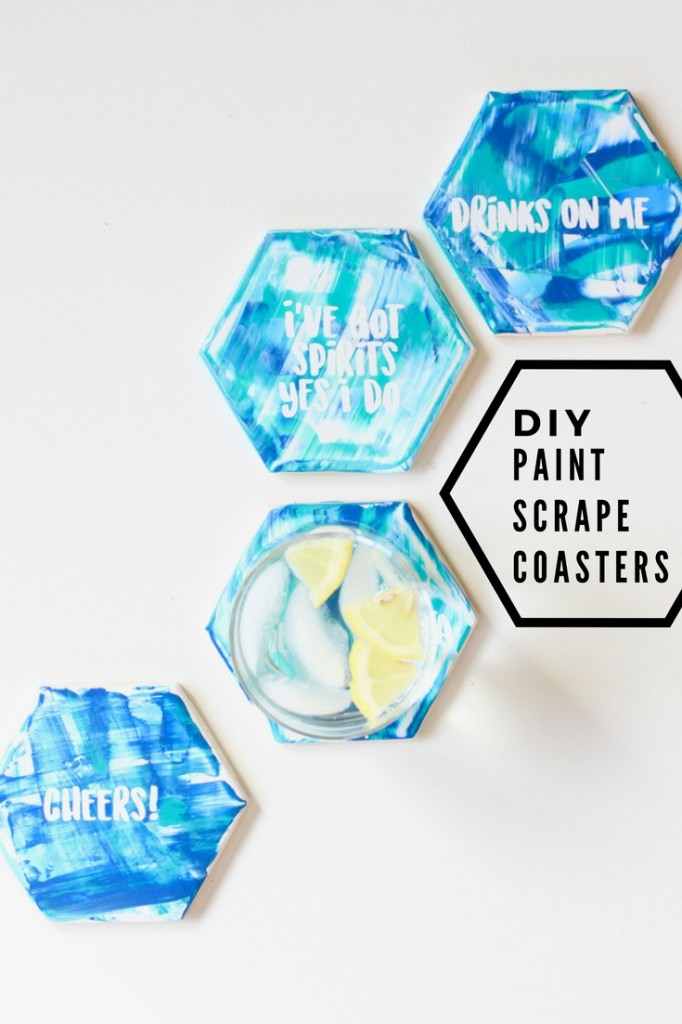
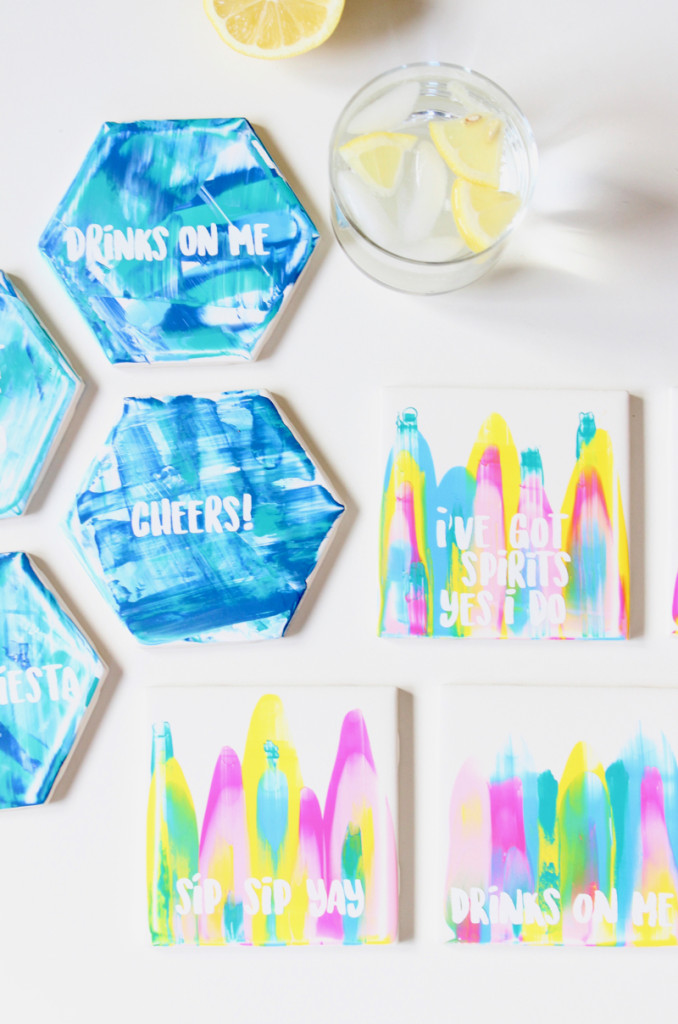
We had some white tiles from The Home Depot just sitting in our garage collecting dust. With some acrylic paint and a scraping tool, aka old credit card, they got a colorful makeover! Now, summer needs to get here so we can put some tropical drinks on our new DIY coasters. Details on how to make these paint scrape beauties are below. They are super easy, and who can resist all that happy color?!

diy-paint-scrape-coasters

Materials:

  • 4×4 white tile, square and hexagon shaped, Home Depot
  • Acrylic paint, Martha Stewart or Plaid Crafts
  • Scraping tool, or straight edge like an old credit card  (and wet and dry paper towel to wipe off)
  • Sealant
  • Cork
  • Gorilla Glue
  • Silhouette Cameo

Directions:

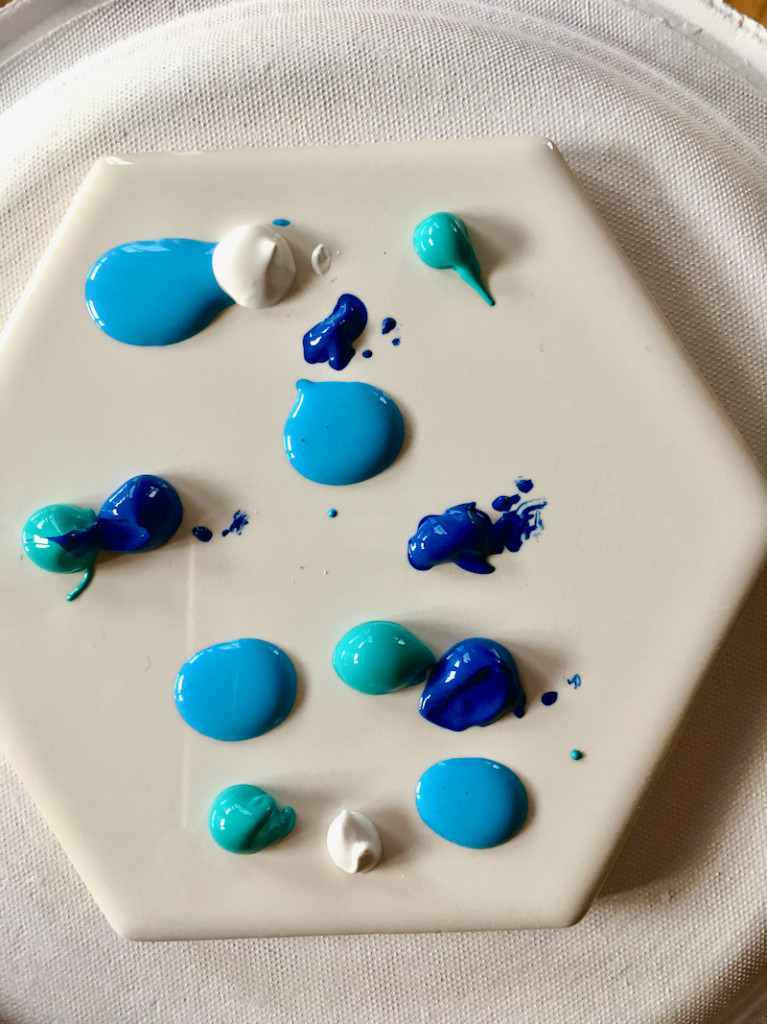
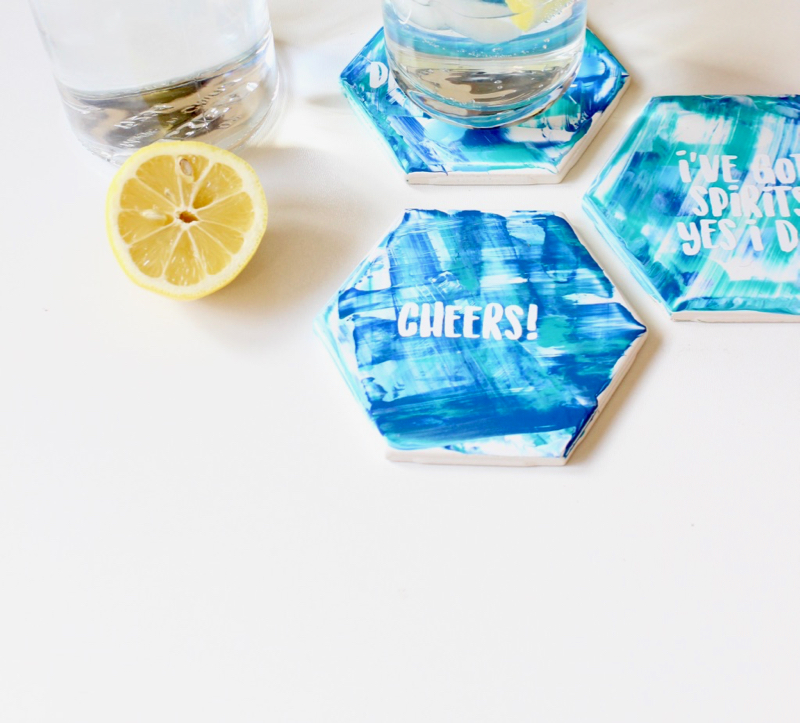
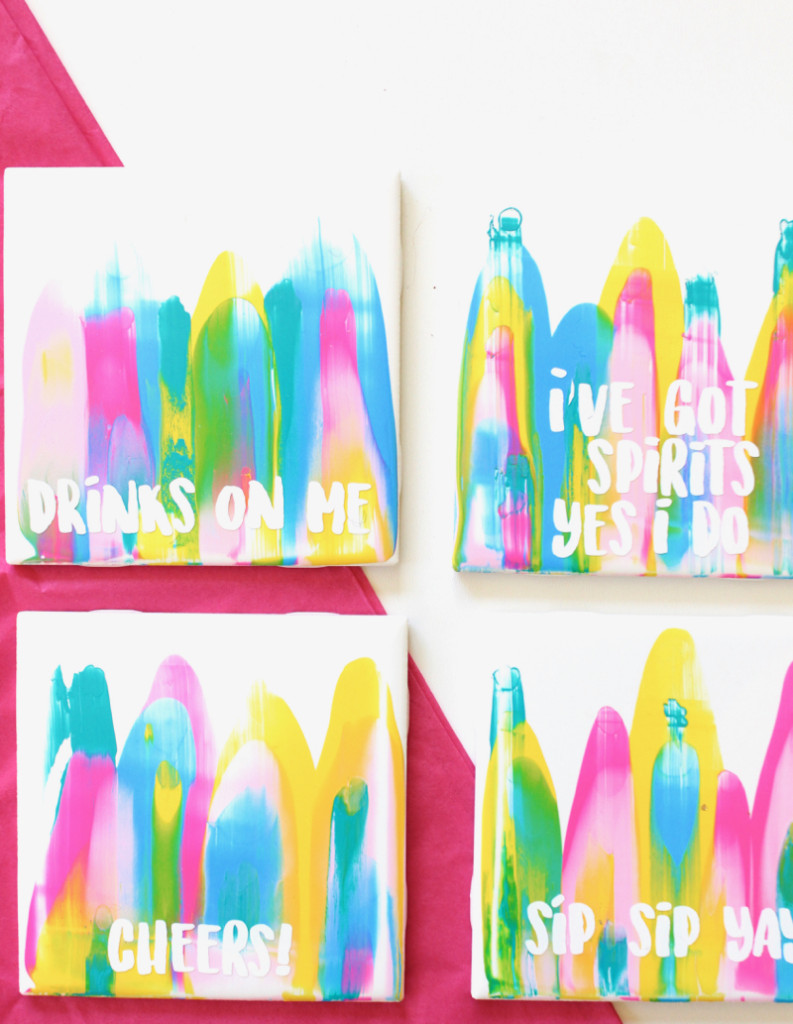
Step 1: Squeeze dabs of paint on to the coaster. For the blue coaster, dab blue and white paint scattered all over it. For the pink, yellow and blue coasters, stagger the dabs of paint along a line 1/4 way down the coaster. You can experiment with a lot of fun colors here!

white tile with blue dabs of paint

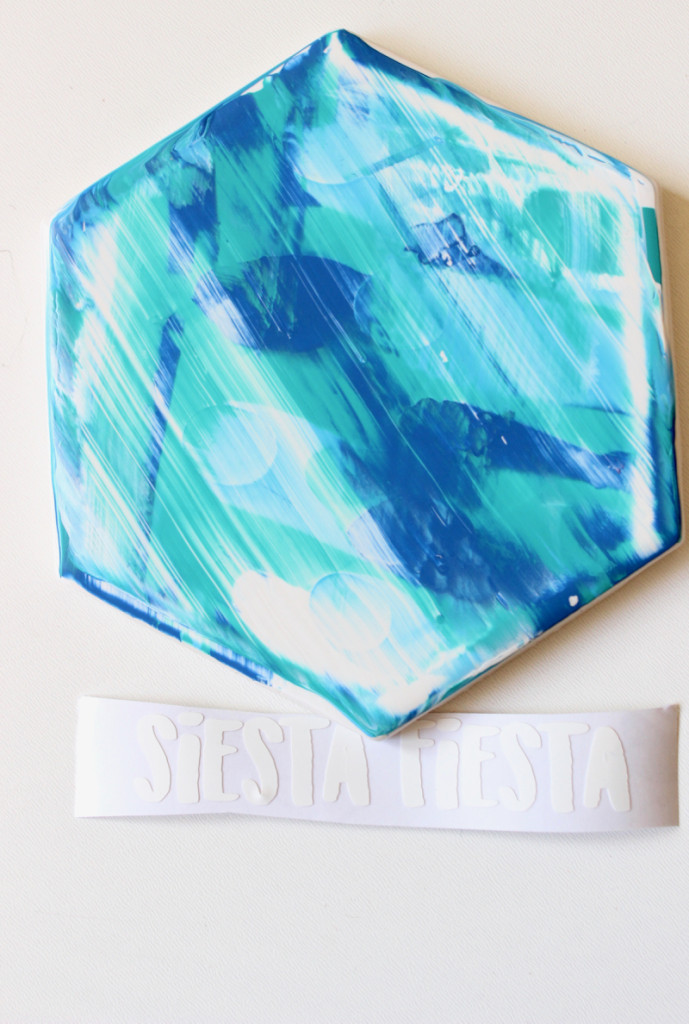
Step 2: For the pink, yellow and blue coasters, place the straight edge above the dabs of paint, and begin to pull down, scraping the colors of paint with it. Once you pull all the paint to the bottom of the coaster, wipe off the paint and scrape another coaster. For the blue coasters fully covered in paint, use the straight edge to pull the paint down, then you can start on another edge of the coaster, and scrape again in another direction with the paint you previously scraped (still on the straight edge).

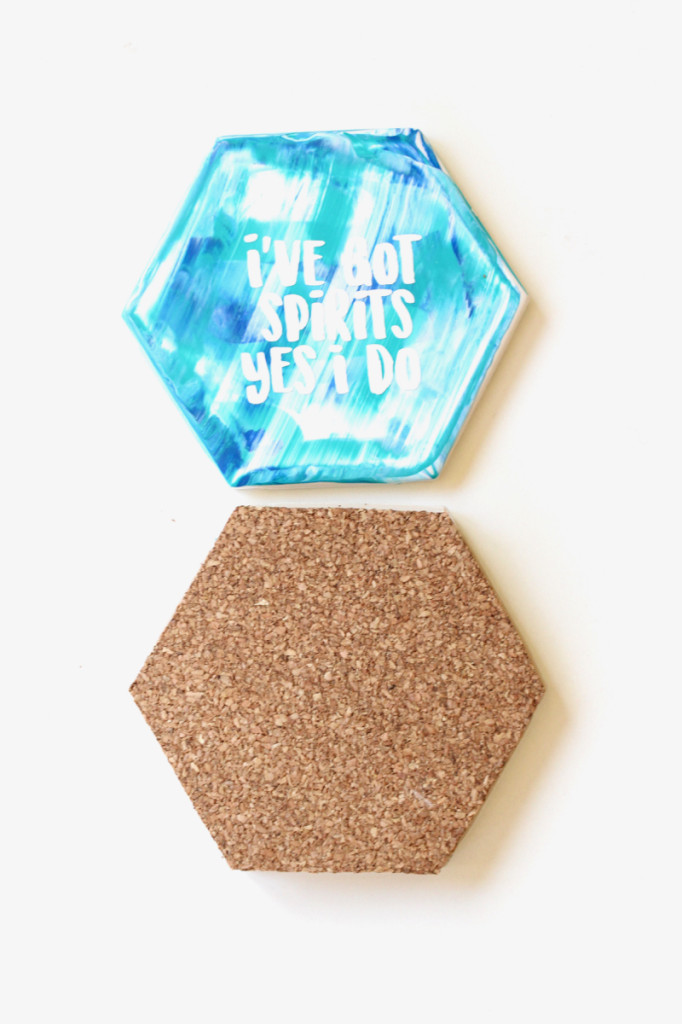
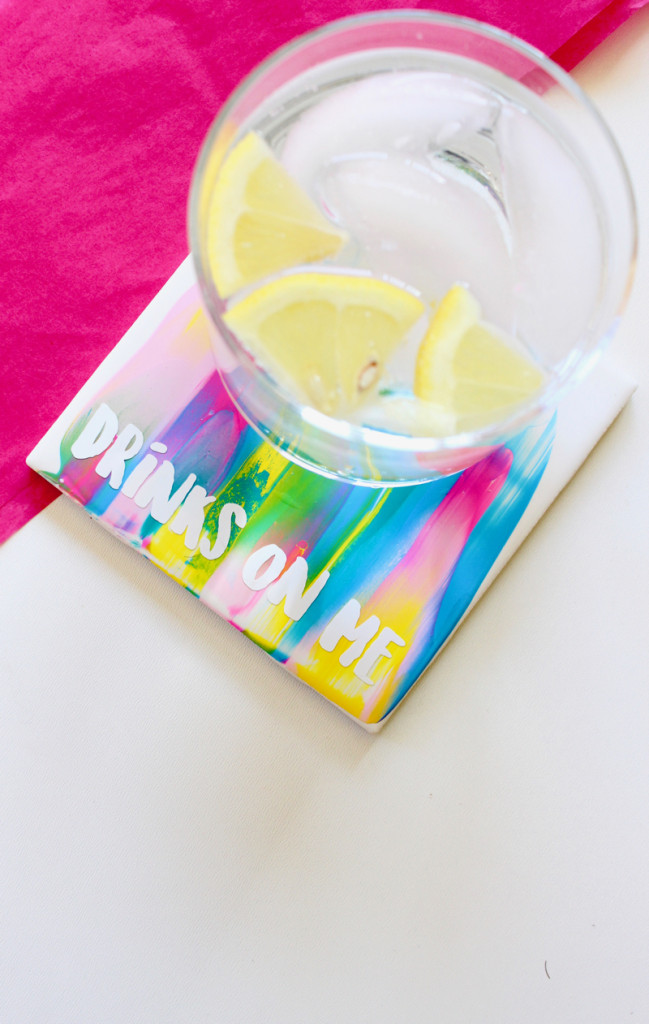
Step 3: Let the coasters dry overnight. Find vinyl letters, or use a Silhouette Cameo to cut white vinyl letters to add fun sayings. We added, Sip, Sip, Yay. I’ve Got Spirits Yes I Do. Drinks On Me. Cheers. 

blue-teal-and-white-coasters

Step 4: Once dry, seal with a waterproof sealant.

Step 4: Trace the coasters, and cut inside the line so the cork is slightly smaller than the coaster. Follow the instructions of Gorilla Glue and glue the cork to the bottom of the coasters.

blue-and-teal-paint-coasters

cheers-blue-white-and-teal-coaster

colorful-paint-scrape-coasters-cheers-sip-sip-yay

drinks-on-me-coaster

colorful-coasters

SHOP THE POST
[show_shopthepost_widget id=”3099510″]

Affiliate Disclosure: This post contains affiliate links, which means j. sorelle receives a small commission from the sale of certain items; however, the price is the same for you, whether it’s an affiliate link or not. 

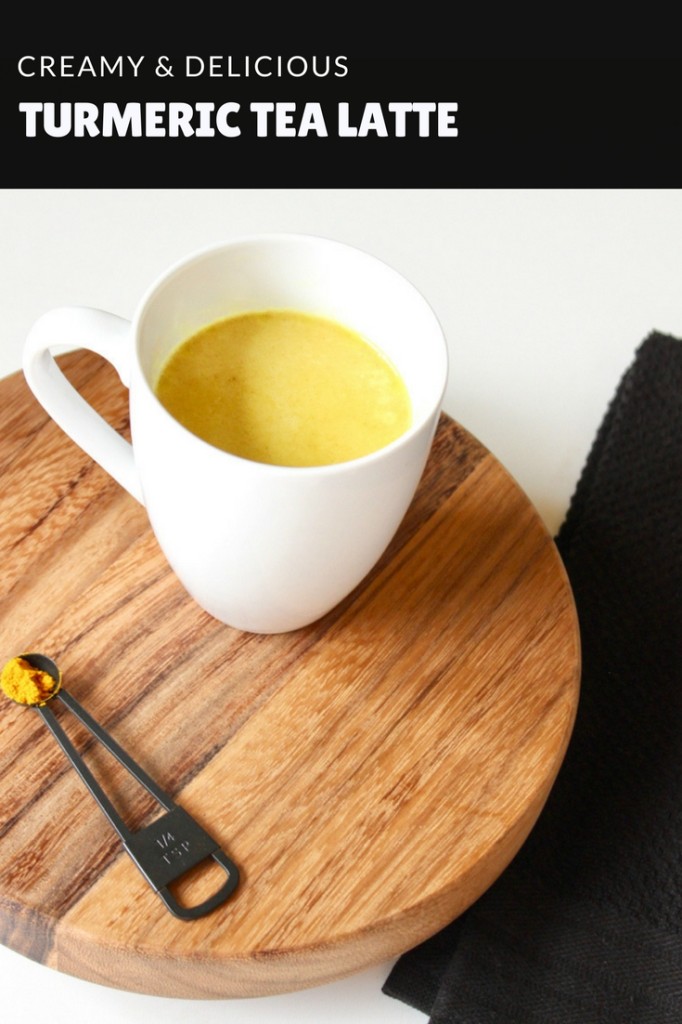
Dairy-Free Turmeric Tea Latte

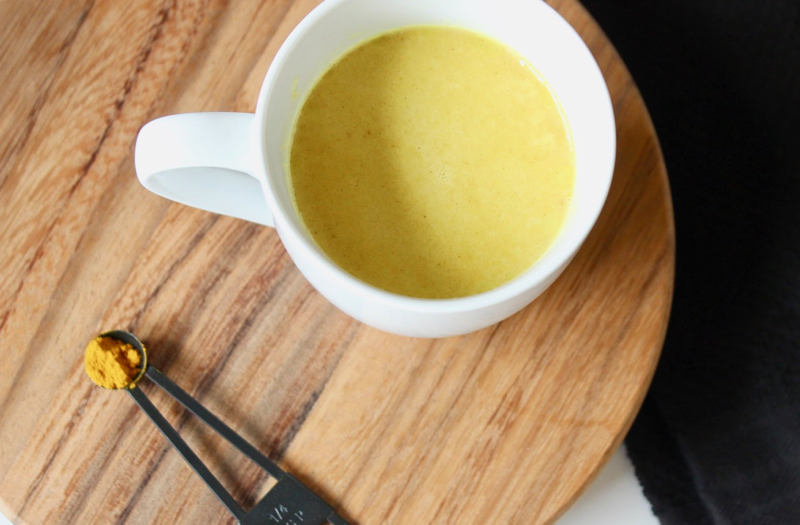
turmeric tea latte

Our mom has been preaching about the anti-inflammatory and antioxidant benefits of Turmeric for years. Well, mother knows best again, because lately we’ve been reading about all the benefits of that golden spice. According to studies, the properties of Turmeric (it’s most active component being Curcumin) is beneficial for brain and digestive health, improving cardiovascular health, and boosting immunity.

About one year ago, Jessica started adding Turmeric (a couple shakes), a pinch of Black Pepper, 1/2 teaspoon Coconut Oil, and Half and Half (just can’t seem to give up that bit of cream) to her coffee every morning. It’s a morning cocktail inspired by our mom. The black pepper seems like an odd spice in the coffee, doesn’t it? Well, your body can only use a small portion of the Turmeric you consume, which somewhat limits the full potential of it’s healing properties. Black pepper contains piperine, which helps the body fully consume the Turmeric in the body.

We found a new way to incorporate it into our nightly routine with a dairy-free, creamy and delicious turmeric tea latte. It’s so good! It’s so easy to make, plus it boasts healing benefits we feel good about putting into our body.

Ingredients:

  • 1/2 teaspoon Navita’s Organic Turmeric Powder (we bought it from Whole Foods)
  • 8 ounces Organic Soy milk, or nut milk (almond or cashew)
  • 1 teaspoon honey
  • 1/4 teaspoon ground cinnamon
  • 1/8 teaspoon ground ginger
  • 1/2 tsp coconut oil
  • pinch of black pepper (helps the absorption of turmeric)

Directions:

Mix all the ingredients in a saucepan on the stove. Use a whisk to mix as it heats up. That’s it!

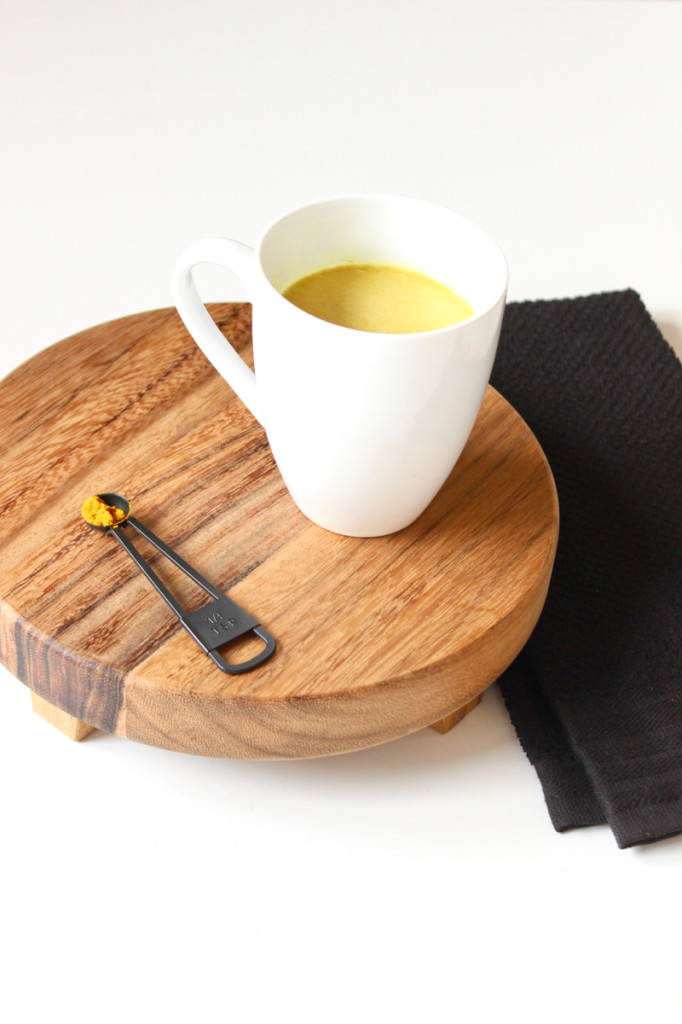
turmeric tea latte

IMG_3584

Take the time to learn more about Turmeric, and how it can benefit you, and if necessary, consult a doctor if taking other medications. 

Get Ready For Swim Season With The Best Women’s Swimwear

funny-quote-about-swimwear-working-out-summer-suits

Whether you’re ready for swim season or not, it’s here. Our minds are so ready, but our bodies are not quite there yet. Our bodies are, as Alison from The Alison Show recently (and lovingly) said about her own body, “squishy.” Yes, we are also squishy.

As women (and moms) we are relentless on our bodies ALL THE TIME to look like the models on the cover of magazines and women we see everyday on our social media feeds. They are beautiful, but so are you!

Yes, working out is good for physical and mental health, and we highly recommend it. Eating healthy is good for our immunity, and overall health, so we do our best to make smart choices. But, at the same time, we have to accept the God-given beauty that is our own. We have curves. We have small boobs. Sometimes we love to eat potato chips after a healthy salad. We will never have long, runway ready legs. We have smile wrinkles around our eyes. We have scars. We have given birth to beautiful babies. We are amazing.

Alison continued, “So, gimme a (high-five emoji) if you promise to reassign the energy you spend hating or being hard on your body TODAY, tomorrow, hell forever, to thinking of way to make your home, neighborhood or community a more loving place. And, I promise to do the same. LOVE AND SQUISHINESS TO ALL OF YOU!”

What do you say to that? You in? We are! Work on all your self-love (and love others around you), and hopefully you’ll be more confident for swimsuit season! When you’re ready, we’ve rounded up some of our favorite swimsuits of the season.

Make a splash at the pool, or beach this year!

girl-at-the-splash-pool

[show_boutique_widget id=”697022″]


The links above are affiliate links, which means at no extra cost to you, we may earn a small commission if you click through and make a purchase. 

Walk On The Wild Side With A DIY Zebra Rug

diy-zebra-rug-inspired-home-decor-pop-of-orange

Do you walk on the wild side sometimes? When Jessica was in High School, she got on a wild streak with her room decor. Her room was bold with tiger and cheetah prints! No, it was not manageable splashes of the animal print – it was an entire comforter, large pillows, bath towels and a rug. We all go through periods in our lives, and sometimes look back and say, “What in the world was I thinking?” This is one of those periods.

We hope this isn’t one of those moments, but after seeing many expensive zebra rugs online, we decided to walk on the wild side once again and make an affordable version of the zebra rug. We like the way it turned out, and happy we paid less than half the prices online.

To see the full tutorial, visit a site we love, Momtastic.

DIY Lip Balm Pouches Just In Time For Valentine’s Day

diy-lip-balm-in-red-and-pink-pouches-with-hearts

We love our essential oils, and one of our favorite goodies to make with our oils is DIY lip balm. Our lips are so dry in the winter, plus we love when we can put pure ingredients on our lips. Valentine’s Day is coming up, and for those that want kissable lips, or want to give a gift of kissable lips, we recommend DIY essential oil lip balm.

Read our DIY lip balm tutorial for the ingredients and instructions. To jazz it up a bit for gift giving, make a cute holder for it – a DIY lip balm pouch. It’s almost like a lip balm sleeping bag. It’s a cute DIY that can be made into all shapes and sizes. We made heart-shaped pockets to hold gift cards for teachers. You can also make DIY felt pouches to hold tissues, treats, and even larger pockets for photos and sweet notes.

This DIY project is incredibly easy. Here’s how we did it.

Materials:

Directions:

Step 1: Cut felt (we bought a pretty library of felt from Target, and it’s thicker than traditional felt, which worked well) into a rectangle larger than the width of the lip balm tube.

red-pink-felt-with-pink-hearts

Step 2: Once you have the pieces cut, thread a needle (don’t forget to tie a knot on the end), along the edges of two rectangles that are lined up. We do not have any sewing skills whatsoever, and we did it! Just go in and out of the felt, which will create a cross stitch pattern. Leave the top of the rectangle open so you have an opening for the lip balm.

diy-lip-balm-pouches-red-pink-felt-craft

diy-lip-balm-in-red-and-pink-pouches-with-hearts

diy-lip-balm-in-red-and-pink-pouches-with-hearts

Hope you find a way, even if it’s a wave or hug, to spread the love on Valentine’s Day!

SHOP THE POST:
[show_shopthepost_widget id=”3022995″]