Pins! Pins! Pins! We’re not talking about pins on Pinterest, although we love a good pinning session. We’re referring to trending pin accessories everyone likes to wear on apparel such as jean jackets, and totes. We’re finally getting in on all the pin action. We got really pin happy with rainbows and cacti for a recent DIY pin post for Momtastic.
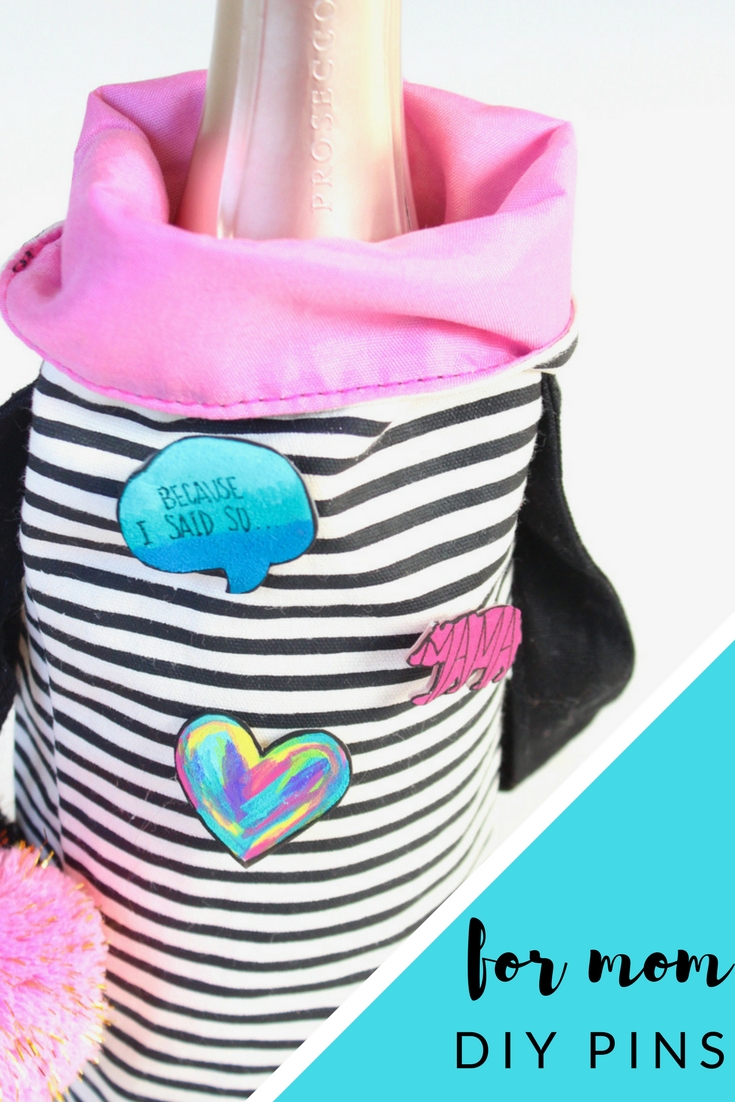
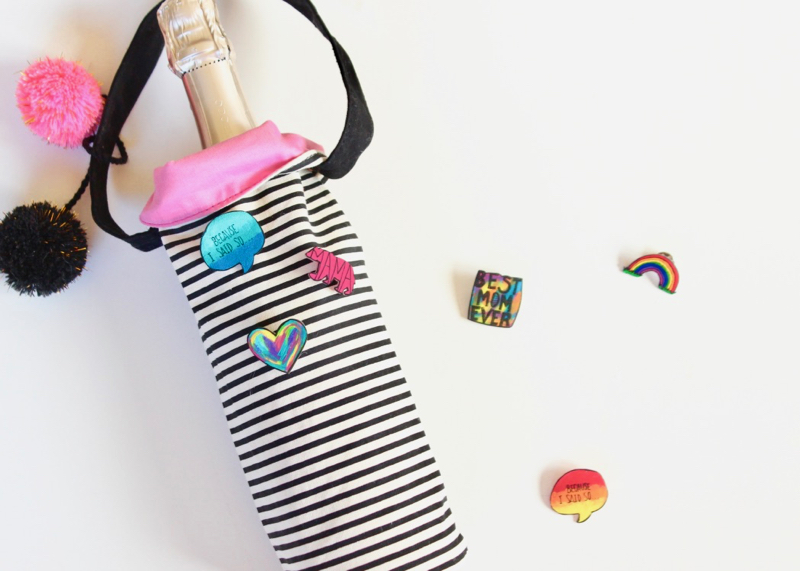
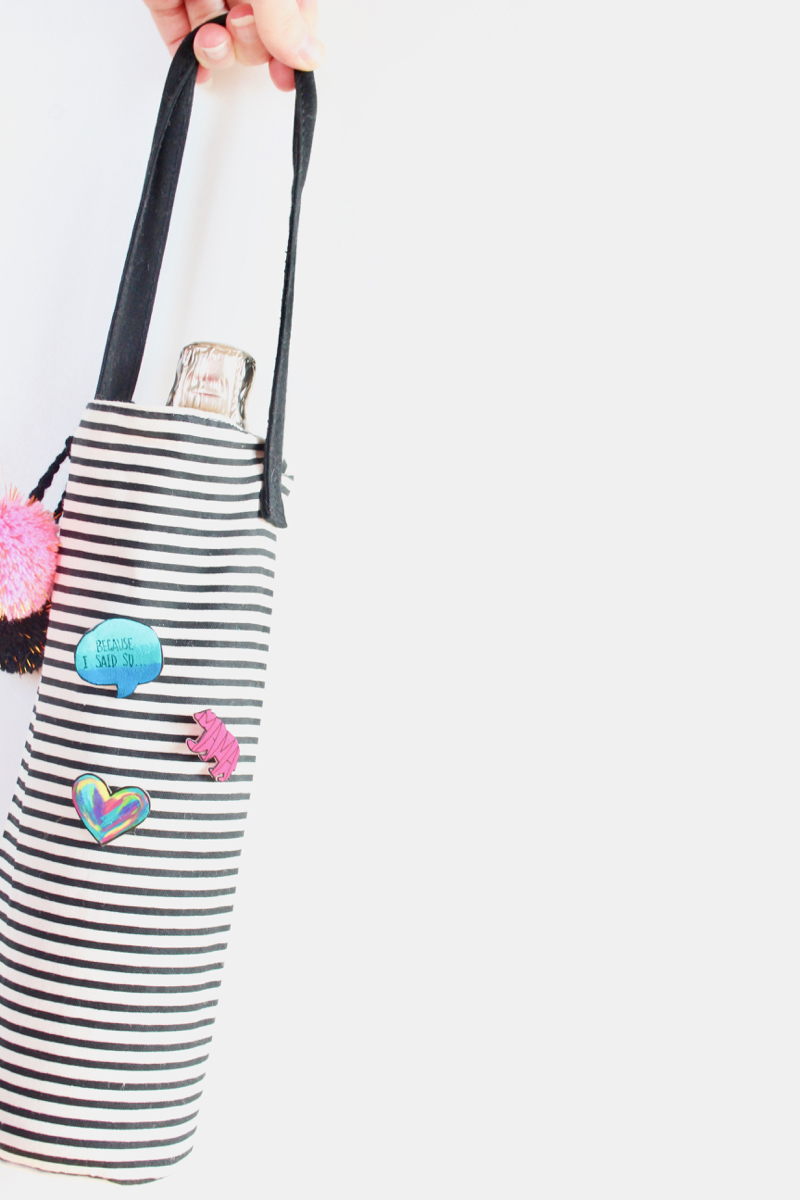
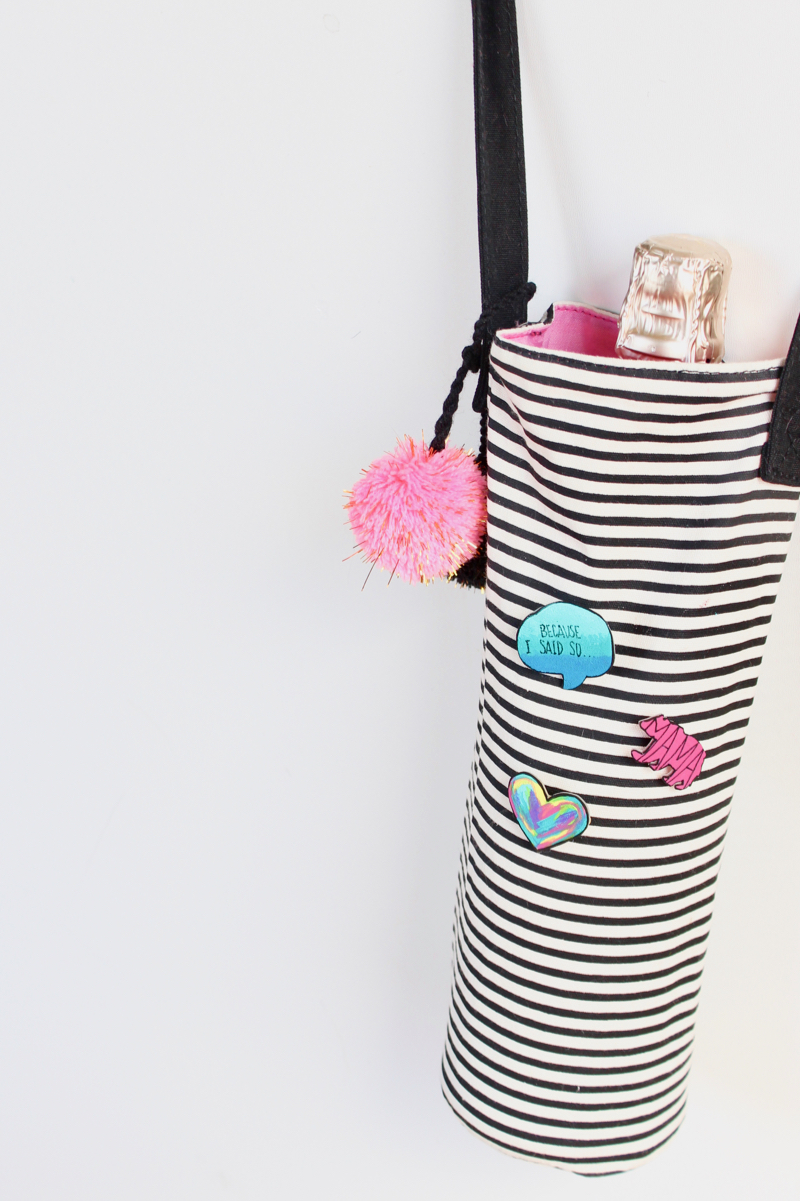
With Mother’s Day is coming up, we’re making DIY pins for our amazing mother, and all the special mothers in our life. These pins are great DIY gifts for kids to make for moms and grandmothers. We know we would love a cute black and white striped bag (Target’s Bullseye’s Playground), decorated with homemade pins, and a sparkling bottle of Prosecco inside on Mother’s Day.
Materials:
- Shrink Paper
- Sharpie Markers
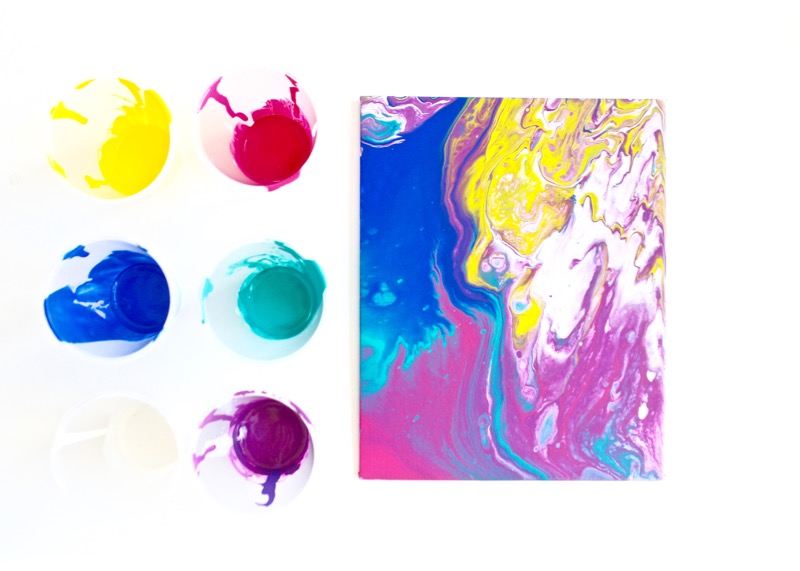
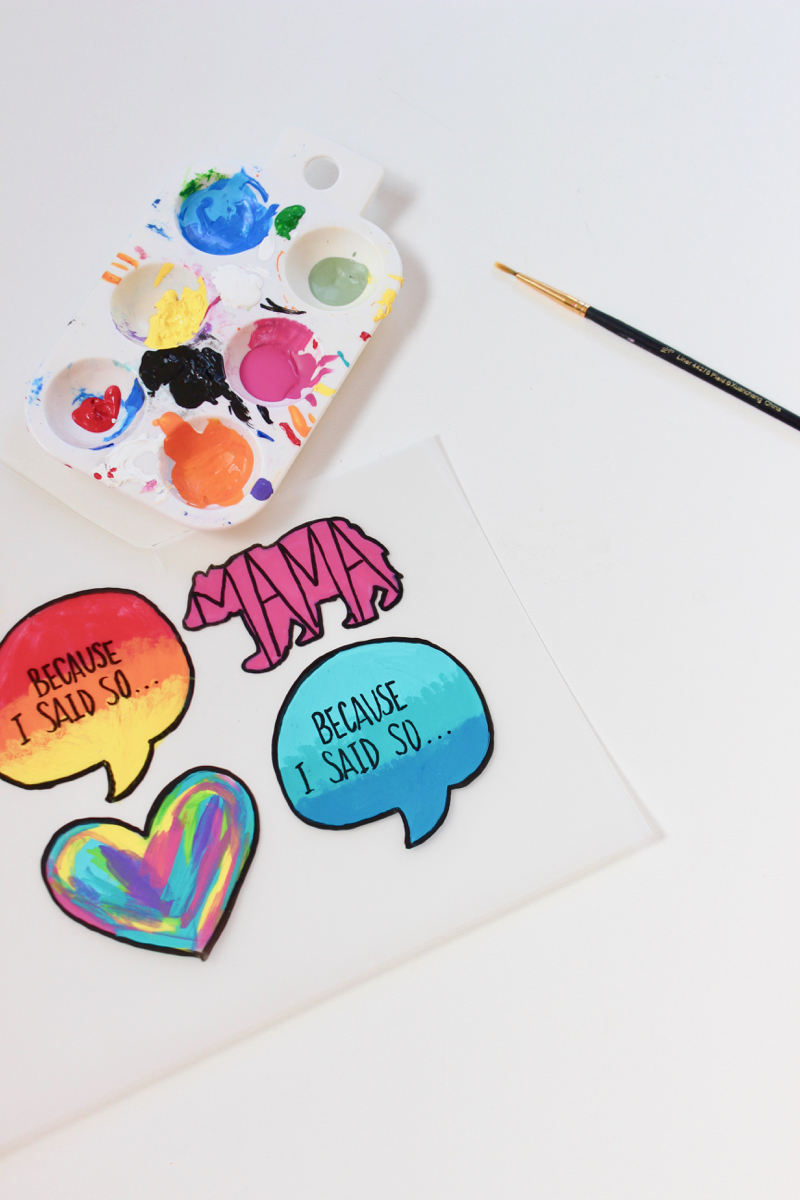
- Acrylic Paints
- Scissors
- Parchment Paper
- Oven
- Paintbrushes
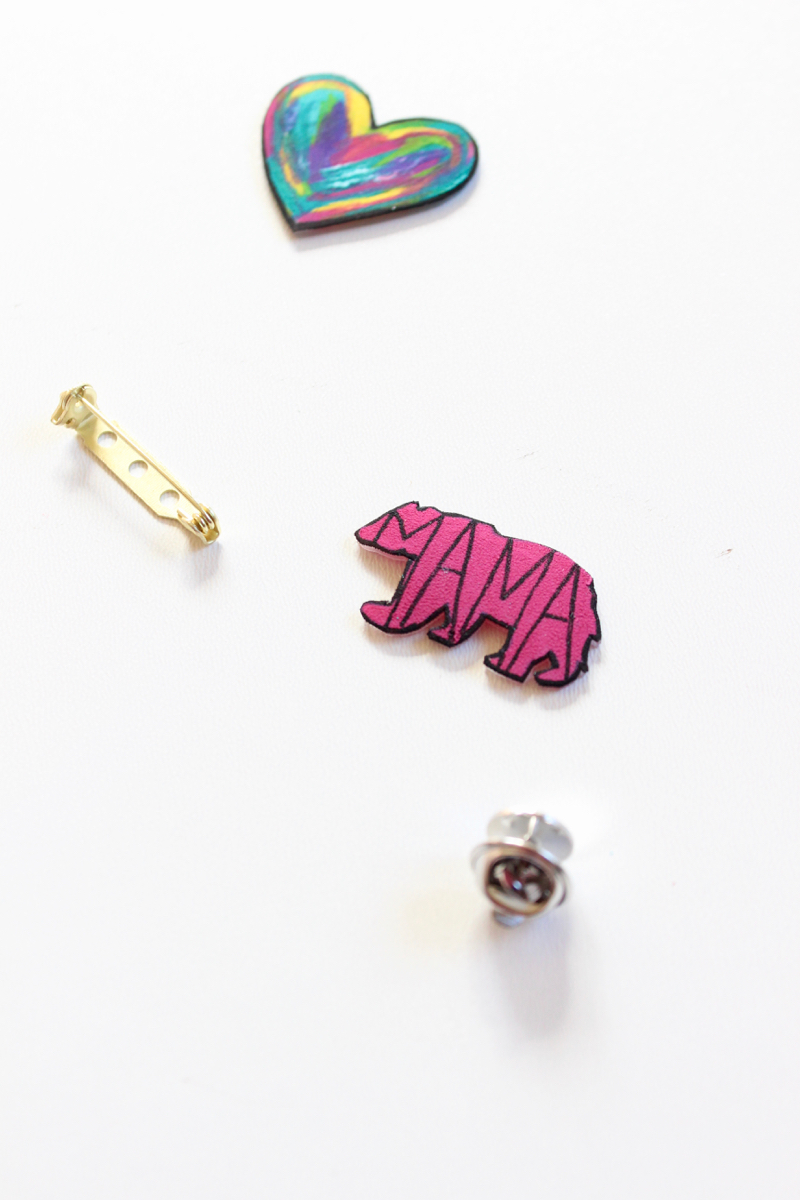
- Pin backs
- Restaurant turner, or spatula
- Hot glue fun
Visit Momtastic for the tutorial. The pins are different, but the directions are the same. There are very important tips we shared because it was a bit of trial and error for us.
Jenna made a free printable for us to trace for Mother’s Day pins. You can download it here FOR FREE.


Happy Mother’s Day and happy pinning!
SHOP THE POST
[show_shopthepost_widget id=”3103911″]
Affiliate Disclosure: This post contains affiliate links, which means j. sorelle receives a small commission from the sale of certain items; however, the price is the same for you, whether it’s an affiliate link or not.