DIY Salt and Pepper Shakers

salt-pepper-kitchen-heart-initials-valentine-kitchen-diy-love-hostess-gift

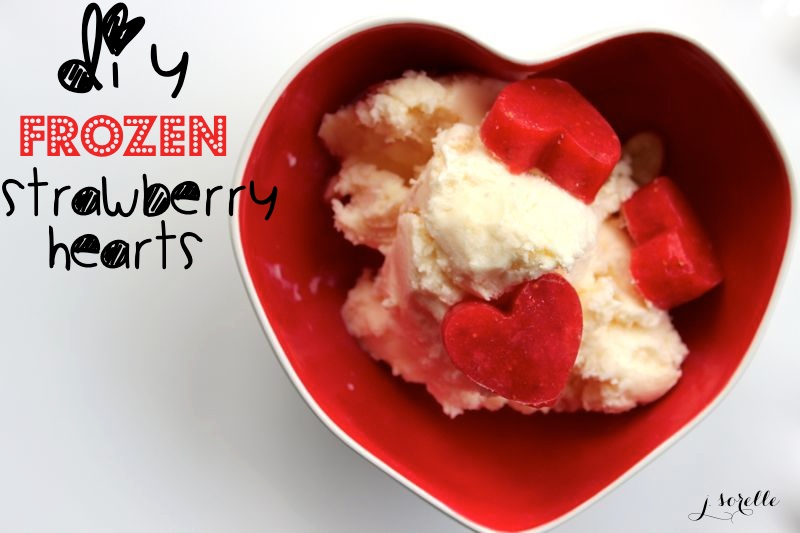
We just can’t get enough of that crazy little thing called LOVE this Valentine’s Day.

This DIY tutorial brings us back to our teenage, high school days when we wore split heart necklaces. You know, when you wore one half of the necklace that said Best, and your bestie wore the other half that said Friend. Well, we have matured {ever so slightly}, so we revised the split heart trend. This time, we are not wearing it around our necks, we are shaking it in our kitchens.

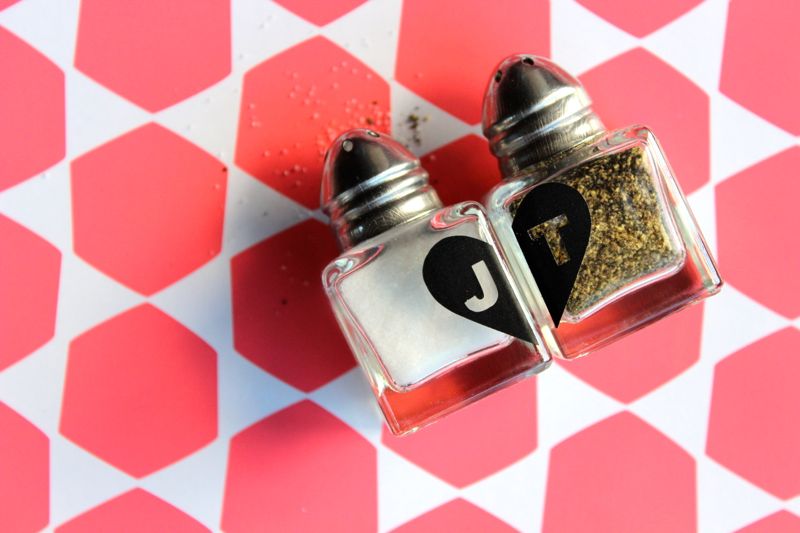
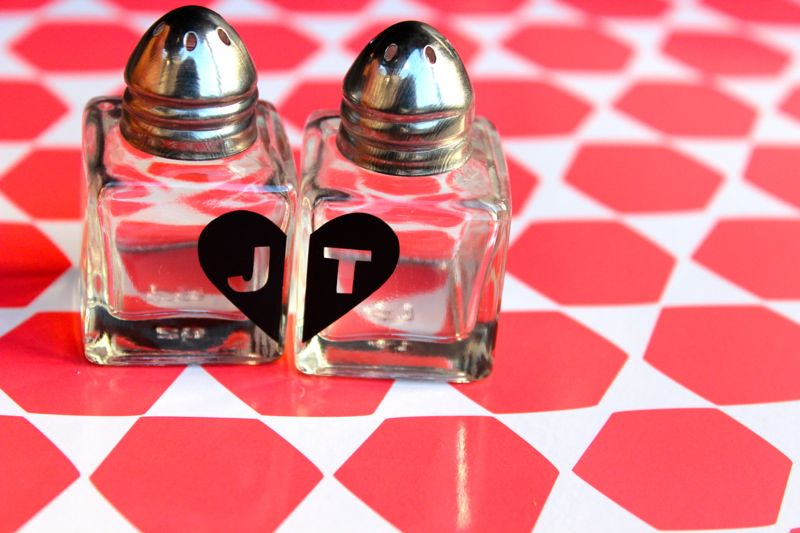
Shaking it with mini, personalized salt and pepper shakers.

Separately the shakers look like two half hearts with initials…

heart-valentine-diy-gift-love-salt-pepper-hostess

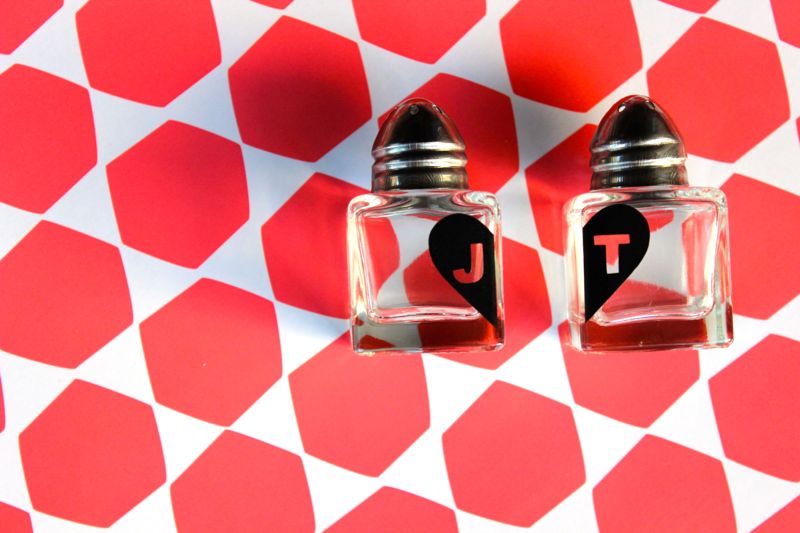
…but together, they make a complete pair.

salt-pepper-shaker-gift-heart-initial-valentine-diy-hostess

This DIY took about 10 minutes, and we’re adding it to our list of favorite hostess gifts, engagement gifts, anniversary gifts, going away and bridal shower gifts.

And, for this Valentine’s Day, let your loved one, or good friend know that you go together like salt & pepper.

DIY Split Heart Salt & Pepper Shakers

You’ll Need:

  • Mini salt and pepper shakers. We found ours at a kitchen store for about $2 each.
  • Silhouette Vinyl {BTW, all heat transfer is 35% off right now with code SORELLE}
  • Silhouette Transfer Paper or lint roller {good alternative}
  • Silhouette electronic cutting machine. If you don’t have one, an alternative is enamel paint to paint on the hearts.
  • Salt
  • Pepper

How To:

  • Design your heart art using the Silhouette Software. I used a free design that had a heart in it, and edited it. Make sure you cut the heart in half {via the software} before you click cut.
  • Place your Vinyl on the cutting mat {black side facing up}, click print and watch the tool work its magic.
  • Peel away the vinyl you’re not using. Place the transfer paper over half the heart and use a straight edge {credit card, etc} across it to make sure the vinyl sticks to the transfer paper.
  • Pull the paper up and half your heart should be stuck to the paper.
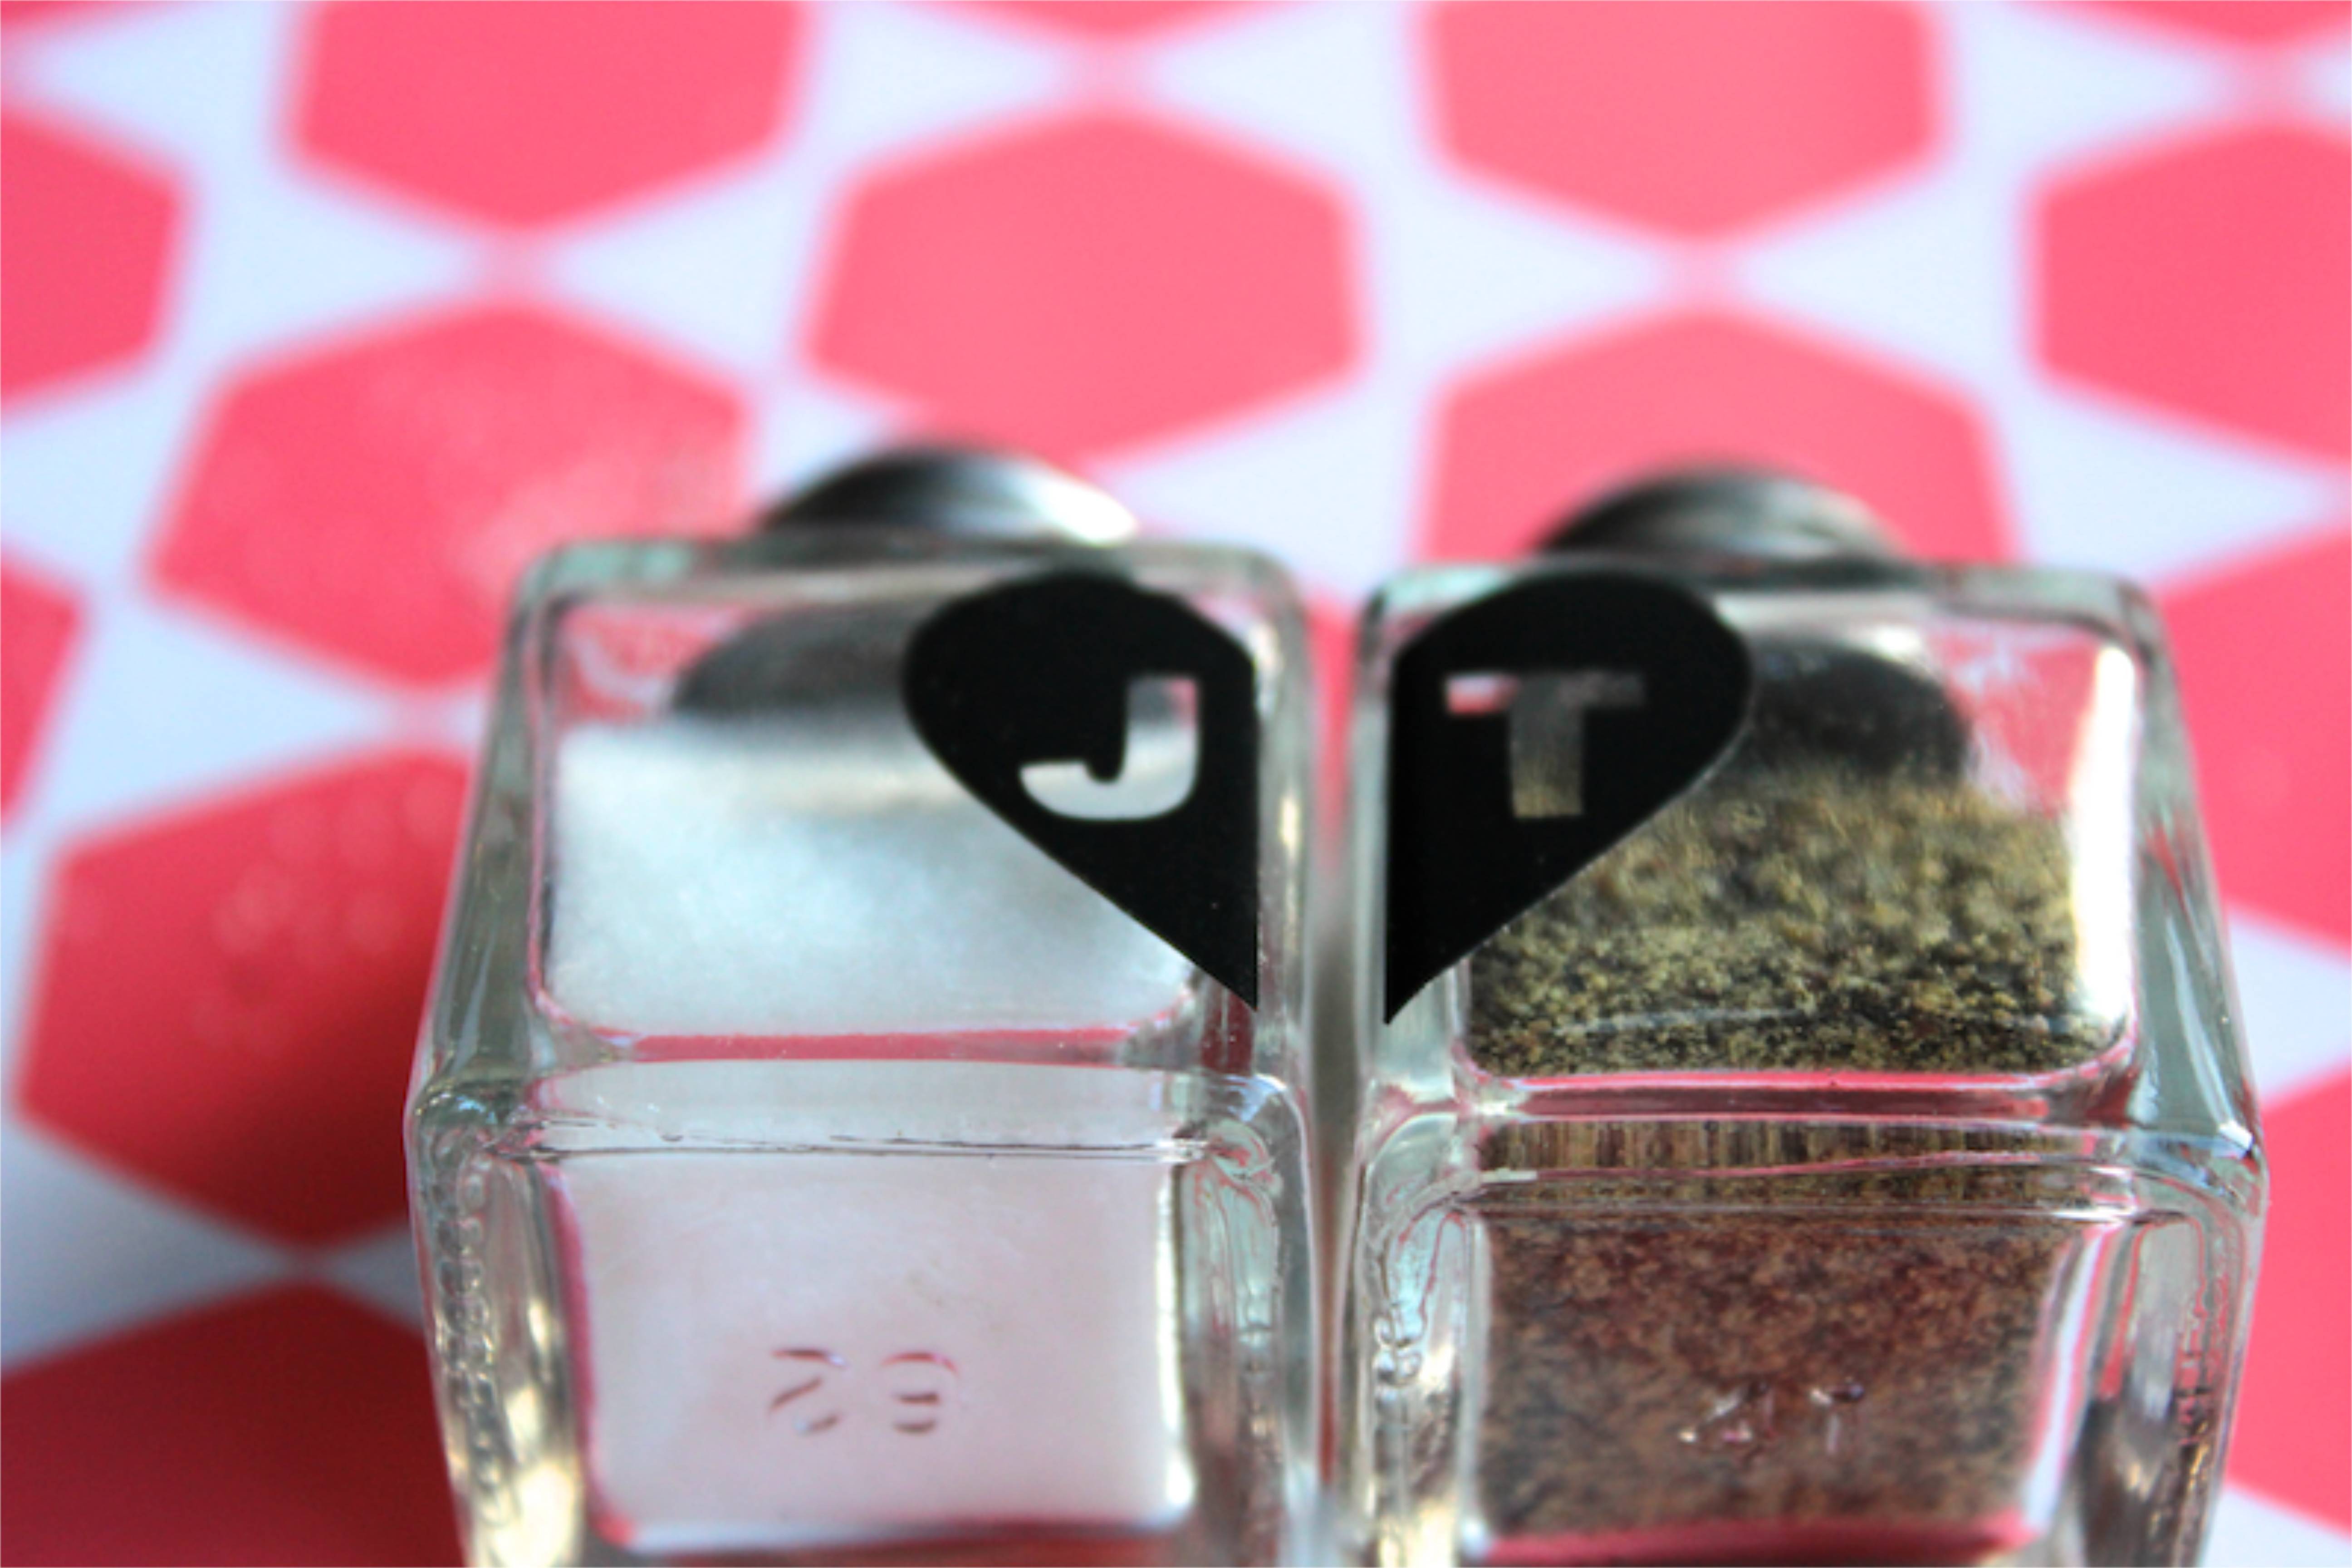
  • Place the image on one of the shakers. You will need a credit card or a straight edge to smooth our all bubbles.
  • Peel away the transfer paper slowly and your vinyl should stick to the item.
  • Repeat the steps above to add the other half of the heart to the remaining shaker.
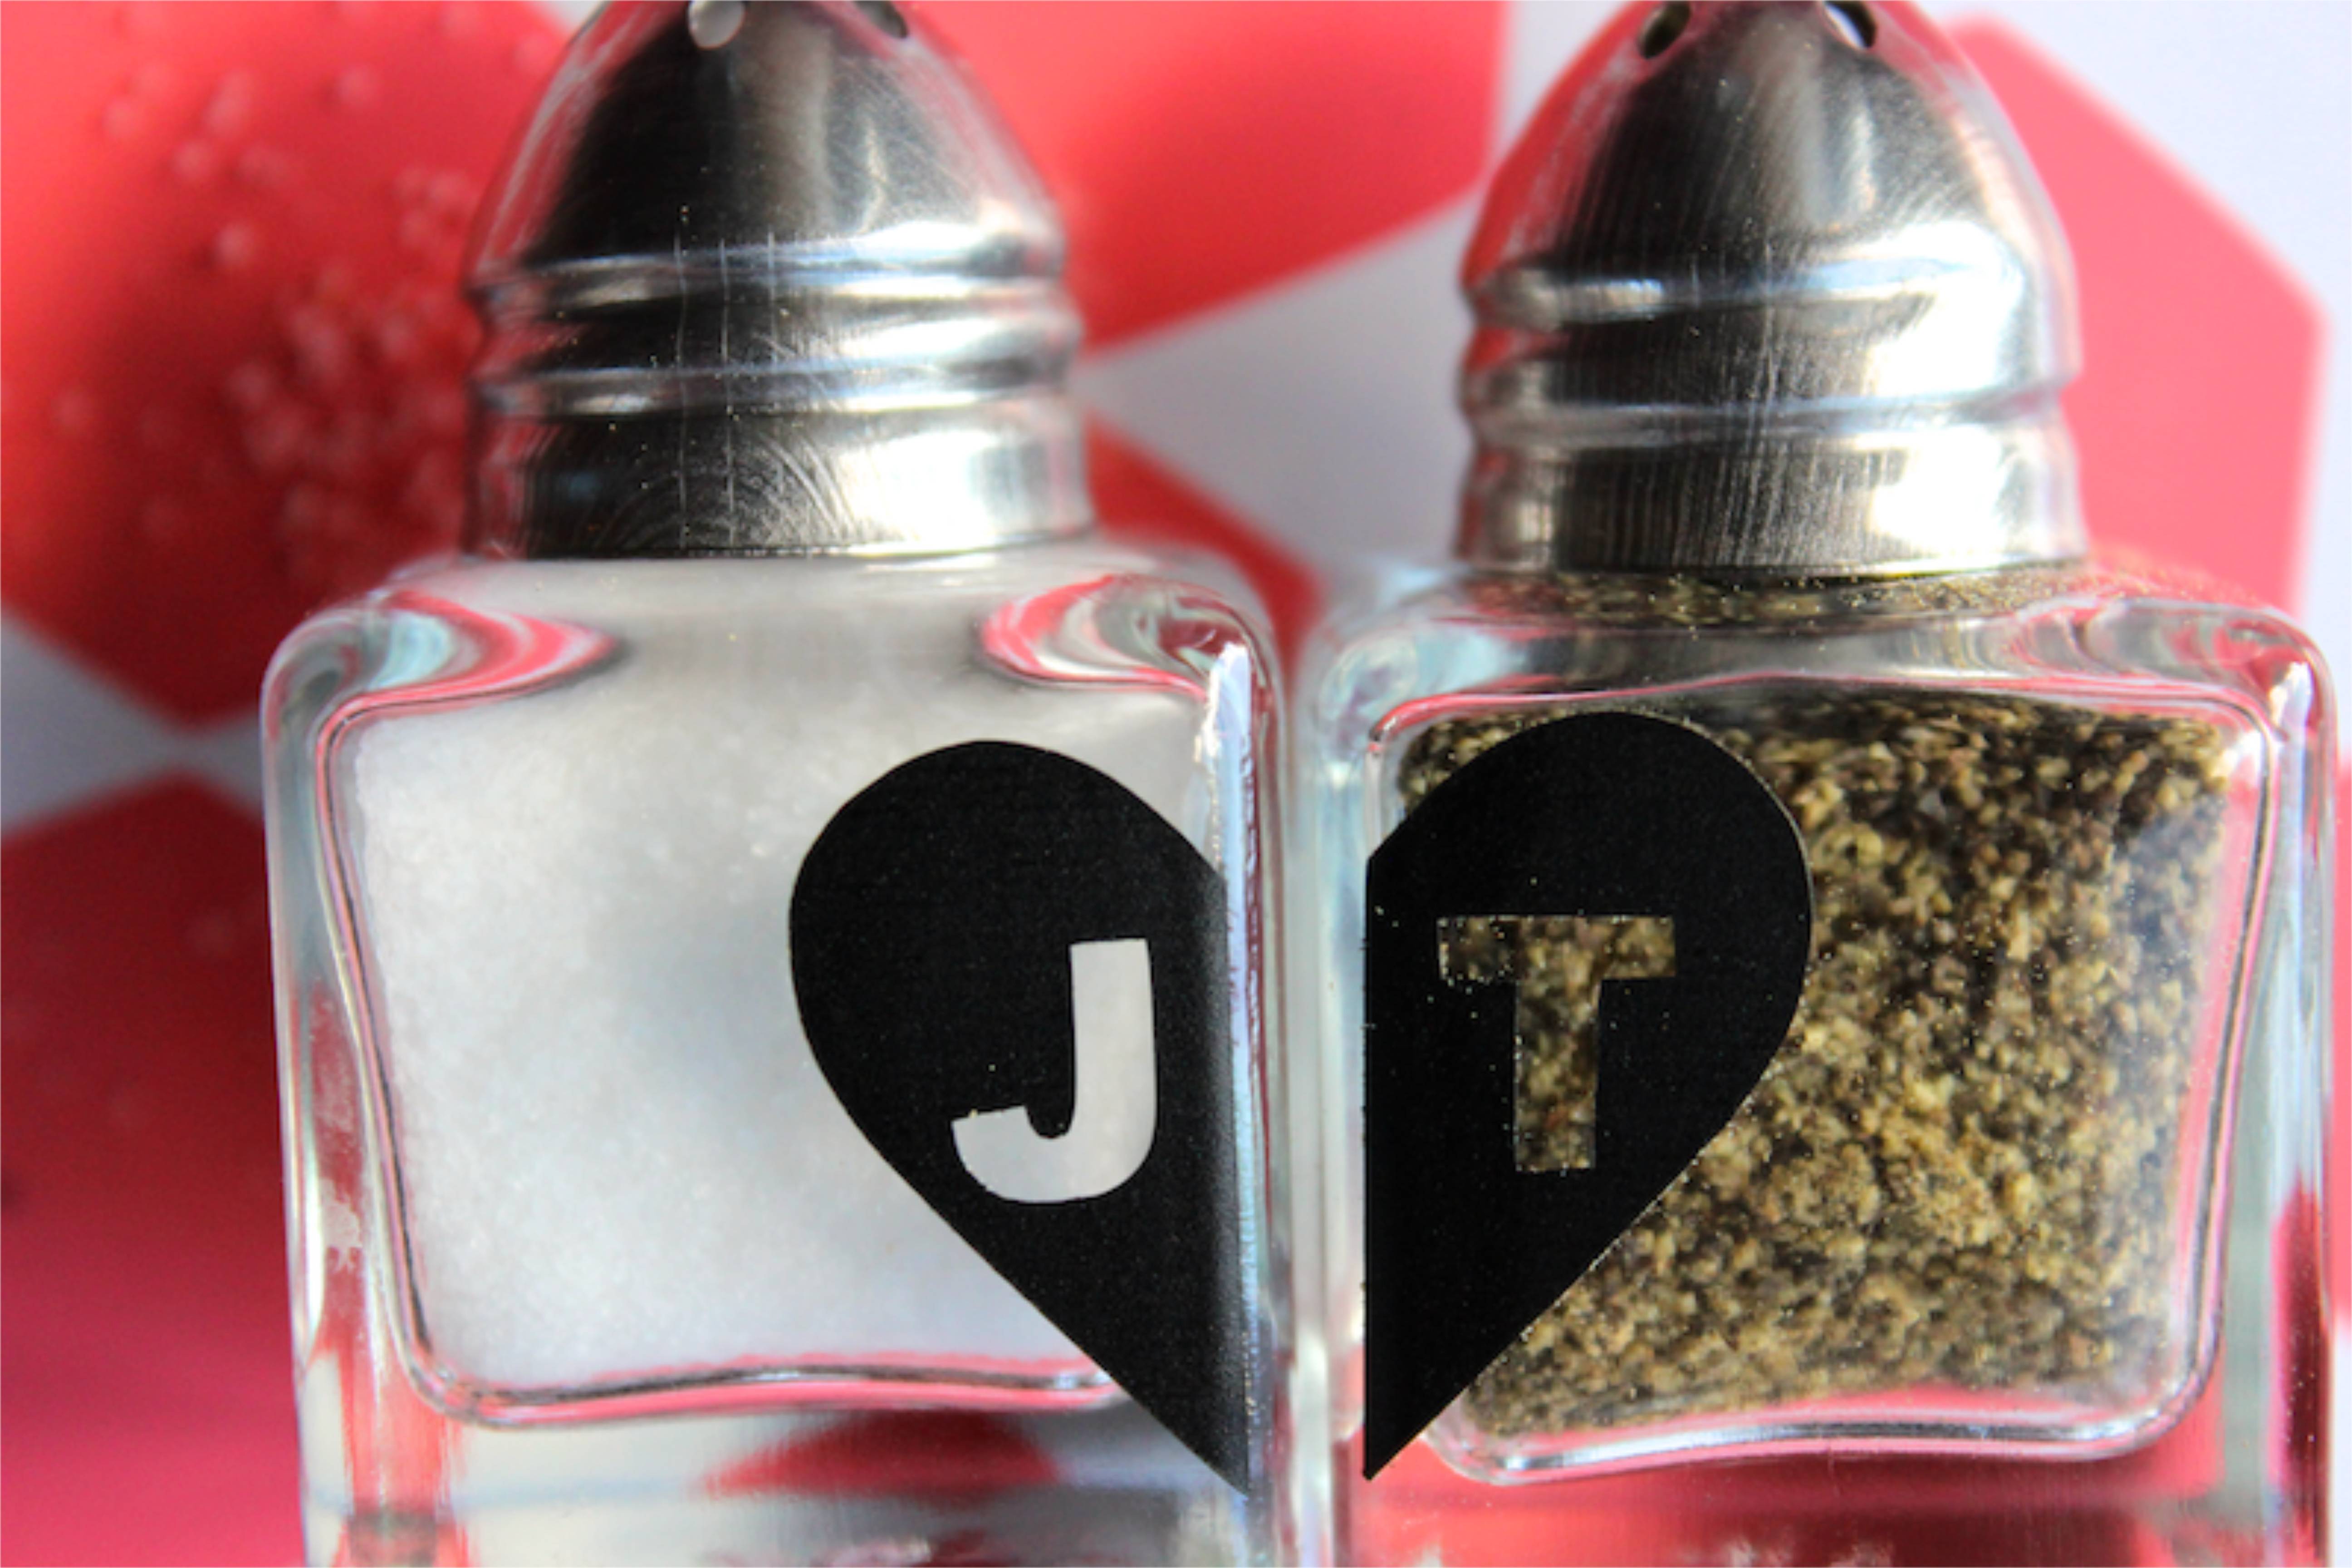
  • Fill the shakers with salt and pepper.

valentine-gift-salt-pepper-diy-shaker-hostess-gift-heart

valentine-diy-salt-pepper-shaker-gift-hostess-initial-heart

{image via j. sorelle}

Vanilla Ice Cream Topped with DIY Frozen Strawberry Hearts

red-frozen-strawberry-hearts-valentine-ice-cream-banana

We love February.

We love ice cream.

And our daughter’s still love the movie Frozen.

So, with vanilla ice cream topped with frozen strawberry hearts, we figured we couldn’t go wrong. We were right! This easy, simple and delicious dessert has been a hit around our houses, and it’s so cute, we can’t wait to make it for friends and family.

Surprise your loved ones this month{after all, it is the month of love} with ice cream topped with frozen strawberry hearts.

frozen-valentine-red-banana-strawberry-heart-diy-dessert-

red-frozen-strawberry-heart-bowl-banana-ice-cream-dessert

Here’s how…

Ingredients
Strawberries
Sugar
Wilton Mini Heart Silicone Mold
Vanilla Ice Cream
Bananas
Wilton Round Linzer Cutter Set

How to Create
Cut off the stems from about 8-10 strawberries and place them in a blender or Cuisinart.
Add 1-2 tablespoons sugar.
Puree the strawberries and sugar together until smooth.
Use a spoon to fill heart silicone mold with strawberries puree. Fill the molds to the top, without overflowing them.
Place in a freezer bag and freeze for at least 3 hours.
Once the hearts are set and you’re ready for some ice cream, scoop vanilla ice cream in a bowl, and simply press the strawberry frozen hearts out with your fingers.
We love vanilla ice cream with bananas, so we also used a Wilton Round Linzer Cutter to cut slices of bananas into small hearts, and froze them along with the strawberries. The combo of strawberries, bananas and vanilla ice cream was delicious…in fact, the bowl was devoured in less than 2 minutes!

bowl-ice-cream-red-love-valentine

 {images via j. sorelle}

DIY Funny Valentine’s Underwear for Girlfriends

underwear-heart-customized-hollywood-hunk-valentine-girlfriend

We’ve shared Valentine’s gifts for…

Now it’s time for a funny gift for our girlfriends. And, it’s adorned with their Hollywood crushes.

Alison, we took your custom, days-of-the-week underwear for your daughter to a whole new, slightly more inappropriate level! It was a fun and easy project to do…and our girlfriends got a good laugh.

valentines-mail-mailbox-heart-bradley-cooper-crush-valentine-diy-underwear

Here’s how you can do it too.

  • For inspiration, see Alison’s easy tutorial.
  • Find cute underwear, investigate who your girlfriends have secret or not-so-secret crushes on and find good photos that you plan to iron on to underwear. We found our heart underwear at Target.
  • Print the labels on Avery Dark Transfer Paper. Follow the directions on the packaging.
  • Buy mini mailboxes for cute packaging. We found ours at Target.
  • Create tags using Illustrator or Microsoft Word.

bradley-cooper-underwear-heart-valentine-gift-DIY-crush

ryan-gosling-mailbox-valentine-crush-panty-underwear-girlfriend-gift-DIY-heart

Our girlfriends received a funny and gorgeous package in the mail this week…and it’s something that will make them laugh every time they put on their ‘hollywood hunk & heart’ underwear.

mailbox-red-bradley-cooper-heart-underwear-panty-valentine-gift-DIY

{images via j. sorelle}

DIY Valentine for Teachers

valentine-teacher-dig-box-red-socks-heart-slippers

We are letting our teachers know just how warm and fuzzy they make our kids feel with socks this year.

Target was our source for the cute slipper socks adorned with stripes and a heart. We also scored with pillow boxes and sparkly red tape from Target’s $1 and $3 bins.

We used Microsoft Word to create the tag, so you can easily do it too.

valentine-teacher-socks-slippers-stripes-heart-diy-holiday

You’ll score extra points with your child’s teacher, and their toes will be warm and toasty all winter long.

valentine-socks-slippers-kids-stripes-heart-diy

{images via j. sorelle}


DIY Chocolate Valentine’s Gift

candy-valentine-riesen-love

Sometimes when we walk down the candy aisle at the grocery store, we just can’t control ourselves. One of our favorite treats to sneak into the cart is yummy chocolate caramel bites, known as Riesen {pronounced just like the word reason}. Our Nani introduced the candy to us years ago, so as we chew the deliciousness that is Riesen, we lovingly think about her. She also loves Valentine’s Day, which made it the perfect reason to tell her how much we love her, and do it with her favorite candy.

A pillow box is in the mail to our Nani with her favorite candy, and all the Riesens or “Reasons” we love her.

candy-riesen-valentinesday-love

To re-create for someone you love, you’ll need:

  • A pillow box. We bought a pack of 5 from Target
  • A bag of Riesen candy
  • Paper {Astrobrights Paper}
  • Glue stick
  • A Silhouette electronic cutting machine {Sharpie or stickers will work too}
  • A lovely person to send it to

We used our Silhouette to design the wording on the front of the pillow box, as well as the numbers. If you don’t have a Silhouette {you should add it to your want list}, you can also write or print your own design, or buy stickers. We used a glue stick for all the letters and numbers, as well as on the bottom of the candy wrapper to keep them in place on the paper. Finally, write all the reasons why you love the person your sending it to on small pieces of paper.

It’s a simple, cheap way to share love and chocolate. It’s going to make your loved one’s day…and you get to eat chocolate in the process. Win-win.

valentinesday-candy-chocolate-riesen

{photos via j. sorelle}