
Life is beautiful. We are truly blessed in this life. But, just like everyone, our stress levels rise, the to-do lists get longer, worries can be all-consuming and we are over-committed. To stay grounded (and sane), we have to find ways to bring peace into our lives. We often take refuge in family and friends who lift us up. We take breaks. We let in some of the love we deserve, but often neglect to receive. We have a cocktail. We have meltdowns. We put on yoga pants and watch the same movies we’ve seen a hundred times before. We pray. We take deep breaths. We party. We try to live with intention and grateful hearts.
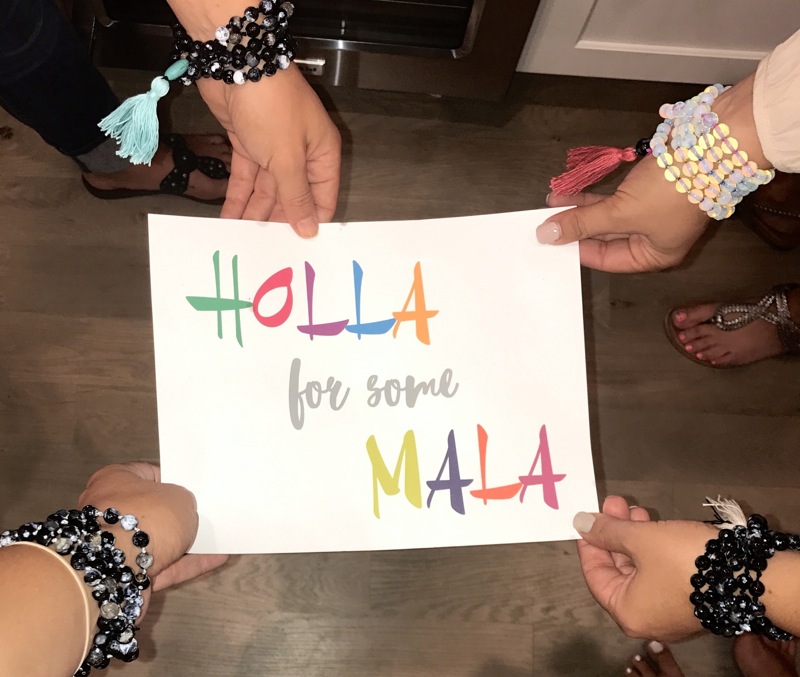
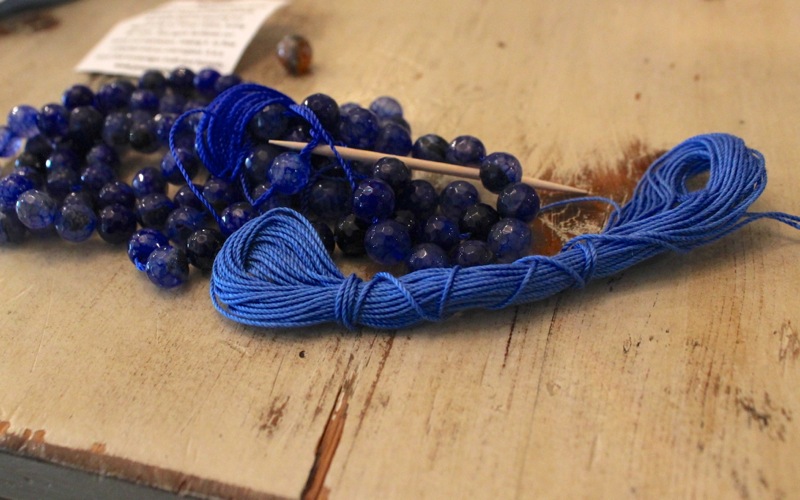
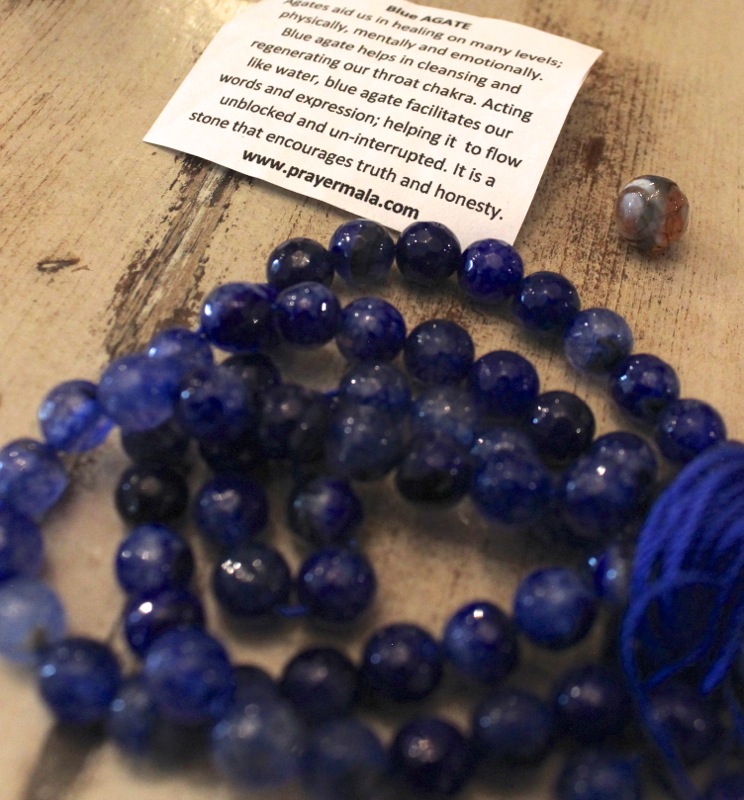
A good reminder of our intentions, and the positive energy we need on a daily basis are the Mala beads we wear on our wrists. The string of beads used in prayer and meditation were first introduced to us several years ago after a stop in Tibet Imports in Denver, CO. A sweet woman, Sarita, gave us a Vedic Astrology reading, and we bought our first Mala prayer beads.
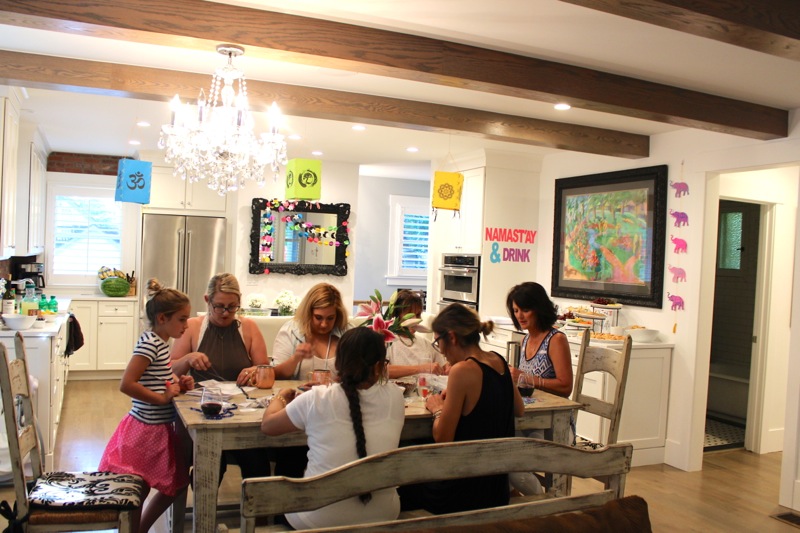
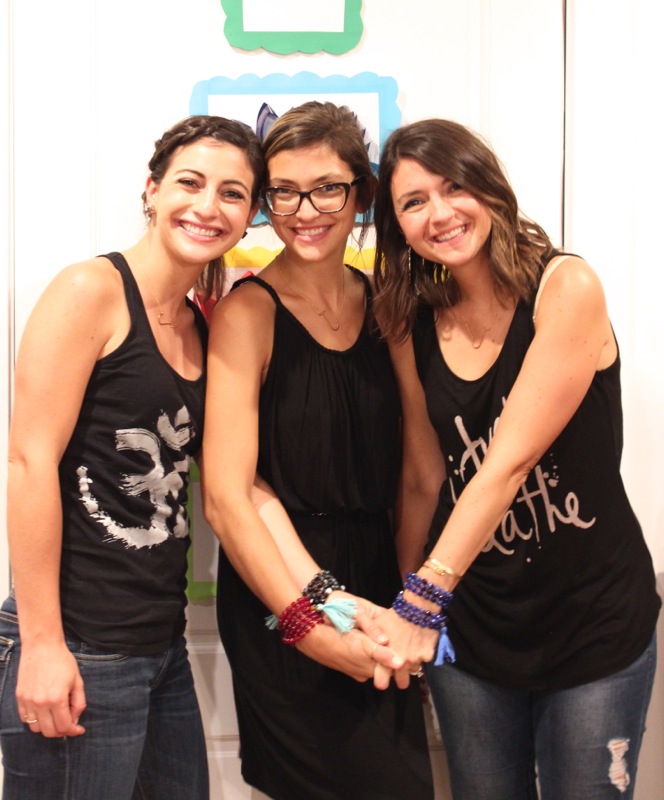
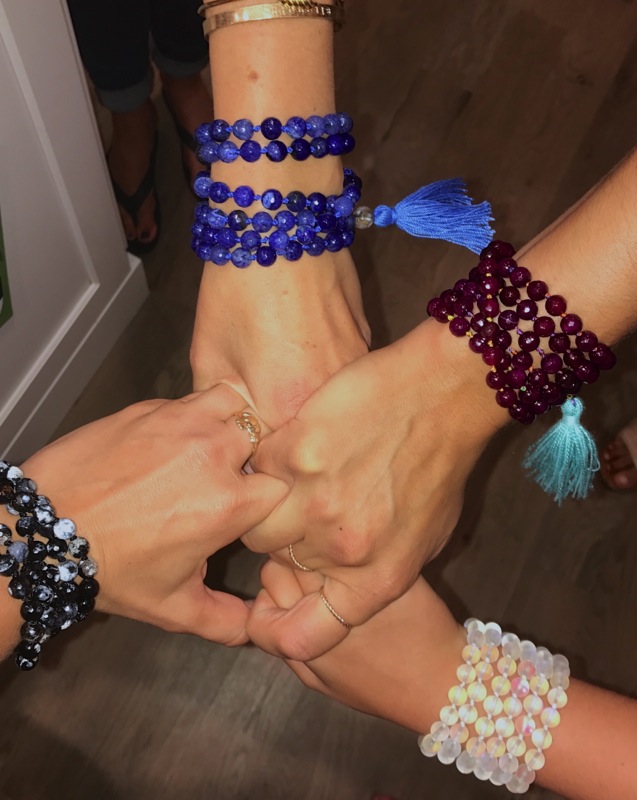
After receiving many compliments on our bracelets, we wanted to share that beauty and healing with others. What better way to celebrate all that good energy and fabulous piece of jewelry than with family? Not just any family – 16 strong women from our large Italian family. So, together at Jenna’s beautiful newly renovated home, we made Mala bracelets, listened to individual Vedic Astrology readings with Sarita and Suderson, sang, ate and drank our way into the night.
Our goal was to make the space safe, pretty and full of love and light. It was a good vibes only zone. ASTROBRIGHTS® Papers helped us brighten the evening with all the colors of the rainbow, just like the seven Chakras, which are energy centers of the body known in Indian religions, often associated with vibrant colors.
Here’s fun ways on how we got our Mala on. We highly recommend it for your next girls night!
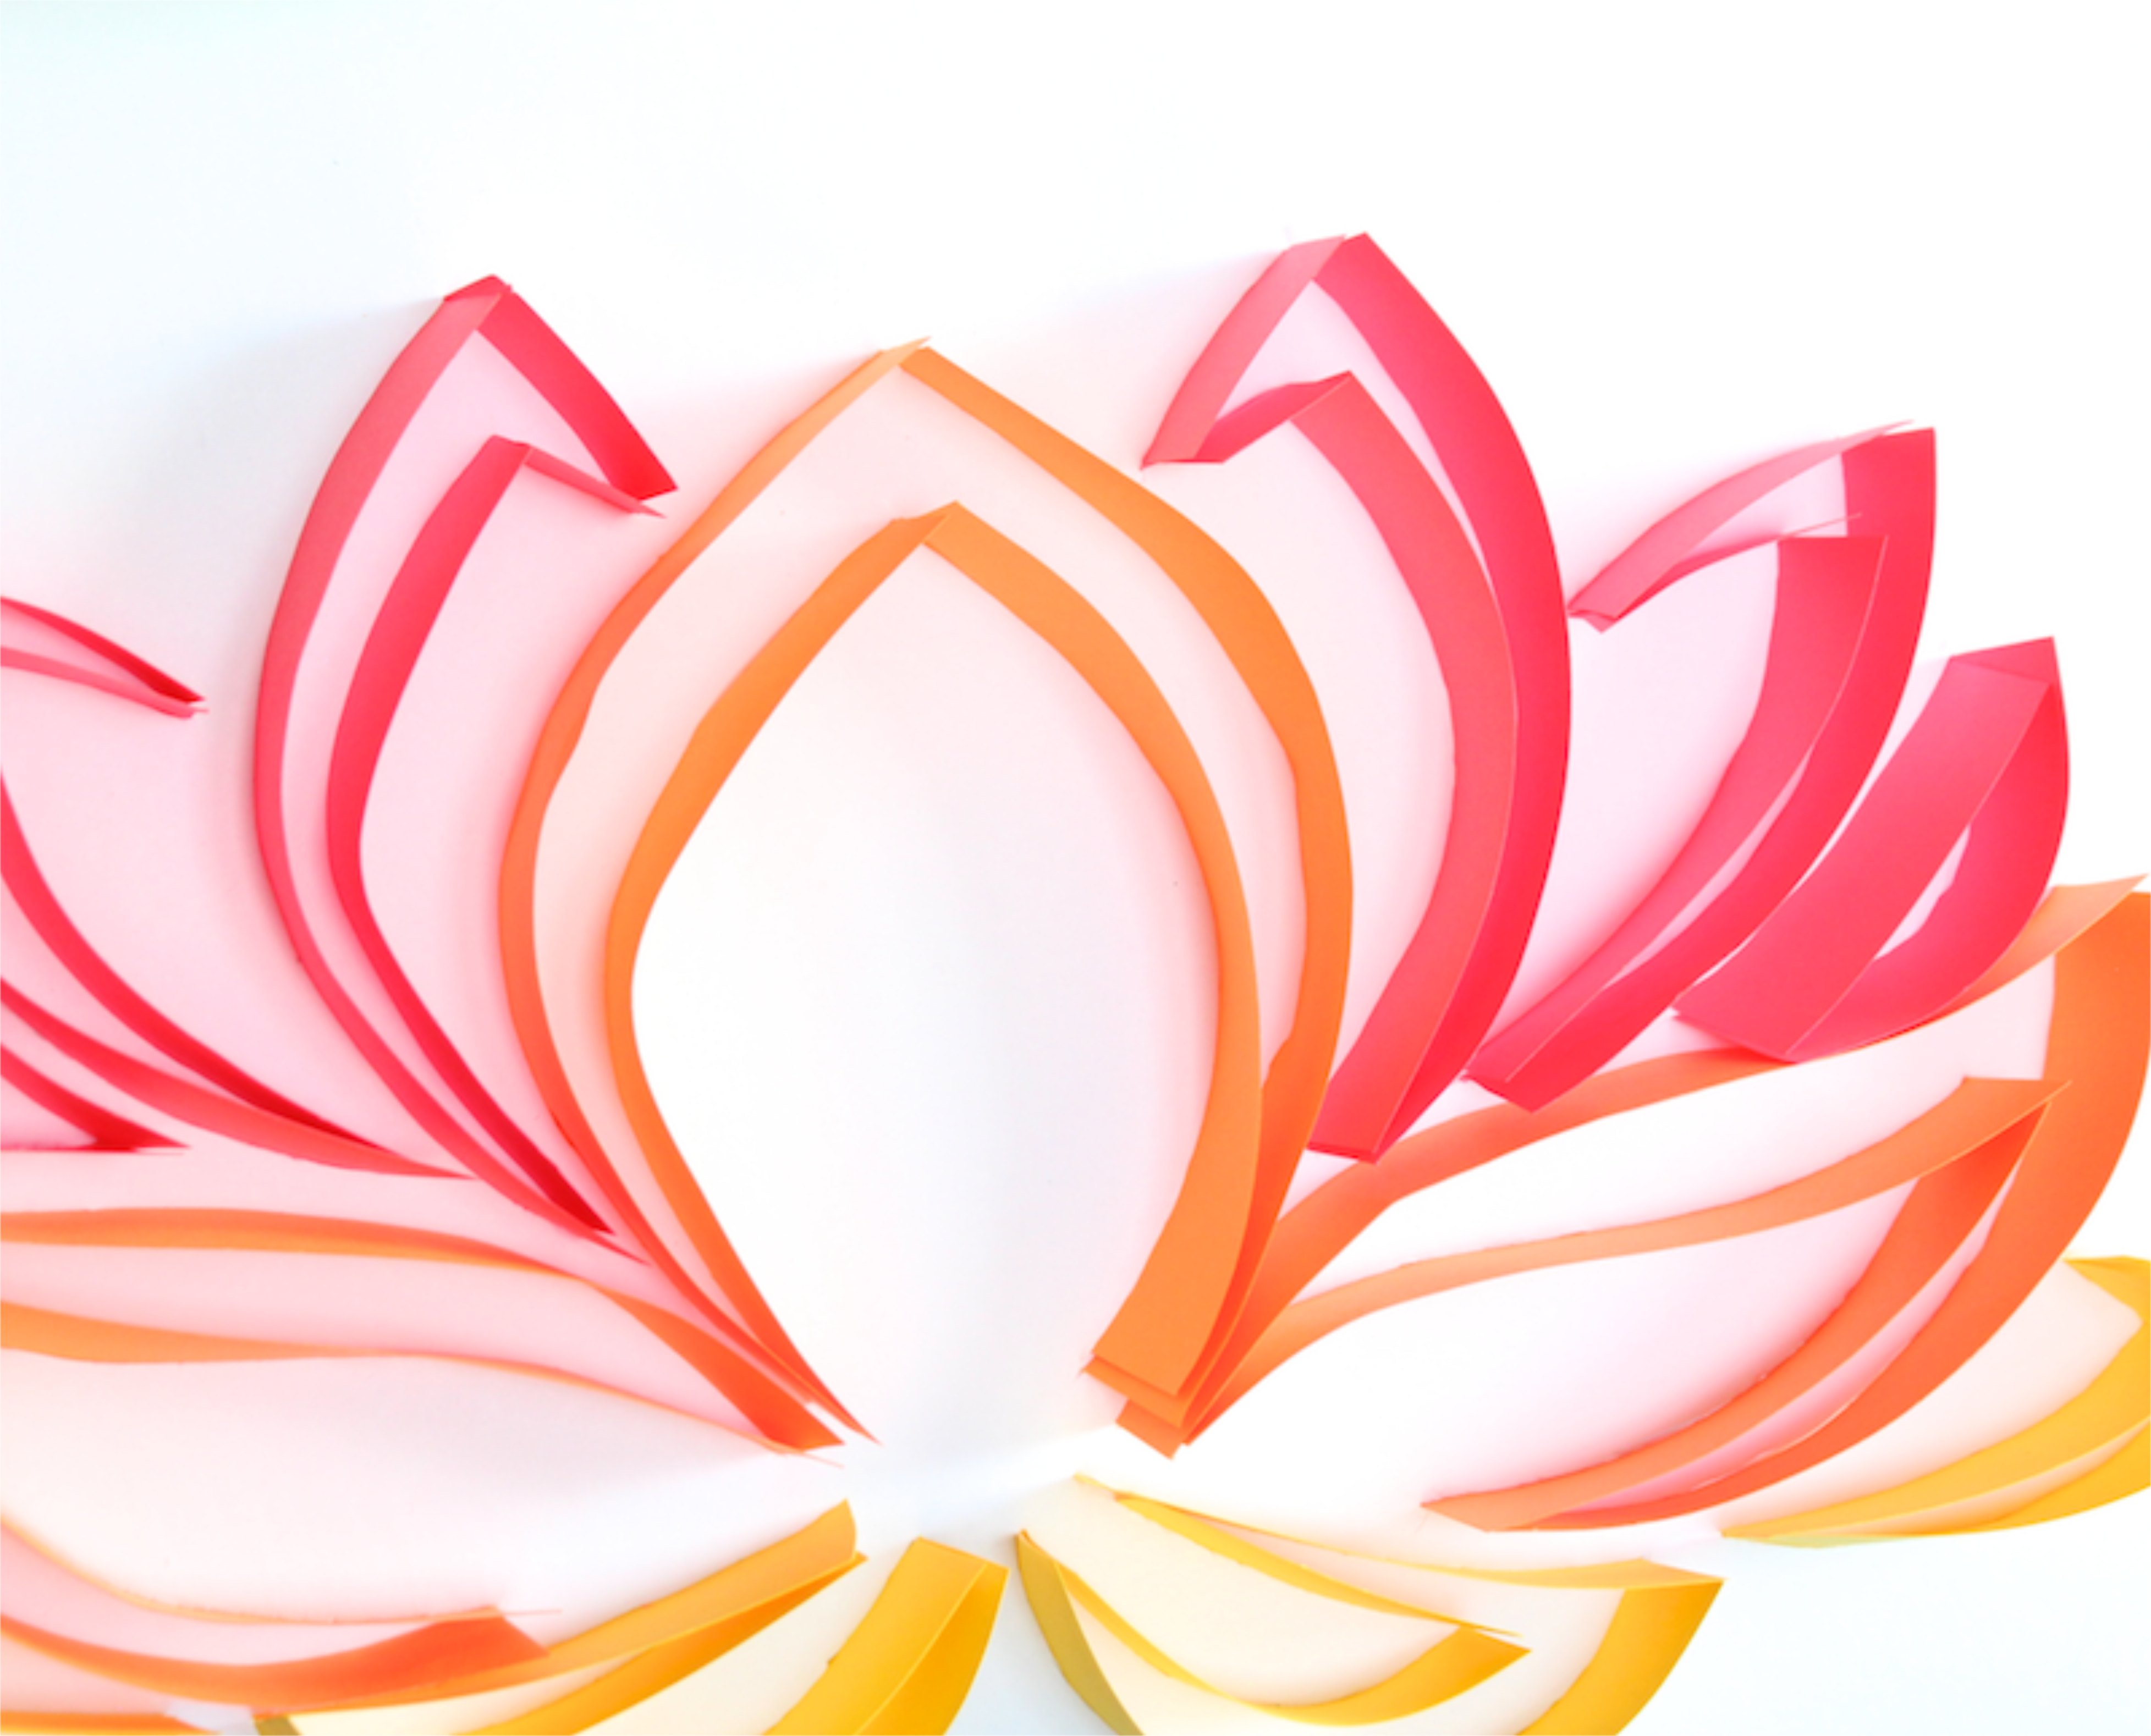
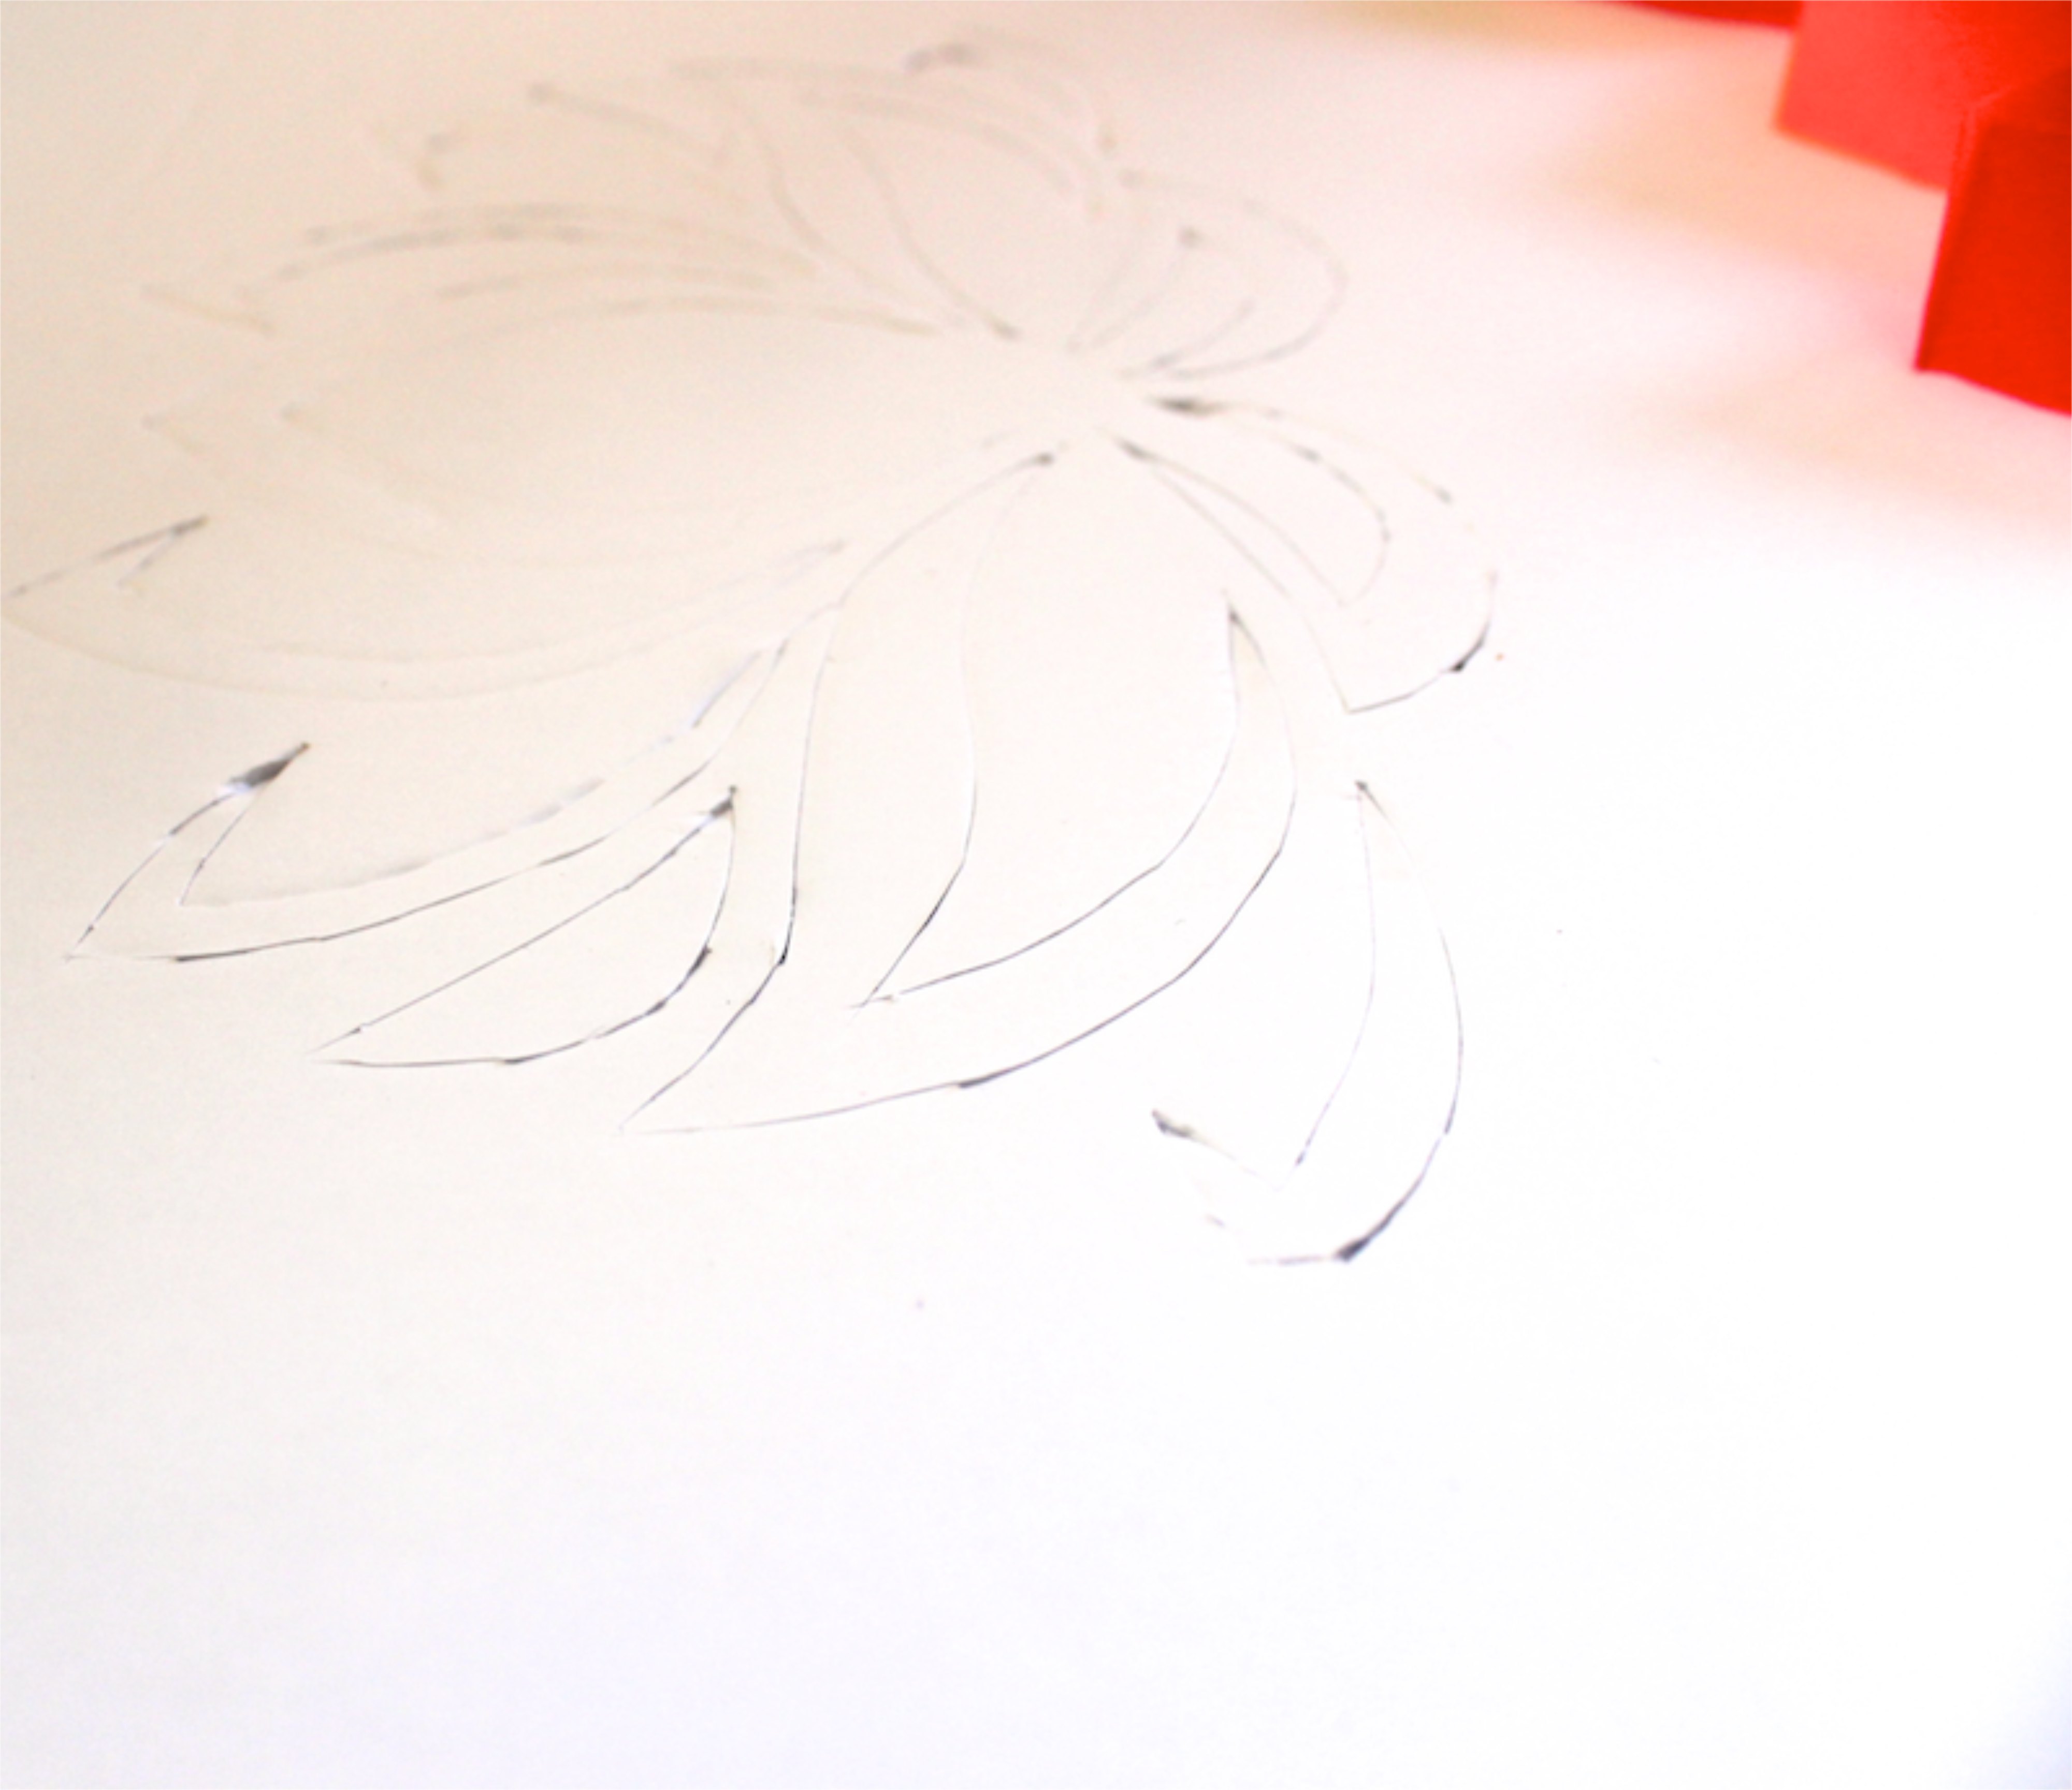
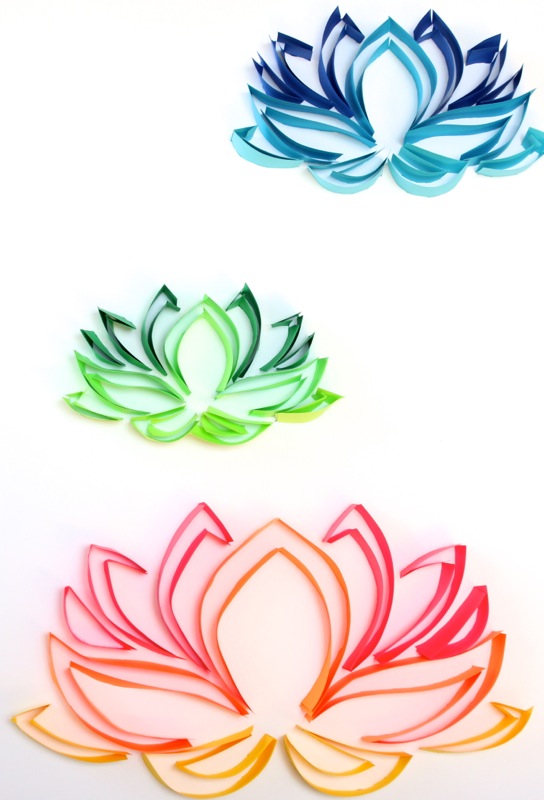
DIY Lotus Flower Art
We can’t believe this unique piece of art is made with paper. These DIY lotus flowers are dimensional, bright and one-of-a-kind. Lotus flower are known to grow from the bottom of streams and muddy ponds, and rise above the water and bloom. We chose this symbol to hang at our party because of it’s symbolic nature of spiritual growth and the ability to rise above obstacles.
Materials:
- Foam core
- X-acto knife
- Scissors
- Copy of a lotus flower and Astrobrights Papers
Directions:
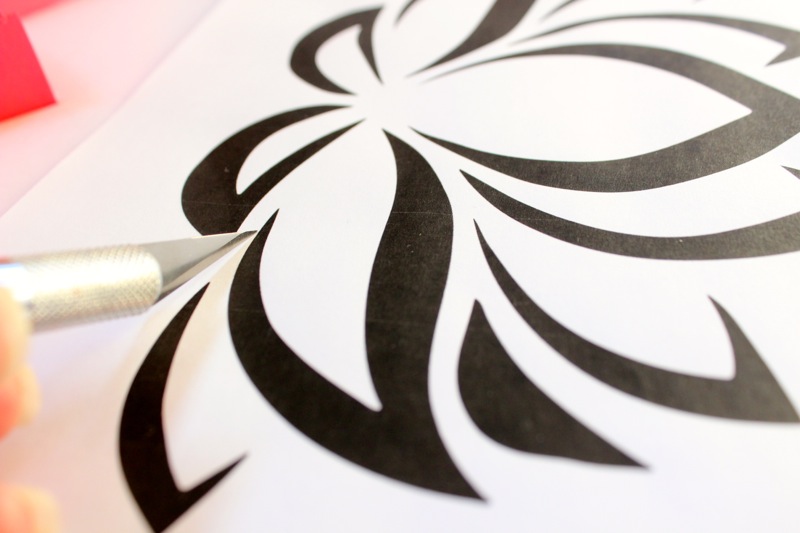
Step 1: Print a photo of the lotus flower, tape it to the foam core, and use an X-acto knife to cut around all the edges of the flower. Be sure to only cut half-way through the foam core, not entirely through it.
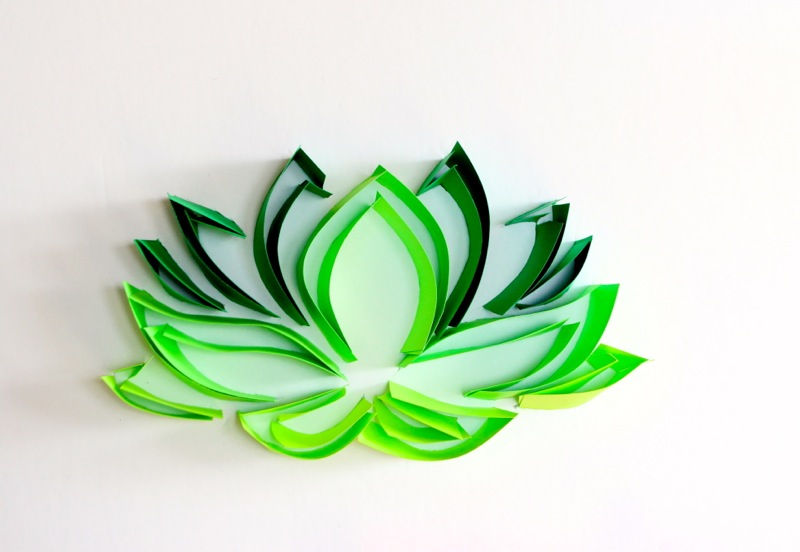
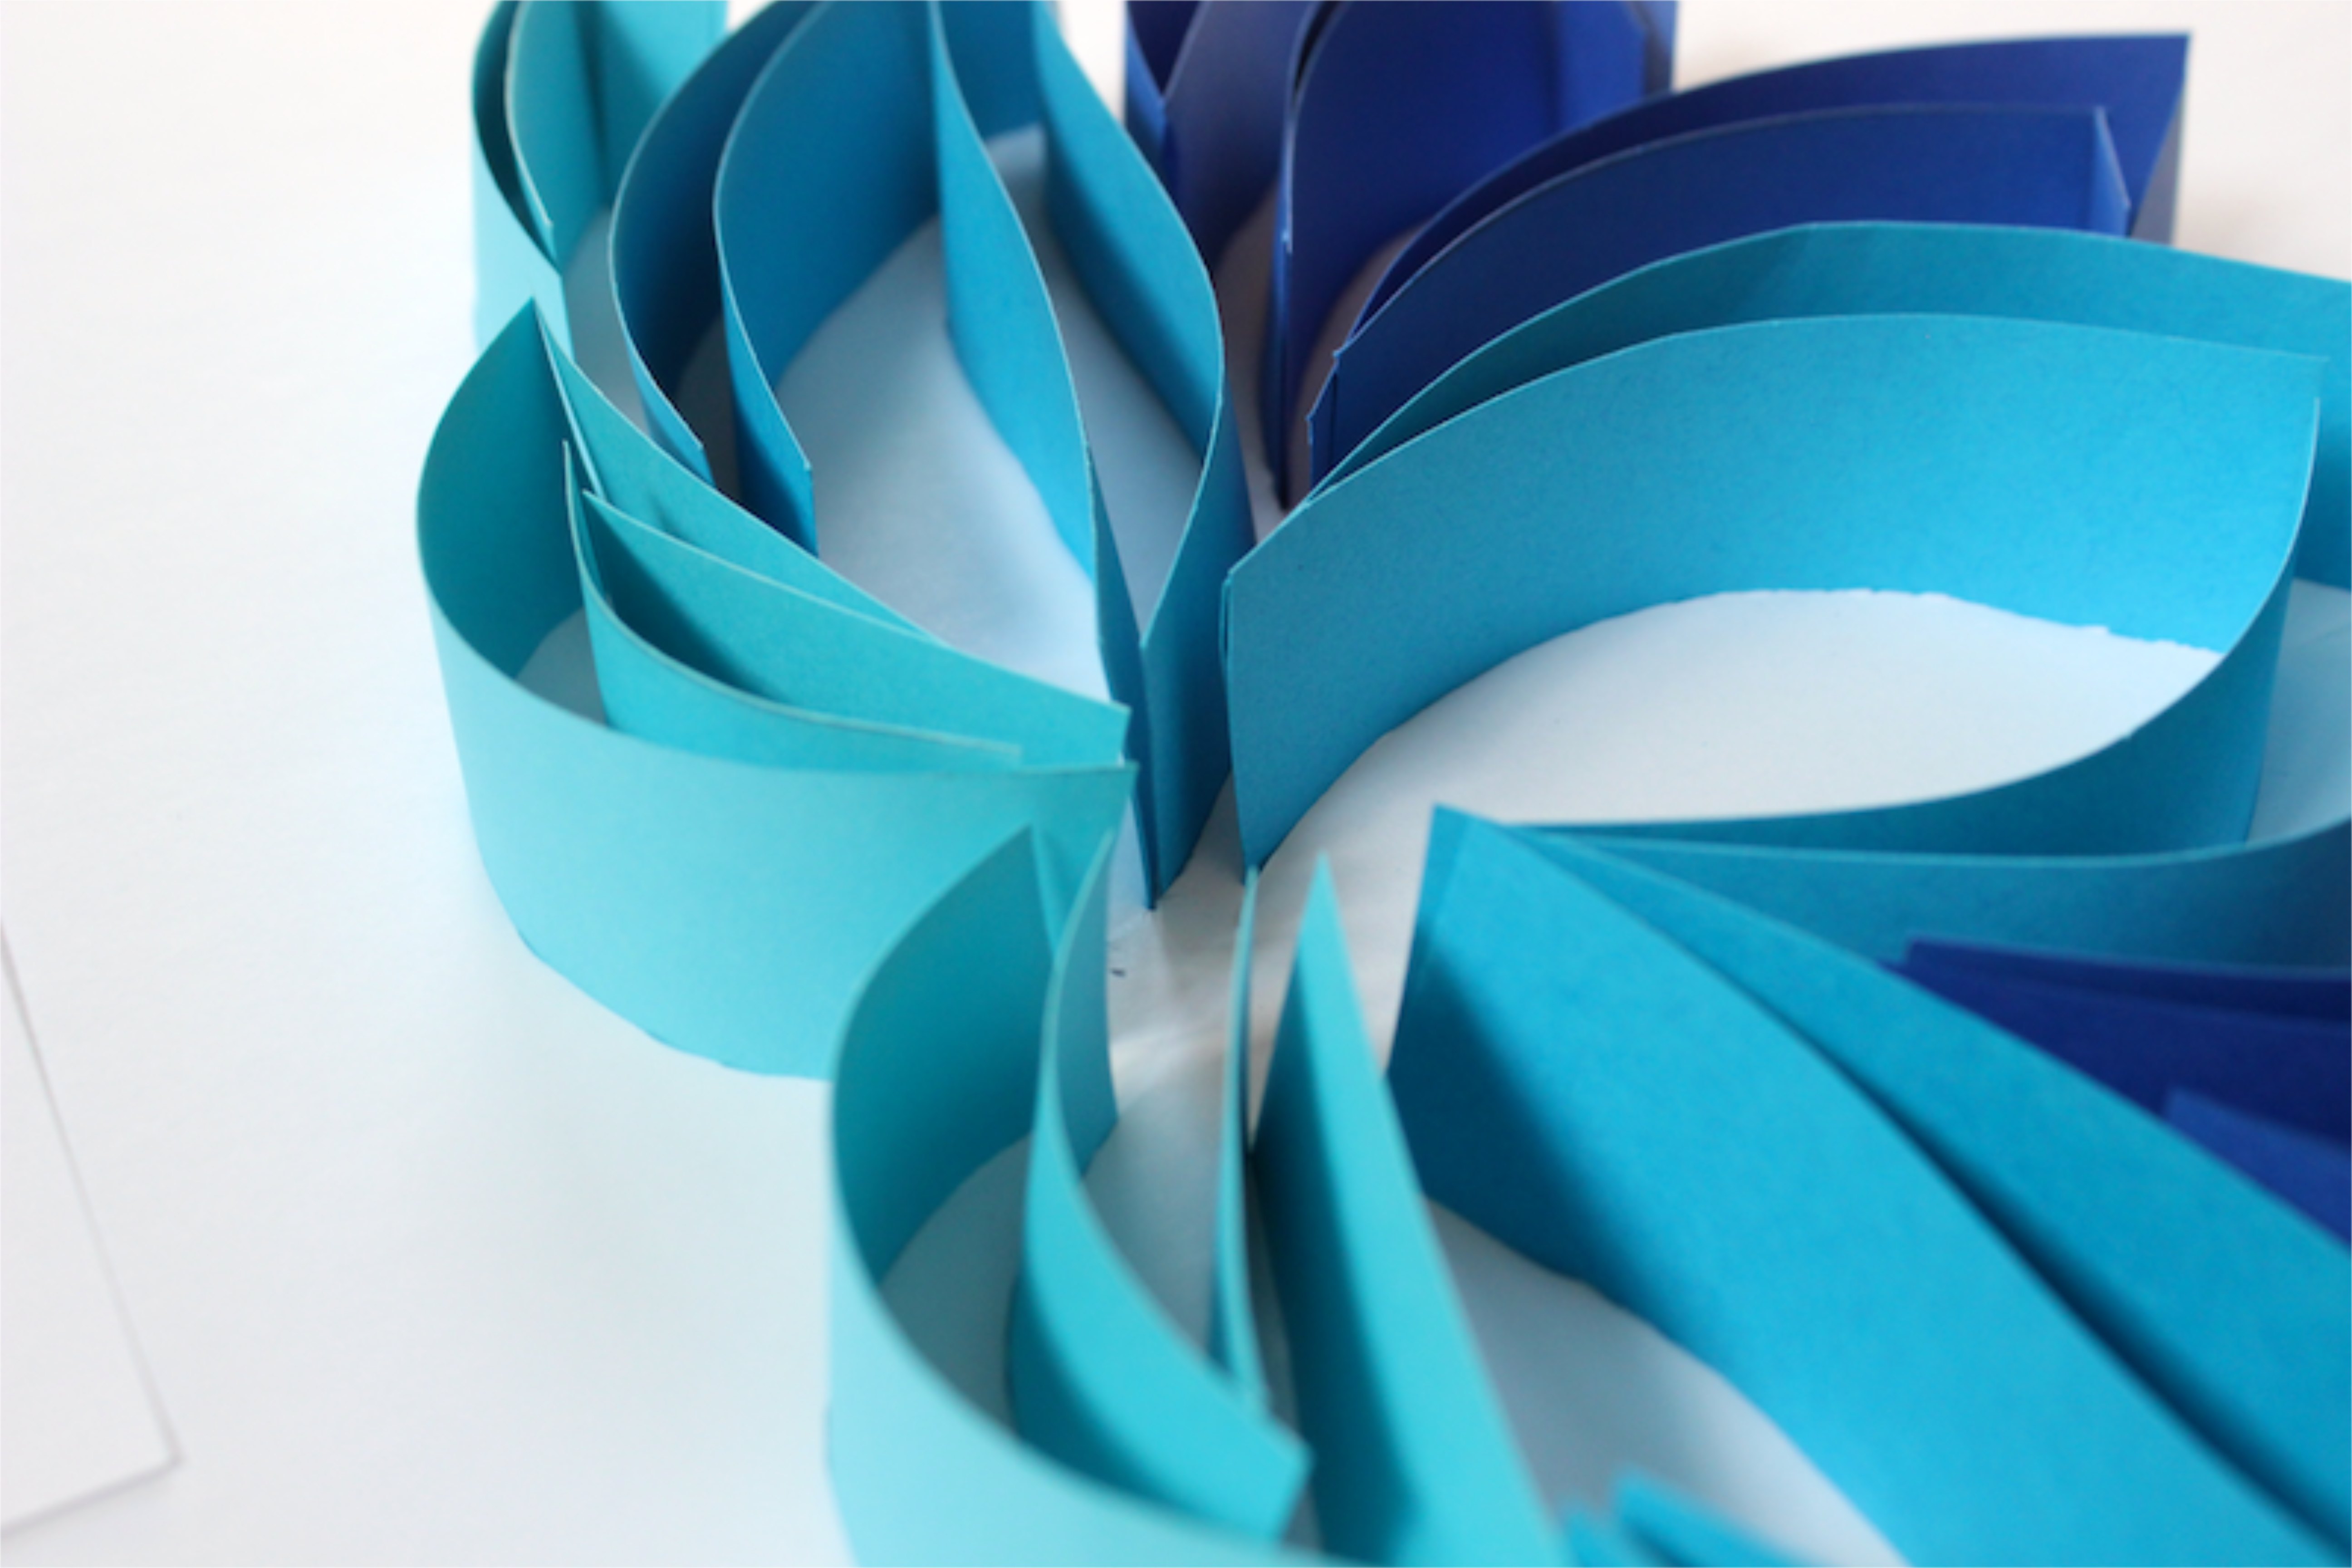
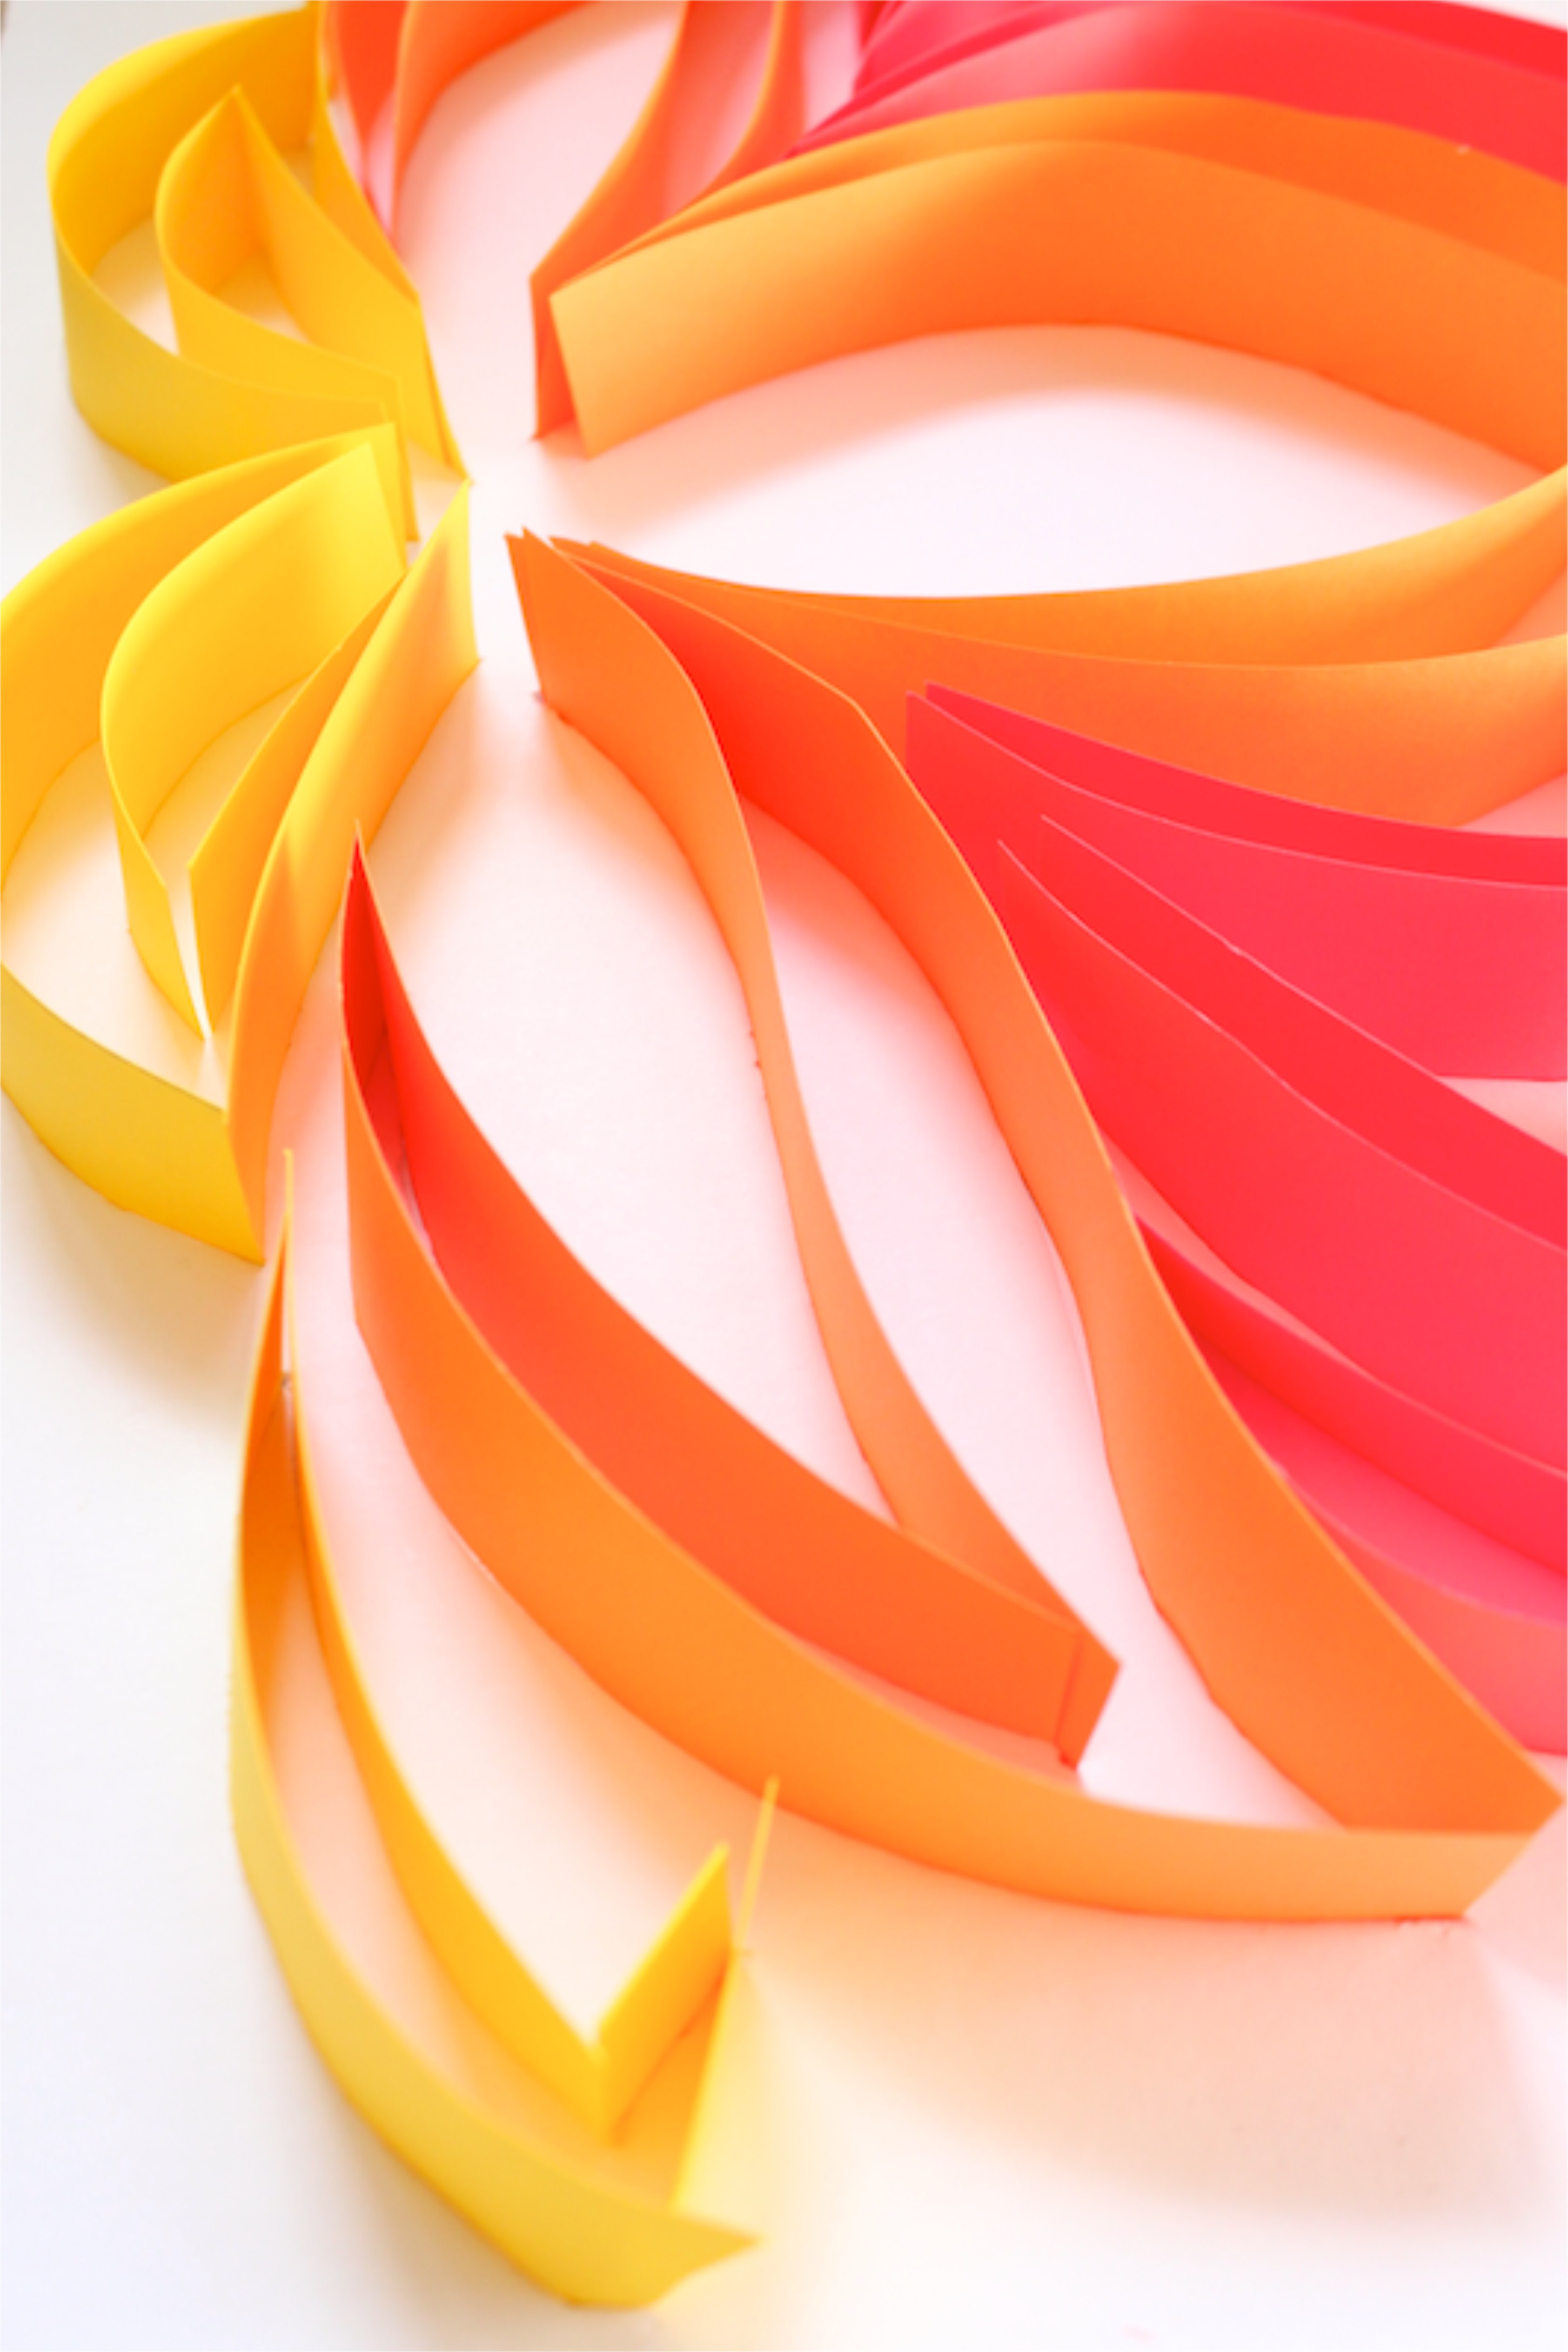
Step 2: Next, cut 1-inch thick strips of paper. We used Sunburst Yellow™, Cosmic Orange™., Rocket Red™, Blast-Off Blue™, Celestial Blue®, Lunar Blue™, Terra Green™ and Martian Green™ for our lotus flowers.

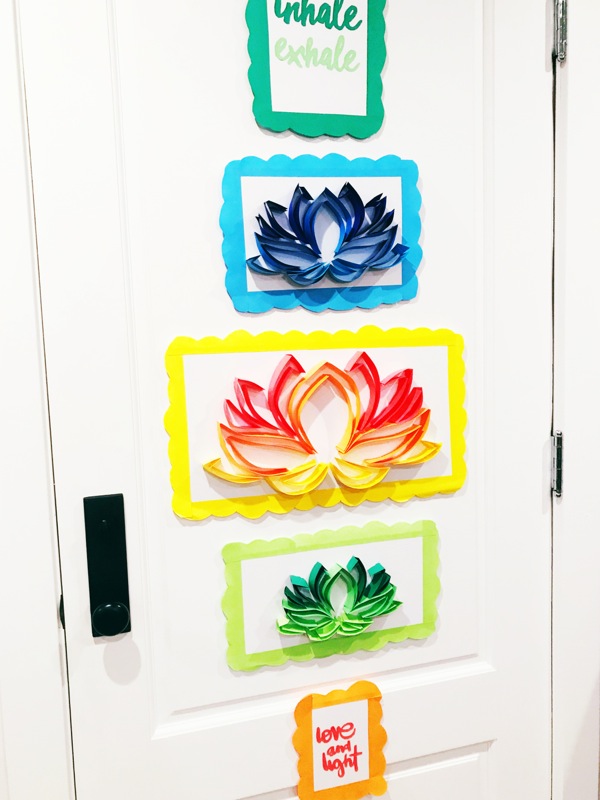
Step 3: Insert the paper strips into the tiny slits you made in the foam core. You will have to cut the paper to fit each slit. We inserted the paper in the slit, and then cut it at the end of the slit. We did not cut and measure each one individually before inserting it. Once we put paper in all the slits, we cut paper with a scallop effect, and glued it around the edges for a lovely frame.
For the framed word art, we cut powerful words, glued them to foam core and framed them the same way as the lotus flower. These are all beautiful (and totally affordable) pieces of art that you can do for any party (or just everyday décor).
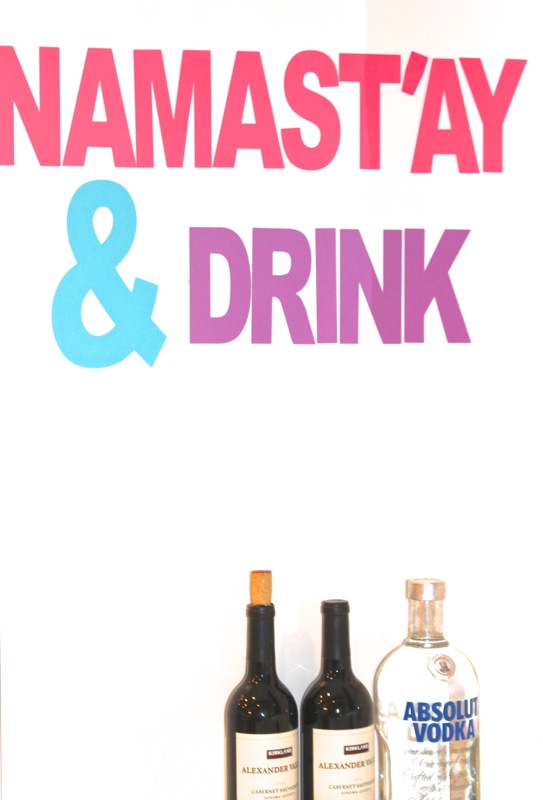
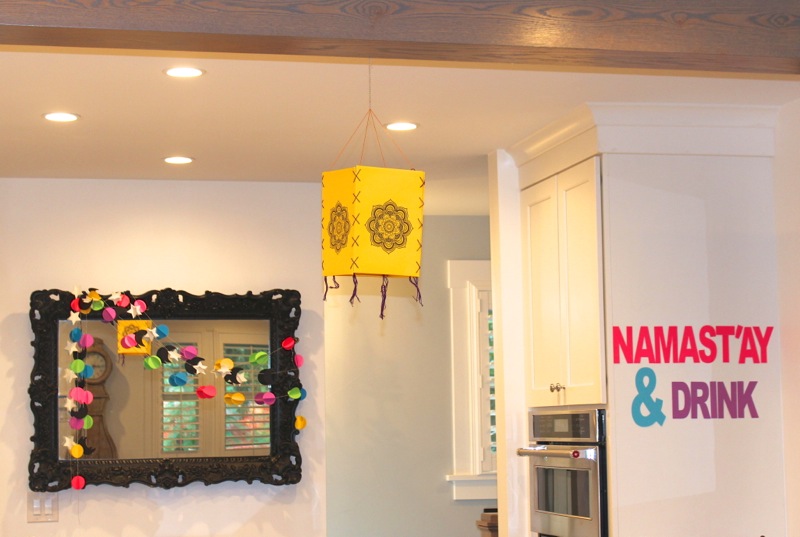
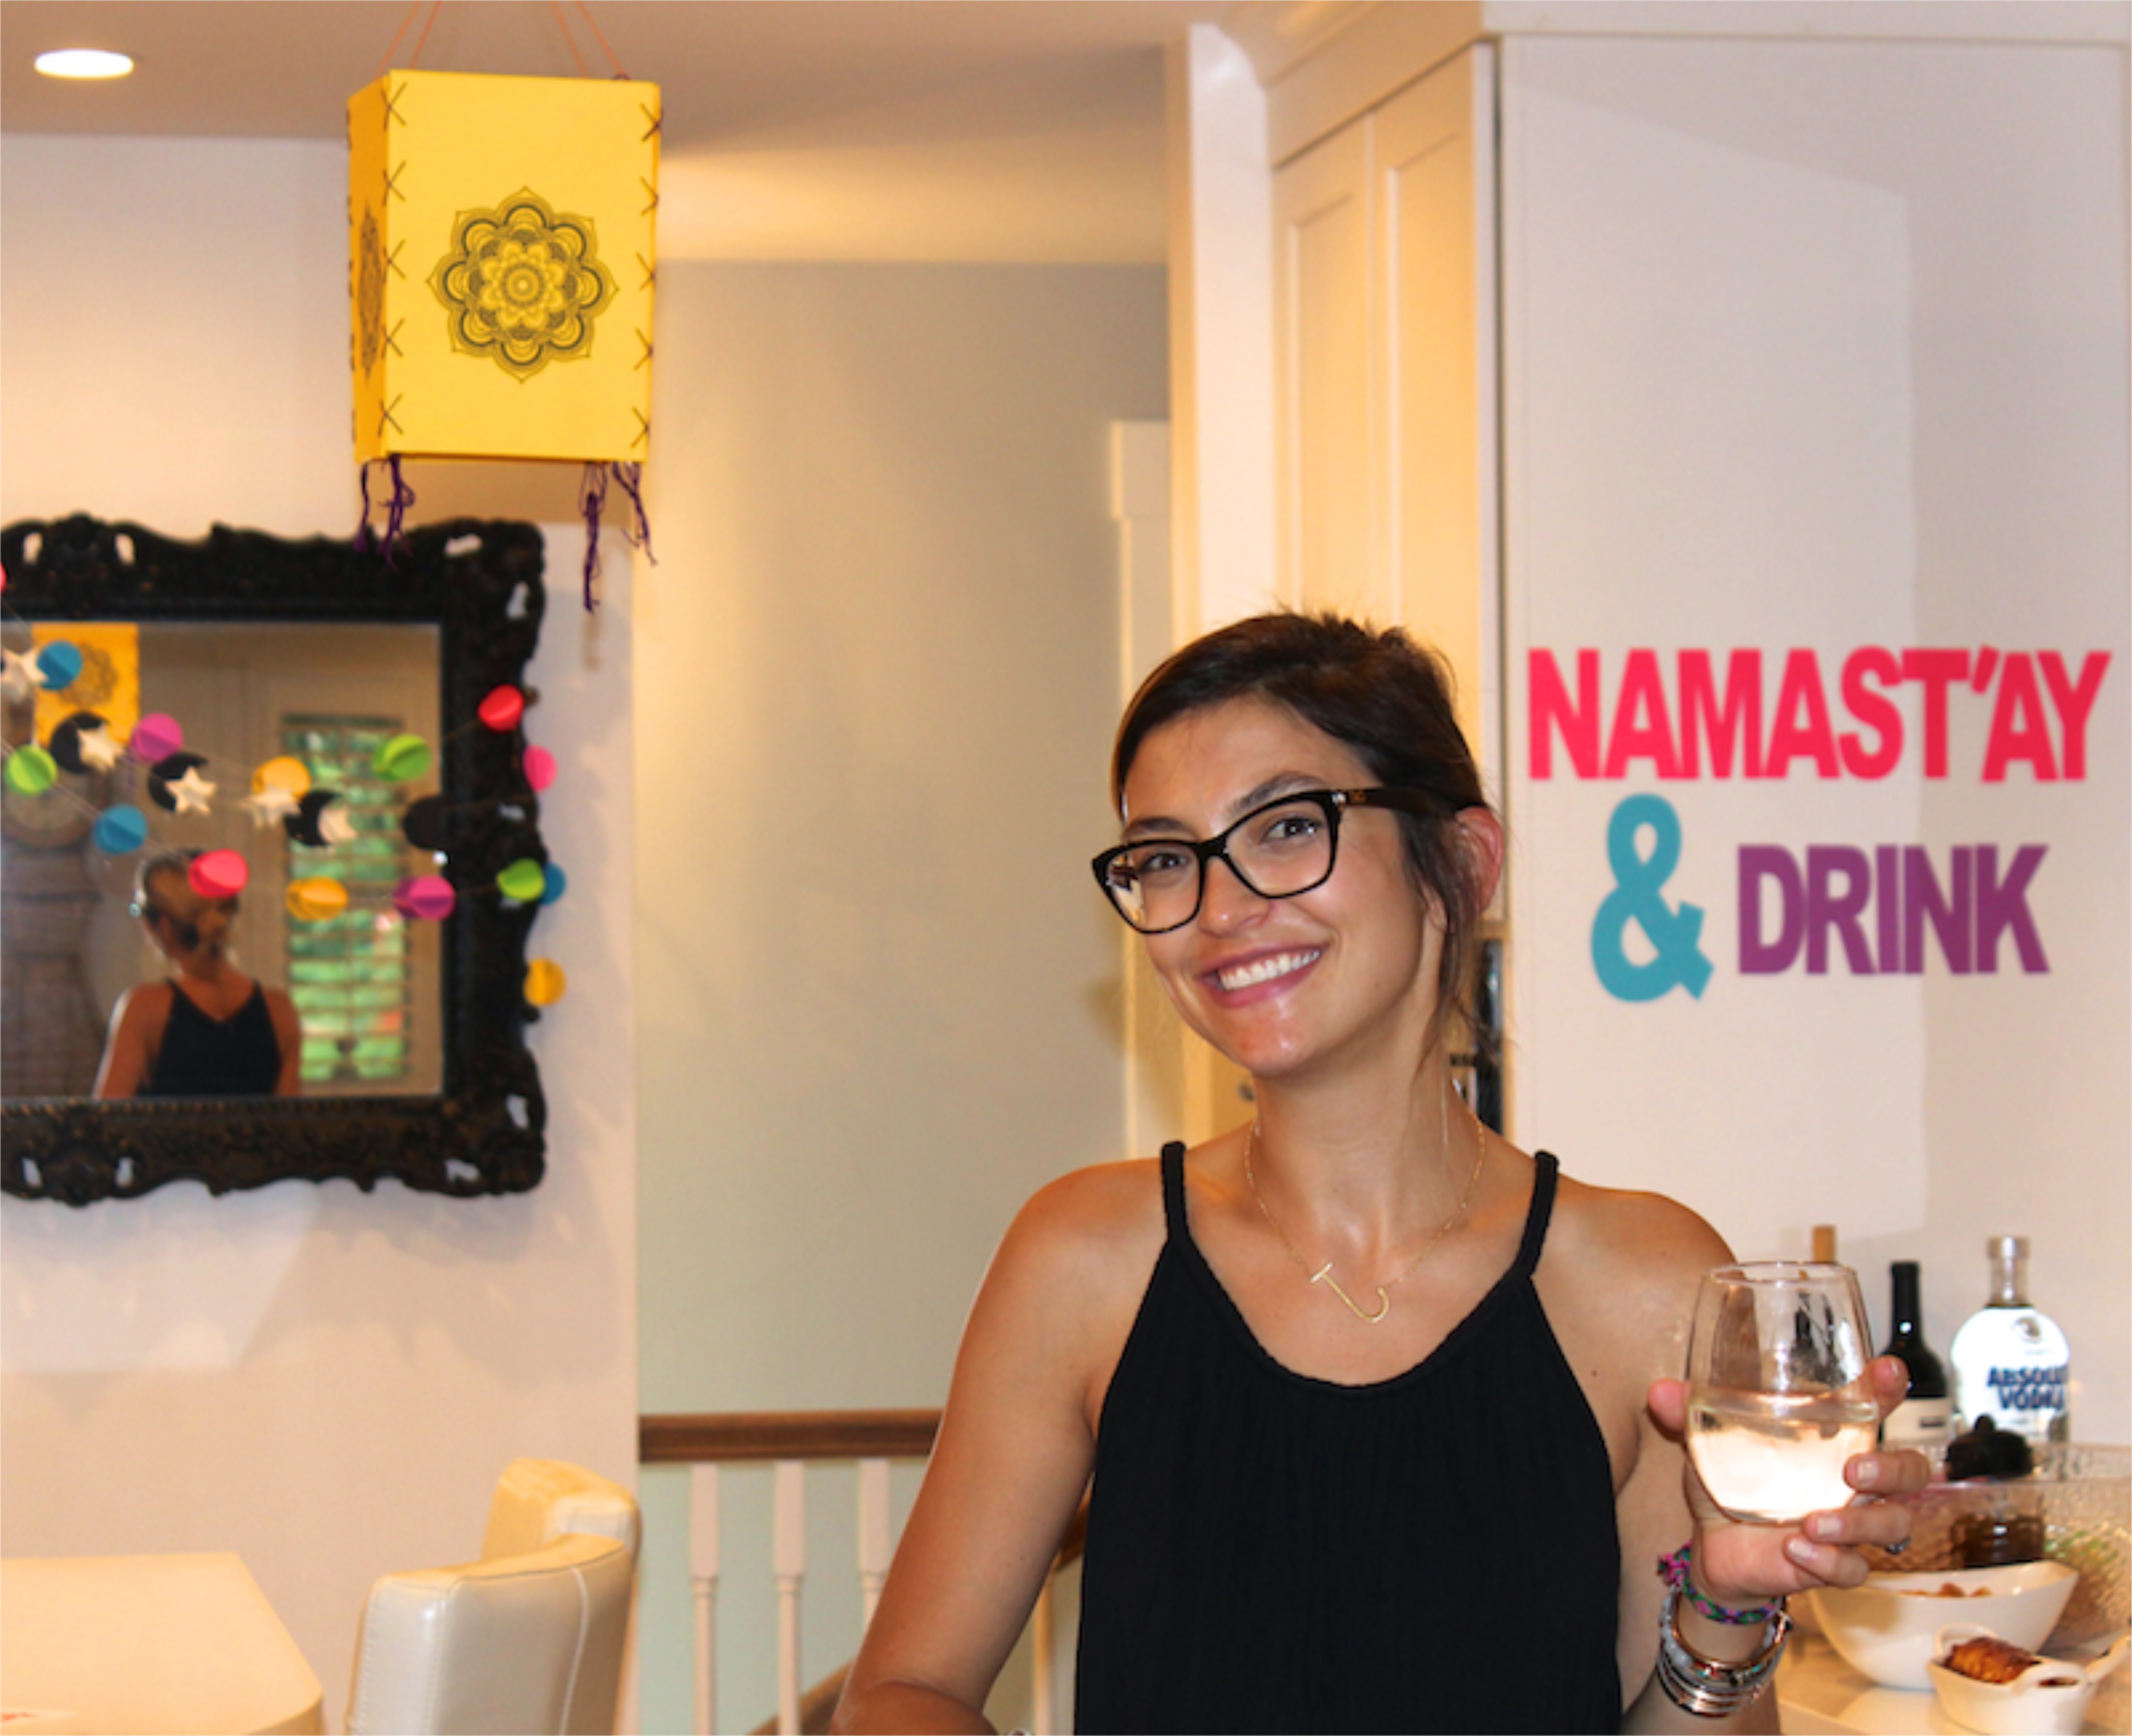
Bar Sign & Wall Decor
We’ve seen the Namaste play on words, such as Namast’ay in bed and Namast’ay a while, so we made our own sign with letters. The words read Namast’ay & Drink. It was placed strategically above the “bar.” This is as easy as printing and cutting letters. You can string the letters on twine, or hang them like we did with wall putty.
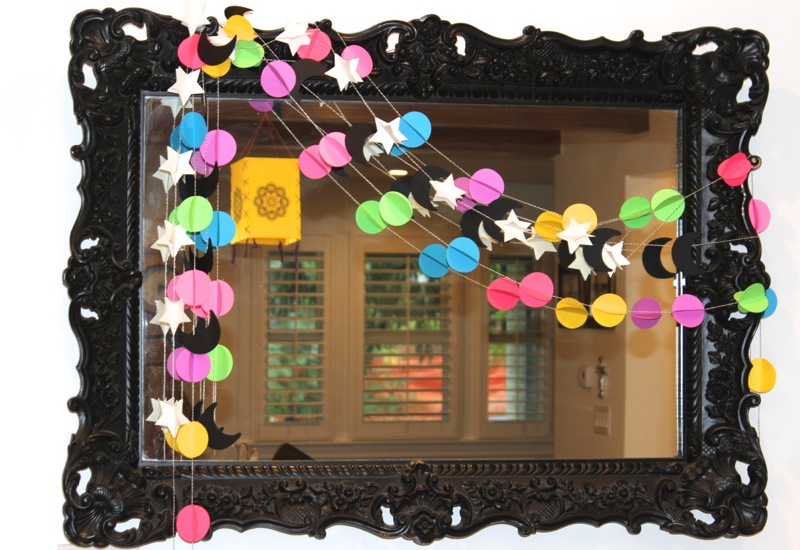
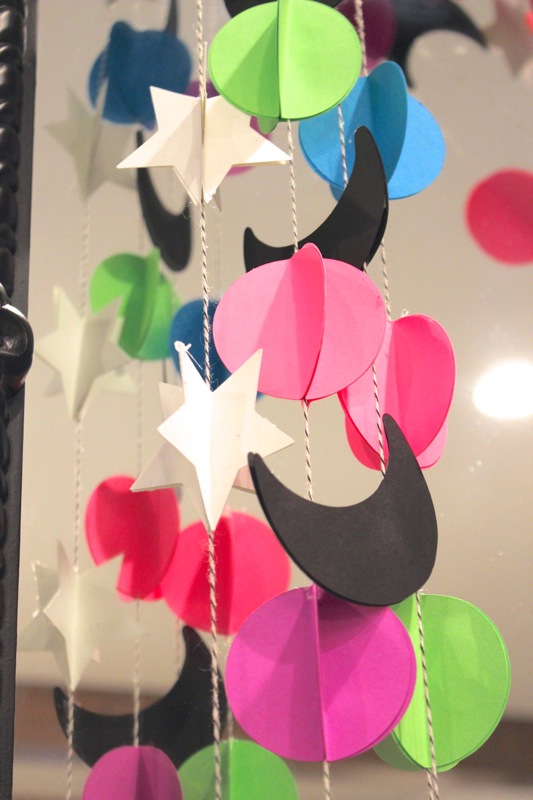
Vedic Astrology is rooted in a birth chart, the planets, stars and their patterns. We made a string of 3-D stars, circles and moons to hang at the party. We used a variety of colors on this banner, including Eclipse Black™, Pulsar Pink™, Sunburst Yellow™, Fireball Fuchsia™, Celestial Blue®, Martian Green™, Stardust White™ and Outrageous Orchid™. To make these shapes, cut circles and stars, fold them in half and glue them along a piece of twine, also gluing all the sides of the shapes together. For each 3D shape, you will need four parts, or shapes. For example, you will need 4 circles to make one 3D circle or ball.
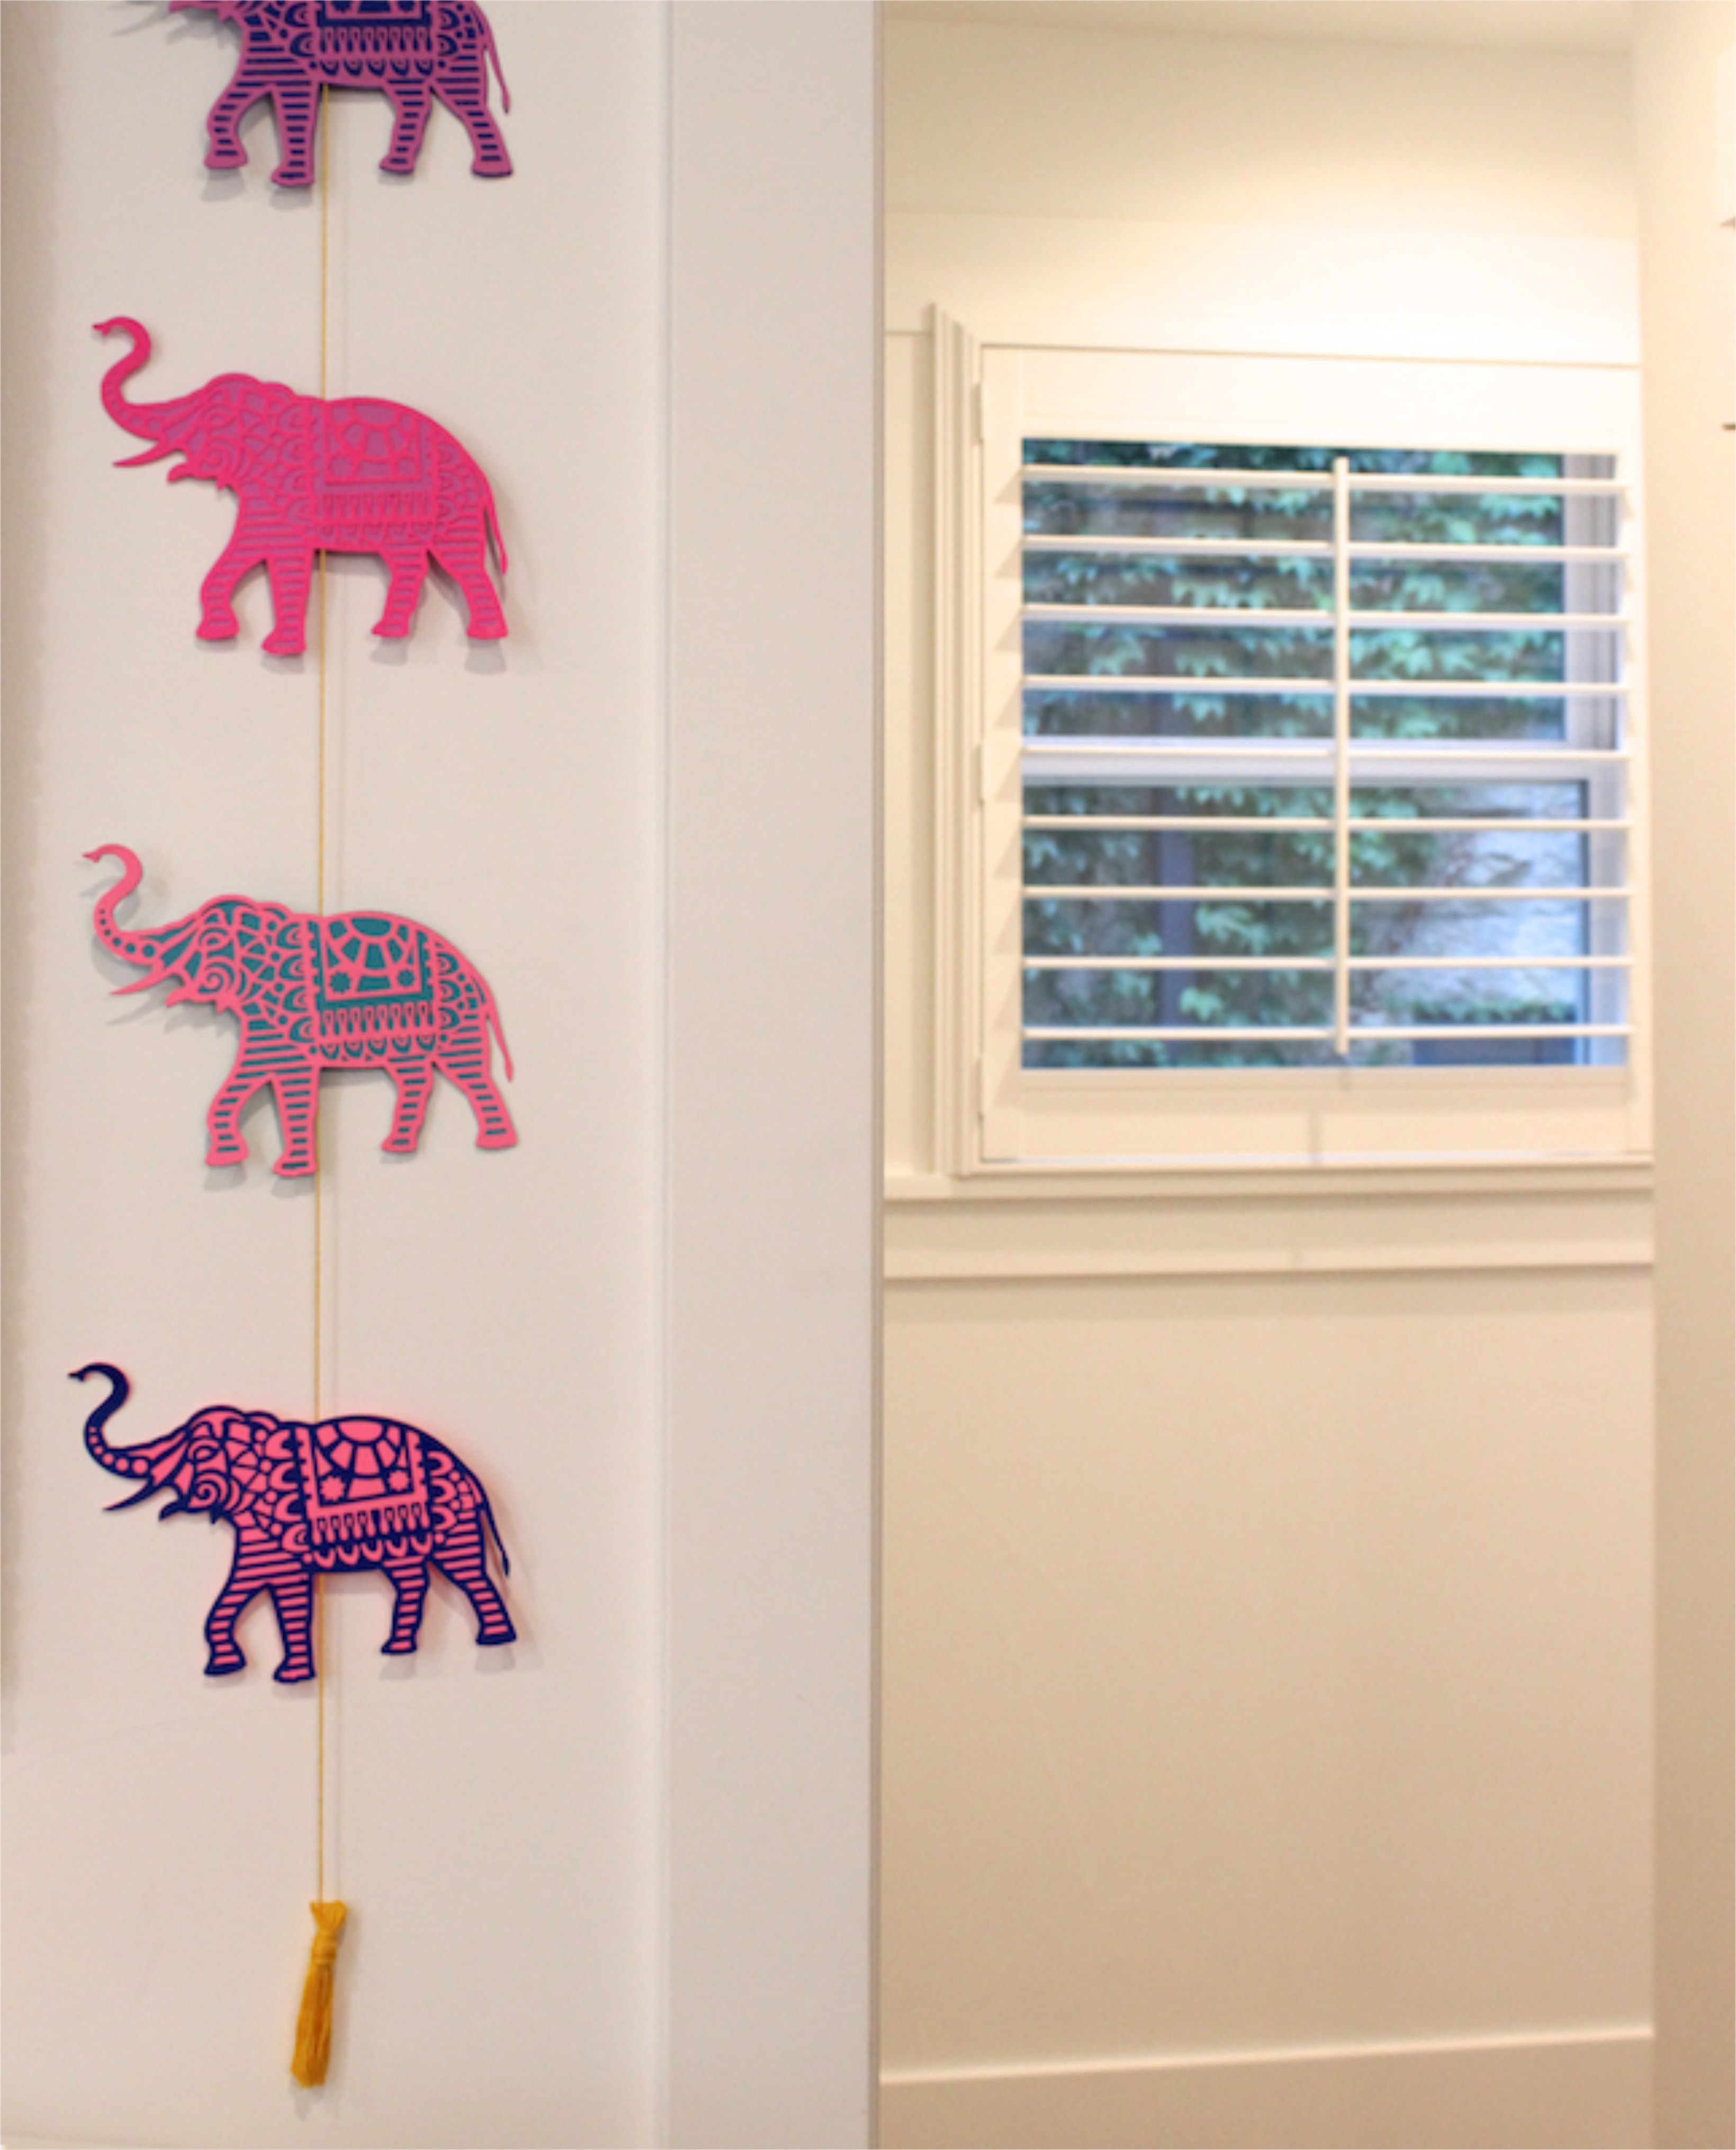
Elephants are a sacred symbol in Buddhist and Hindu religions, so we knew we wanted to incorporate them somehow. We traced and cut an elephant shape, and then used our Silhouette electronic cutting machine to cut intricate designs on another piece of color paper. We glued them together, and hung them from a long piece of embroidery string. If you don’t have a Silhouette, you can draw designs on the elephant, or even find a photo online with designs already on the elephant. The colors we used for the elephant are Pulsar Pink™, Terrestrial Teal™, Outrageous Orchid™, Fireball Fuchsia™ and Blast-Off Blue™.
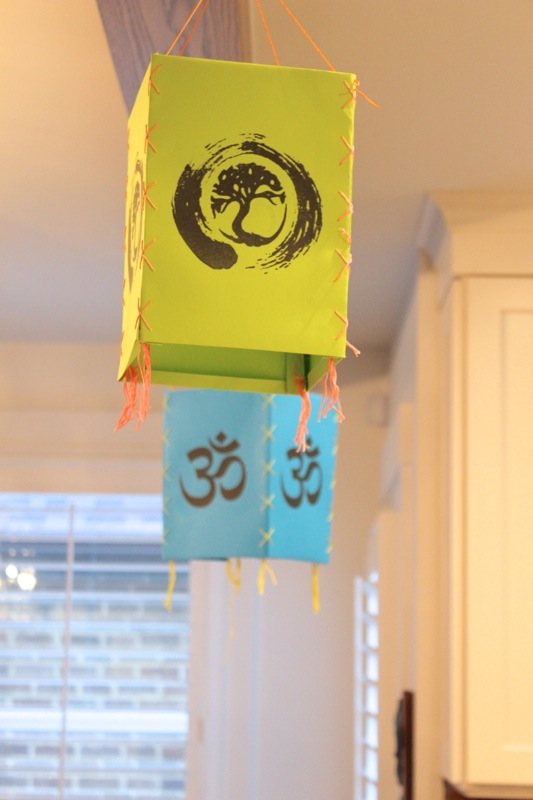
DIY Lanterns
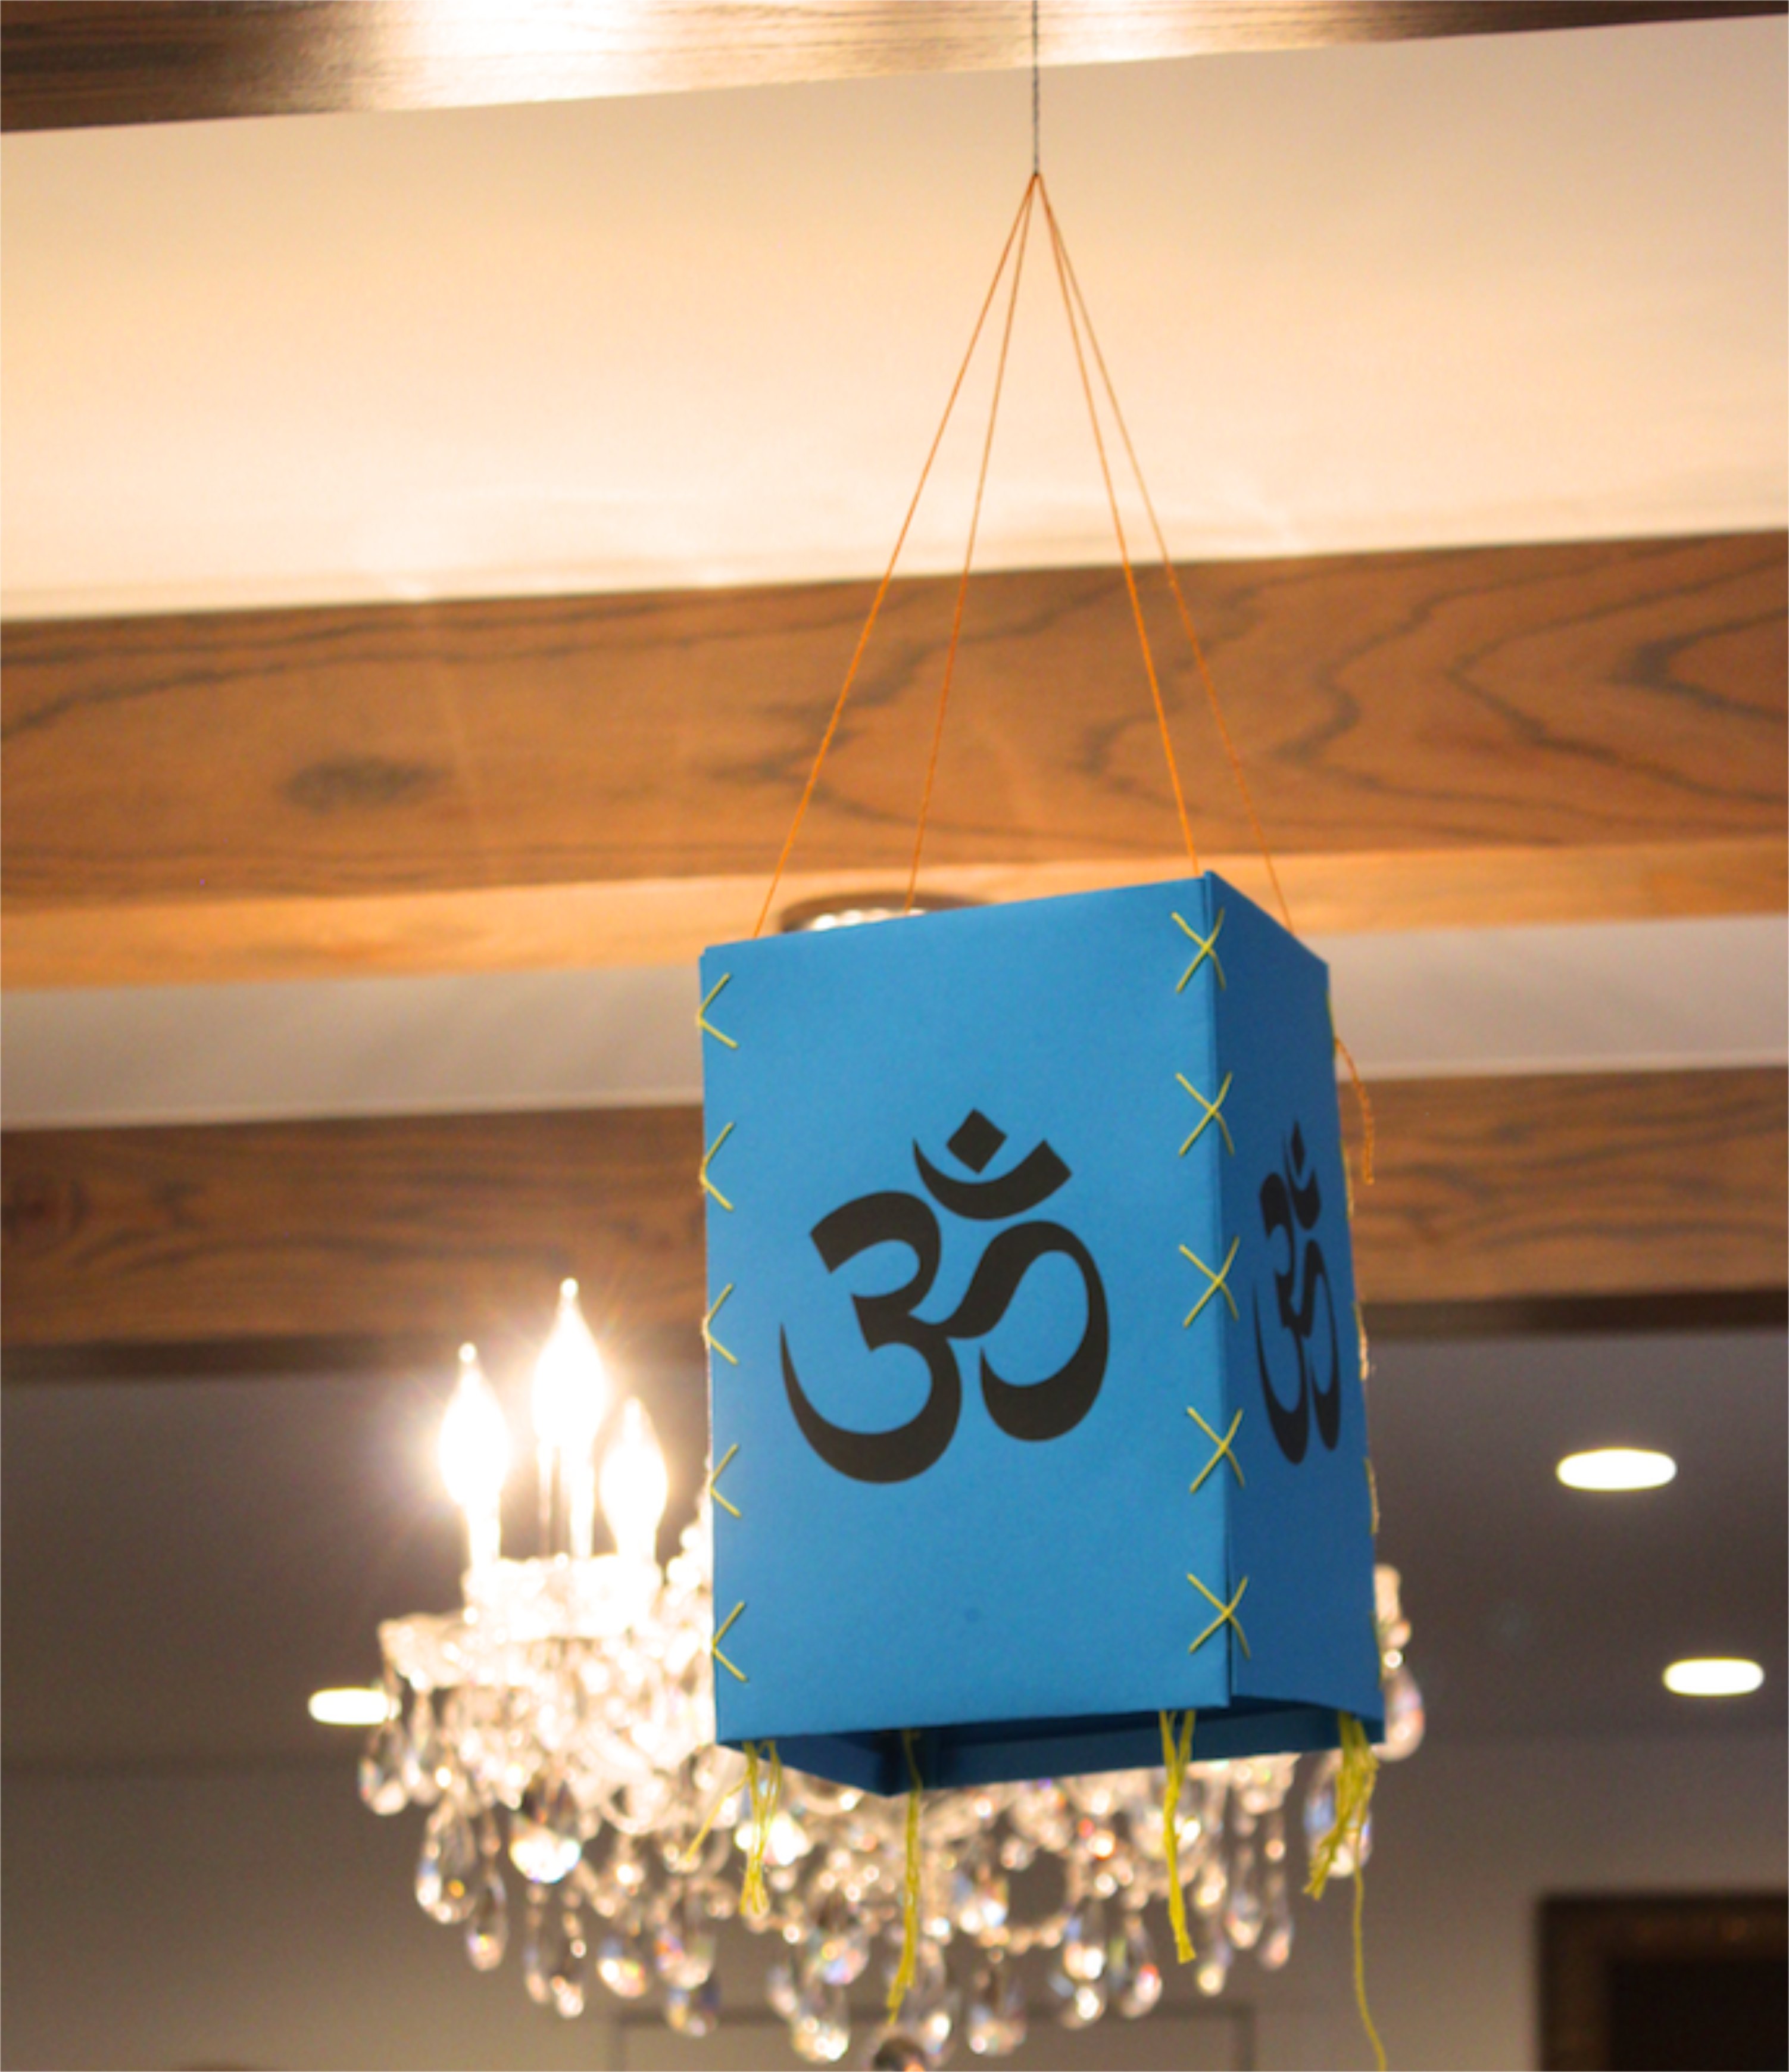
Jenna has a stunning chandelier hanging from her ceiling, so we couldn’t compete with that. But, we tried to add a an element from Sarita’s shop to help her feel right at home. That element was DIY Tibetan lanterns. We made DIY paper lanterns with traditional Buddhist symbols printed on them, including the Om symbol and the Hamsa Hand. Although they are traditionally handmade from lokta paper or cotton, the Astrobrights worked great!
Materials:
- Astrobrights Papers
- Hindu/Buddhism symbols
- Computer and printer
- Embroidery string
- Needle
Directions:
Step 1: Find images of traditional Buddhism or Hindu symbols online. Copy and paste into Microsoft Word.
Step 2: Resize image in Word, and then print in the center of four pieces of paper.
Step 3: Fold the bottom ½ inch and the side 1 inch. You want the fold to be on the backside of the image.
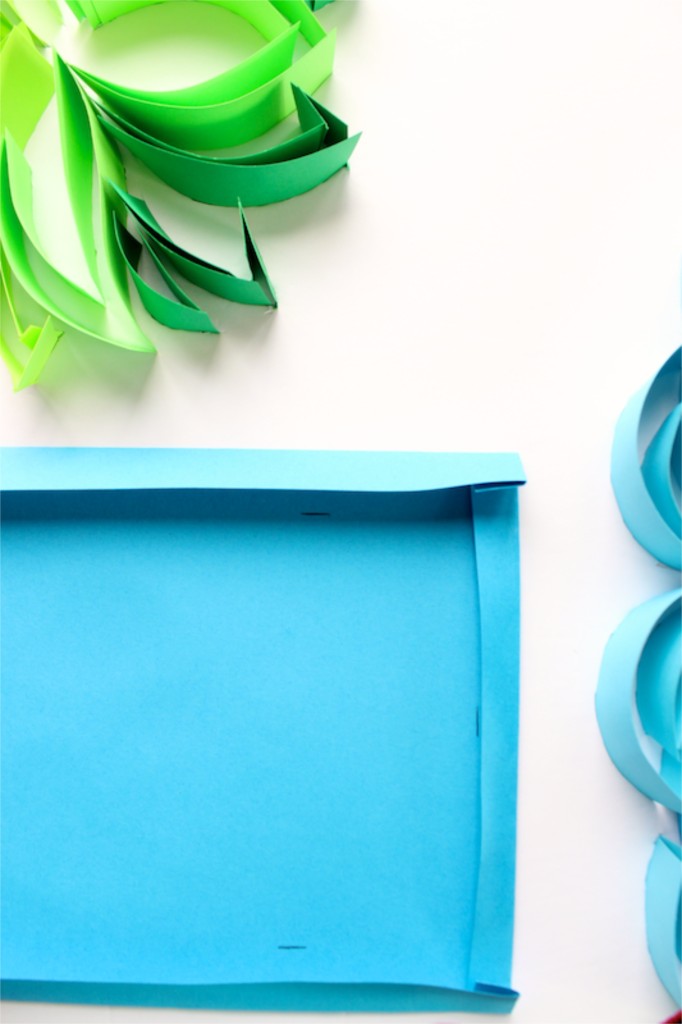
Step 4: Use a needle to prick holes every inch from the top to the bottom on the side of each paper through the fold. Repeat on all the sides of each sheet of paper (not the top and bottom edges).
Step 5: Tie a know at the end of a piece of string, and insert it from the back of one piece of paper, through the fold to the front, and then into one hold on another piece of paper. Essentially, you are “sewing” the sides of the lantern together. A cross-pattern worked best for us, but you can do whatever is easiest here. They just have to be attached to one another. We have NO sewing skills whatever, it’s just a pattern of going in through one hole and then up through another.
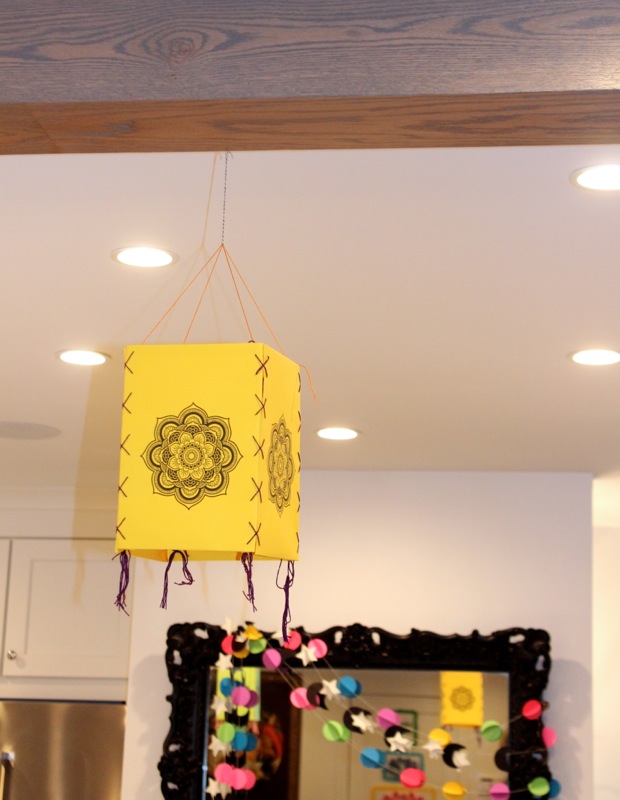
Step 6: Once all the sides are sewn together, add 4 equal pieces of string to the top of each lantern (either glue the string or attach it to the existing string) to hang it from the ceiling. For extra flair, add little tassels to the bottom of each corner of the lantern. Command hooks worked great to hang the lanterns. For this DIY, we used Sunburst Yellow™, Terra Green™ and Celestial Blue®.
As we face our busy days, our malas will serve as a reminder to bring a little love and light to everything we do. And, we will certainly remember this special night with family where we shared our stories, and laughed our way through bead making.
This post is in partnership with Astrobrights Papers. We were crafting with Astrobrights Papers paper long before this post. It’s always been a fave product of ours. Thank you for supporting the brands that support j. sorelle. Astrobrights was one of the first, so we are very grateful.
Affiliate Disclosure: This post contains affiliate links, which means j. sorelle receives a small commission from the sale of certain items; however, the price is the same for you, whether it’s an affiliate link or not.