it’s a wrap

If you’re like me, you still have to organize and wrap all your gifts this year.  The clock is ticking…3 days to go until Santa arrives.

I know I’m opting for the brown paper packages tied up with string {aka, Kraft paper/red and white striped twine} for my wrapping this year… I love the way it looks together – so simple, yet festive and a bit rustic.

Use your creativity to wrap gifts this year. It’s all about the presentation people! I know it’s more work and it will be ripped off in a matter of minutes or even seconds, but a beautifully wrapped present under the tree, or even brought to a party is a statement piece and shows that you went above and beyond to make this holiday special.

Here are some wrapping tips to help you and/or your elves wrap this year!

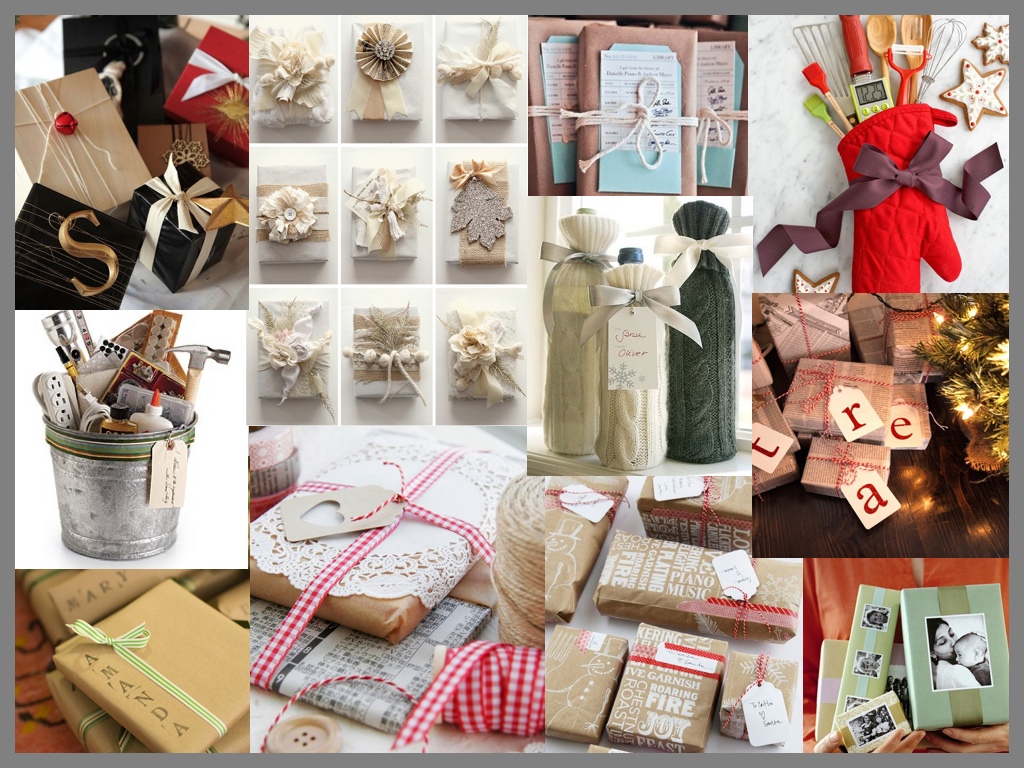
1. Upcycle: Use objects sitting in your closet or garage that you’re not using anymore. Use an old sweater for a warm and cozy gift-wrapped bottle of wine. Step by step instructions for a DIY Wine Wrap found at Grey Likes Weddings. I love the idea of using maps, newspaper, doily’s and recyclable shopping bags. You won’t need to spend more money on wrapping paper, it gives your gift character and some shopping bags out there are cuter than wrapping paper. 🙂 For how-to instructions on how to wrap your gifts using Trader Joe’s shopping bags {photo on the bottom row, 2nd from the right}, visit A Creative Mint.
2. Embellish: Whether it’s a flower made from burlap, ribbon or paper, initials, buttons, bells, feathers, ornaments or candy, add something unique to seal your gift. Directions on how to make a fabric pom {seen on the photo on top row, 2nd from the left} can be found at Style Me Pretty.
3. Use your creativity: Everyone’s loves the original look of children’s artwork, so why not have your child draw holiday designs on Kraft paper or solid-colored wrapping paper. A book wrapped in Kraft paper, topped off with a library card and wrapped in twine is so adorable and thoughtful for the reader in your life.
4. Think outside the box: For the baker in your life, present your kitchen utensils in a hot mitten wrapped with a big bow. Or for the tool lover or first-time homeowner, make an arrangement of tools and house necessities in a galvanized bucket.
5. Personalize: Create a modern, handmade wrapped gift using stamps to spell out the recipient’s name, or add a new or old photo to the top of the present so he/she will know who the gift is for, and also have a snapshot to add to their memory books.

{images via Style Me Pretty, A Creative MintThe Haystack Needle, Allora Handmade, Martha Stewart, Pinterest and Design Sponge}

DIY Peppermint Serving Tray

diy peppermint serving tray

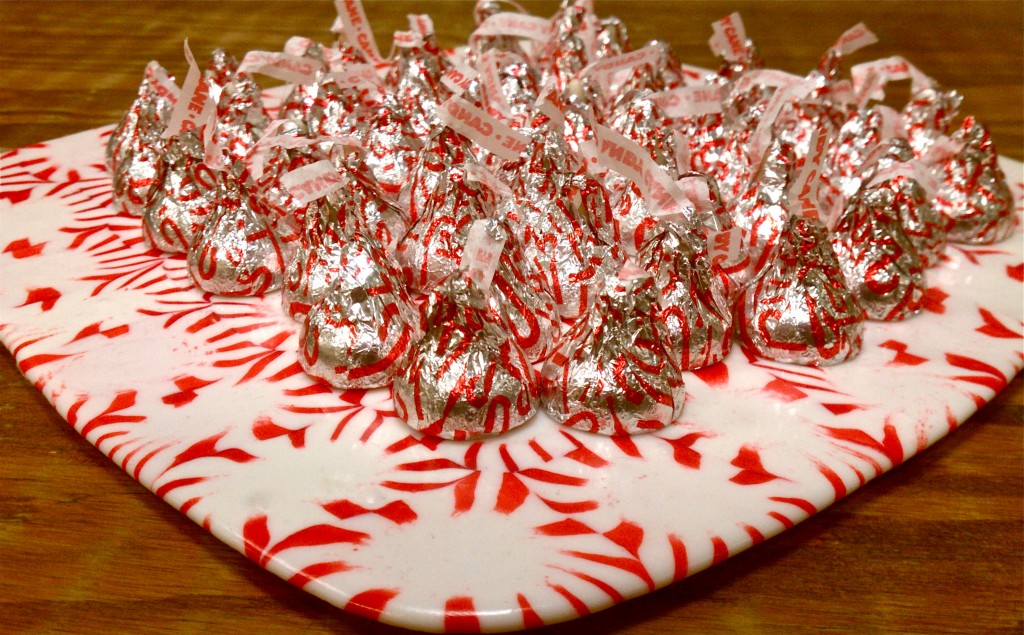
I am officially obsessed with these candy serving trays…and guess who I got the idea from?!

Hosea Rosenberg, founder and chef of BlackBelly Catering.
Yes, he’s also the Top Chef Season 5 winner 🙂
Jenna and I met him at Anne Be’s Five party a few weeks ago, and he was kind enough to share this creative idea with me!
{Thanks, Hosea!}

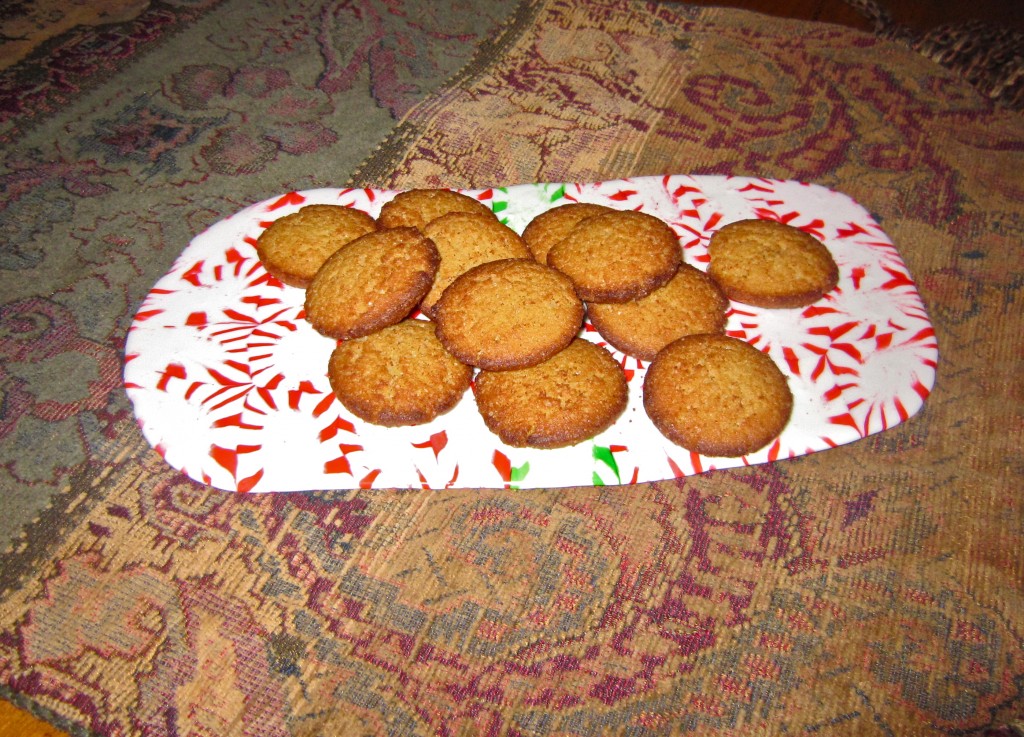
This DIY serving tray is adorable to serve your holiday cookies, apps or drinks! It’s an easy {and cheap} way to add a little something extra to your holiday treats.

 Hosea’s beautiful creation at Five:

Mint Serving Tray

You’ll need:
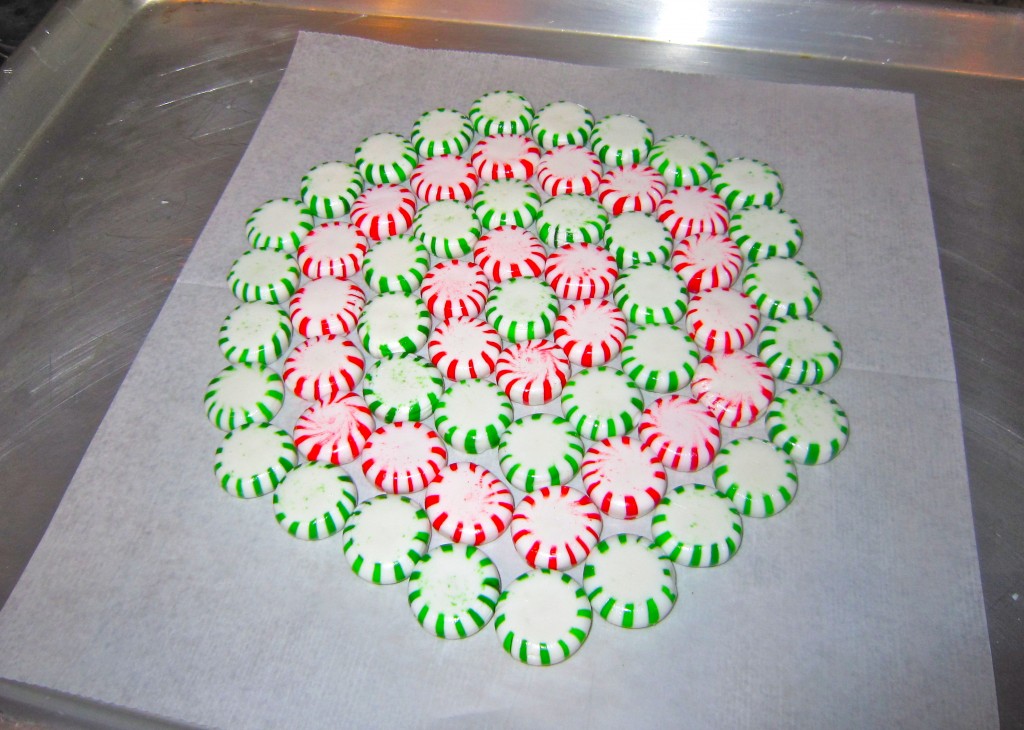
Brach’s Starbright Mints {we bought mints from Candy Crate}
a cookie sheet
parchment or wax paper {I used wax paper, but heard parchment paper works better!}
your oven

How To:
1. Heat oven to 350 degrees
2. Place wax paper on cookie sheet
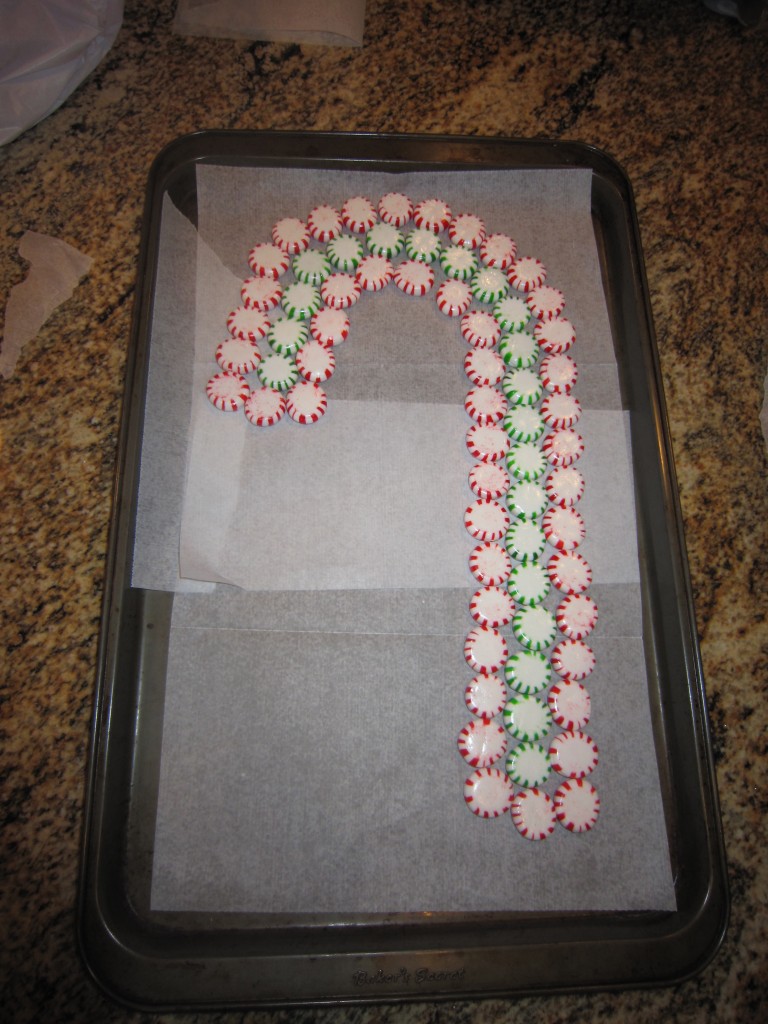
3. Arrange mints in any design you wish on top of wax paper or parchment paper on a cookie sheet {allowing extra room on the sides}
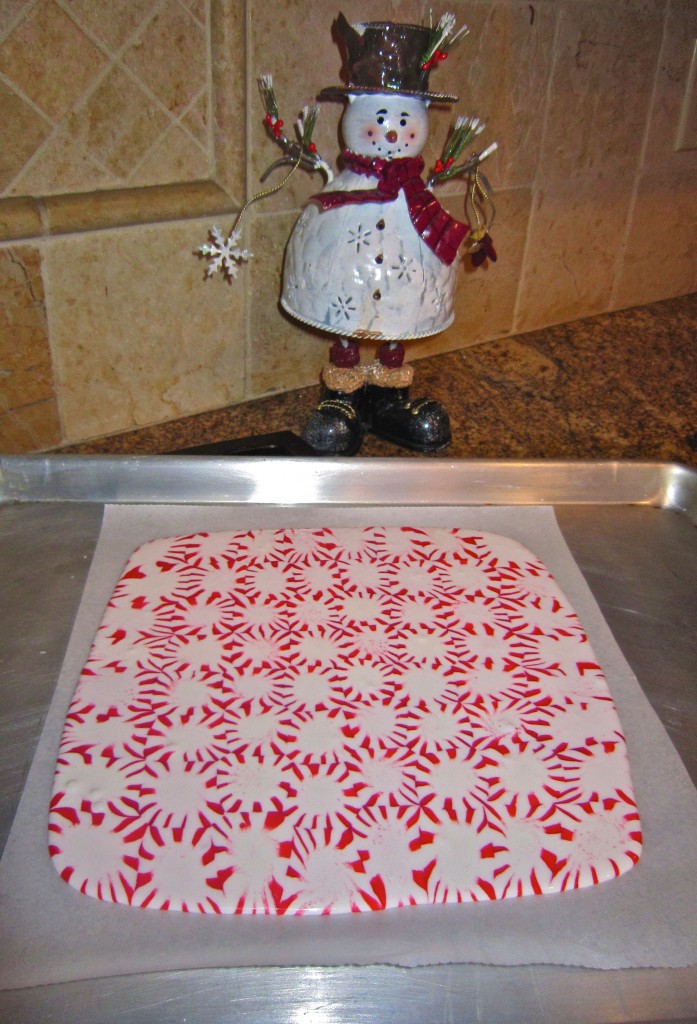
4. Bake for approximately 8-10 minutes
5. Take out and allow to cool on cookie sheet {cools in approximately 5 minutes}
6. Remove wax paper from bottom {be careful, tray is fragile and breaks easily}

Voila!  A beautiful serving tray!

jennawalkerphotographers_080

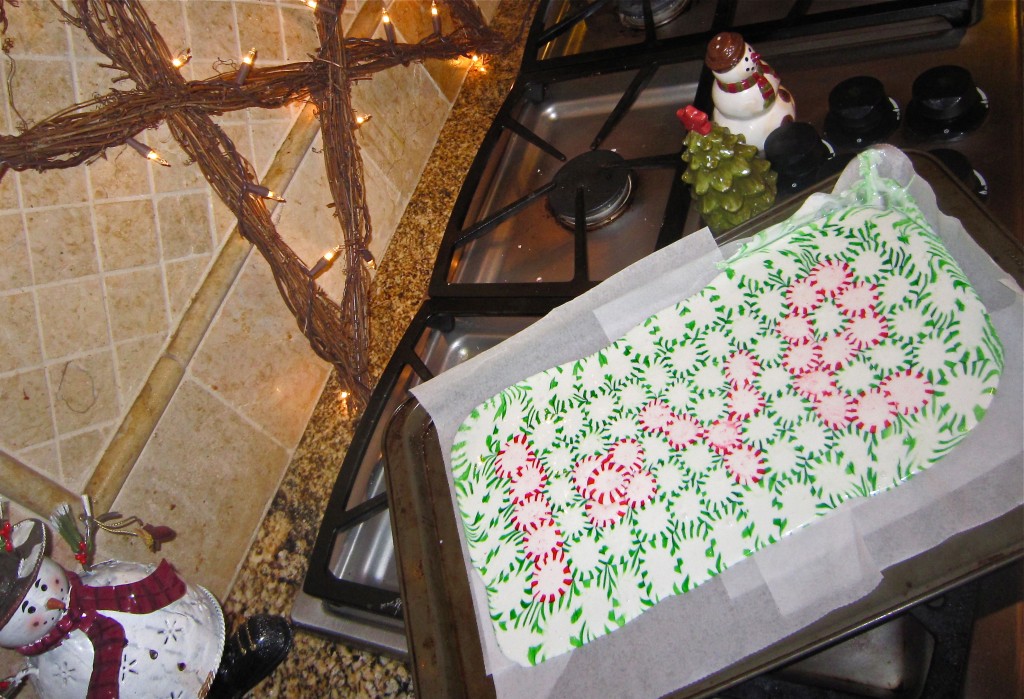
{Don’t forget your wax paper underneath the mints!
… lesson learned on this tray because it never made it off the cookie sheet in one piece!}

diy starlight mints

candy-cane-peppermint-serving-tray

melted peppermint serving tray

melted-peppermint-serving-tray

diy-peppermint-serving-tray

sending love…

love-melted-peppermint-serving-tray

{images via Tutto Bella & Jenna Walker Photographers}

holiday treats

My mouth is drooling over these yummy and festive holiday treats!
Great ideas to bring to your holiday parties over the weekend 🙂

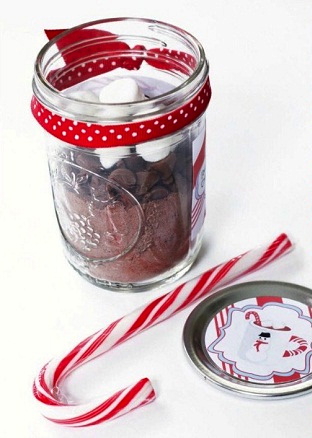
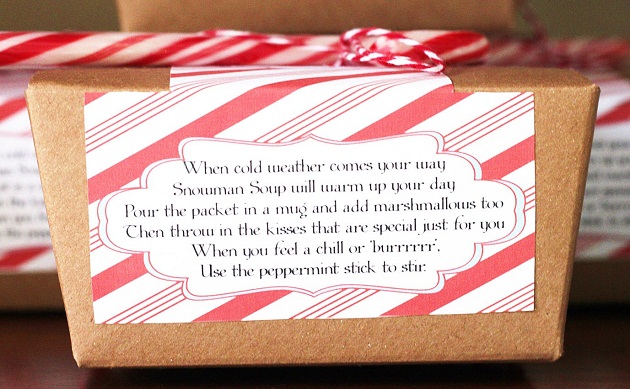
Snowman Soup, found at Celebrations at Home
original source and FREE printables at Paper & Pigtails

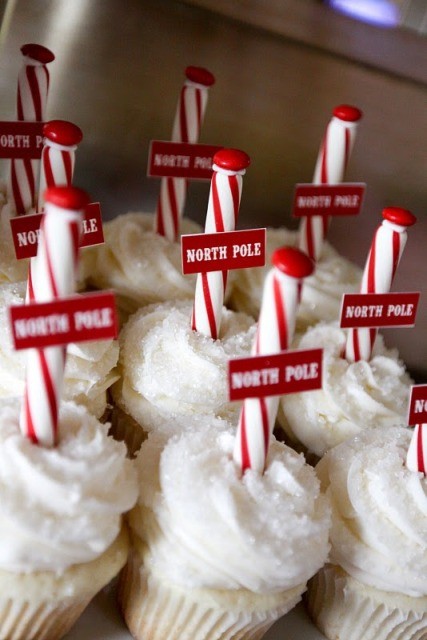
North Pole Cupcakes, Pinterest

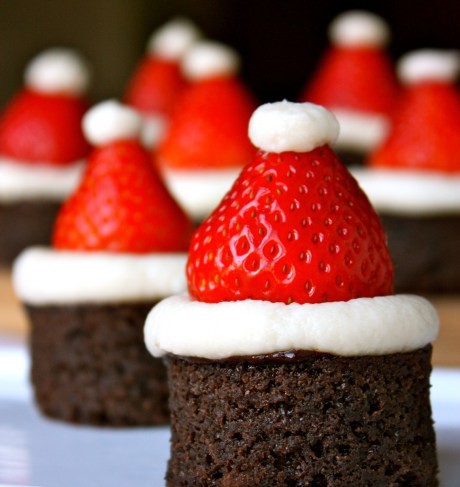
Santa Hat Brownies at Daisy’s World

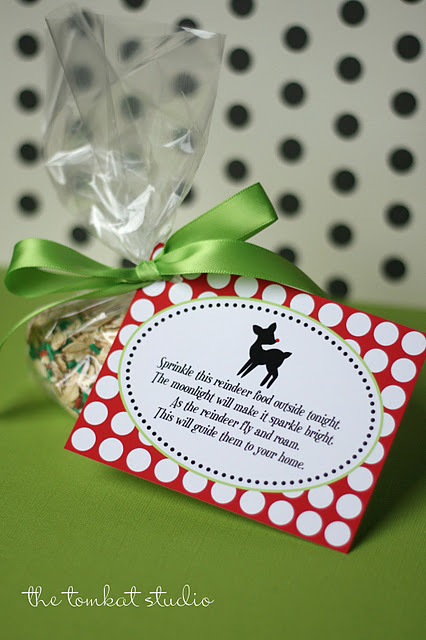
Reindeer Food and FREE printables at TomKat Studio

Cheese Tree from Cabot Vermont

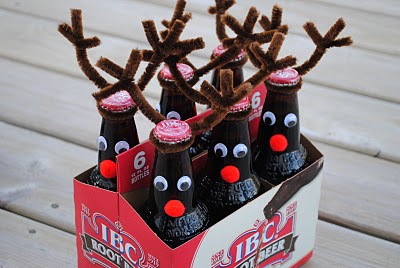
Rootbeer {or beer} Reindeer seen at Life of a Modern Mom
 

{images via Celebrations at HomeTomKat Studio, Cabot Vermont, Life of a Modern Mom, Daisy’s World & Pinterest}

’tis wreath season

My holiday DIY projects are ongoing here at my house. I think it’s beginning to drive my husband crazy when he comes home to craft projects every night, but the kids and I have had fun inside making gingerbread houses, wreaths and cookies during the freezing, arctic cold temperatures outside.

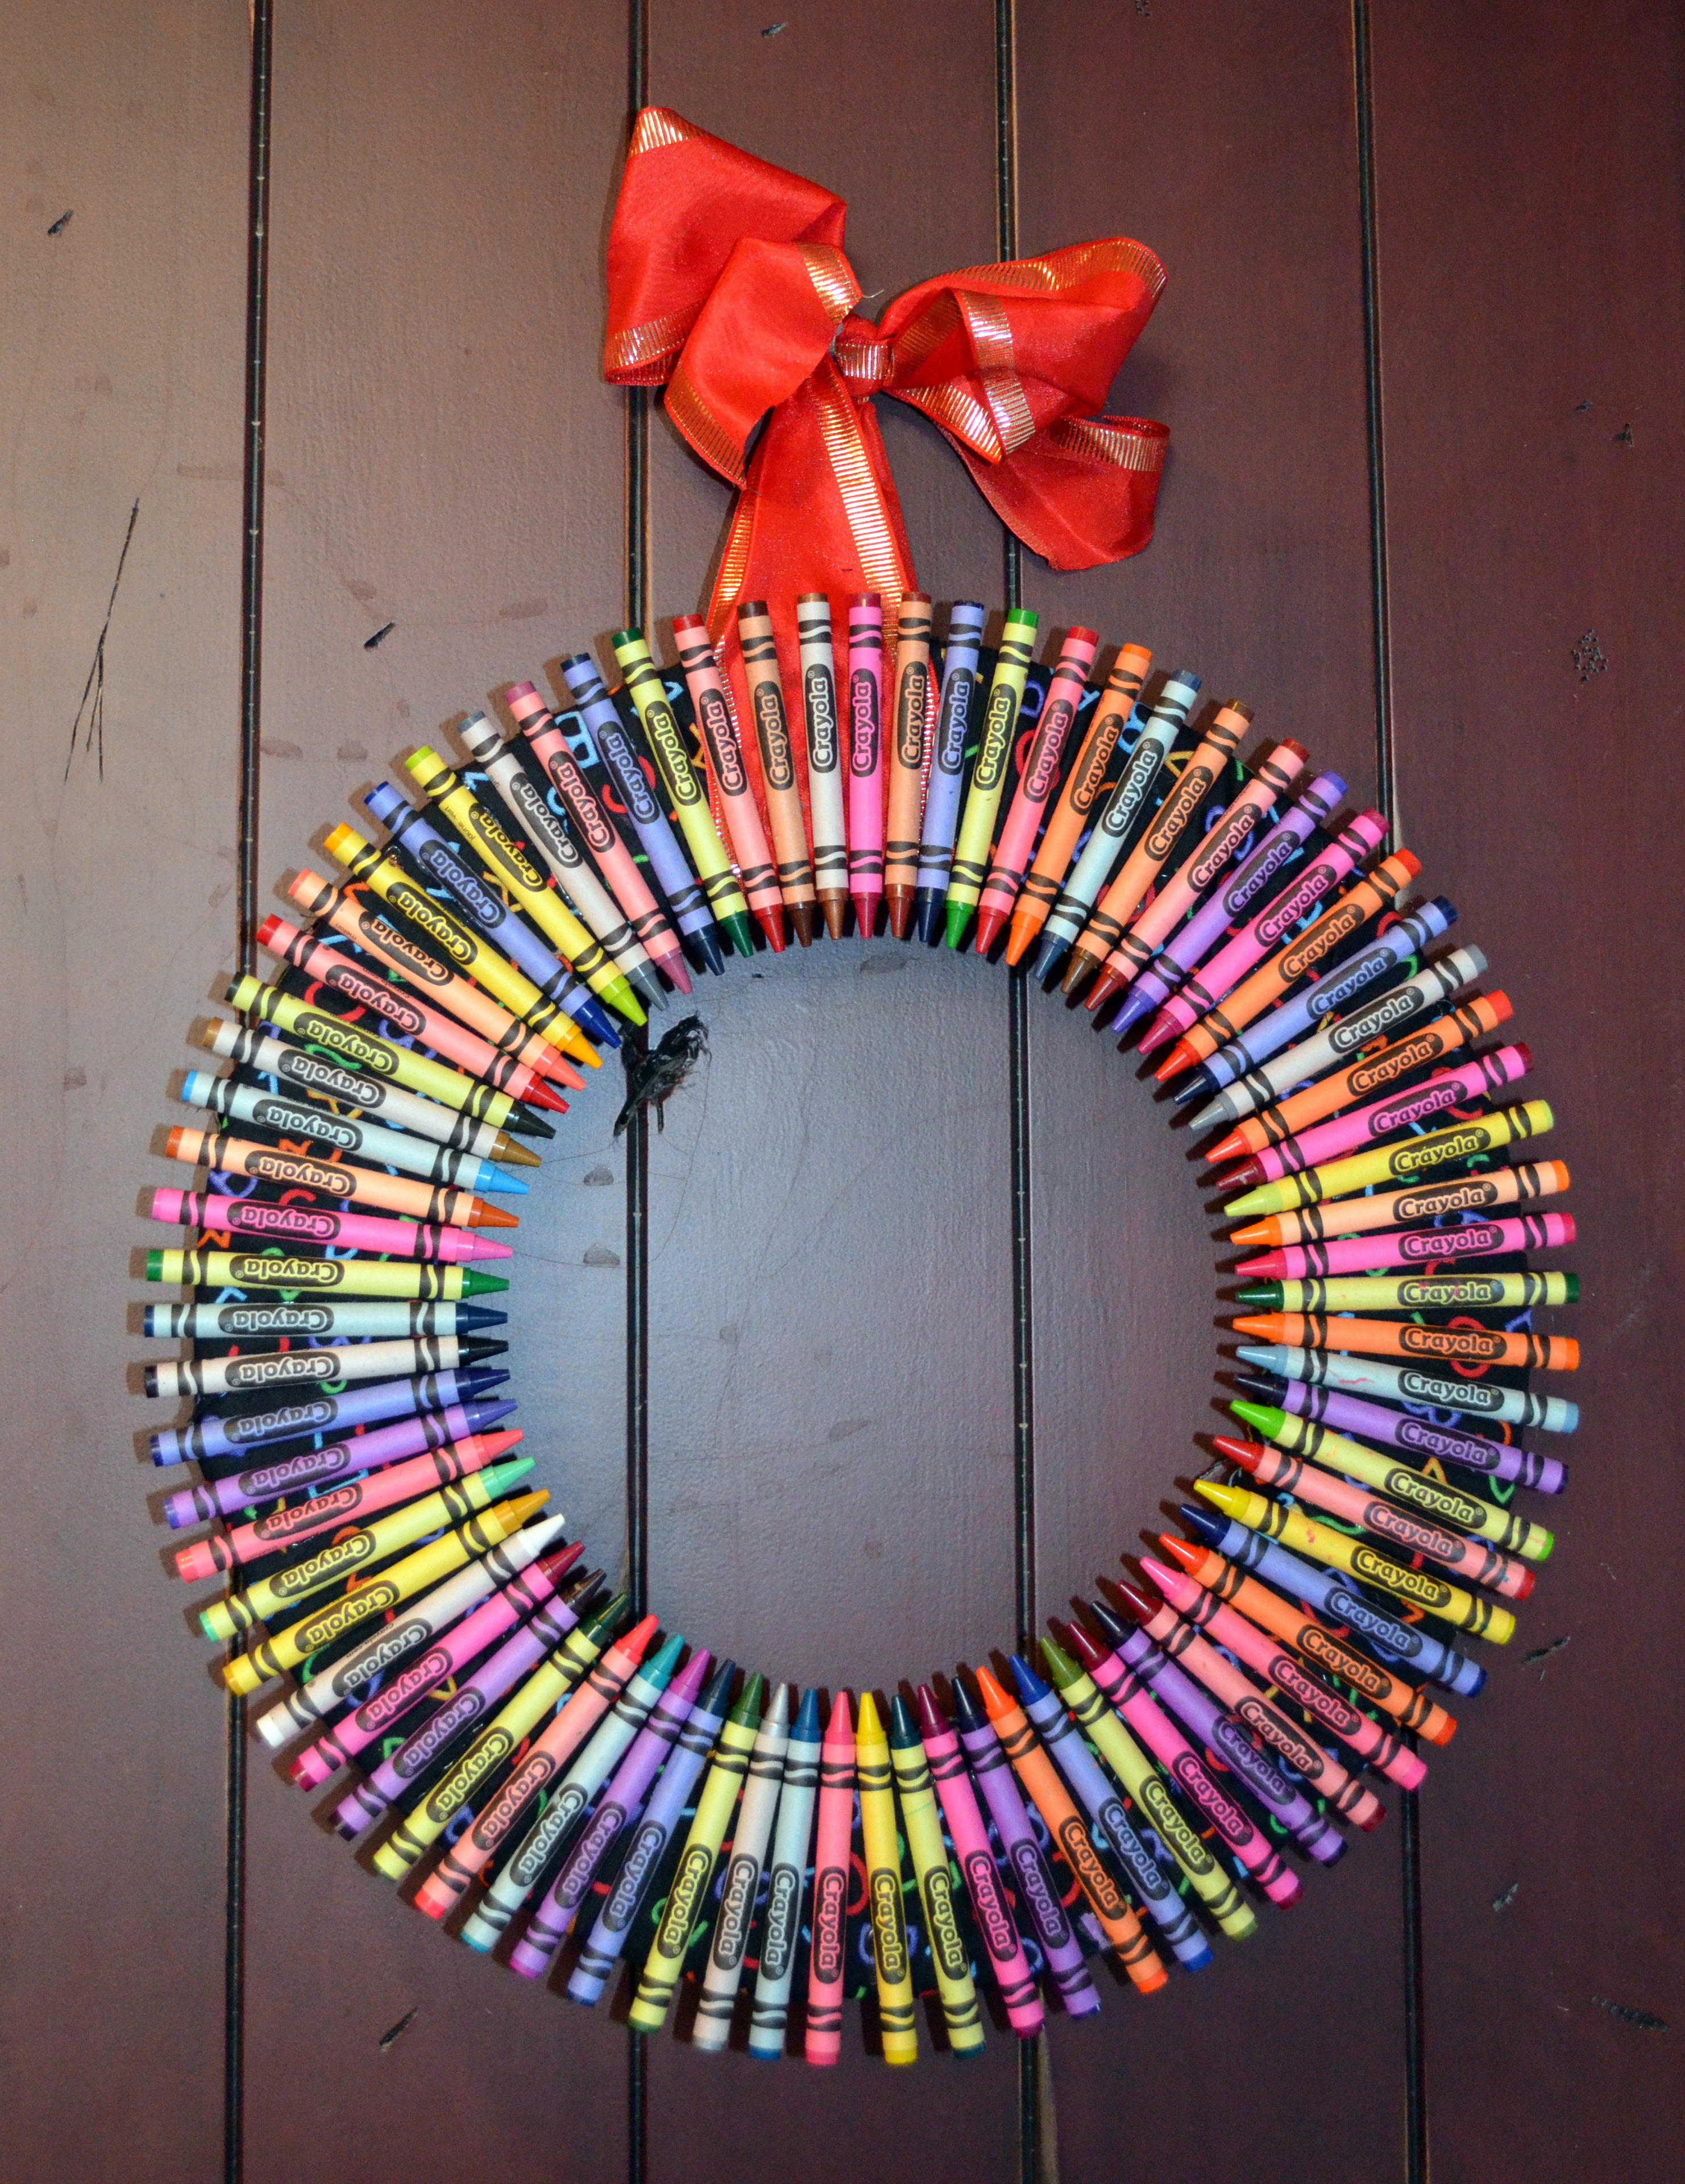
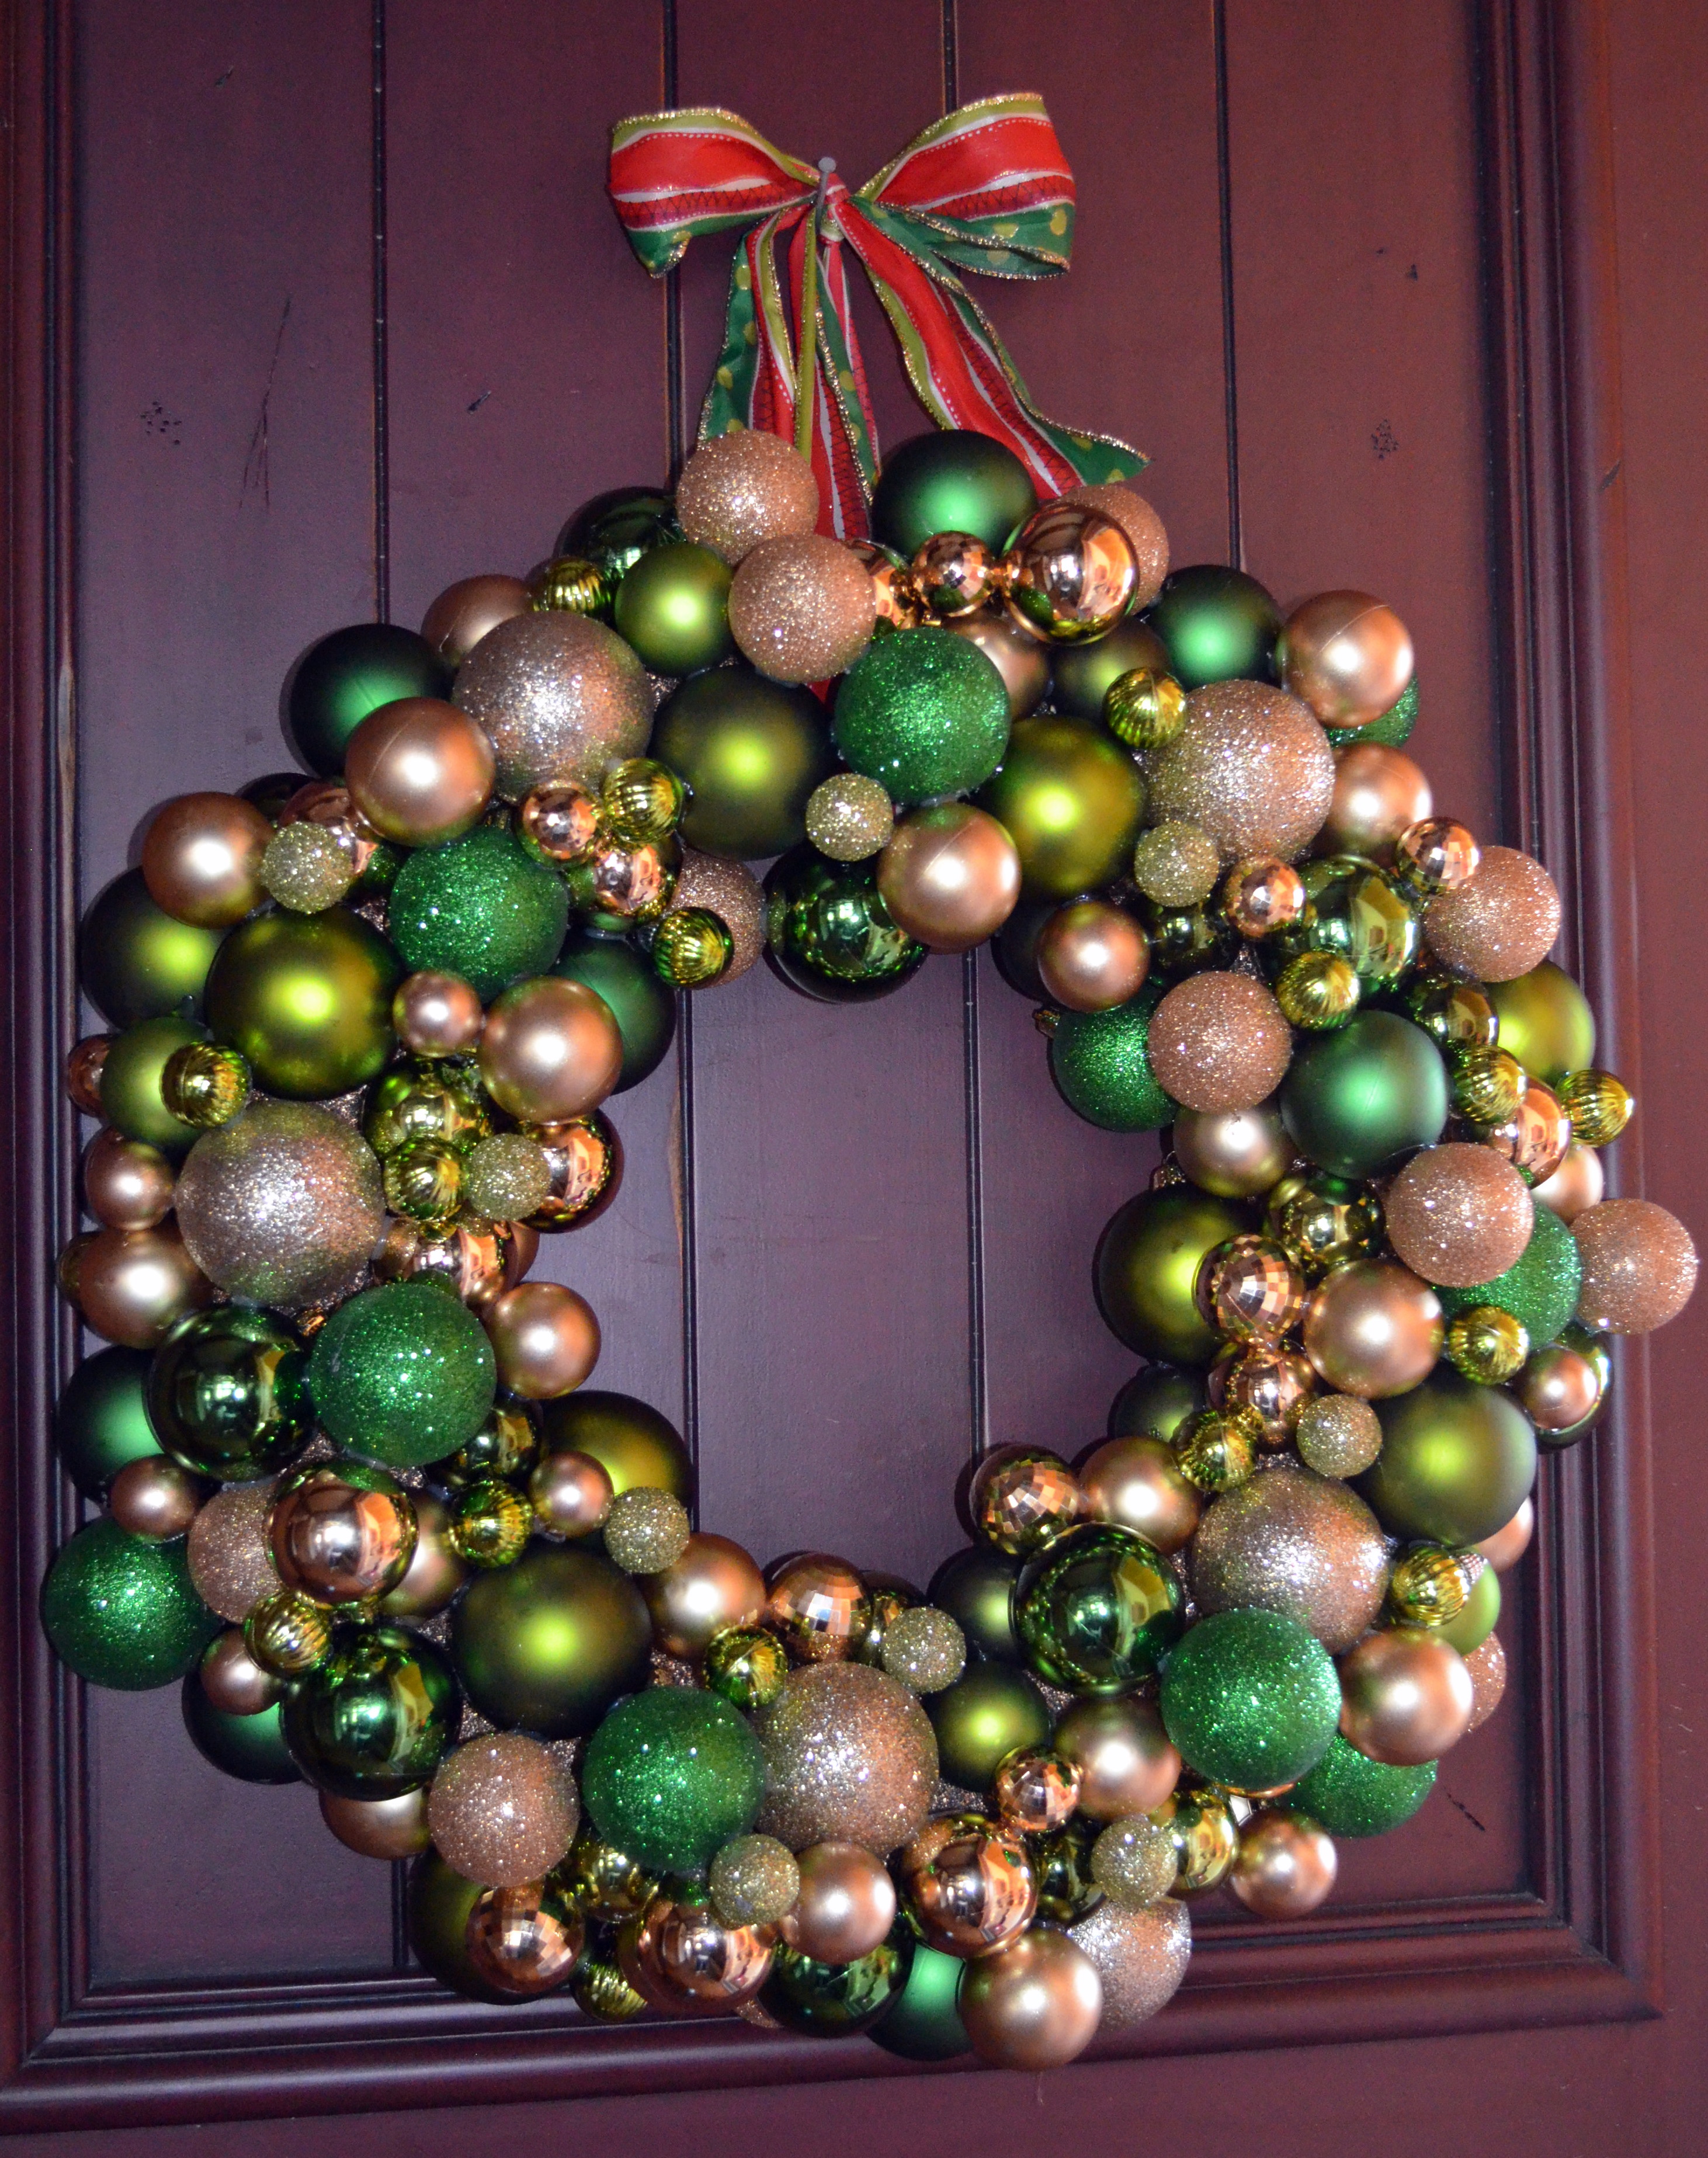
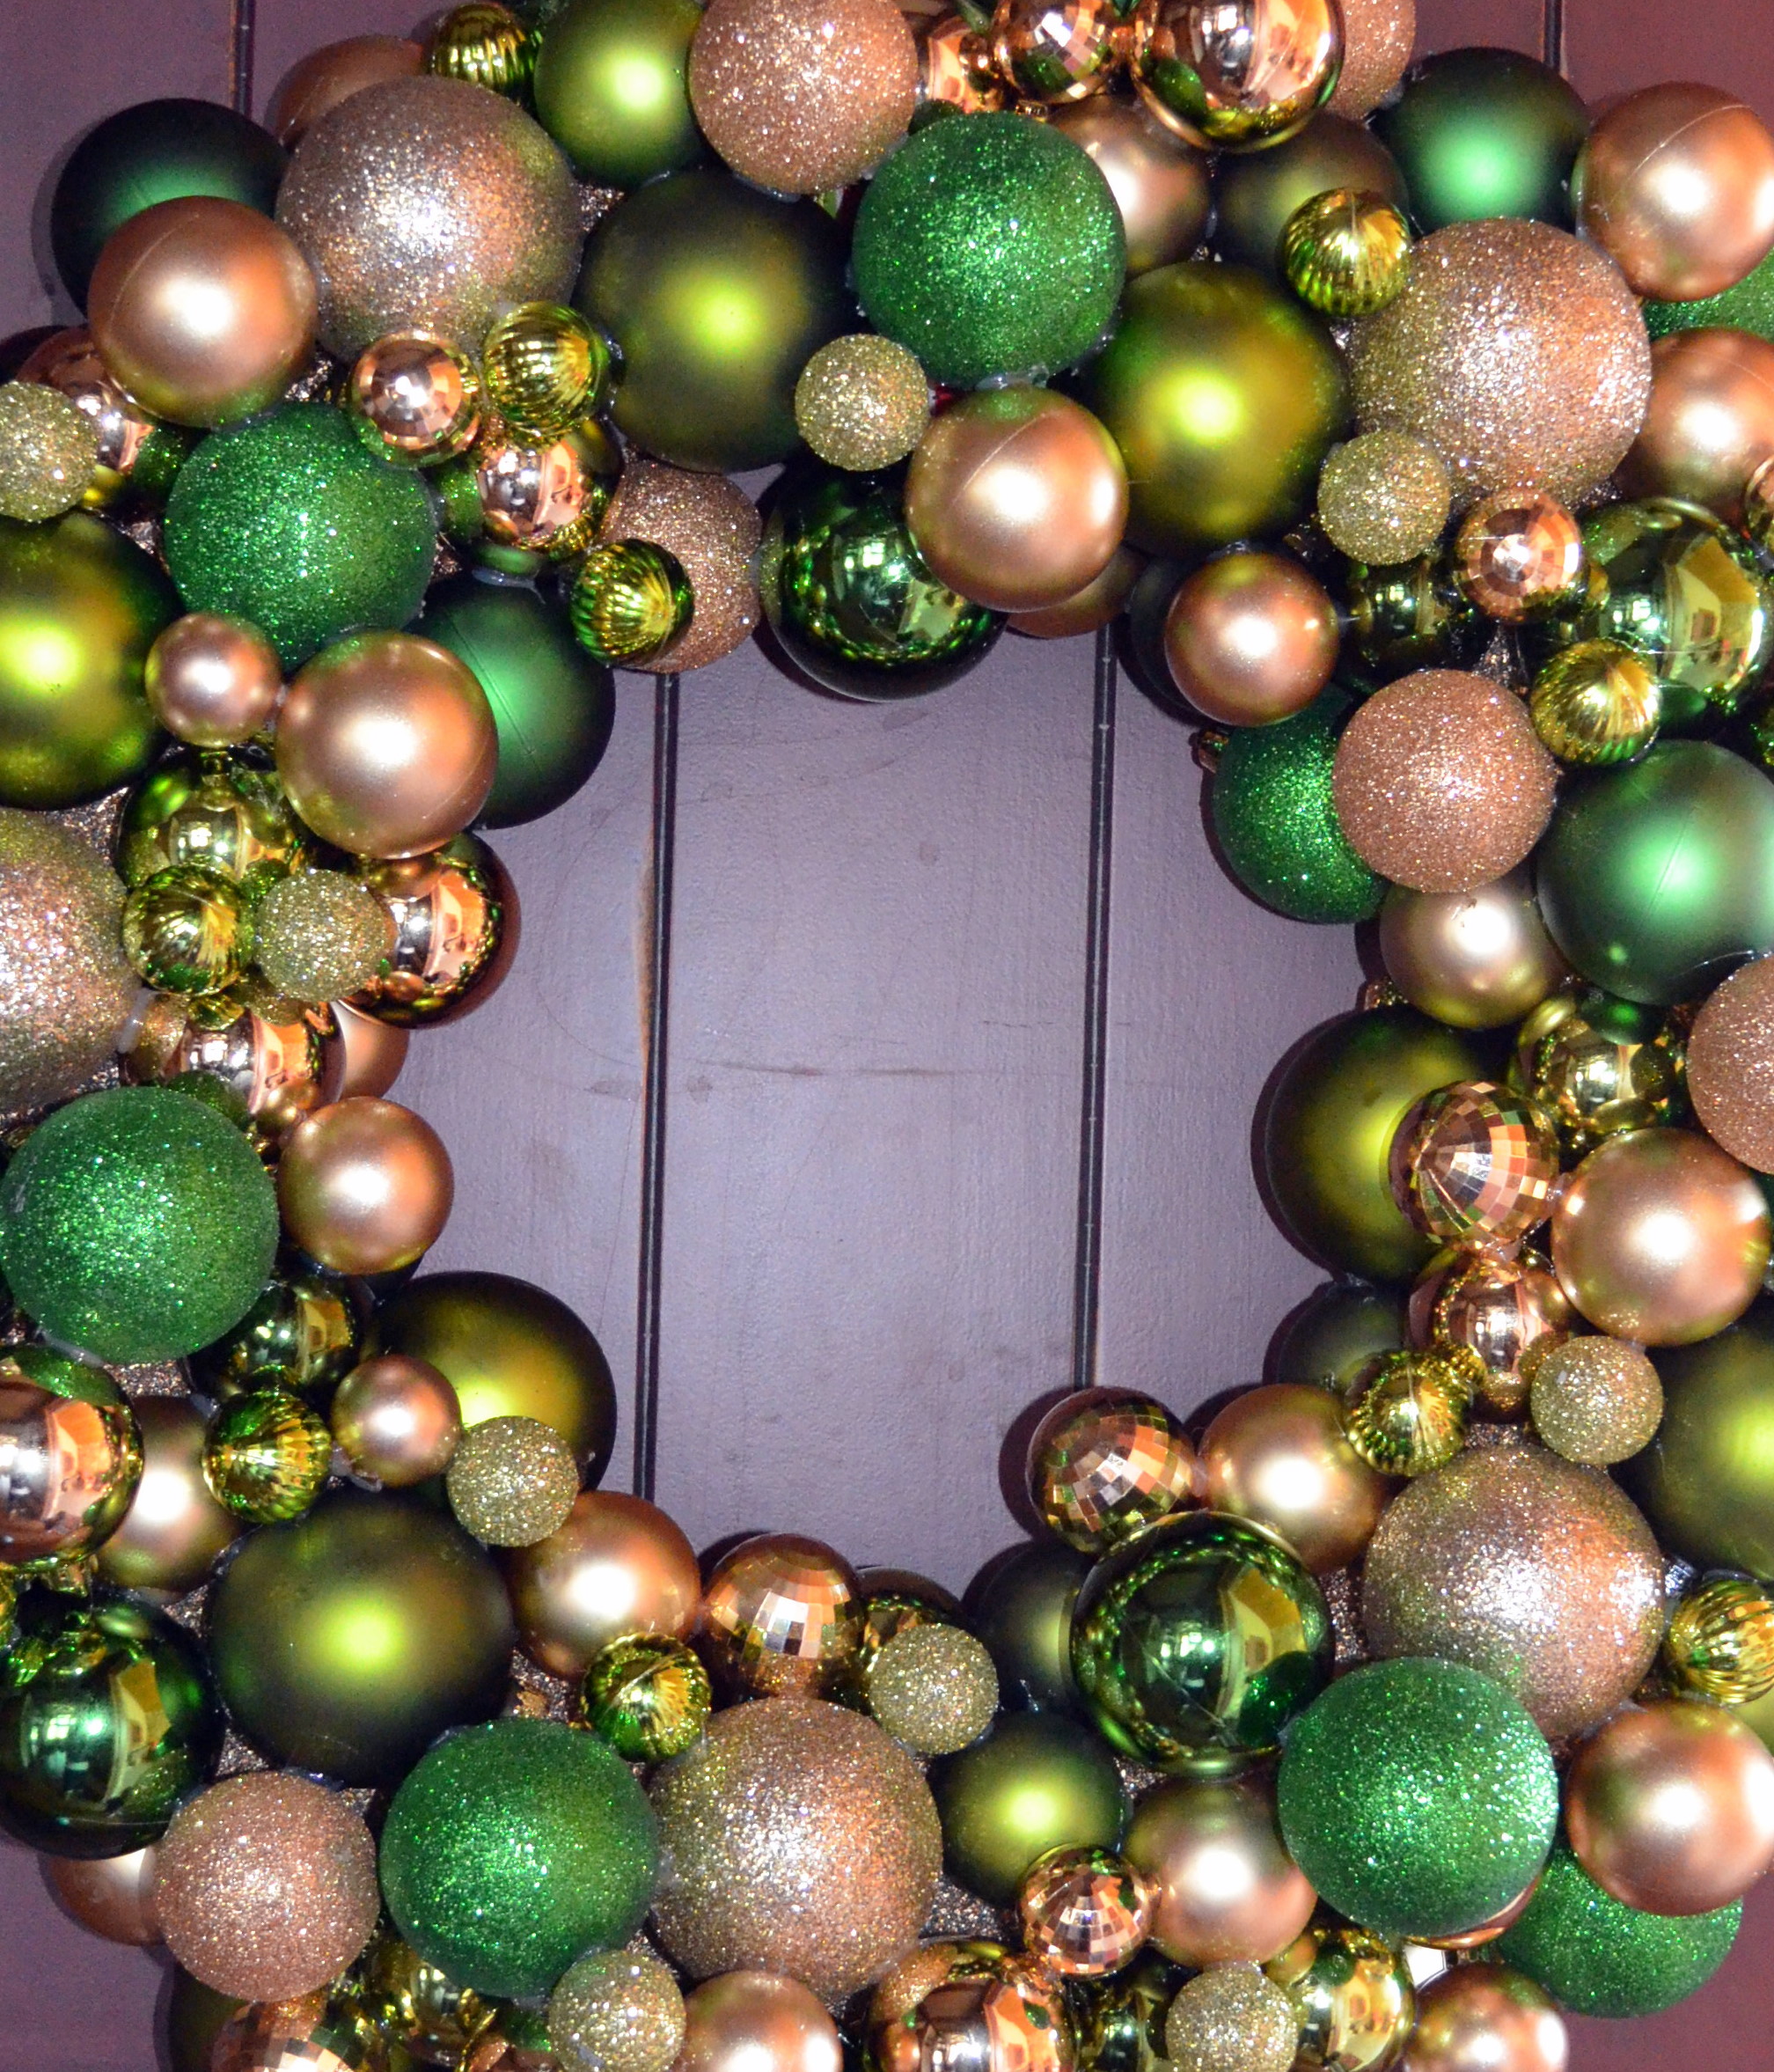
Yesterday we completed two wreaths ~ one for my son’s teacher, appropriately a crayon wreath and the other one for me, an ornament wreath. Both were enjoyable, affordable and quite easy.

Crayon Wreath


You’ll Need:
Styrofoam wreath {I bought a 12-inch from Hobby Lobby}
Box of 96 crayons {I used Crayola}
Hot glue gun and hot glue
Ribbon {to hang it}
Fabric {a little less than 1 yard} to cover the wreath {I found adorable and teacher-friendly fabric for less than $5 at Hobby Lobby with ABC’s and 123’s printed all over it}

How To: 
Cut the fabric into 6 inch strips.
Glue the end of the first strip of fabric to the back of the wreath, and begin to wrap it. Glue the end of the strip onto the wreath before you begin your next one. Repeat until wreath is covered.
Find a wide ribbon, cut to the length desired and glue the ‘base’ of it to the wreath so you can glue crayons over it.
Place a bowl in the middle of the wreath that is small enough to fit in the hole, but large enough to leave room for only the tips of the crayons to fit into the center of the wreath {this will ensure a perfect circle with your crayon tips in the center of the wreath}.
Begin to glue the crayons one by one.
{Tip: The tips of the crayons will be really close to one another, if not touching. However the rest of the crayon needs to be spaced appropriately to ’round the corners’ evenly}.

Ornament Wreath
I saw a version of an ornament wreath on Pinterest several weeks ago and was inspired to make one for my front door, or for the inside of my home during the holidays. I decided to go with a green and gold color scheme.

You’ll Need: 
Styrofoam wreath {I bought an 18-inch wreath from Hobby Lobby}
Spray paint {I used gold}
150 ornaments of all different sizes {I probably used 25 large, 75 medium and 50 small}.
A glue gun and A LOT of hot glue
Ribbon {to hang it}

How To:
Spray paint the wreath your desired color. Because my ornaments were green and gold, I spray painted the styrofoam wreath gold.
Find a wide ribbon, cut to the length desired and glue the ‘base’ of it to the wreath so you can glue ornaments over it.
Begin to glue the ornaments. Start with the large ornaments and work your way to the small ornaments. It’s like a puzzle ~ just fill in and add on top of and next to one another to cover all the gaps.
Voila ~ you have a new, festive decor piece to hang in your home for the holidays.

Here’s more holiday wreath inspiration I’m swooning over {and tutorials for all you DIYers}
This burlap wreath from P is for Party is lovely and would be a fantastic holiday card display with push pins.

A vintage music lover would adore this beautiful sheet music DIY wreath with a full tutorial at Double Take Event Styling.

Bring the ring of sleigh bells into your living room or front door with this jingle bell wreath from Martha Stewart.

A delicate-looking wreath made of paper doilies that creates the magical effect of candles flickering in the snow would delight all.

Stun your guests with this gorgeous pearl wreath. I’m in love…

{images via Tutto Bella}

grateful granola

Today’s DIY project is so simple and adorable. And, with the custom “I’m grateful for you” tags made by Jenna at Fleur de Lis, a paperie, it makes for the perfect favor or place card for loved one’s at this year’s Thanksgiving.

When I read Lisa’s, With Style and Grace, yummy gluten-free pumpkin granola recipe, I knew I had to make it. So why not make it and share it with everyone!

How To:
Make Lisa’s granola. For the complete recipe, visit here.
Buy half pint mason jars.
Buy raffia {I had some rust colored raffia in my ribbon drawer, but any ribbon will do}.
Buy, print and cut custom tags from Fleur de Lis {e-mail Jenna to order a full sheet of 14 tags for $5}.
Punch a hole in the tag, string raffia through the opening and wrap a bow around the mason jar.
Once the granola cools from the oven {read recipe}, fill mason jars with granola.

Enjoy!


{images via Tutto Bella}