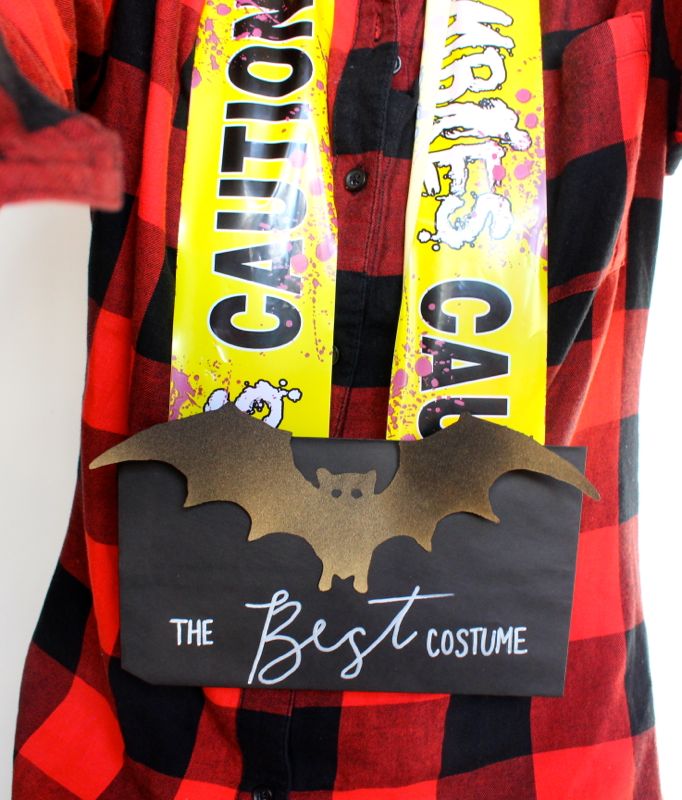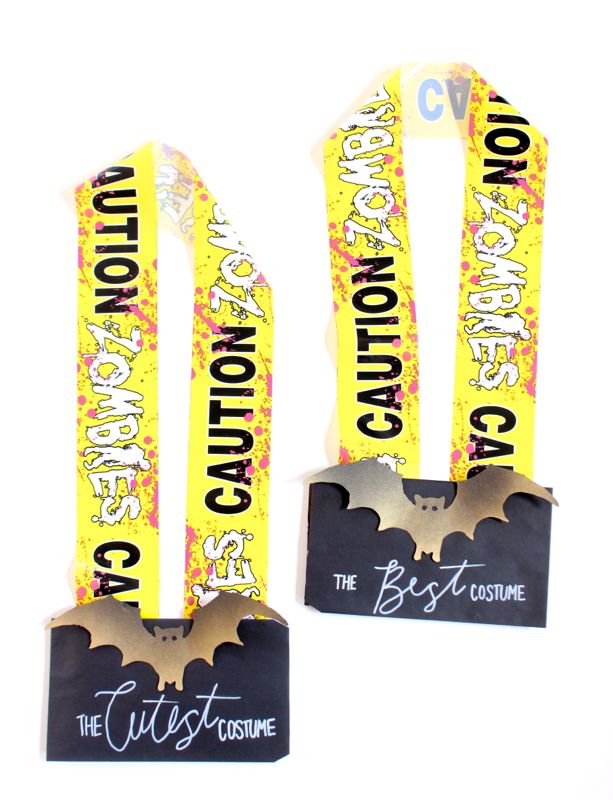
And the best costume goes to……{insert drum roll}
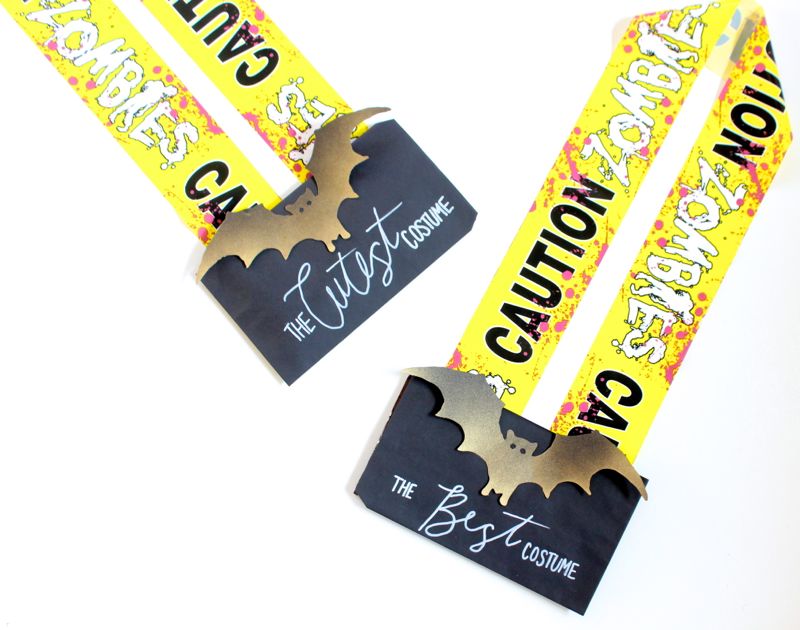
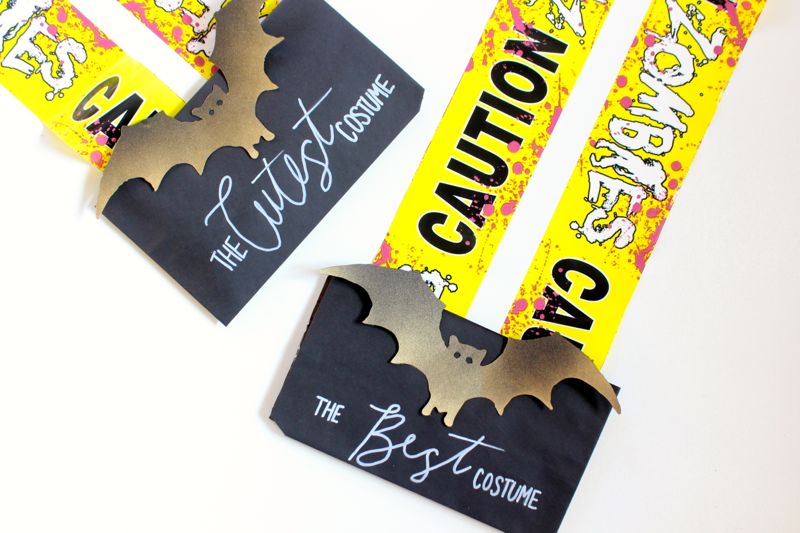
The best Halloween costume award is always a big deal. The friendly competition among our kids and their peers is something they look forward to every year. The best costume, the cutest costume, the scariest costume, the funniest costume and the most original costume are awarded to kids in every grade. To properly reward them, they receive a small gift or acknowledgement. The DIY Halloween award that we are sharing today is not only affordable and adorable, but it is an edible {who doesn’t love a giant Hershey’s chocolate bar} medal that can be worn with pride, it can be customized with names and any costume category, plus it’s a favor bag so gift cards and notes can be easily inserted.
We can’t take full credit for this idea. Jessica’s friend Atlanta introduced us to this idea last year, and we loved it so much, we decided to make our own version. Thanks, girl.
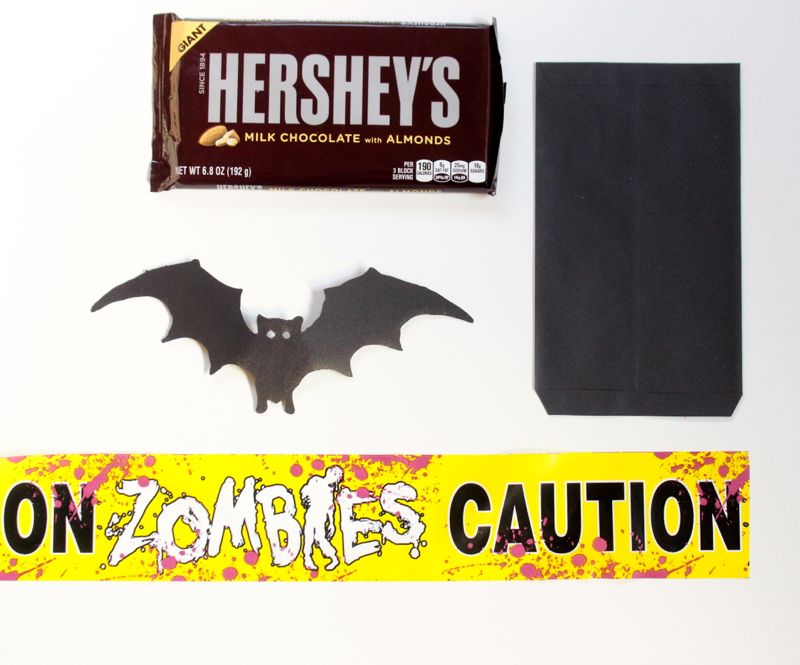
Materials:
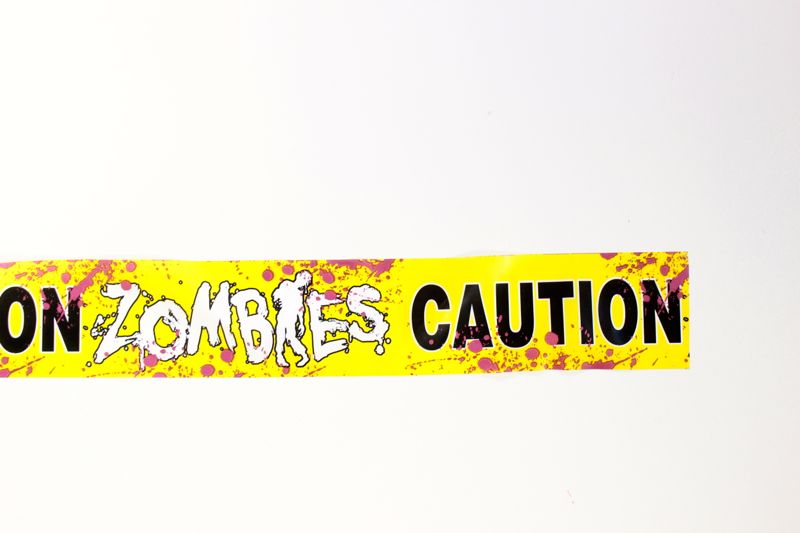
- Caution tape, Oriental Trading
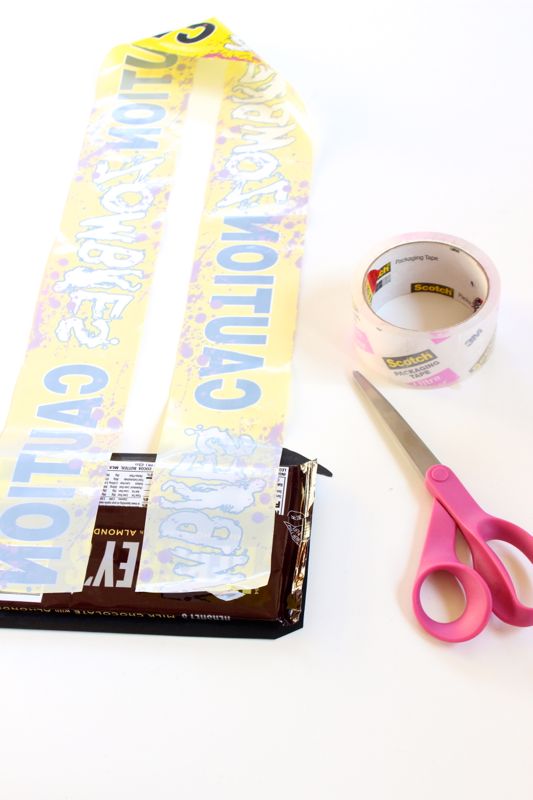
- Hershey’s Chocolate Bar, giant
- Masking tape
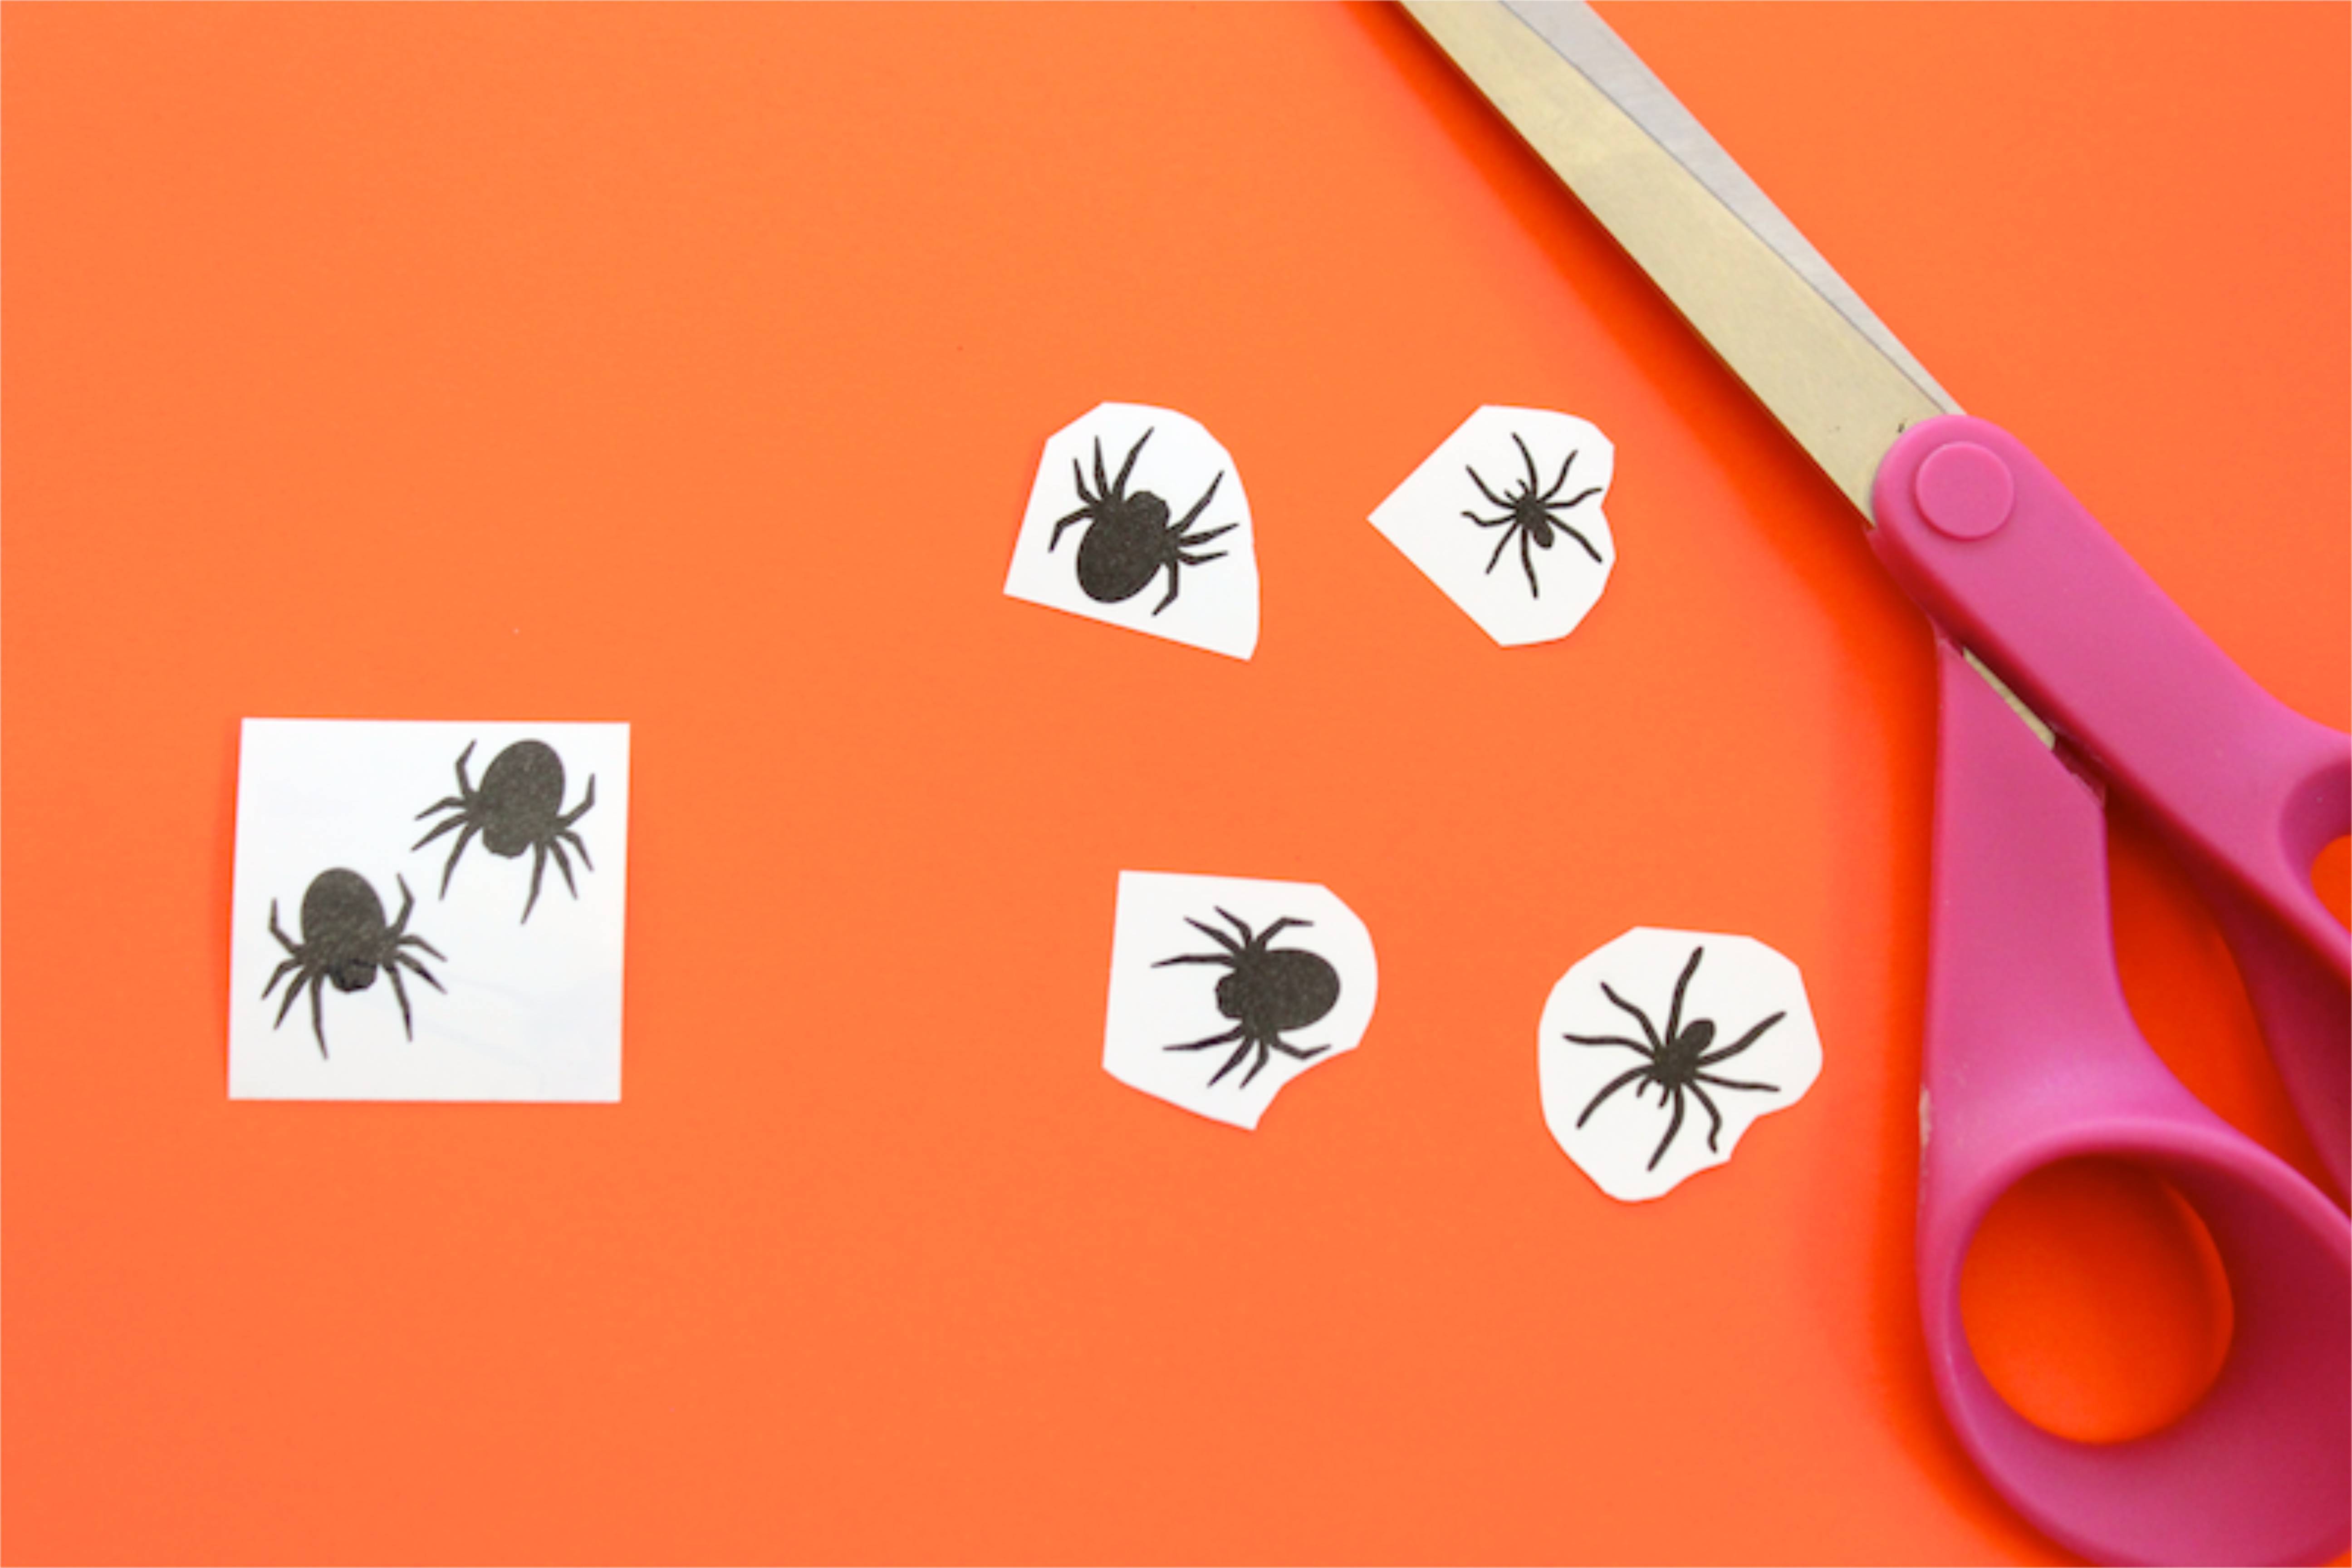
- Scissors
- Double-sided tape
- Bat cut-outs, we used our Silhouette electronic cutting machine
- Black card stock {we used Astrobrights Papers} and gold spray paint if you want the bat to be gold
- Chalkboard favor bag, Target $1 and $3 section
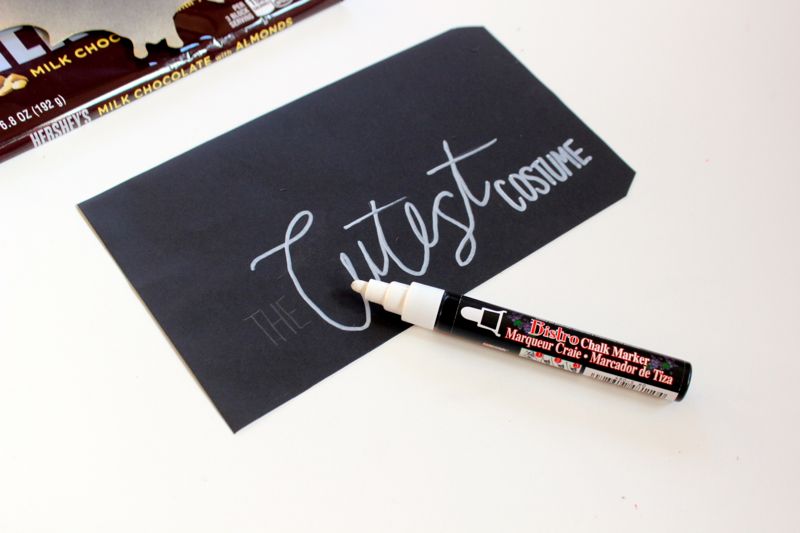
- Chalkboard marker
Directions:
Step 1: Gather materials.
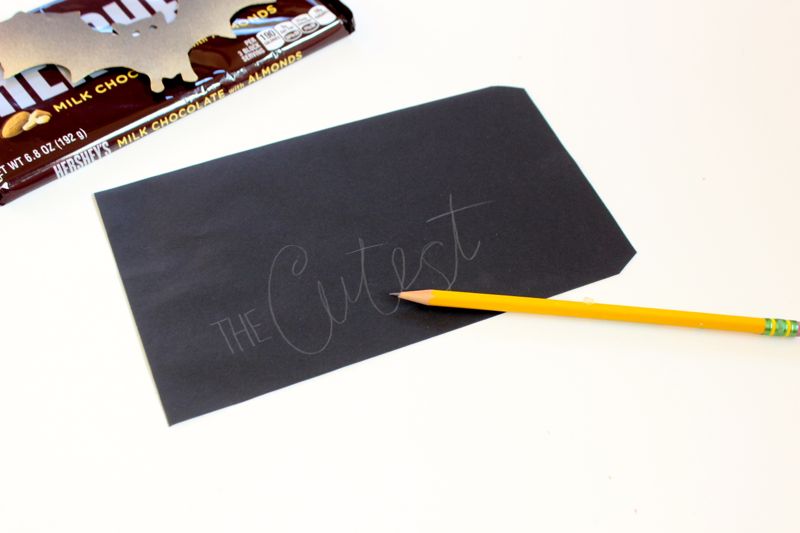
Step 2: Use Silhouette software to design the bat, and then use the machine to cut out the bat, or use a template online. Spray paint the bottom of the bat {optional}.
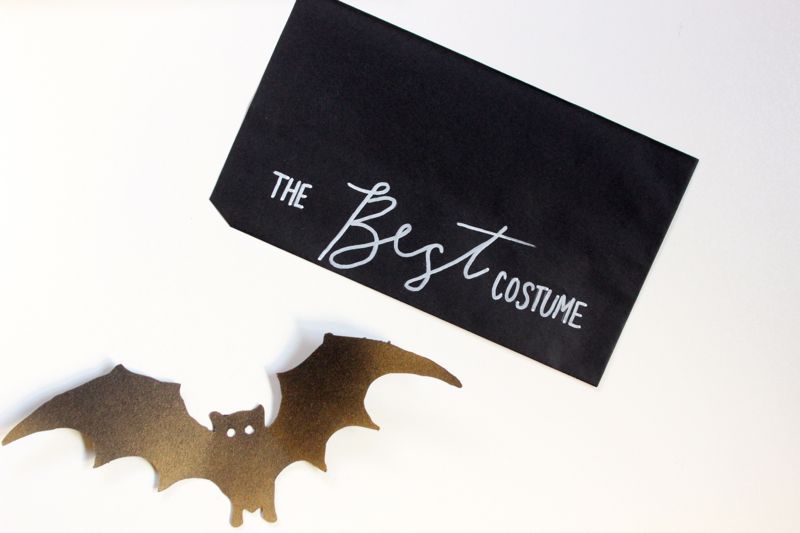
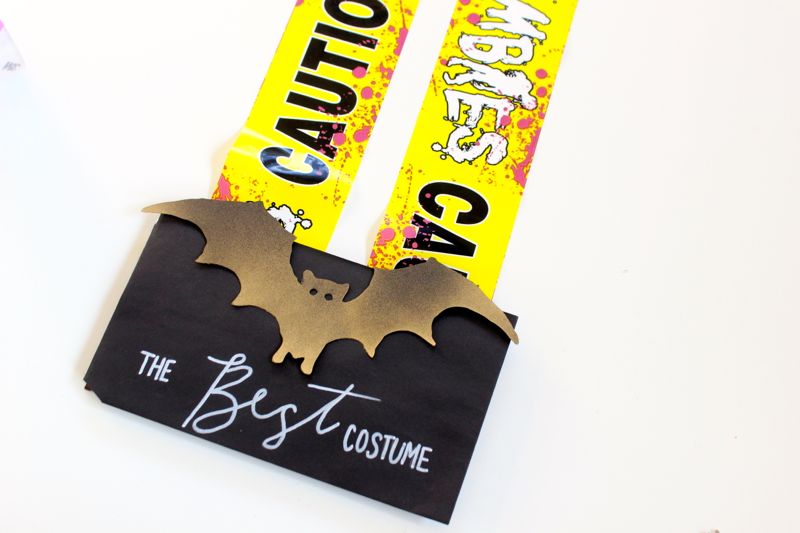
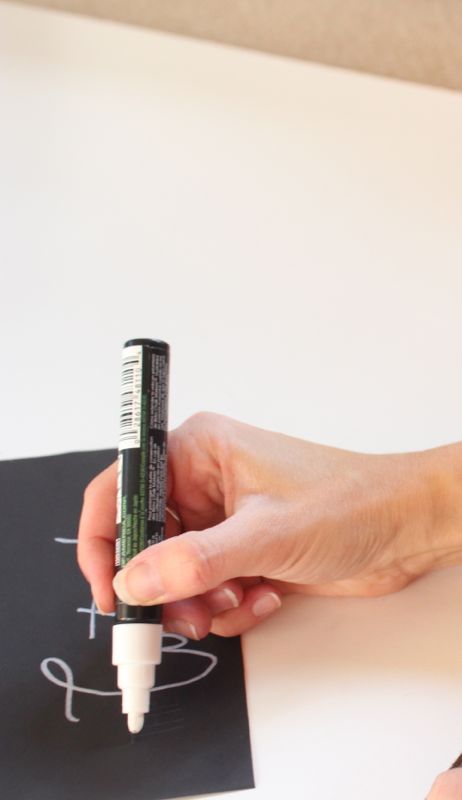
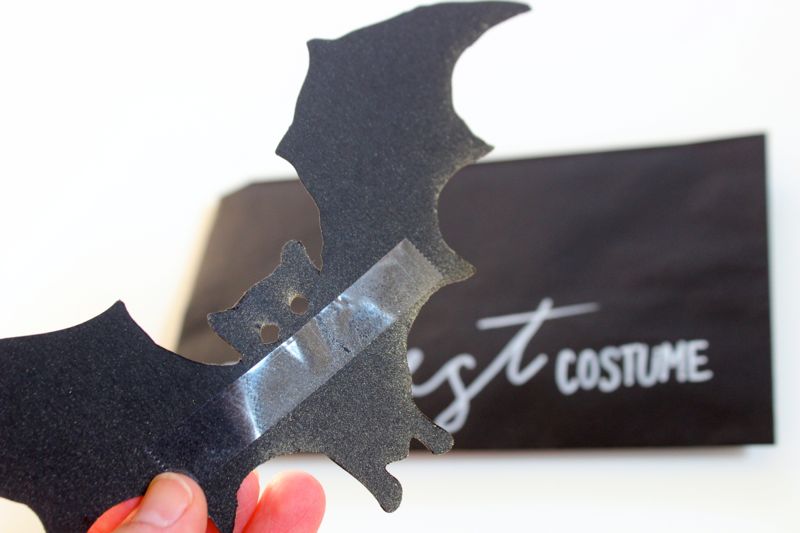
Step 3: Write the award on the envelope with a chalkboard marker.
Step 4: Use the double-sided tape to tape the bat to the envelope {above the text}.
Step 5: Cut the caution tape to the size you want.
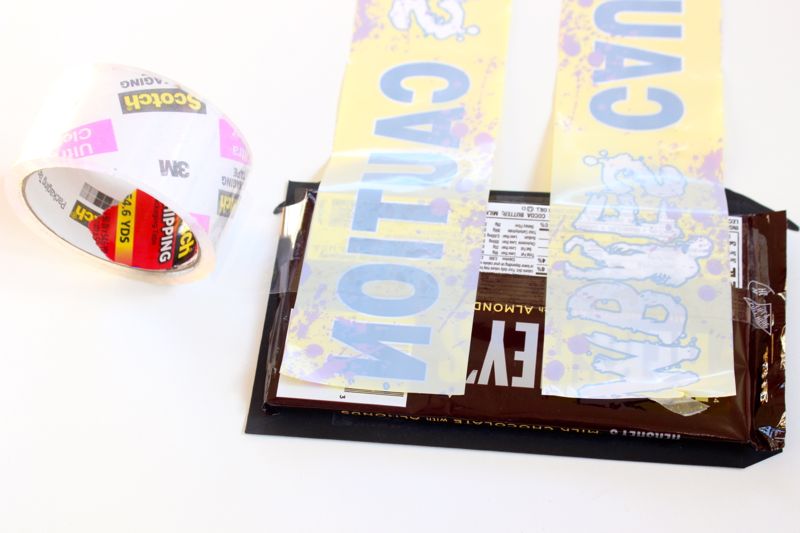
Step 6: Flip the chocolate bar face down. Line up the caution tape evenly on each side. Use masking tape to tape the caution tape to the chocolate bar. We used two strips on each bar.
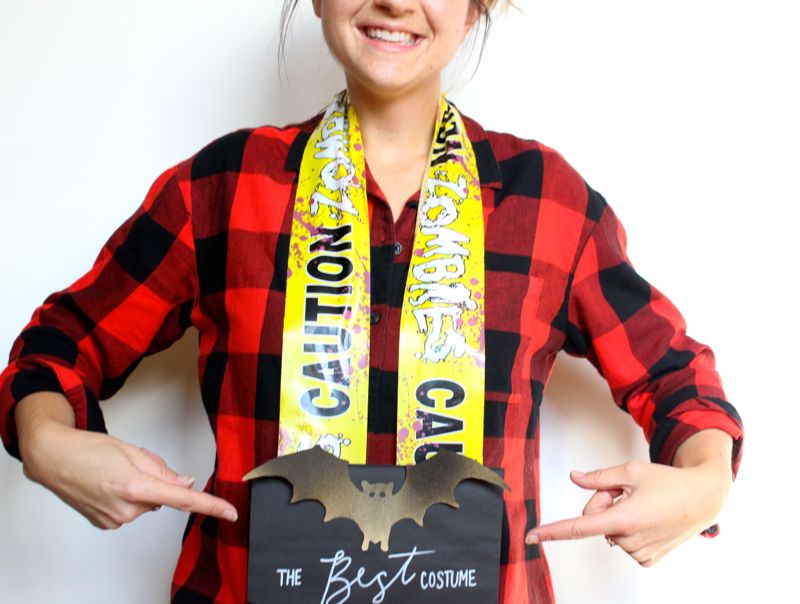
Step 7: Insert a gift card to a favorite local spot for kids {optional}. Get a panel of judges, and once all the votes have been tallied, reward the best dressed with their DIY giant chocolate bar medal.
Note: When no one is home but kids during the day, and a project must get done, the kid becomes the photographer. These last two photos are property of Jessica’s youngest, Jackson {age 4}. He loved every second playing ‘photographer’ of the day. And, since no one is around or organized enough to have an actual costume ready, the plaid shirt totally plays off as the best lumberjack ever, right?!