Here Comes The Sun: Sunshine Party Just for Kids

here-comes-the-sun-yellow-sun-felt-banner

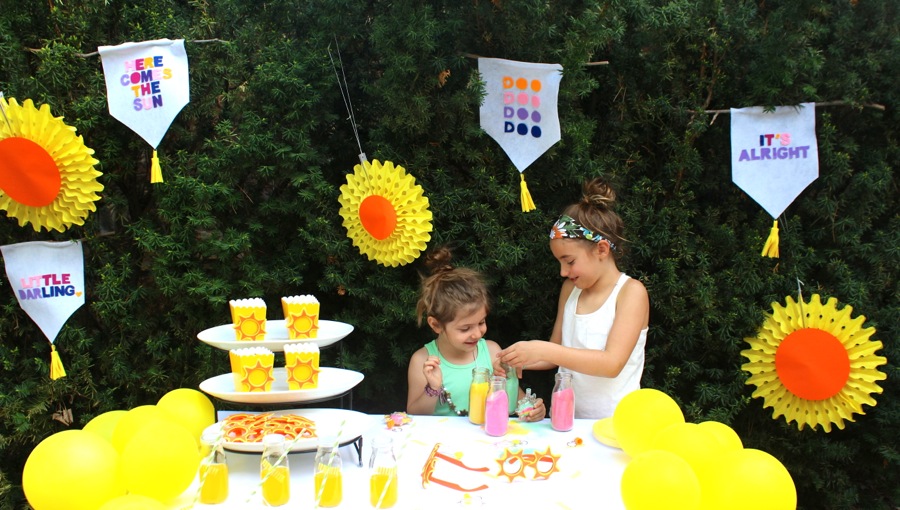
As you know, we’re thrilled about summer. We’re spoiled by the Colorado sunshine. There’s nothing like a sunny, blue-sky Colorado day. We celebrated sunshine with our little darlings, and it was so much fun! Oriental Trading Company helped us make a bright and colorful party – they were the source for all our party goods.

Not only is this party all about the sun, but it helped us introduce the Beatles to our kids. Here Comes the Sun is a classic, so you can bet the kids had “doo, doo, doo, doo” stuck in their heads, just like we did.

All the details from the party are below.
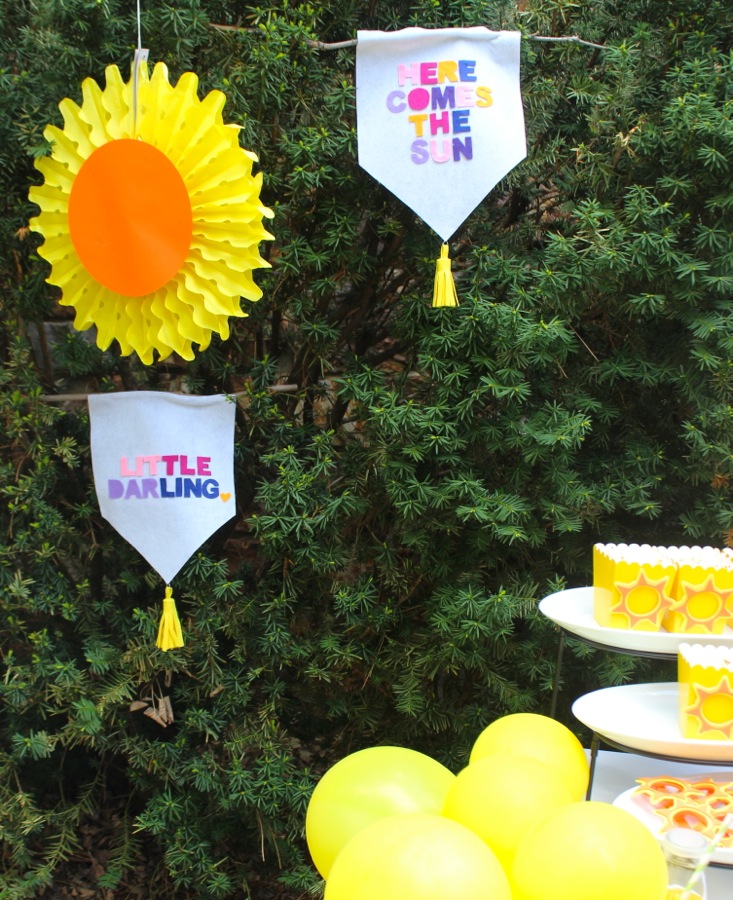
here-comes-the-sun-party-with-two-girls-wearing-sun-sunglasses

DIY Felt Banners
Cut the felt into a banner shape. Cut and trace paper (or stencil) letters onto colorful felt. Once all the letters are traced, cut them out. We made banners with the lyrics to the song, Here Comes the Sun. Glue (hot glue worked great) the letters onto the white felt banner. Find tree branches or wood rods to hang them. We used hot glue to roll them on a tree branch. We made DIY Tassels to hang on the bottom of each one from felt. First we cut strips of felt, then cut tiny strips 3/4 way up each piece, and rolled it into a tassel. We used hot glue to keep it rolled tight.
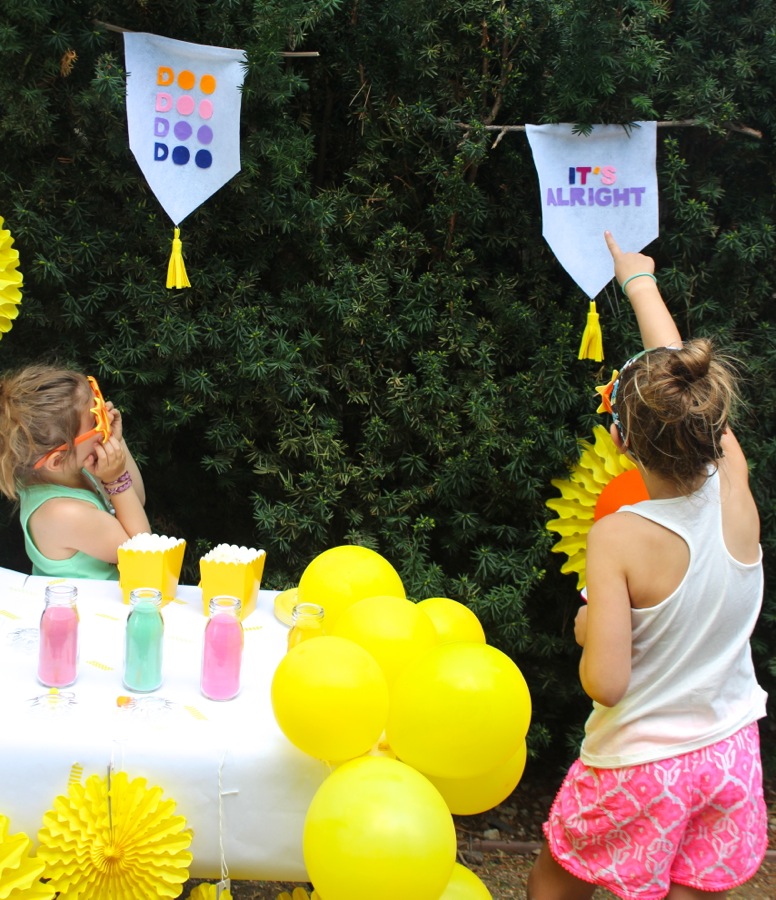
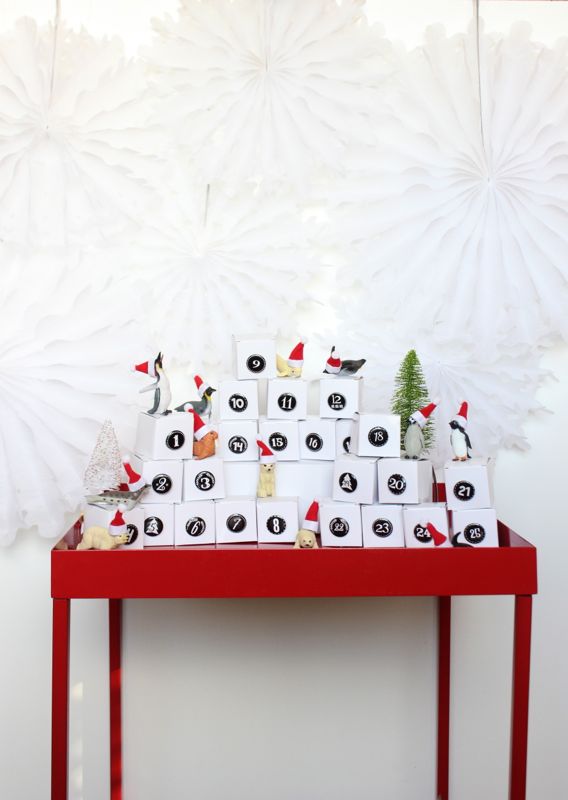
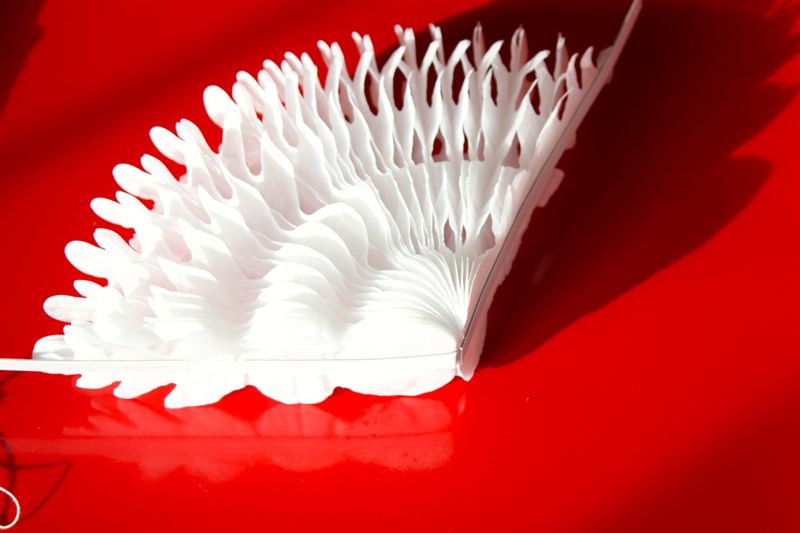
here-comes-the-sun-felt-banner

little-darling-diy-felt-sign

girl-pointing-to-a-felt-banner-with-the-words-its-alright

DIY Sun Decor
A sunshine party is not a sunshine party without, well, the sun. Buy yellow tissue paper fans, open them up, and then glue a circular piece of orange paper in the center. Easy-peasy.
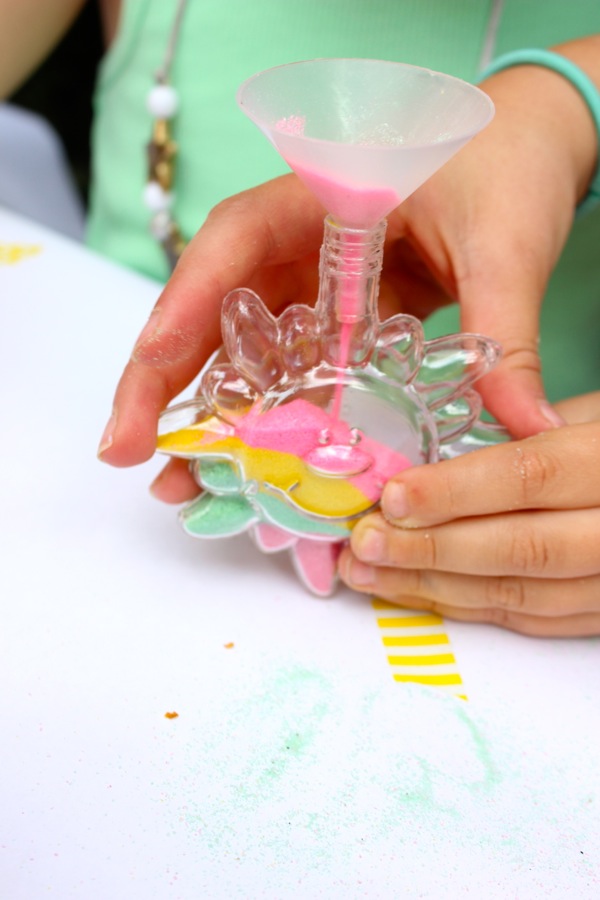
diy-yellow-tissue-paper-fan-sun

girl-with-sun-sunglasses-smiling

here-comes-the-sun-felt-signs-tissue-paper-fan-sun

Sunshine Craft
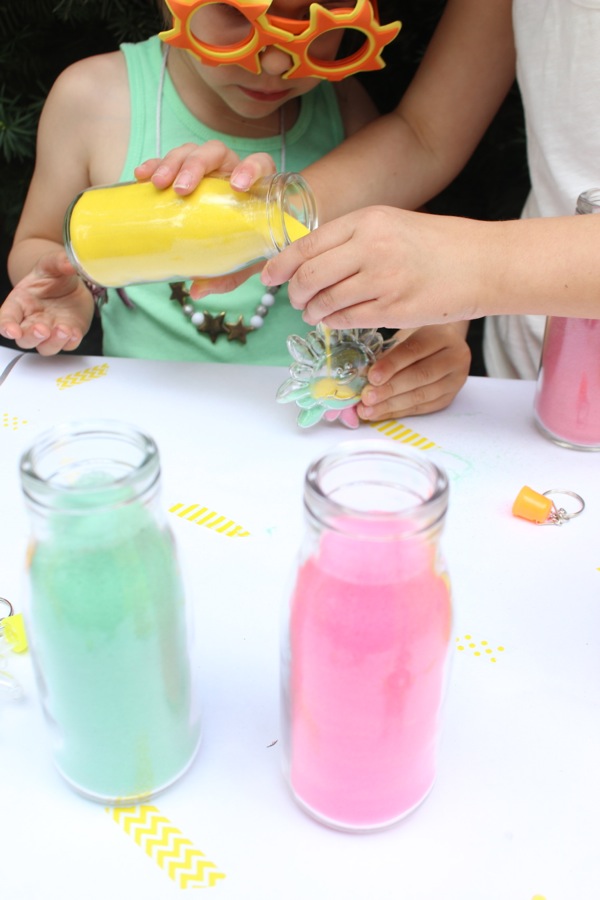
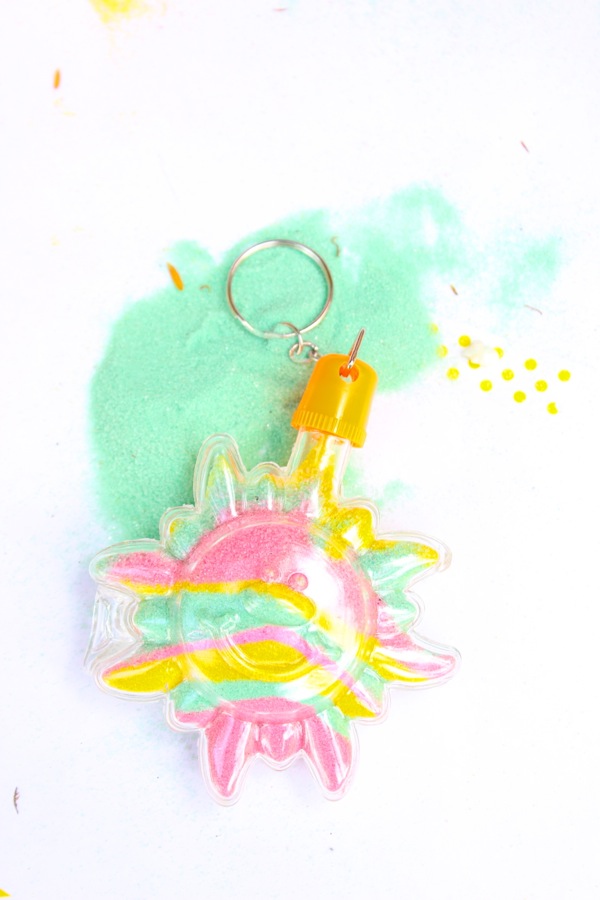
Our girls love to craft, so the highlight of the party was the sun sand key chains from Oriental Trading. They made colorful sand art that they now proudly carry on their backpacks.

When they weren’t crafting with sand, they were doodling with chalk. The girls drew variations of the sun and its rays, and hopped on each one. They were walking (or hopping) on sunshine.

girls-crafting-with-sand-art

sun-sand-art

sun-sand-art

diy-sun-sand-art

girl-holding-up-plastic-sun-for-sand-art

chalk-walking-on-sunshine

Other Details
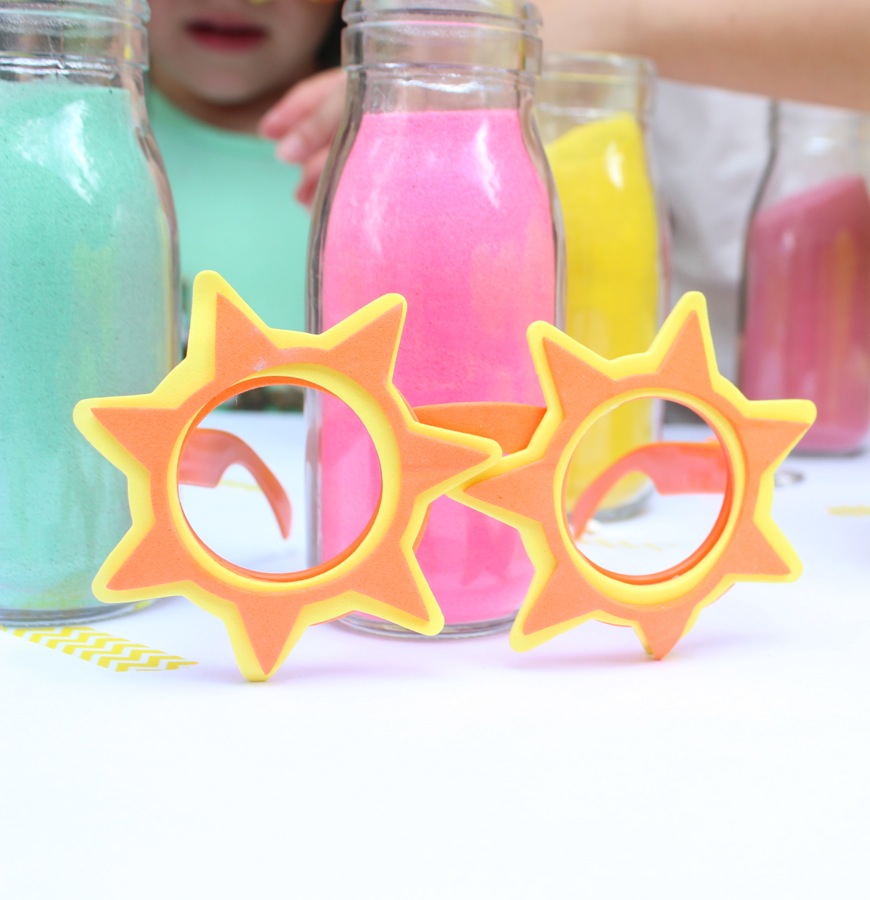
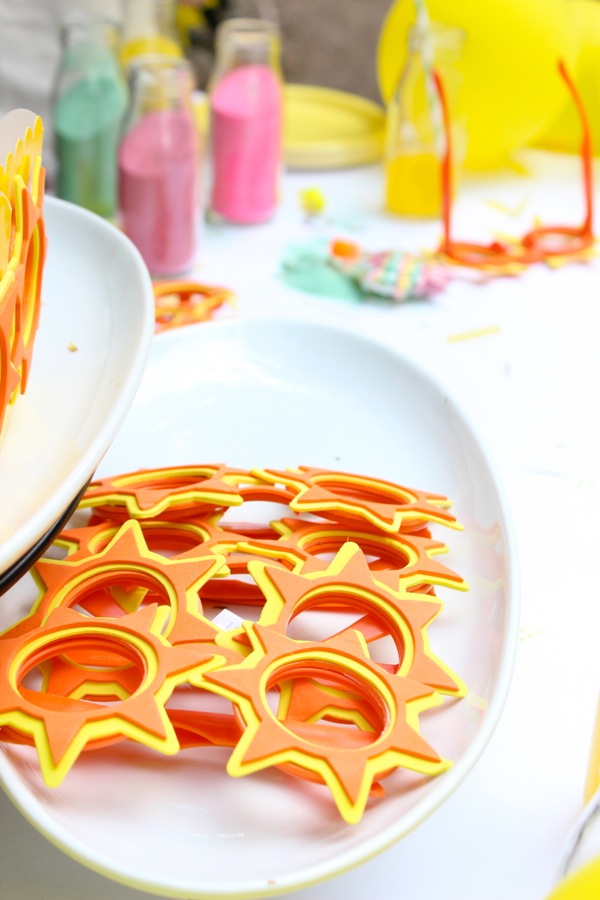
A fun favor from the party was a sweet new pair of sunny shades.

Popcorn is always a favorite snack for our kids. We served the popped goodness in bright yellow popcorn boxes. We pulled the sun shapes from extra pairs of sunglasses for a fun popcorn box detail.

We absolutely love, love the glass milk bottles. They were perfect containers for the sand, as well as juice for the girls. A straw was taped to each bottle with yellow patterned washi tape.

boy-eating-popcorn-with-a-yellow-popcorn-box

glass-milk-bottles-filled-with-juice-and-a-straw-taped-to-the-outside

glass-milk-bottles-with-colorful-sand-and-sun-sunglasses

sunglasses-sunshine-party-for-kids

Enjoy the summer sun!

Oriental Trading sent us some items of our choosing for this post, free of charge. We’re so happy they did! All opinions are honest, and our own. No other type of compensation was received. Thanks for supporting the companies that support j. sorelle. We love Oriental Trading, even before this post.

DIY Polar Advent Calendar

advent-calendar-black-and-white-santa-hats-polar-animals-christmas-diy

The craziness of the season sometimes creeps up on us, and honestly we can feel our anxiety rise. Bake the cookies. Buy the gifts. Don’t just buy the gifts – find a good sale on the perfect gifts. Oh, and don’t buy every gift…make DIY homemade gifts. Host a holiday party. Mark the calendar for Christmas Pageants and office holiday parties, too. It’s all very magical, and we absolutely love it. But, wow, it’s exhausting.

Now that we are in Christmas mode, it’s only fitting that we kick it off with our official Advent calendar. Since Jessica is late with almost everything she ever does (and goes), it’s even more fitting this Advent Calendar comes on Dec. 4, 4 days after Advent officially started. Better late than ever. You still have time – make it this year, or pin it for next year.

We made a fun DIY Advent Calendar last year. This year, we shopped Oriental Trading {where the options are endless} and went with a snowy, polar scene topped off with our kid’s favorite toys – animals. Not just any animals, but animals with mini Santa hats. Ho Ho Ho.

black-white-numbers-diy-advent-calendar-mini-santa-hats-toy-animals

Materials:

Directions:

Step 1: Set the scene with snowflakes. Hang the snowflakes above the winter advent calendar with fishing wire or twine, and tape.

white-tissue-snowflakes

white-snowflakes

white-tissue-paper-snowflakes

Step 2: Use a hot glue gun to glue the cute Oriental Trading mini Santa hats to the toy polar animals.

penguin-santa-hats-christmas-polar-animal

penguins-mini-santa-hats

hot-glue-gun-mini-santa-hat

mini-santa-hat-baby-seal

Step 3: Fold the cardboard boxes.

white-cardboard-boxes


penguins-white-boxes-with-mini-santa-hats

Step 4: Glue, stick or pin the numbers to the front of the boxes.

advent-calendar-black-and-white-numbers-pins

back-of-a-pin

mini-white-boxes-1-2-3

Step 5: Fill the boxes with goodies such as candy, and mini toys, or make it all about acts of kindness, a family activity or helping others.

mini-juju-star-candy

mini-lego-figures-kids-toys

Step 6: Stack the boxes so the numbers make sense, and it looks good visually to the eye. Then, place the animals randomly.

black-white-numbers-diy-advent-calendar-mini-santa-hats-toy-animals

black-white-numbers-diy-advent-calendar-mini-santa-hats-toy-animals

black-white-numbers-diy-advent-calendar-mini-santa-hats-toy-animals-penguin

Step 7: Watch the kids open the mini boxes everyday with pure joy.

black-white-numbers-diy-advent-calendar-mini-santa-hats-toy-animals

black-white-numbers-diy-advent-calendar-mini-santa-hats-toy-animals

black-white-numbers-diy-advent-calendar-mini-santa-hats-toy-animals

Oriental Trading sent us some items of our choosing for this post, free of charge. We’re so happy they did! All opinions are honest, and our own. No other type of compensation was received. Thanks for supporting the companies that support j. sorelle. We love Oriental Trading, even before this post.


DIY Halloween Costume Contest Award

diy-halloween-best-costume-award-caution-tape-bat

And the best costume goes to……{insert drum roll}

The best Halloween costume award is always a big deal. The friendly competition among our kids and their peers is something they look forward to every year. The best costume, the cutest costume, the scariest costume, the funniest costume and the most original costume are awarded to kids in every grade. To properly reward them, they receive a small gift or acknowledgement. The DIY Halloween award that we are sharing today is not only affordable and adorable, but it is an edible {who doesn’t love a giant Hershey’s chocolate bar} medal that can be worn with pride, it can be customized with names and any costume category, plus it’s a favor bag so gift cards and notes can be easily inserted.

We can’t take full credit for this idea. Jessica’s friend Atlanta introduced us to this idea last year, and we loved it so much, we decided to make our own version. Thanks, girl.

diy-halloween-best-costume-award-caution-tape-bat

Materials:

  • Caution tape, Oriental Trading
  • Hershey’s Chocolate Bar, giant
  • Masking tape
  • Scissors
  • Double-sided tape
  • Bat cut-outs, we used our Silhouette electronic cutting machine
  • Black card stock {we used Astrobrights Papers} and gold spray paint if you want the bat to be gold
  • Chalkboard favor bag, Target $1 and $3 section
  • Chalkboard marker

Directions:

Step 1: Gather materials.

diy-halloween-best-costume-award-caution-tape-bat-chocolate-bar

Step 2: Use Silhouette software to design the bat, and then use the machine to cut out the bat, or use a template online. Spray paint the bottom of the bat {optional}.

diy-halloween-best-costume-award-caution-tape-bat-best-costume

Step 3: Write the award on the envelope with a chalkboard marker.

diy-halloween-best-costume-award-caution-tape-bat-pencil-chocolate-bar

diy-halloween-best-costume-award-caution-tape-bat-marker

diy-halloween-best-costume-award-caution-tape-bat-cutest-costume

Step 4: Use the double-sided tape to tape the bat to the envelope {above the text}.

tape-bat

Step 5: Cut the caution tape to the size you want.

zombie-caution-tape

Step 6: Flip the chocolate bar face down. Line up the caution tape evenly on each side. Use masking tape to tape the caution tape to the chocolate bar. We used two strips on each bar.

diy-halloween-best-costume-award-caution-tape-bat-scissors

diy-halloween-best-costume-award-caution-tape-bat-tape-chocolate-bar

Step 7: Insert a gift card to a favorite local spot for kids {optional}. Get a panel of judges, and once all the votes have been tallied, reward the best dressed with their DIY giant chocolate bar medal.

diy-halloween-best-costume-award-caution-tape-bat

diy-halloween-best-costume-award-caution-tape-bat

Note: When no one is home but kids during the day, and a project must get done, the kid becomes the photographer. These last two photos are property of Jessica’s youngest, Jackson {age 4}. He loved every second playing ‘photographer’ of the day. And, since no one is around or organized enough to have an actual costume ready, the plaid shirt totally plays off as the best lumberjack ever, right?!

diy-halloween-best-costume-award-caution-tape-bat-medal

diy-halloween-best-costume-award-caution-tape-bat


DIY Halloween Lights

img_7381

We really don’t like spiders. We scream when we see them in our homes, and fear them crawling on us. We have recurring nightmares after a villa experience in Tuscany {which was amazing, and we would do it all over again}. Along with the wonderful grapes, vines, greenery, olive trees and an old villa came spiders…big ones! To this day, we still dream that spiders are crawling on us, or people next to us, and although we seem to be ‘awake’ and we think we really see them, they are just a bad dream.

Despite our fears, spiders crawled their way onto our DIY Halloween balloons, and now they are shining bright for our DIY Halloween lights. The creepy spider tattoos from Oriental Trading were our source of inspiration, once again. Tis the season of Halloween.

DIY-ping-pong-ball-diy-halloween-lights-spider

Materials:

Directions:

Step 1: Gather ping-pong balls. Remove the piece of plastic from the tattoo and cut the spider tattoos into individuals spiders.

white-ping-pong-balls

halloween-spider-tattoos

Step 2: Place the spider tattoo face down onto the ping-pong ball, press down and apply water all over the back of the tattoos with a wet sponge or wash cloth. Apply it just the way you would on skin.

halloween-spider-tattoos

halloween-spider-tattoos

halloween-spider-tattoos-ping-pong-balls

halloween-spider-tattoos-ping-pong-balls

Step 3: Insert a sharp knife into the back-side of the ping-pong ball {opposite of the spider}. Make an X or a T with the knife.

halloween-spider-tattoos-ping-pong-balls

Step 4: Insert the light into each ping-pong balls.

halloween-spider-tattoos-ping-pong-balls

DIY-ping-pong-ball-diy-halloween-lights-spider

DIY-ping-pong-ball-diy-halloween-lights-spider

Step 5: Find the closest outlet, and let the spiders hang.

DIY-ping-pong-ball-diy-halloween-lights-spider

DIY-ping-pong-ball-spider-halloween-lights

DIY-ping-pong-ball-diy-halloween-lights-spider

DIY-ping-pong-ball-diy-halloween-lights-spider