Merry Everything: DIY Soy Essential Oil Candle

merry-everything-diy-holiday-candle

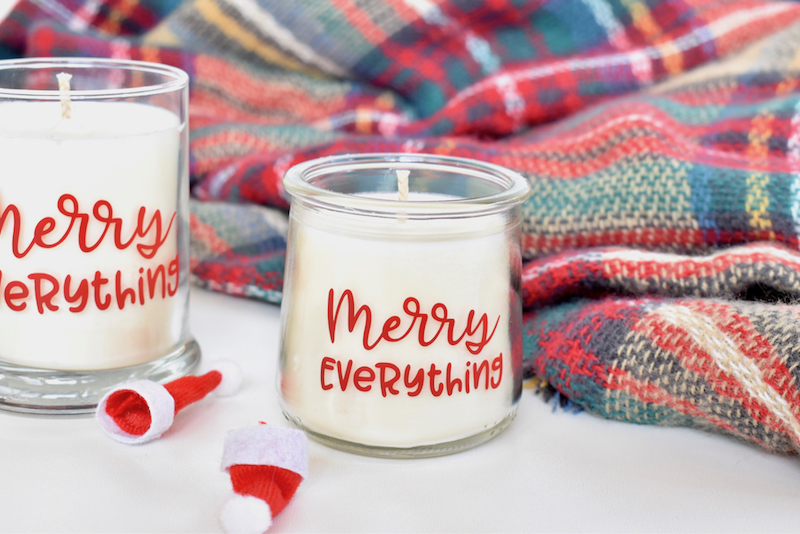
We have our favorite brands of store-bought candles from Anthropologie, Paddywax and Homesick. We will continue to buy them, but we’ve (actually just Jessica) has always wanted to make her own DIY candles. Since it’s the holiday season, and all the warm and fuzzy vibes are everywhere, now was the time to attempt our first DIY candle. Happy to report, I’m hooked. I can’t wait to play with all the scents. I love the smell of doTERRA’s Holiday Joy. It smells like Christmas, which makes me happy.

Materials:

  • Soy candle wax,
  • Essential oils, Holiday Joy by doTERRA
  • Candle wick
  • Glass jars
  • Hot glue gun and hot glue
  • Candle pitcher, double boiler pot
  • pencil or popsicle stick (to hold the wick in place while the candle hardens)

Directions:

Step 1: Melt the wax. I filled a pot 1/4-1/2 full of water, and set the boiler pot inside. Pour 3 cups of wax flakes in the boiler pot, and turn the stove to high to melt the wax.

Step 2: While the wax is melting, prepare the candle jar. Use the hot glue gun to gun the wick to the bottom of the jar. Wrap the top of the wick around a pencil or stick and set on top of the jar in the middle. This will keep the wick in place while the candle hardens.

Step 3: Once the wax has melted, wait a couple minutes until the wax cools to add the oils.  The 3 cups wax made two candles for me, and I used approximately 75 drops oils. It seems like a lot, I know, but when the wax hardens, the smell weakens, and I wanted to smell all those amazing scents. If you plan to a combination of 3 to 4 oils, use about 20 drops of each.

Step 4: Let the candle harden for 24 hours. Once it’s set (and white, no longer clear), cut the wick and add a label. I use my Silhouette CAMEO cutting machine to design and cut a Merry Everything vinyl design.

Have a merry and bright Christmas, everyone!

merry-everything-diy-holiday-candle


merry-everything-diy-holiday-candle


*This post contains affiliate links

SHOP THE POST:
[show_shopthepost_widget id=”3393868″]
 

Sparkly Holiday Vibes With These DIY Embellished Shoes

diy embellished shoes for a glam holiday party

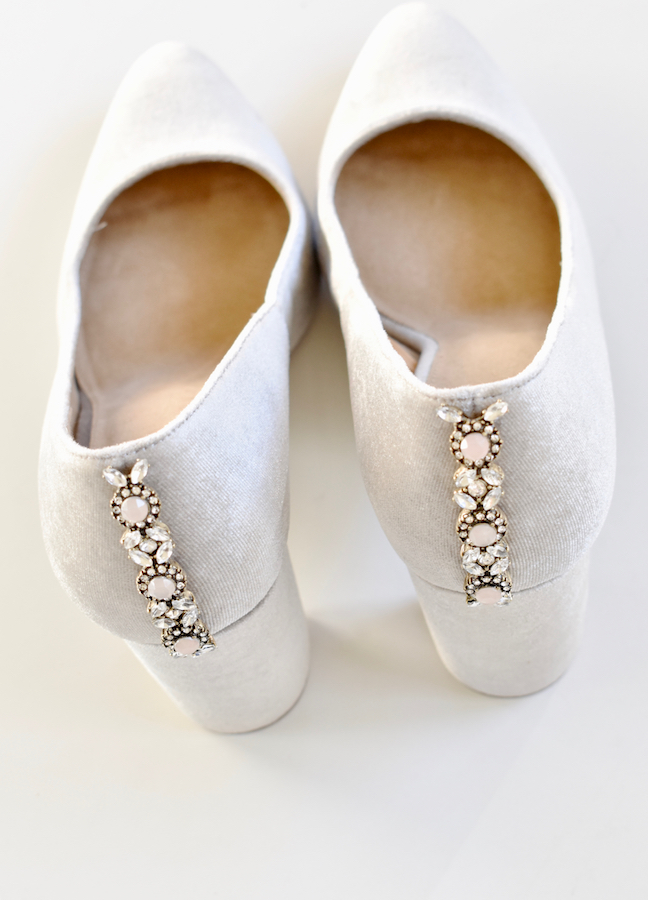
We have a little sparkle in our step this holiday season…and it makes us so happy. We have absolutely no idea why we haven’t made DIY embellished shoes before! This was such an easy, and fun DIY project, and the result is sparkly goodness just in time for all those holiday parties. Momtastic has all the details here on how we created these totally affordable DIY embellished shoes.

Remember ladies…leave a little sparkle wherever you go, whether it’s in flats or heels.

diy embellished shoes for a glam holiday party

SHOP THE POST:
[show_shopthepost_widget id=”3384620″]

DIY Winter Snowflake Ornaments


diy-marbled-clay-ornaments-with-photos-for-kids

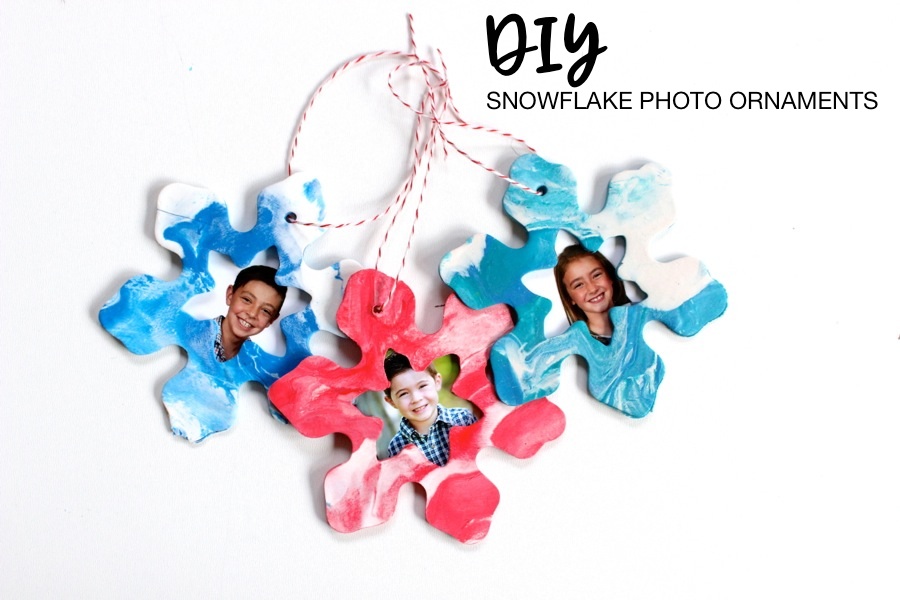
This week my children’s school held bake sales and homemade ornament sales to raise money for a school in Houston whose families have suffered tremendous loss from the hurricane. My kids were thrilled to participate, and wanted to make as many ornaments as they could to raise as they said, “a ton of money.” While they made DIY marbled clay snowflake ornaments of their own, I made a couple, too. It’s a super simple craft for kids and adults of all ages, which is why I’m sharing it with you today. Plus, this is a wonderful gift to encourage the kids to give their family and friends.

Materials:

Directions:

Step 1: Lay down parchment paper, and roll balls of clay with the various colors.

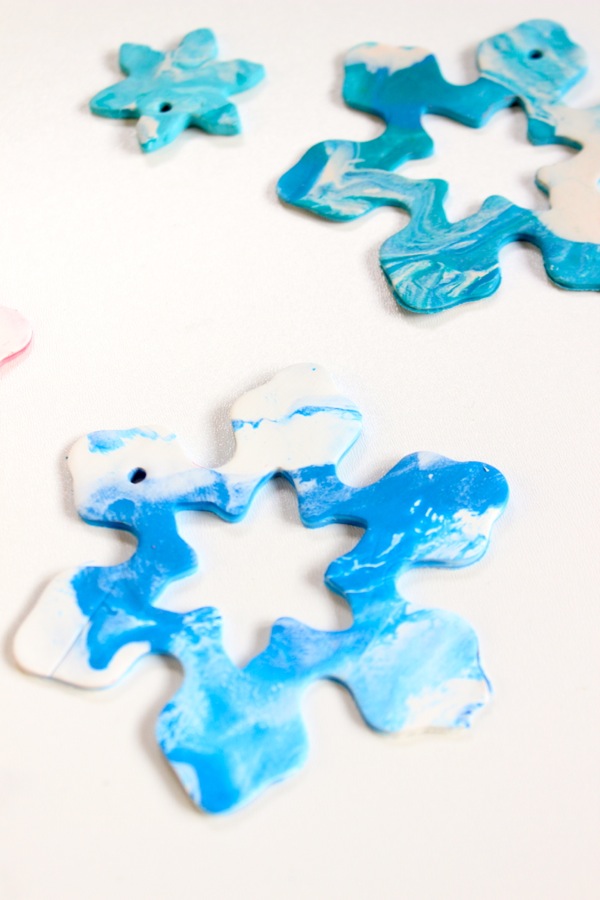
Step 2: Combine colors, and then twist and turn to blend the colors together for that marbled effect. With a rolling-pin, roll it out so it’s about 1/4 inch thick.

clay-crafts-with-kids-marbled-clay

Step 3: Press the cookie cutters into the clay, both the large snowflake and the small one. Remove excess clay around the cutter.

diy-marbled-clay-christmas ornaments-for-kids

Step 5: With a small straw (like the ones used in coffee shops), punch a small hole through the top of the ornament.

diy-marbled-clay-snowflake-ornaments

Step 6: Bake on parchment paper according to clay package directions.

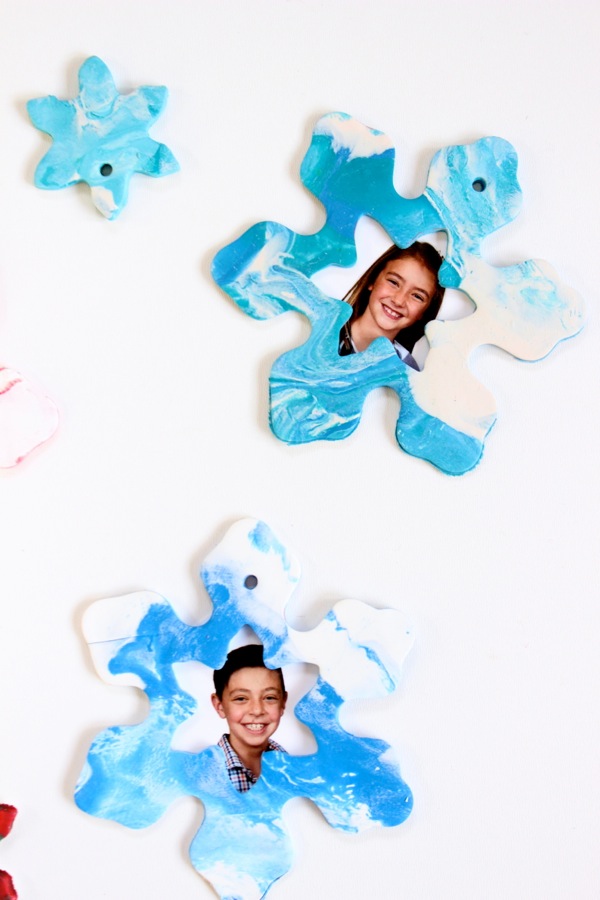
Step 7: Add a wallet size photo with glue dots on the back of the ornament, string and hang it.

diy-frozen-snowflake-marbled-ornaments

diy-marbled-clay-ornaments-with-photos-for-kids

[show_shopthepost_widget id=”2945047″]

DIY Marbled Snowmen

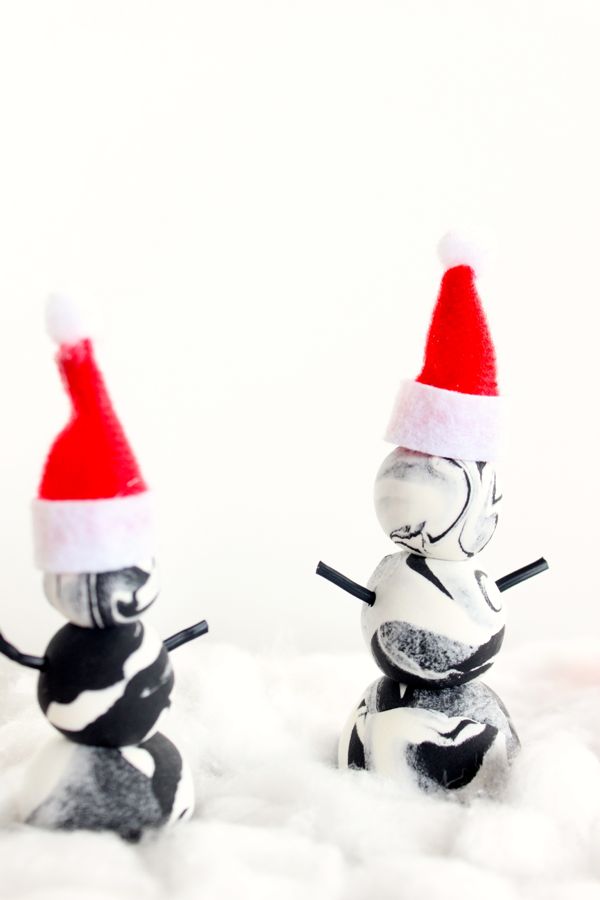
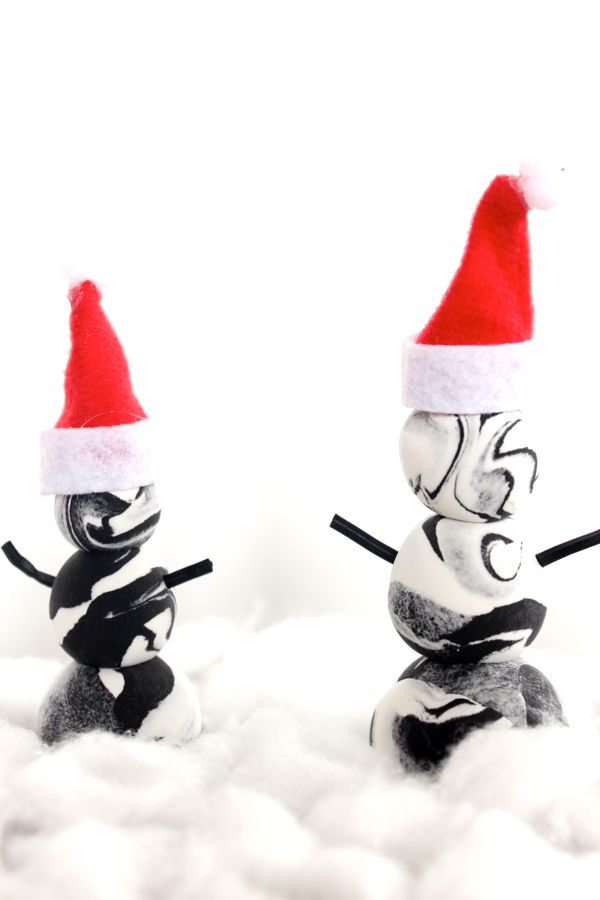
DIY-black-and-white-marbled-snowmen-with-mini-santa-hats

This may be one of the easiest DIY Christmas projects ever. Do it with the kids. Do it last-minute. Just do it. You need these marbled snowmen in your life.

These DIY, black and white marbled snowmen can easily be made into ornaments, gift toppers, place cards and the list goes on and on.

How-to: Simply twist, twirl, fold, smash and then roll two colors of Crayola Model Magic foam into balls. Make three different sizes – small, medium and large – and stack them on top of each other. Add tiny sticks for arms and don’t forget mini santa hats from Oriental Trading.

Merry marbling to you.

black-and-white-diy-marbled-snowmen-christmas-crafts

img_8566

DIY Stained Glass Ornament

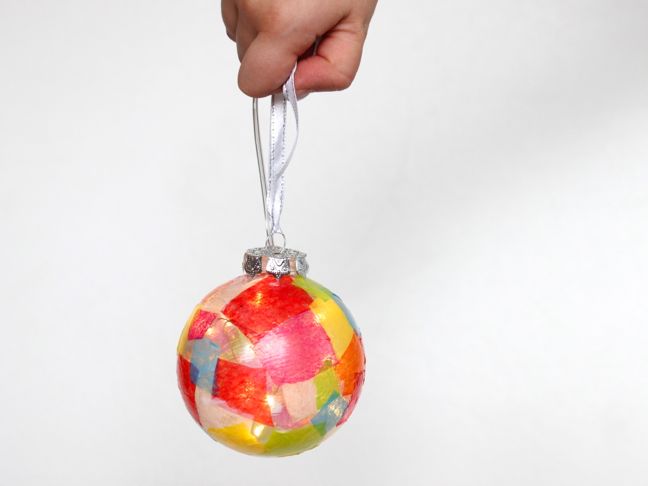
DIY stained glass ornament-colorful-christmas-diy-art-project-for-kids

Last weekend we spent an afternoon crafting DIY stained glass ornaments with our kids. Check out the full tutorial at Momtastic.

This year, make your Christmas extra colorful and bright with this easy craft. Tissue paper scraps have never looked so pretty.