DIY Witches Brew Halloween Gift and Favor

witches brew_jsorelle

We have exciting news…Jessica is a contributor to Momtastic. So, if you haven’t visited Momtastic already, make it a point to stop by. Whether you’re in the mood for Hollywood’s latest entertainment news, snack and dinner ideas, family and relationship advice, decor and entertaining tips, DIY ideas or the latest fashion trends, you will find Momtastic to be an amazing resource.

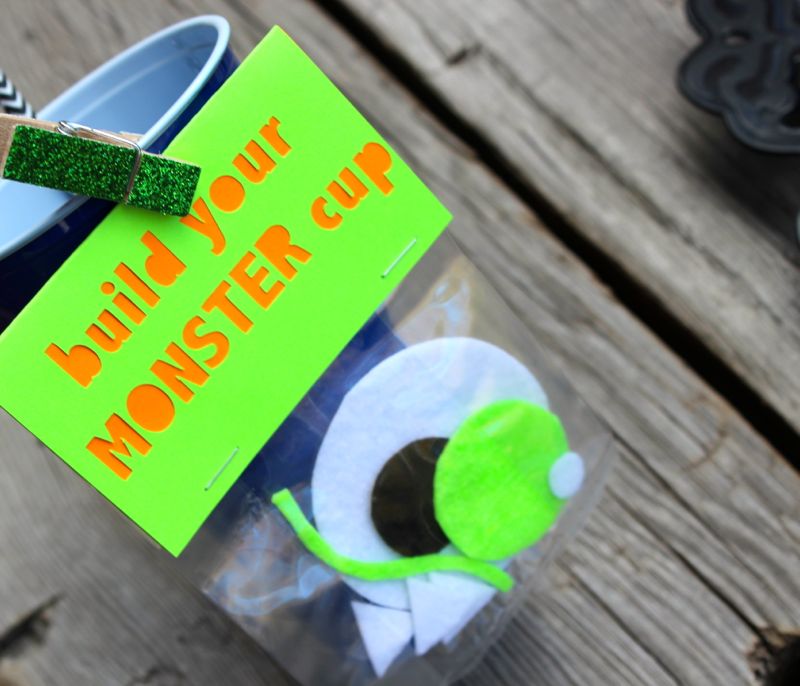
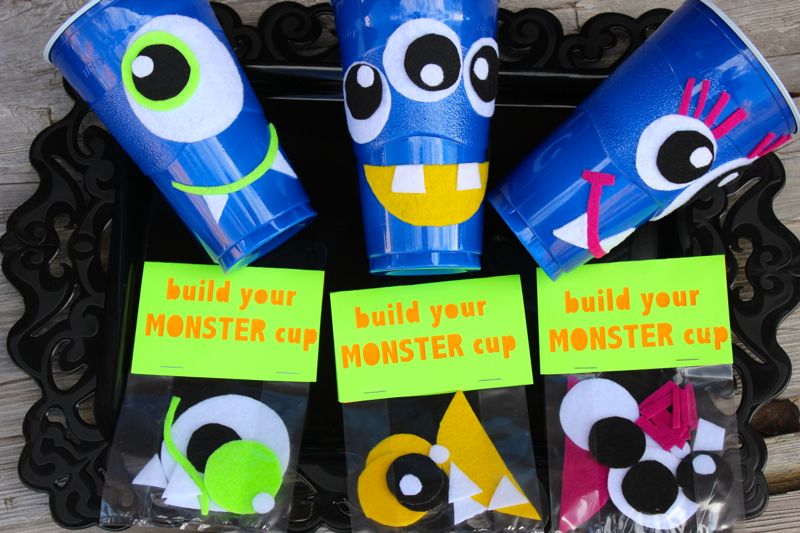
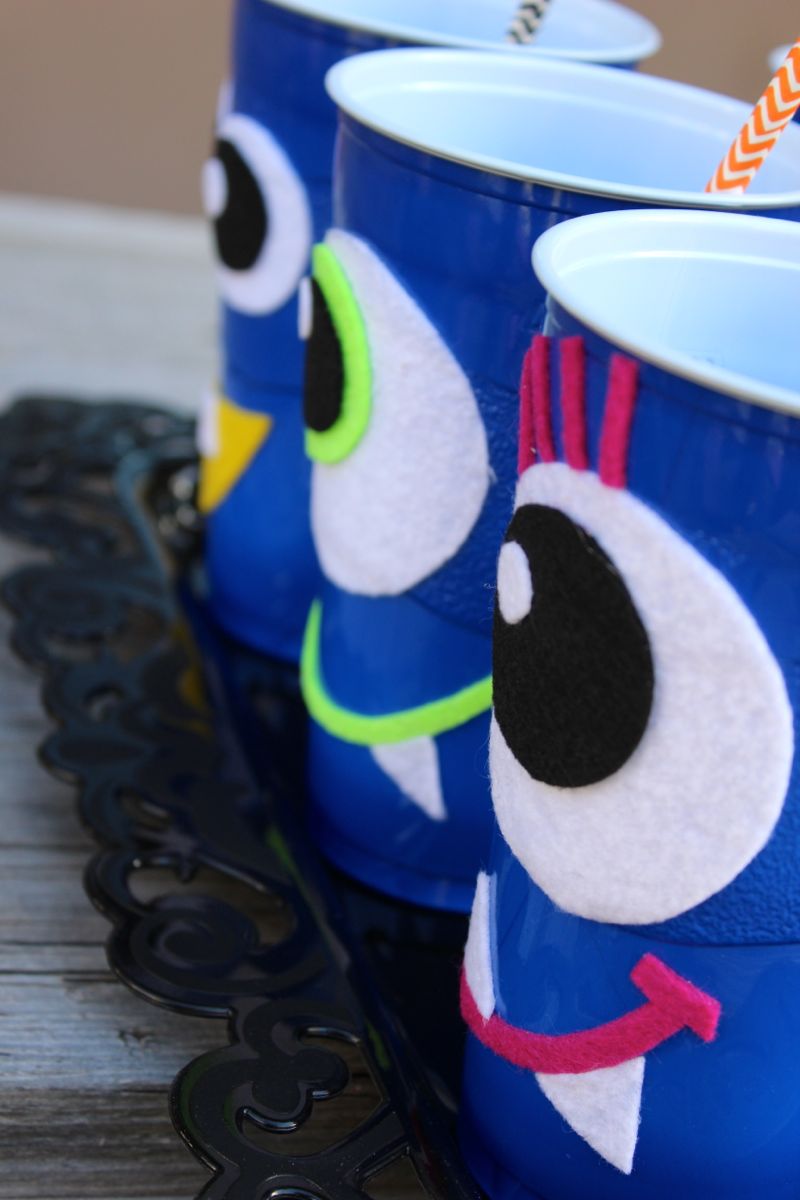
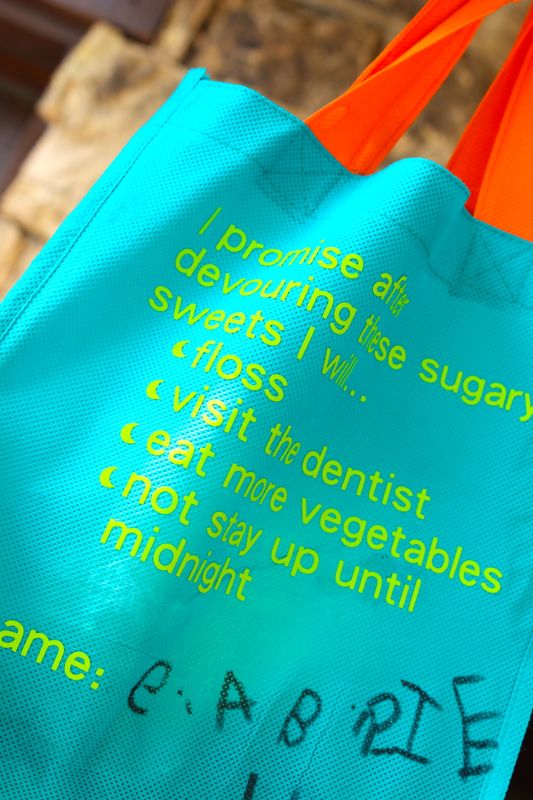
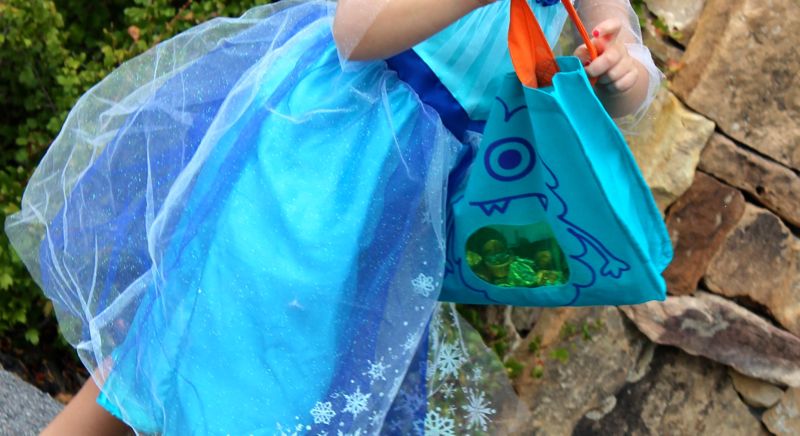
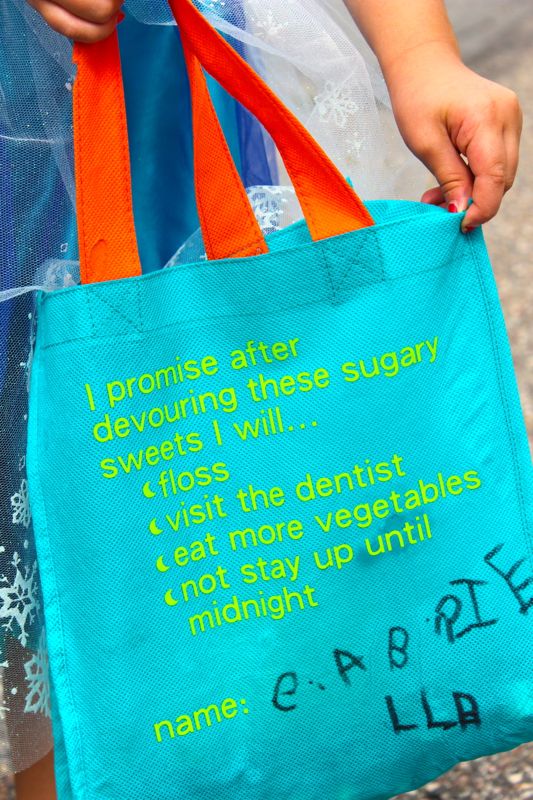
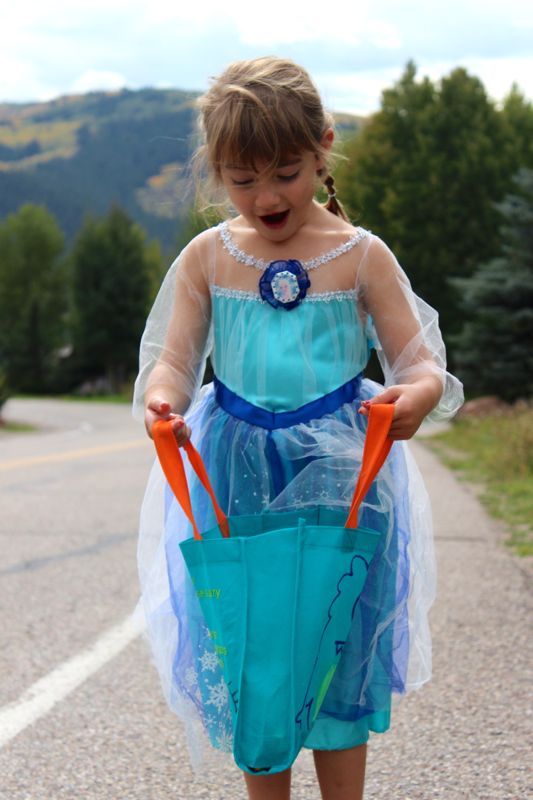
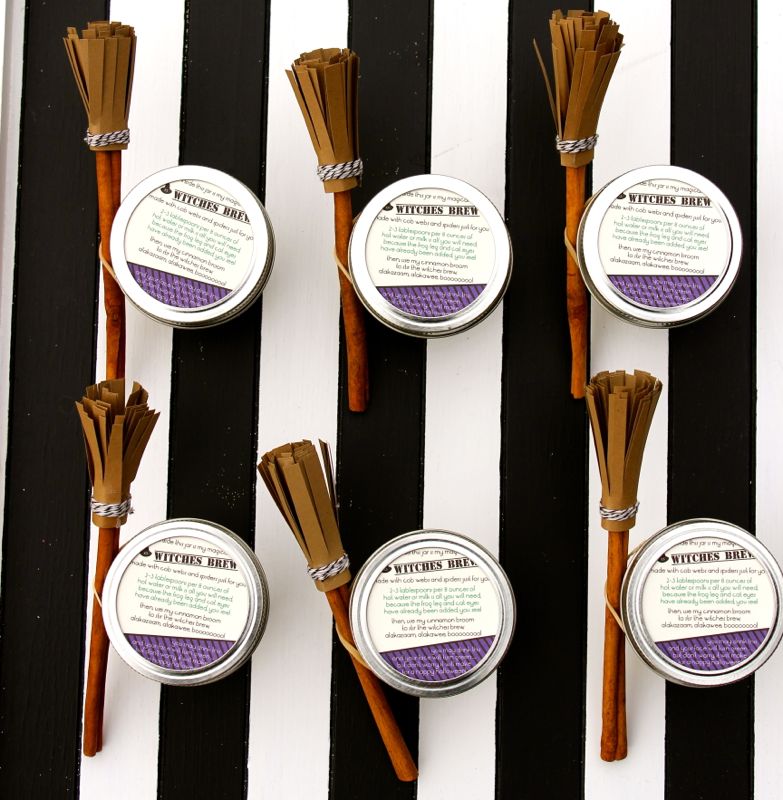
Yesterday, Jessica shared a fabulous, brewtastic Halloween favor idea and FREE PRINTABLE {by Jenna at Fleur de Lis} with an adorable poem, so don’t wait any longer and click here.

{image via j. sorelle}

DIY Halloween Monster Cups with Solo Cups

diy monster halloween cups_jsorelle

Sully and Mike Wazowski made their way into our homes as our kids watched Monsters Inc., but these DIY Monsters Cups will make their way into our kids hands and hearts this Halloween with this easy, DIY tutorial. Our kiddos loved it!

You and your kiddos can make 1-eyed, 2-eyed and 3-eyed monster cups this Halloween with minimal supplies and lots of creativity. This would also make for a fun ‘favor’ to bring to school, or a creative activity for the kiddos at a Halloween party. Each cup comes pre-packaged for each child with pre-cut eyes, mouths, teeth, etc in a cellophane bag attached to a blue Solo cup.

monster cups before and after_WITHTEXT

You’ll Need

  • Blue Solo Cups
  • Colorful Craft Felt Stickers
  • Scissors
  • Cellophane Bags
  • Clothes pin
  • Colorful cardstock

Here’s How

  • Use everyday household items to trace different size circles onto the Felt. We used a mason jar lid, a paint lid and a spice bottle for our circles. As for the lips, mouths, teeth, etc, we did it free-hand.
  • Cut the shapes from the felt.
  • Place shapes inside cellophane bags, and make sure each bag has monster ‘parts,’ including eyes, teeth, mouth, etc
  • For the labels, we used our amazing Silhouette Electronic Cutting Tool to cut out the letters. If you don’t have a Silhouette, you can print labels by hand or use stamps on the cardstock. Fold the cardstock and use a stapler to attach your labels to the cellophane bags.
  • Attach to the cup with a clothes pin.
  • For assembly of the cups, just peel the sticker paper off the back of the felt, and stick to the cup where your little monster heart desires. For the eyes, where there are layers of felt, we needed a tiny bit of hot glue to adhere.

DIY halloween monster cups_jsorelle

DIY halloween monster cups


DIY halloween monster cups

DIY halloween monster cups

DIY trick or treat bags

DIY halloween trick or treat bag

I’m not sure we could get our children to agree to floss, visit the dentist, go to bed early and eat their green leafy vegetables without some sweet and sugary bribery. Halloween is no exception – it s a sugar-high holiday for kiddos – so why not have ‘fun’ with the kids and talk to them about what you expect of them after they consume of all that addicting sugar…oh, and get their commitment in writing!

How To
Buy a monster or pumpkin tote bag from the Dollar Section at Target
Use the Silhouette Electronic Cutting Tool to create a fun contract. Be sure to mirror the image before printing.
Place the text face-up on the tote bag, and cover it with a thin cotton cloth.
Iron on the image with an iron on medium heat. Press down firmly for 45-60 seconds, let cool for about 30 seconds, and peel off. You will likely have repeat the iron step several times – I know I did for all the letters to stick.
If you don’t have a Silhouette, another option is to use Sharpies or even stencils.

target trick or treat bag

DIY trick or treat bag_jsorelle

diy halloween trick or treat bag

We shopped around for other fabulous DIY bags for you too!
1. Pillowcase Ghosts, Martha Stewart
2. Duct Tape Bag, Dukes and Duchesses
3. Silhouette Bag, Uncommon Designs
4. Witch Hat, So You Think You’re Crafty
5. Wild Things Tote, Bloesem Kids
6. Graphic Tote, Country Living

DIY halloween treat bags_jsorelle

{images via j. sorelle, Martha StewartUncommon Designs, Dukes and Duchesses, Country Living, So You Think Your Crafty, Bloesem Kids}

How To Create a DIY Book Page Wall

Kerri Cole entry_DIY book wall

from guest contributor: Kerri Cole

My inspiration came from the blog, Jones Design Company. Like me, Emily is willing to pick up a paint brush, rip up carpet, and change up the feel of her home on a whim. I love the freedom of being able to create and try new things knowing that if I don’t like it, I can change it back. Emily’s book page wall looks something like this…

JDC book-page-wall

JDC book-page-wall-close

My book page wall was created the day before the crew from 5280 Home Magazine came for a photo shoot – as if there wasn’t enough to do to get ready!  Our home was featured in the summer 2014 issue, and you can see it here. It was so exciting to see the finished product! I created my book page wall so that it could come down easily – kind of a temporary art exhibition, but we loved it so much it has remained up even though the pages have begun to yellow from sunlight and the corners have begun to curl.

I’d love to take you through the process so you can create your own book page wall.

  1. PICK YOUR SPACE – I chose an entry stair wall to make a big first impression for my guests. You could choose a powder room (but not near any plumbing fixtures), a kitchen nook, a boring hall, etc. Even using children’s book pages with wonderful drawings in your child’s room would be great!
  2. GATHER YOUR MATERIALS – You will need four things: books, drafting dots, an exacto knife and an adhesive tape runner.  Select a book you don’t mind tearing pages out of, it can be hardcover or paperback depending upon the page size you want to use. Since we are a family of four, we each chose our favorite books in paperback to give our wall a more personal feel and then we also had a great story to share!  (These were: Romeo and Juliet, Anna Karenina, Catcher in the Rye and To Kill a Mockingbird) I used round drafting dots because, one, I had them available since I’m an interior designer and need them for my drafting floor plans, and two, they are easy to use and removable.  You can find these at any art, office, or craft/hobby store along with an adhesive tape runner.
  3. PREPARE YOUR SUPPLIES – Open the books and break the spine of the book in a couple of places, this helps to make a clean cut with your exacto knife near the spine. Once you have a decent stack of loose pages you are ready to begin. You might consider if you want just text, or if you want to have as many pictures or chapter start pages as you can.  I used a little of both. This adds even more character to your wall by adding these in.
  4.  BEGIN! – Starting along the base of the wall, begin by lining up the bottom of the page with the top of the base. Attach each page with a drafting dot at the top. Finish the bottom line and then start on the row above.

Book Wall Page start_kerricole_theentertainingshoppe

You can either line them up so the bottoms are aligned (this works best if your book pages are the same size) or you can stagger the bottoms of the pages as I did. Remember to stand back every once in a while to make sure you are covering your wall and that your book page sides are remaining vertical and not wonky (this is where those removable drafting dots come in handy!)  Keep working up the wall, row by row.

Book Wall Page_kerricole_theentertainingshoppe

When you get to the top of the wall attach the top of these pages with a strip of the tape from the tape runner on the backside of the page so that you cannot see it.

          5. ENJOY THE OOHS AND AAHS – because that is what your friends will do when they come over and see your amazing handiwork!

Many many thanks to Jessica, Jenna and Jodi for inviting me to be a guest on their fabulous blog! Thinking about doing a book page wall in your home?  We would love to see it!

guest author kerri col

{images via Jones Design Company and 5280 Home Magazine,  Kerri Cole with The Entertaining Shoppe.com}

DIY Bat Halloween Cards

love you to the moon and bat halloween cards_jsorelle

We know bats and Halloween aren’t always associated with fuzzy feelings of love. When we think of Halloween, we think of candy, scary ghosts and goblins, vampire fangs, trick or treating, etc. But, why not take the opportunity to tell friends and family you love them with a Halloween favorite…BATS.

How cute are these ‘love you to the moon and bat’ Halloween cards? We frequently say, “I love you to the moon and back,” to our kids, so this phrase carries a lot of meaning at our house. We used our awesome, amazing, couldn’t-live-wihout Silhouette to cut the images of bats, and also to create the cut out cards. We added glitter, orange and black and white striped paper behind the front of the card to make the letters pop.

Happy {early} Halloween. We love you to the moon and bat too!

love you to the moon and bat_jsorelle

love you to the moon and bat_jsorelle

love you to the moon and bat_jsorelle

{images via j. sorelle}