sunflower seed labels

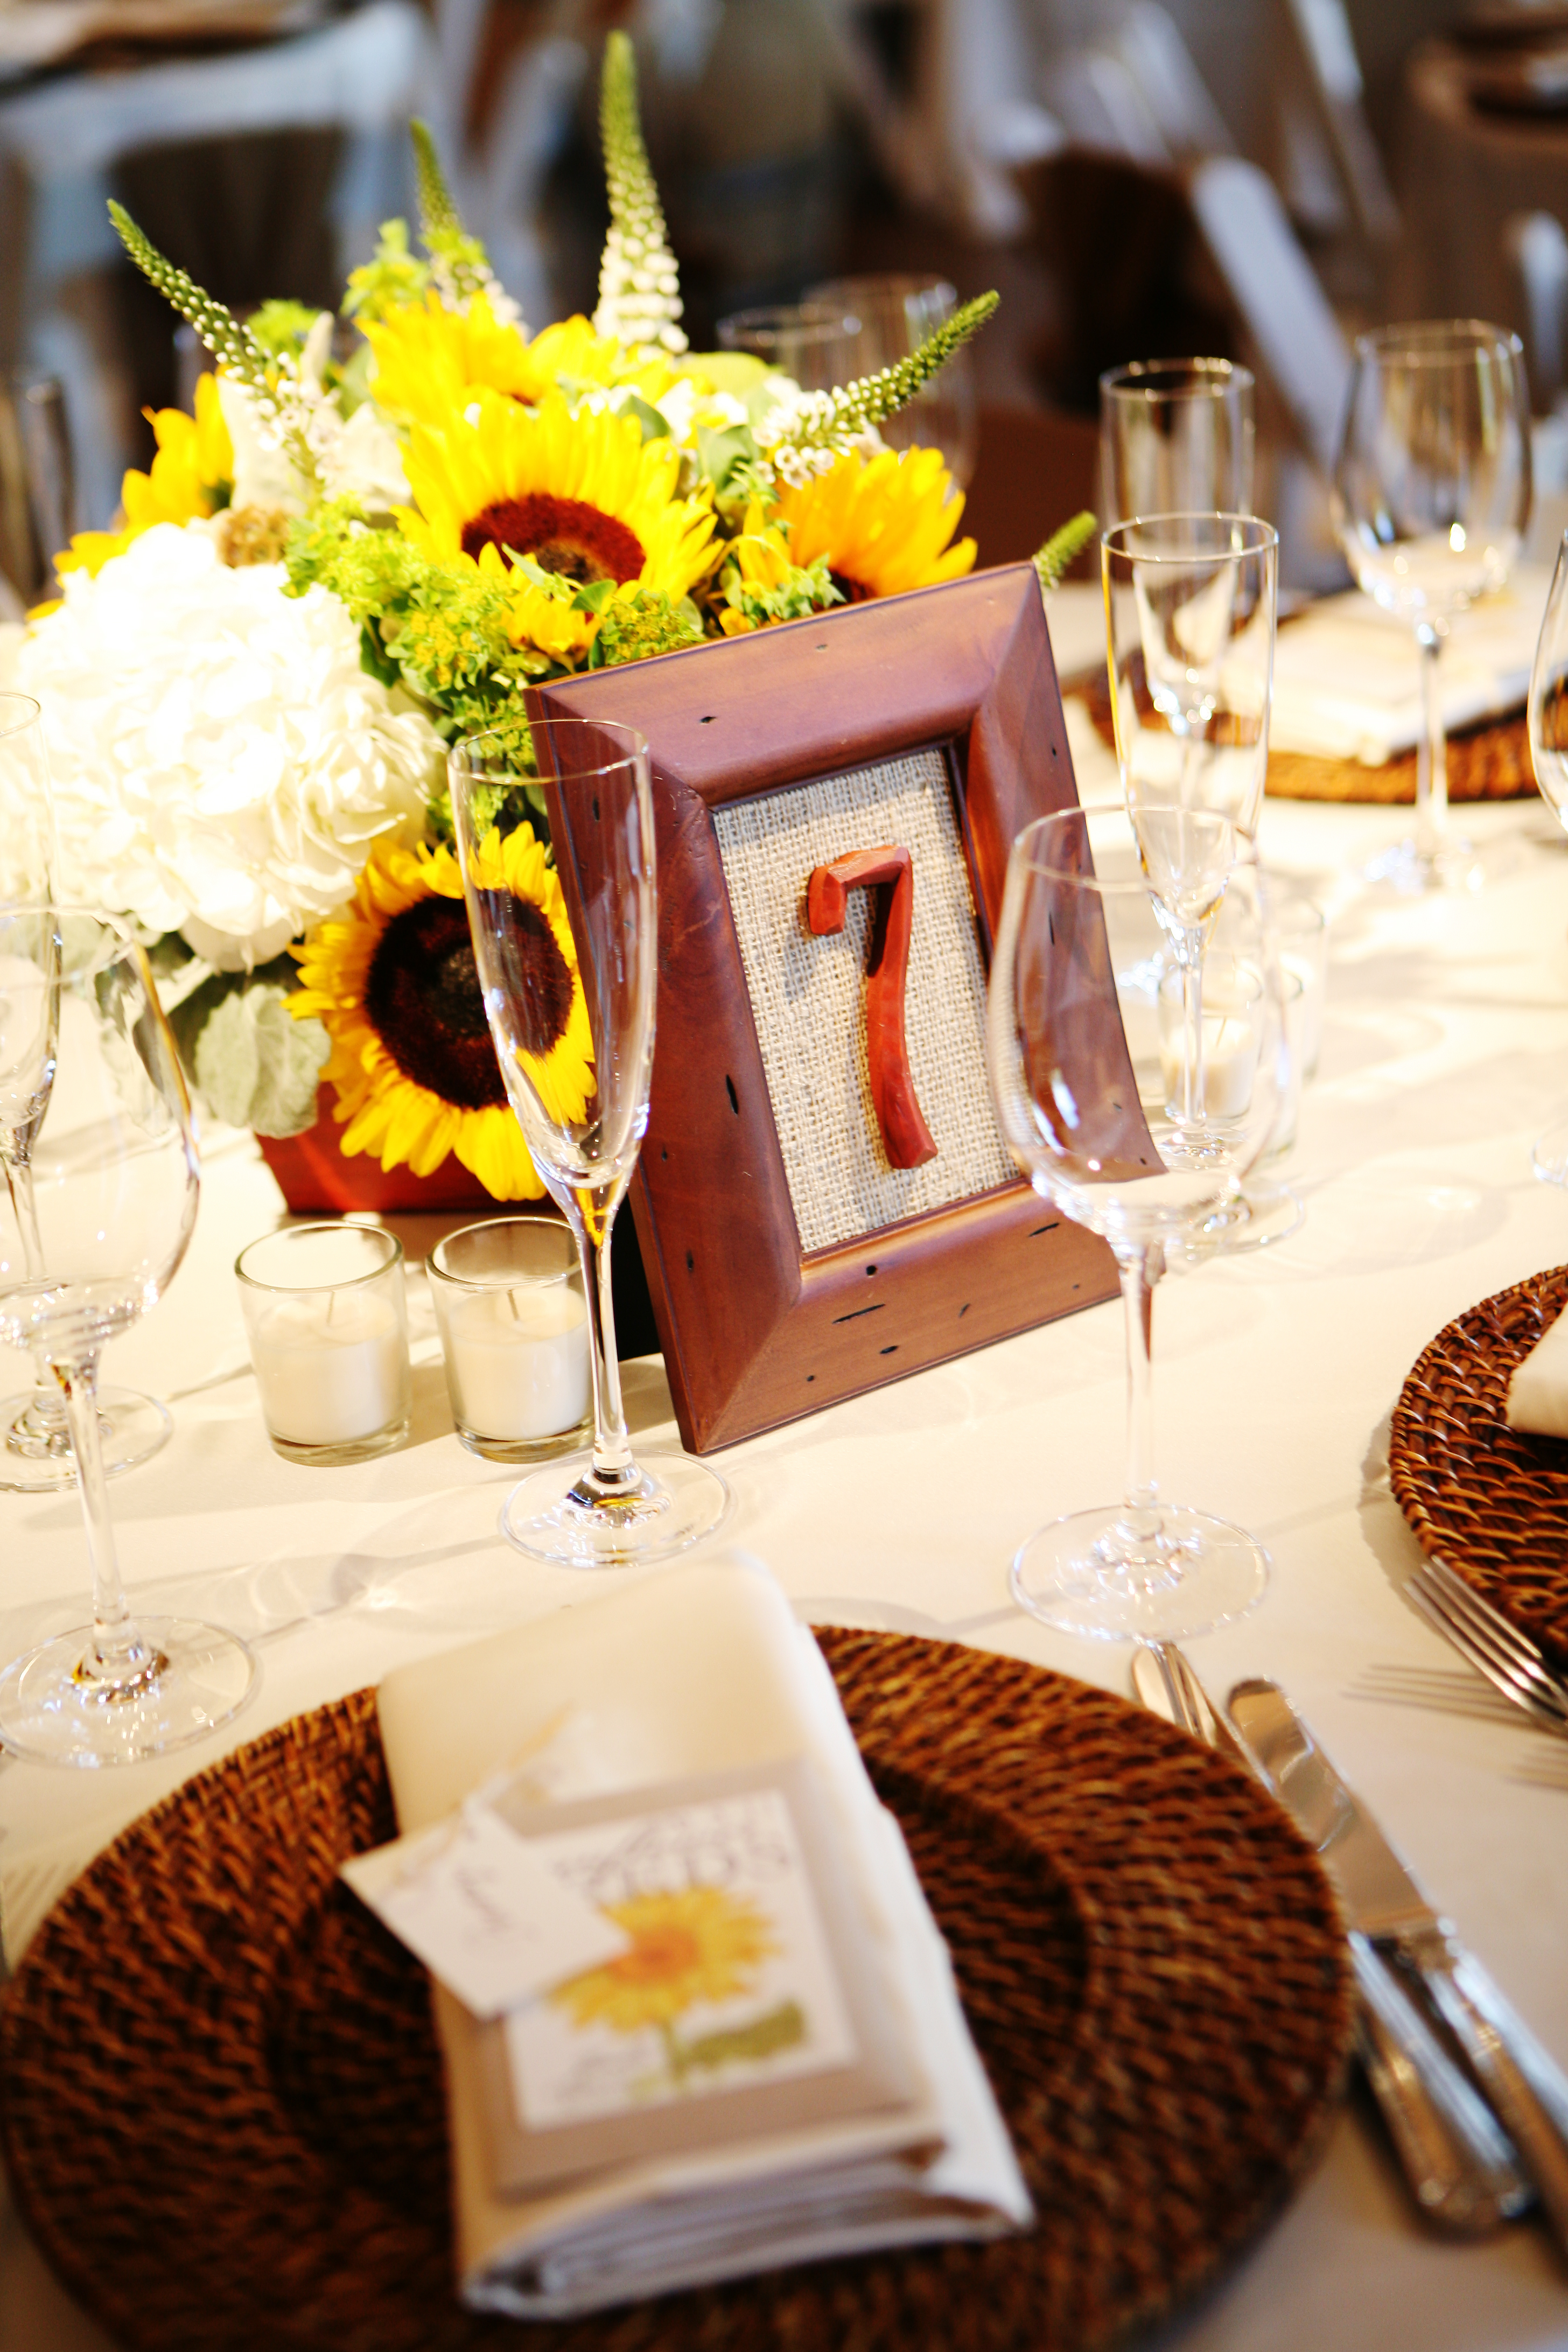
Having a sunflower themed wedding, I was obsessed with the thought of handing out sunflower seeds as place cards/gift favors.

Jessica and Jenna helped me design custom seed labels to perfectly fit our wedding style.
I gotta say, they turned out pretty darn cute!

The ladies got sunflower seeds to ‘plant, love, grow’. And the men got seeds to ‘crack, eat, enjoy’.

To complete our look, we mounted the label on rustic kraft paper ordered from Fleur de Lis (a paperie) and attached hand-calligraphed place card tags with raffia.
Love it.

We’re selling the labels in our Fleur de Lis, a paperie etsy shop. Check them out here and order today {$18 for a custom file}.

{image via Jenna Walker Photographers}

wedding program, a work of art

When my husband and I first got engaged, we knew exactly where we wanted to get married.
It was a no-brainer!

Holy Ghost Catholic Church sits in the middle of a giant skyscraper building in downtown Denver. Built with 300 tons of Colorado marble, the church is a blend of Italian and Spanish Renaissance art and beautifully stained glass windows that create a incredible ambience inside. Absolutely breathtaking.

In the wedding program design process at Fleur de Lis (a paperie), we thought it would be beautiful to somehow incorporate Holy Ghost in the program, other than just listing it with our names.
Thankfully, my wedding planner, Tutto Bella’s very own Jessica, found Stephanie’s  shop, Huber Art, via Etsy.

I think the only way to tell you how talented Stephanie’s is … is by showing you.

Here is an image I took of the church from another gorgeous wedding at the church:

Here’s Stephanie’s work of art:

Amazing, right?!
I’m telling you, if you have a unique church or venue for your wedding and would like a drawing of it, Stephanie is your girl!
And now it’s framed in my house for me to keep forever 🙂

So, we ordered paper at Fleur de Lis (a paperie) and our very own Jenna printed the image onto the cover.
The result: a classic, rustic and absolutely one-of-a-kind wedding program.

A big thanks to Stephanie, Jessica and Jenna for helping me create the perfect wedding program for my wedding!

{images via Huber Art and Jenna Walker Photographers}

How to Create DIY Tissue Paper Flowers

Spring showers bring May flowers … so it also brings tissue paper and tape 🙂

These DIY paper flowers are such a unique {and cheap!} diy project that brightens up your window display. We used for our window display at Fleur de Lis, a paperie, but these would be adorable decorations for a spring garden party, backdrop to a dessert table or for your home.

Visit Design Sponge for detailed ‘how to’ instructions.

 
 {images via Tutto Bella}

happy mother’s day

You are our sunshine,
Our only sunshine,
You make us happy when skies are grey,
You’ll never know dear,
How much we love you,
So, please don’t take our sunshine away.

To our mom, who we think is the greatest mom in the world. She gives of herself all the time, and if weren’t for her, we wouldn’t be the women we are today. We love you, mom!

Happy Mother’s Day to all you amazing moms out there who teach profound wisdom, give selflessly and love unconditionally everyday!

diy framed burlap table numbers

I am excited to share another DIY project from my own wedding: table numbers.

For the look, we wanted rustic. Something with burlap (love!). Something simple. Something that complimented the entire table setting.

Here are easy DIY steps to make table numbers with burlap fabric.

You will need:

– hot glue gun
– glue sticks
– scissors
– frames
– wood numbers

How to:

1. Stock up on frames from Michaels.
{hint: never buy frames that aren’t on sale at Michaels! if there’s not a sale goin’ on, wait a few days and there’s guaranteed to be one!}

2. Purchase your fabric. Super cheap.
{we went to Hobby Lobby}

3. Since I’m not the most patient person in the world, I decided to skip tracing the sample photo onto the fabric and dug right in to cutting while tracing.
{it’s okay if it’s not exact – the frame won’t show the edges in the front !}

4. Cover the entire glass with glue from your glue gun. Be quick – it dries fast! Press firm into the fabric after placing it onto the glass. Burlap is tricky – it’s tough to get it to stick completely. Don’t worry if it’s not entirely stuck onto the glass. When you glue the numbers on, that will act as a double coat of glue 🙂
{ps the glue won’t ruin your frames. it’s very easy to peel off – dry or after soaking in hot water for a few minutes! you can definitely reuse the frames!}

5. Place your new burlap covered glass into the frame and close the backing.

6. Glue your wood numbers and carefully place onto the burlap.
{we went to Hobby Lobby for the numbers and stained them red with a wood stain from Home Depot}

7. Voila! You’re done! Absolutely beautiful 🙂

Be creative!
I used these two for the gift table and guest book table to throw into the mix – so fun!

{images via Tutto Bella & Jenna Walker Photographers}