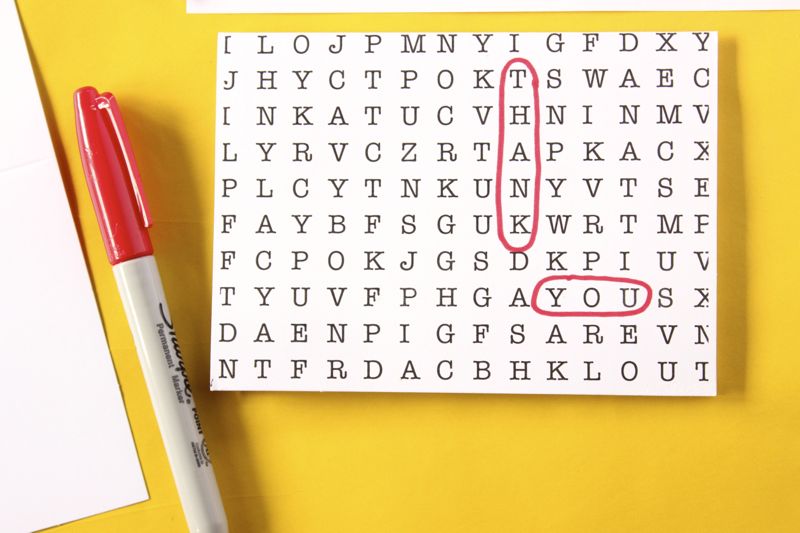
Gift wrap at Christmas time is an art. Sometimes the gift wrap is so pretty, it’s hard to actually want to open it to see what’s inside. We often wonder why we spend the extra time to make gifts pretty when it’s quickly ripped open and thrown in the trash. There is no perfectly sane reason to the wrapping madness, but there is a rhyme and reason. First, it may be vain, but it’s the truth – it’s pretty. We (women) like to do things that look pretty. We want the gift to reflect our own personal style, and when it’s wrapped before Christmas Eve (rare in our houses), it’s an added bonus of “pretty” under the tree. Second, our grandma use to save the wrapping paper from opened gifts. She carefully opened every gift without a single tear, gently folded it, and kept it or re-used it. If she were still here with us, she would keep it. If anyone out there is like my grandma, we better make the wrapping paper worth keeping.
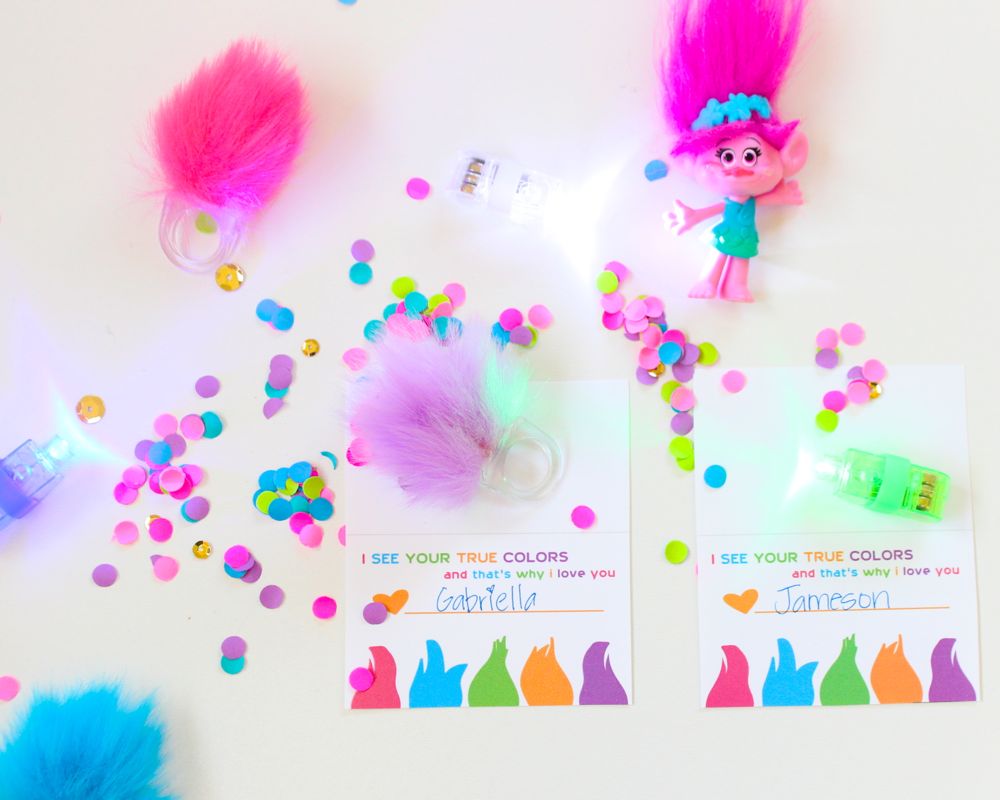
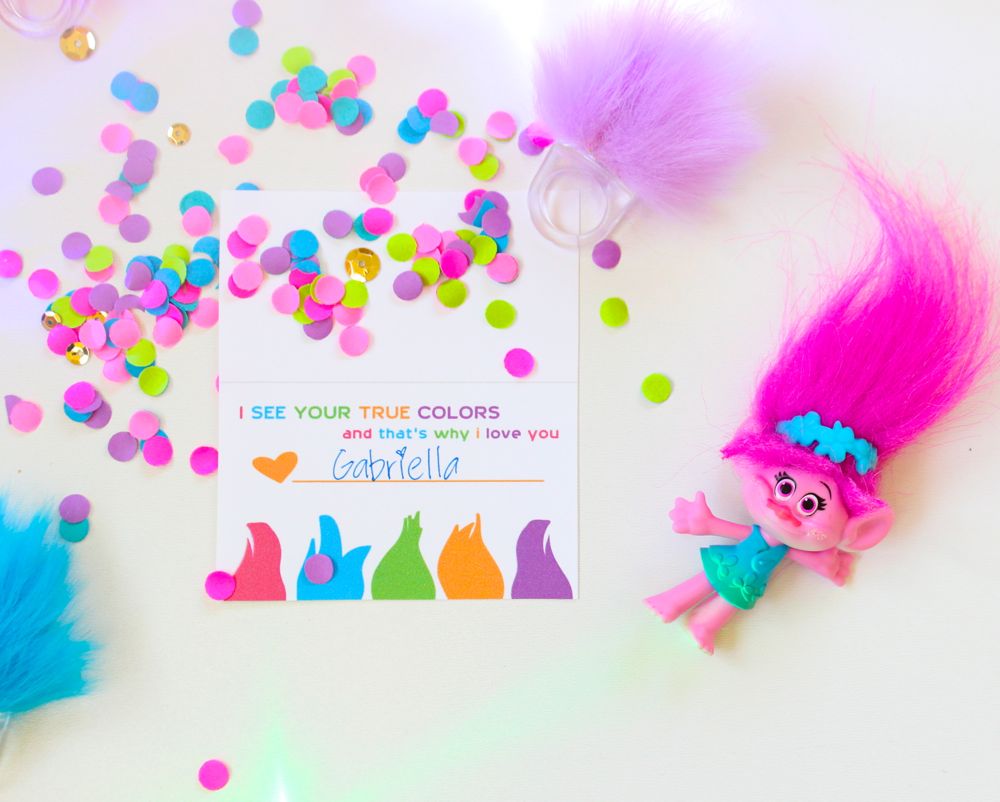
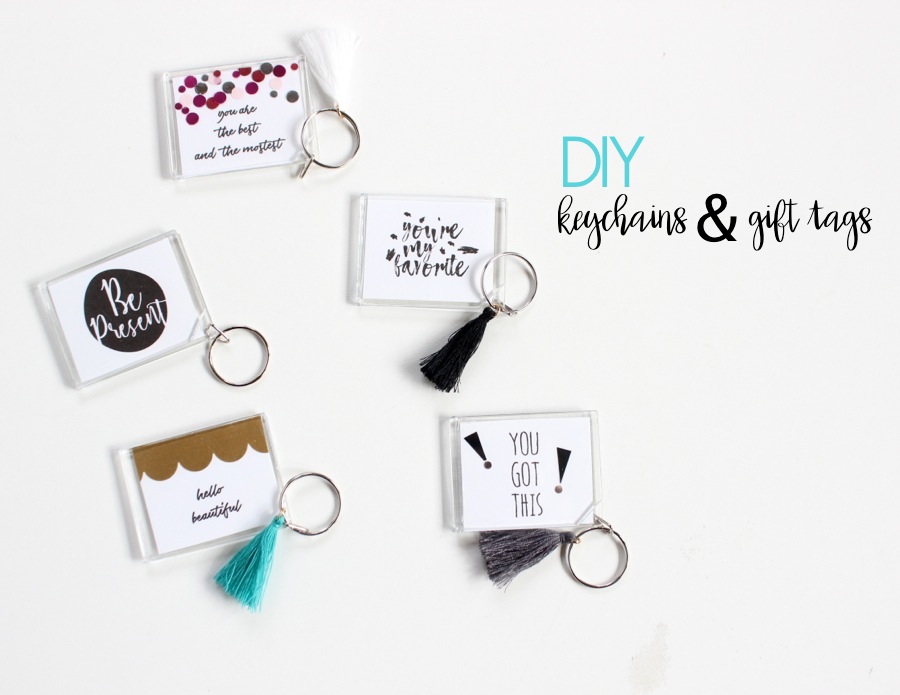
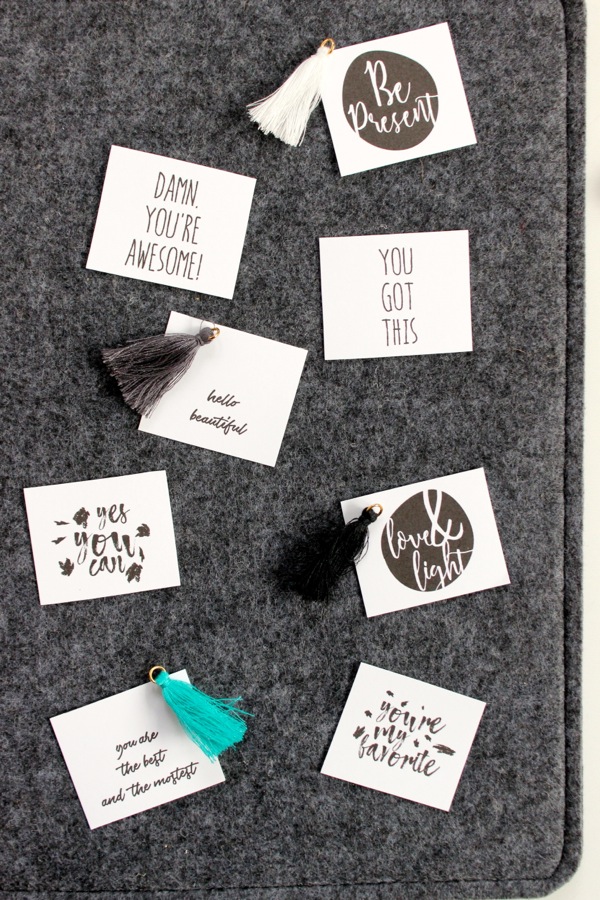
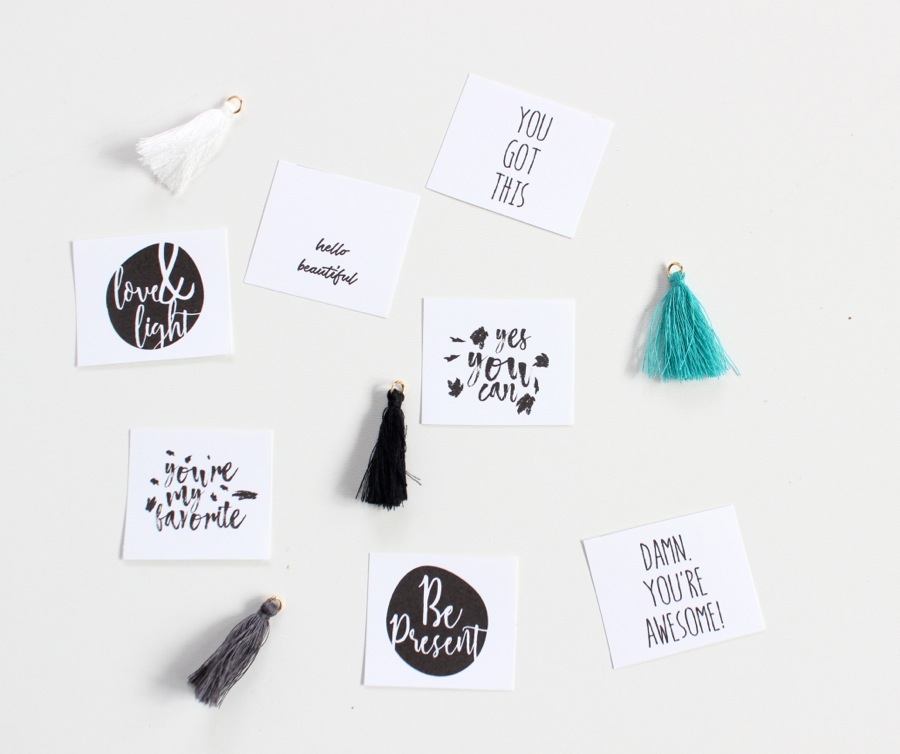
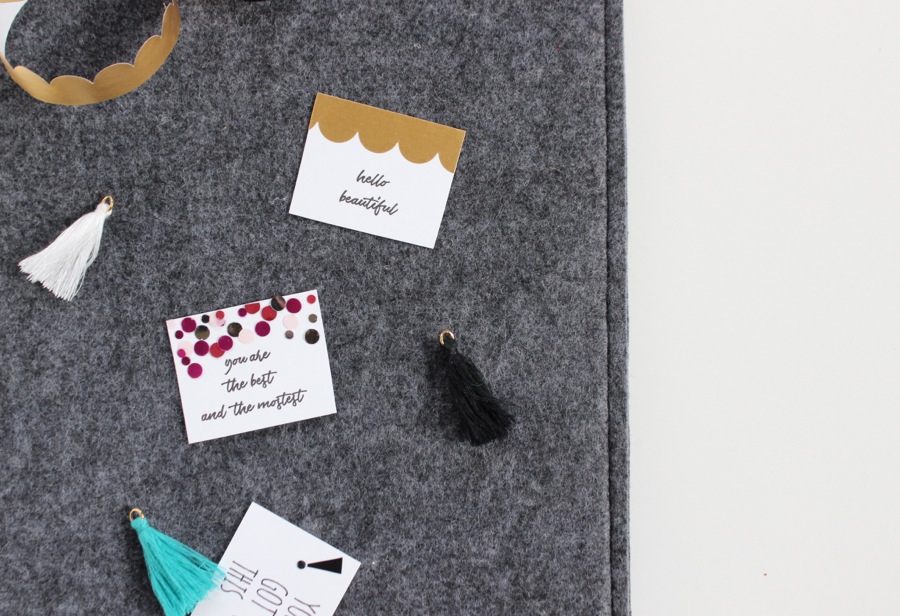
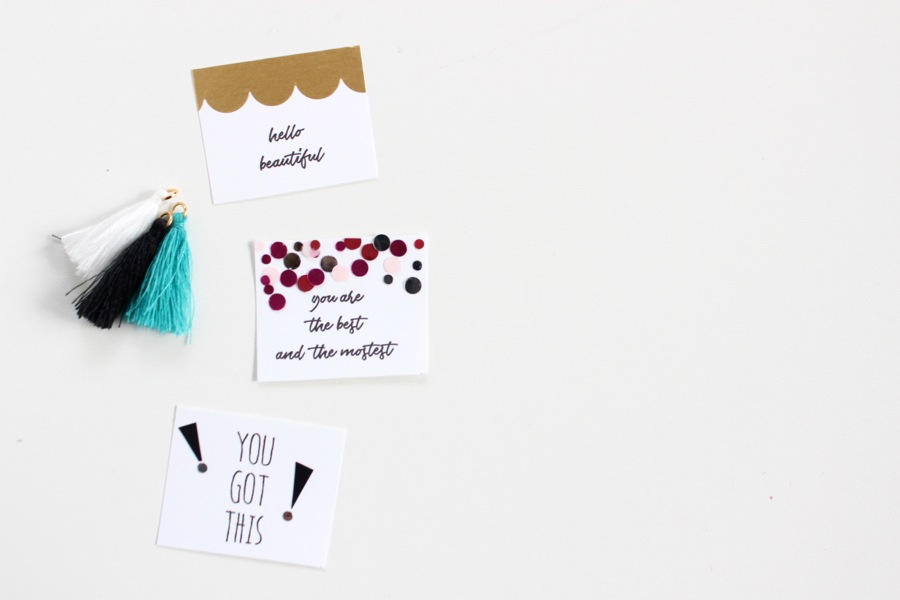
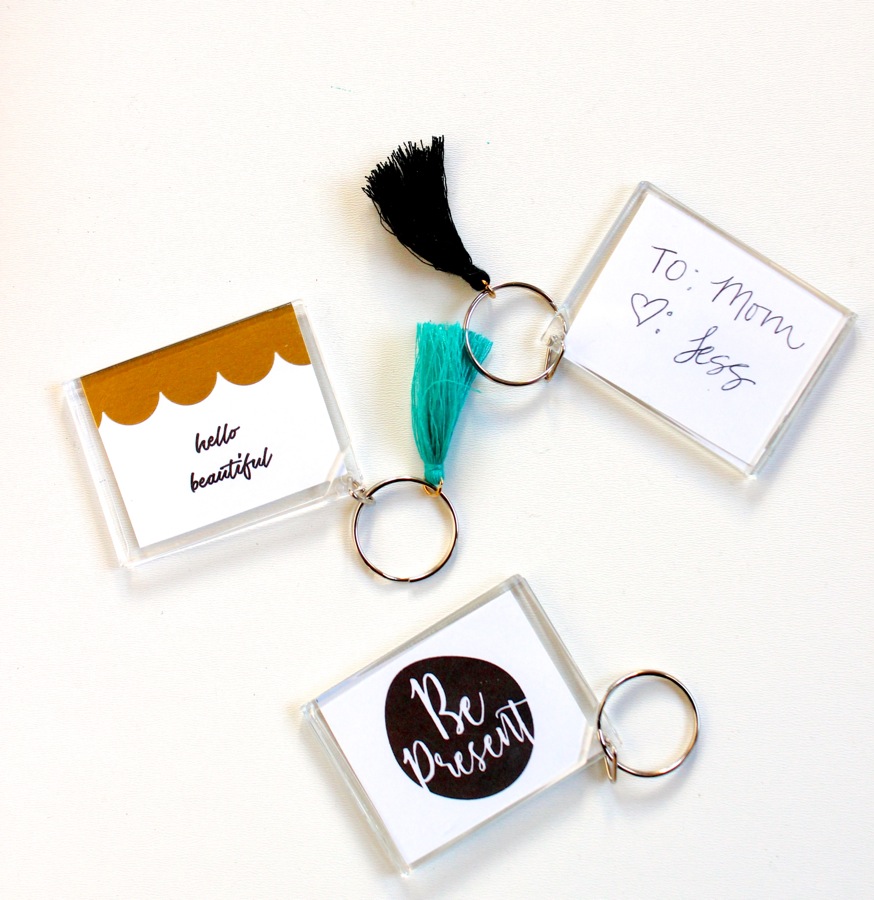
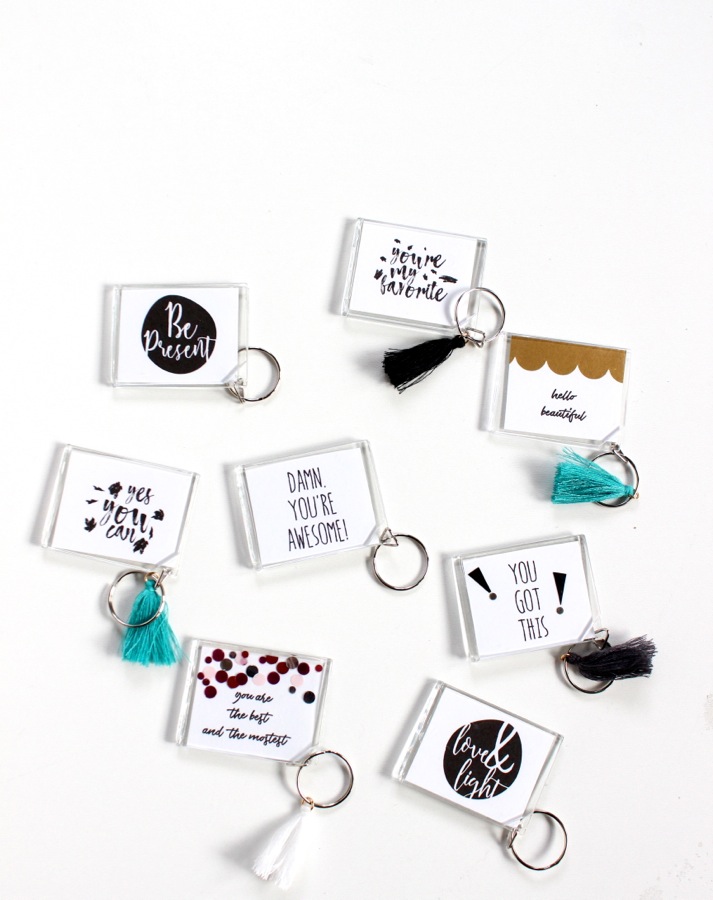
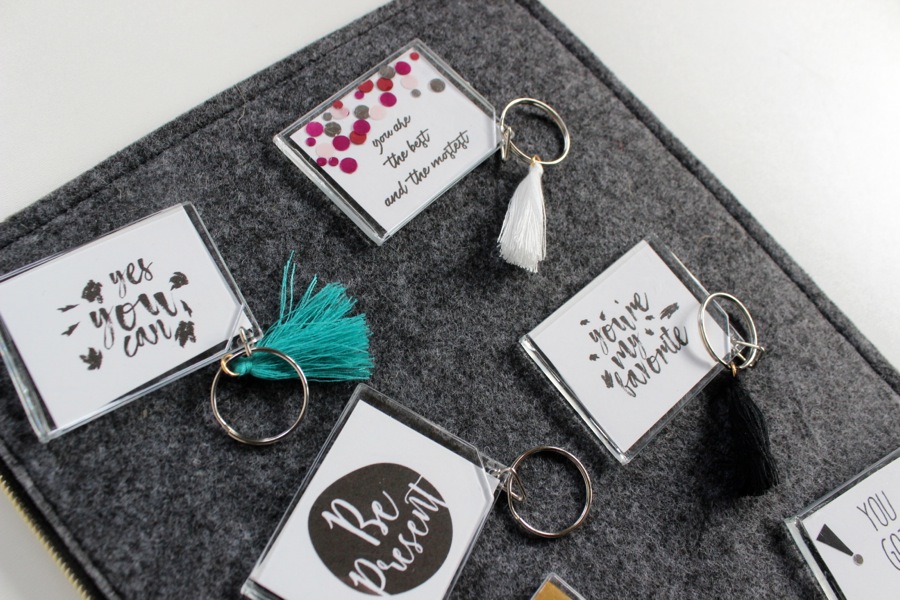
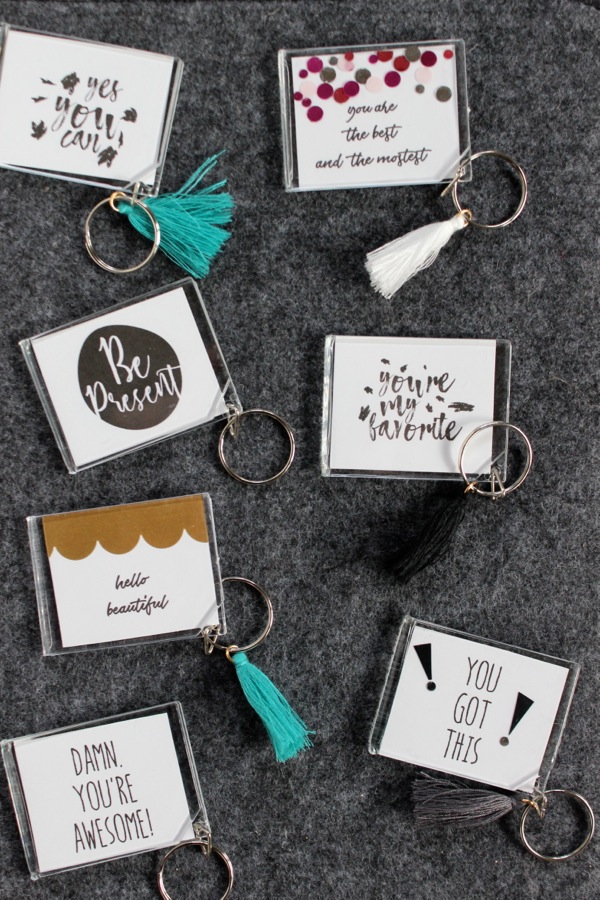
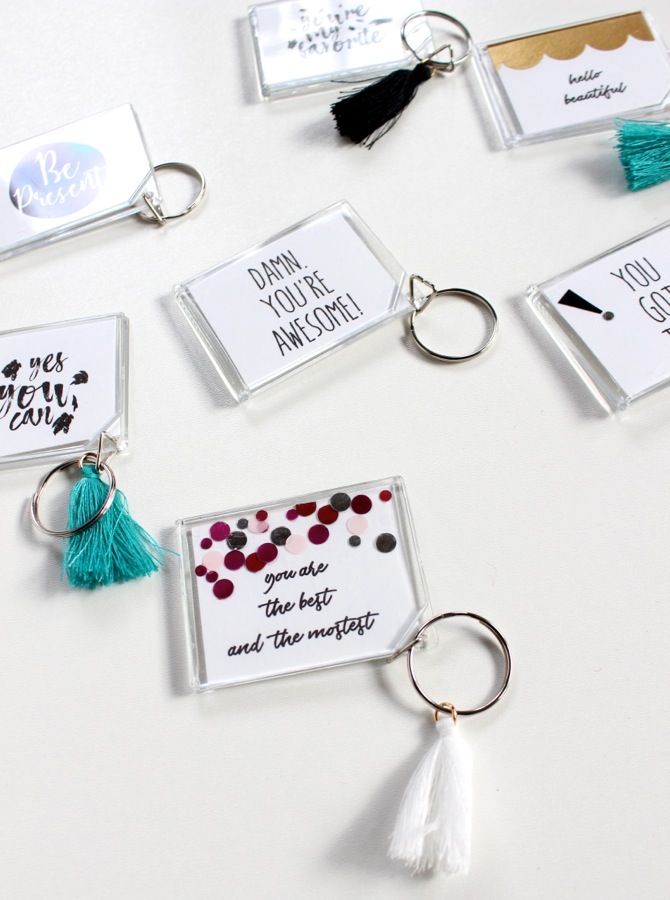
This year, our wrapping is simple, but it has a fun and clever gift tag, which doubles as a gift. Gotta love that! Everyone will get a little keychain from Oriental Trading Company that Jenna made adorable printables for. There are 9 difFerent saying and styles to brighten one’s day, and they are all FREE for you. Everyone needs a reminder every once in a while about how awesome, amazing and beautiful they really are! These keychains do just that!
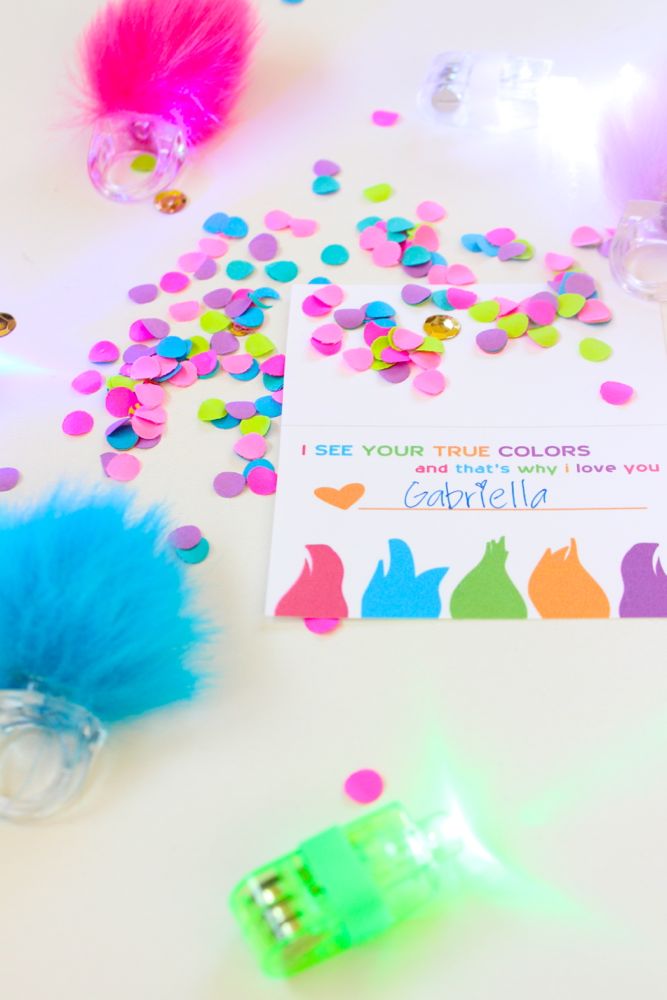
The printables are classic black and white; however we added some pizzazz to some of them with loose confetti, washi tape and of course, tassels. These make great stocking stuffers, gifts for girlfriends, teachers and of course, gift tags.
Here’s how to do this insanely easy DIY.
Materials:
- Washi Tape, Oriental Trading
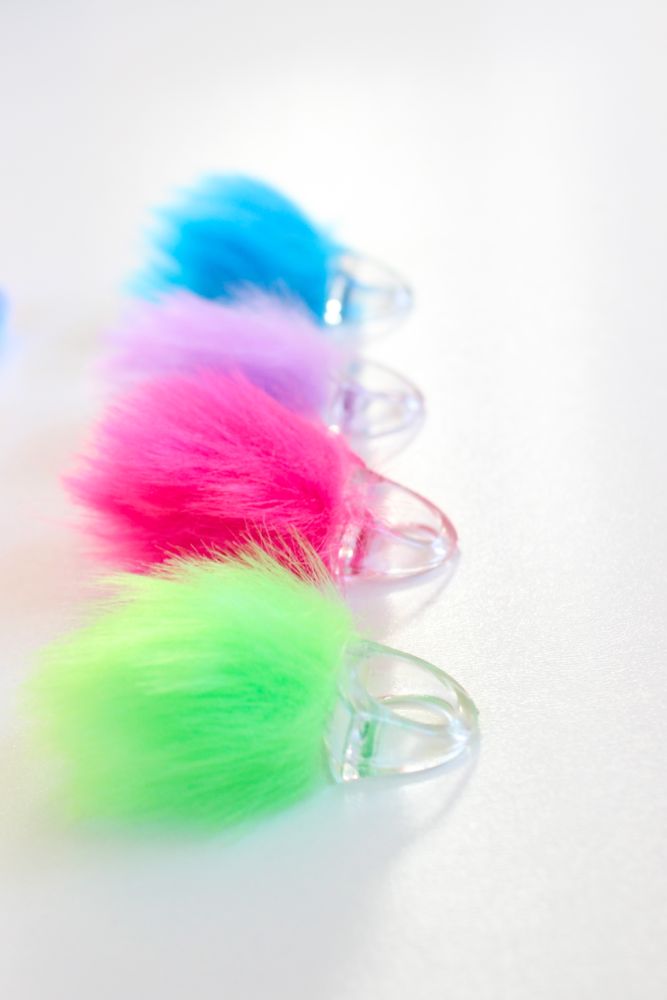
- Keychains, Oriental Trading
- Free printable
- Tassel charms, Oriental Trading
Step 1: Print the file, and cut the cards out. Click here for the free file.
Step 2: Decorate the cards for some extra color and texture if you wish.

Step 3: Add a To: and From: on the back of the printables, or on a separate sheet of paper that’s cut the same size, so the recipient can remove it, and keep the cute printable on front!
Step 4: Insert the paper into the acrylic sleeve. Add tassels if you want.

Step 5: Attach to the gift and you are d.o.n.e.!


Merry everything!
Oriental Trading sent us some items of our choosing for this post, free of charge. We’re so happy they did! All opinions are honest, and our own. No other type of compensation was received. Thanks for supporting the companies that support j. sorelle. We love Oriental Trading, even before this post.