bugalicious fun

My sweet babies turned 1-year-old and 3-years-old last week. This year’s party theme…bugs. Caterpillars, ants and worms, and ladybugs for our little lady.

I think it’s just the cute decor possibilities that lured me into throwing a bug party because I am the type to scream and panic when I see bugs, and the thought of anything crawling on me gives me the creeps. But, it was a really fun party for the kids. We did it on a budget this year, so although I would’ve liked to do a lot more, the credit card will thank me at the end of this month. 🙂

We served brunch – egg casserole, blueberry coffee cake, fruit skewers, a delicious french toast casserole and a yogurt bar along with a milk and juice {and champagne for mimosa’s for the adults} bar.


We served Potted Chocolate Mint Pudding with gummy worms in 1/2 pint mason jars and “bug candy” for dessert.

I found a frame with wire in the middle, and used it as a prop for photos on the yogurt bar. Jameson, ages 1, 2 and 3 were on display, and for Gabriella, months 1 through 12. I used numbered labels made by Jenna at Fleur de Lis, and used a hot glue gun to adhere them to clothes pins.

I tried the crepe paper weave, and it was super easy and cheap – 2 rolls of crepe paper for 97 cents each. Steal!

Caterpillars, made of balloons, made appearances throughout the inside and outside of the house.

Fleur de Lis designed all the paper products for the party including the adorable invite, water bottle labels, tags and toppers.


 We bought bug catchers from Michaels for each toddler and found bug-catching tools to place inside. Before everyone arrived, we hid candy and big fake bugs {from Walmart} in the backyard, so once we were ready, the kids were off on a bug hunting adventure.

Once they caught all the fake bugs, we released 2,000 live lady bugs {bought from O’Toole’s Garden Center} they caught in their catchers too.

Exciting news about all the cute paper products for this party – you can customize and purchase for your little ones at Fleur de Lis in Denver. If you don’t live in Denver, you can order through our etsy store here. All the stationery for this party is available for purchase. yay!

{images via Tutto Bella}

adorable diy cake stands

When I first saw these DIY cake stands, I just knew I had to make them. There was a warning from the creative inventor, Jennie from A Well Crafted Party, that whoever tries to make one will be addicted and just have to make more. She was right. I admit, I’m addicted. Now you can be too. Thanks, Jennie.

DIY Cake Stand Tutorial, featured at Bump Smitten.

Materials:
1 plate— 4-inch plates make great cupcake stands
1 candle stick, goblet or sundae glass
Epoxy
1 heavy book
1 can of spray paint
1 can of acrylic sealant {I skipped this step due to time}

Instructions:
1. Spray paint your candle stick, goblet or sundae cup the color you wish the base of your cake stand to be.
2. Find your plate—any plate will work {square or round} but I recommend using one that has the color or image you would like as this will not be painted to keep the cake stand food friendly.
3. Affix the plate to a candle stick, goblet or sundae cup {the larger the base, the more sturdy the cake stand} using a glue made for ceramics and glass.
4. Place a heavy book on top of the stand and let the epoxy set according to directions. After the epoxy has set you should be able to pick up the stand with no movement from the candlestick or plate.
5. Before use, wash the top of the plate with dish soap and water. The stand is not dishwasher safe but is food-friendly as long as food is not touching the painted surfaces.

Read more detailed instructions from the original tutorial on Bump Smitten here.

P.S. I’ve used these stands for cupcakes, food displays and votives. Let your creativity fly.

{images via Bump Smitten}

sip and see

Sip & See.

Definition: A meet and greet to introduce your new baby to the world.

My personal thoughts on a Sip & See party…genious! I love baby showers, but as beautiful as a preggo mama is at her shower, people love to hold a baby and say ‘ooh and ahh.’  

It’s like show and tell, with the best gift of ALL…a sweet bambino.

I’m all about giving the new mom {and second, third or fourth-time moms} space to adjust to life as a new mom – let’s face it, her life has been turned upside down and all around…in a good way. Not to mention the hormones that will have her crying for no apparent reason. 🙂 I admit, I am one of those women who prefer to be left alone after having a baby – so I would need at least three months before I could do a Sip & See – but others are different and enjoy being around people after giving birth {and God bless you for that}. So, whatever time is right for you, make the time {or have a friend or mother, or mother-in-law make the time} to host a Sip & See.

I love this party at The Party Dress because its adorable, and, of course, has some fun cocktails for people to Sip while they See.

Tori Spelling threw a Sip & See shower for her friends, the famous “guncles,” with the adorable theme, Simple Simone after the baby girl’s name, Simone. Courtney as Pizzazzerie helped designed the logo.

I saved the best for last because I am IN LOVE with this MILKaholic Sip & See by Carrie Sellman of Half Baked {found at Hostess with the Mostess}. You HAVE to see more details of this party…the details are amazing!

The idea of making a diaper thoughts station is brilliant. Love it…also a great idea for a baby shower {with the baby still in mama’s belly}.

{images via The Party Dress, Child Mode, and Hostess with the Mostess}

game, set, match

We grew up in a tennis-loving family. Tennis tournaments, Andre Agassi and Pete Sampras, racquets and doubles partners…all of it was talk at the dinner table every night. OK, not every night, but at least a couple of nights a week. 🙂

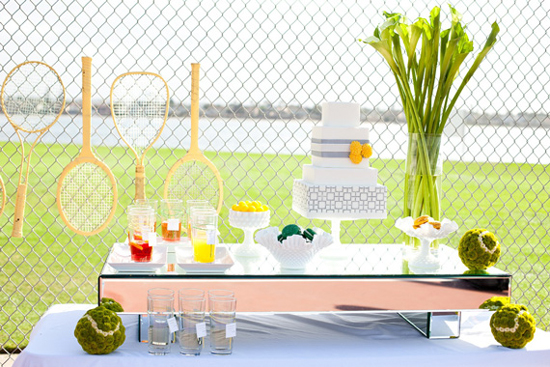
Today, we pay homage to our childhood sport and the wonderful game of tennis with fabulous tennis party ideas…and {of course} just in time for the Wimbledon Championships this weekend.

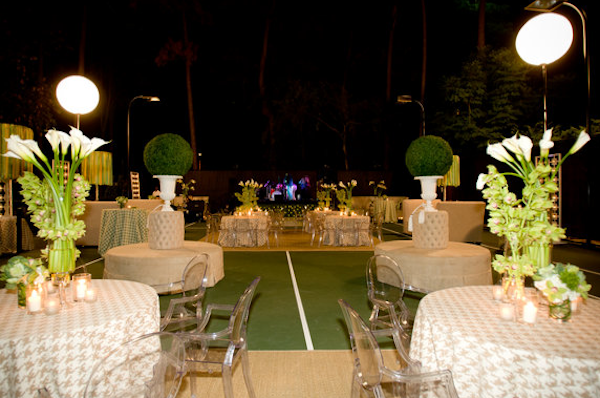
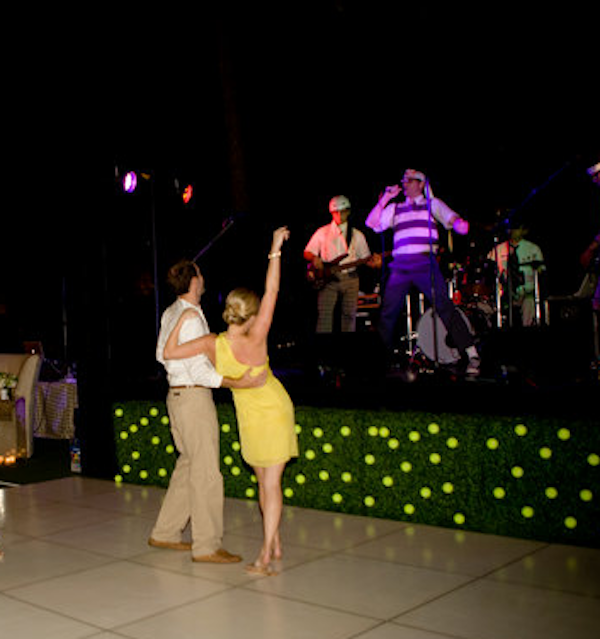
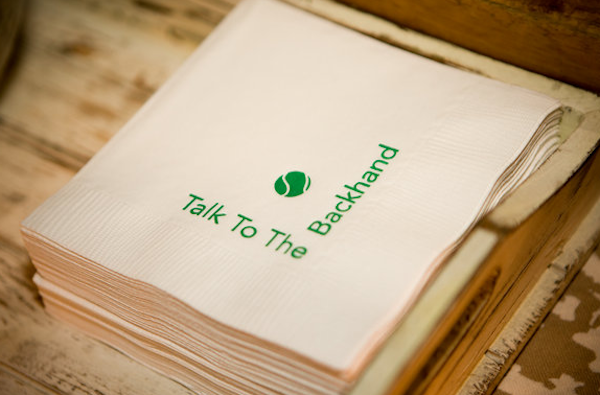
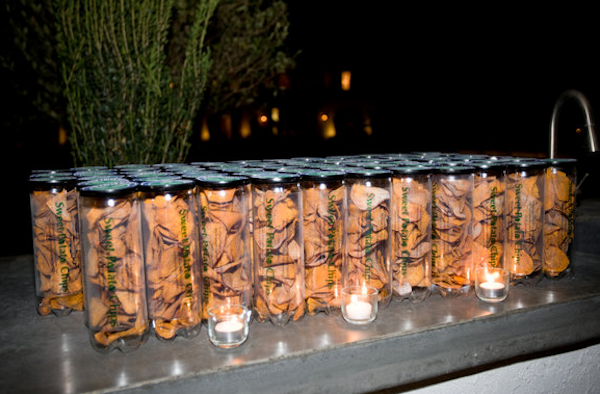
Throw a tennis tournament and host a fun post-tennis tournament party, or throw a party in lieu of the finals of a major tournament. Or, as you will see, you can just throw a beautiful party on the green and white court.

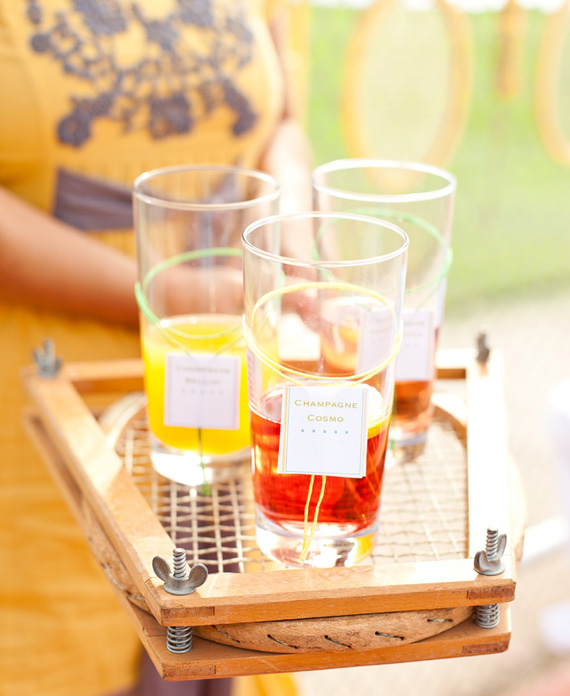
I love this Friar Tuck Cup Party from Christi at P is for Party. Elaborate, fun and gorgeous. For more photos and details, visit Christi’s blog.

How pretty is this Ralph Lauren Inspired Tennis Dessert and Champagne Table by Victoria from A Subtle Revelry. For more photos and ideas, visit A Subtle Revelry.

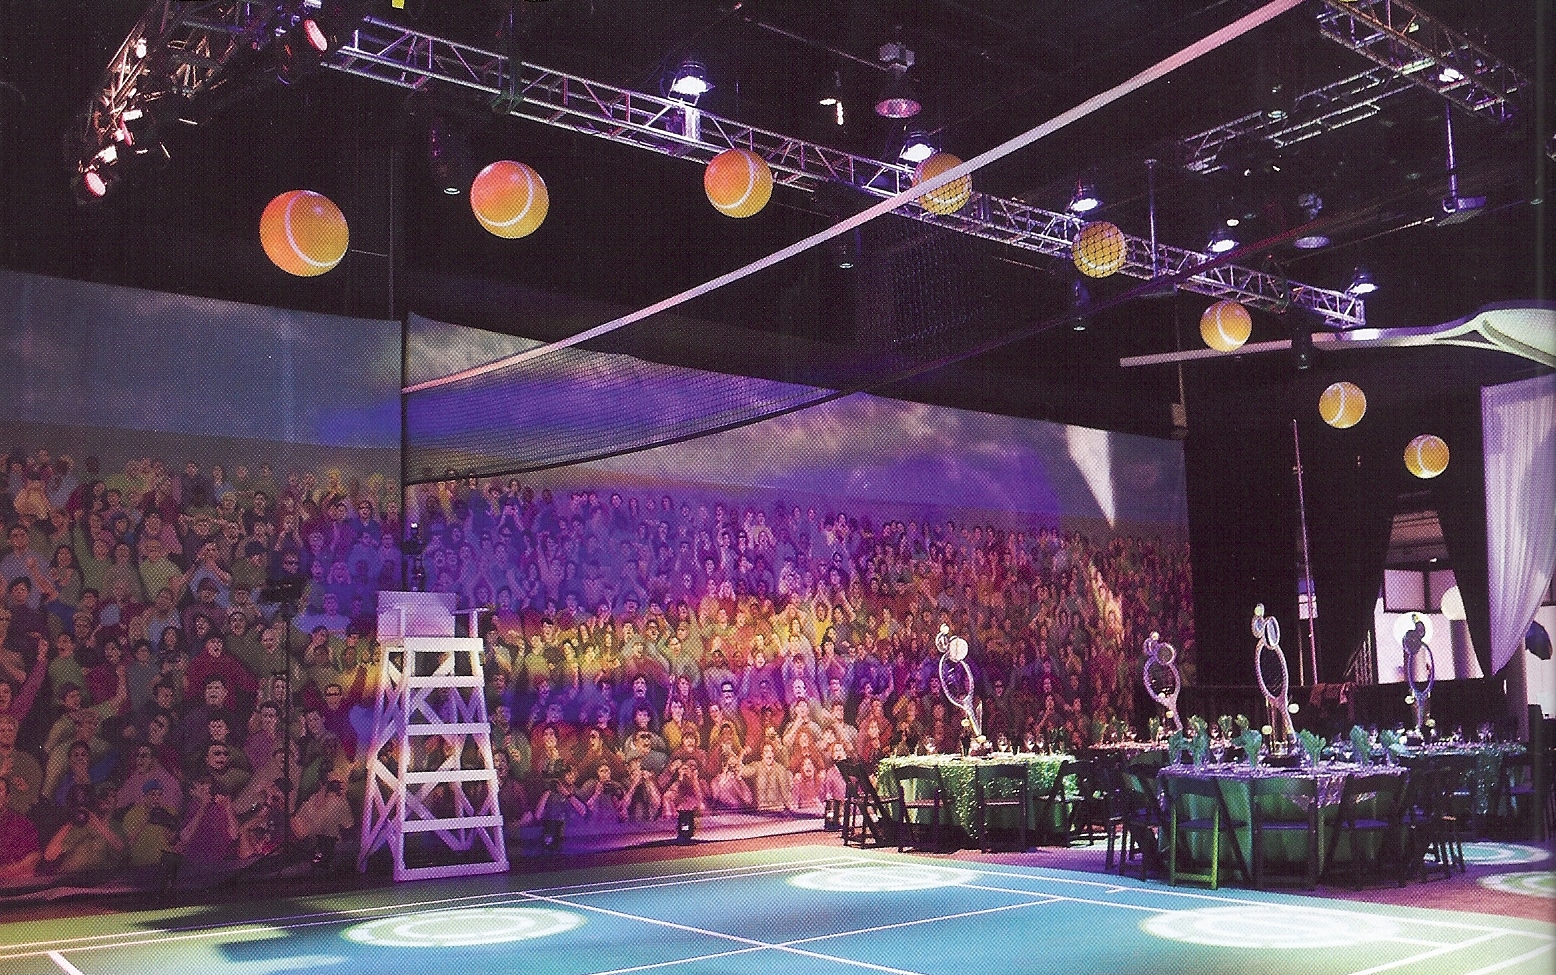
Denver-based Design Works by dave and mike made their client center court with this creative party.

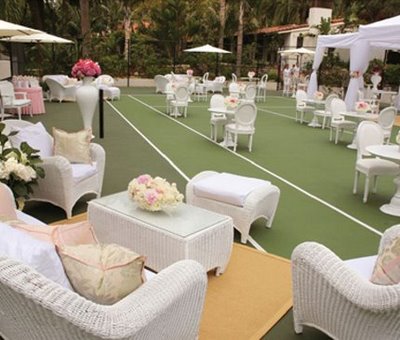
Check out this Courtside Soiree from Canvas and Canopy.

{images via P is for Party, Canvas and Canopy, Colorado Expression Magazine and A Subtle Revelry}

popsicle treat for those hot summer nights…and days

It’s hot around here and after a long {and fun} day at the pool and park, nothing sounds better to the kids {and me} than a popsicle. Refreshing.

I’m going for the “one for you, one for me,” motto on this one. Below are yummy recipes for the kiddos and for sophisticated adults!

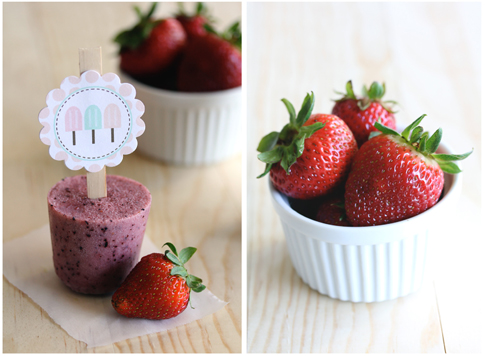
Berry Coconut, recipe via The TomKat Studio

Ingredients
1 cup strawberries
1 cup blueberries
1 can light coconut milk
1 cups water
1 cup apple juice
1/2 cup honey
5 ounce Dixie cups
20-30 Popsicle sticks

How To
Add strawberries, blueberries, coconut milk, water, apple juice and honey in a blender. Carefully pour mixture into your 5 ounce Dixie cups, filling 2/3 of the way.
Place in the freezer for 30 minutes (set your timer), insert your wooden sticks, and continue to freeze until the popsicles are completely frozen, about 6 hours.
When you’re ready to devour, cut and tear the Dixie cups off of the popsicle.

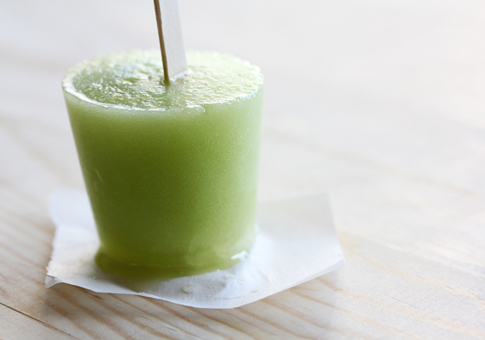
Honeydew Lime Popsicle, The TomKat Studio

For the complete recipe, {created by one of our faves, Lisa, With Style and Grace visit here.}

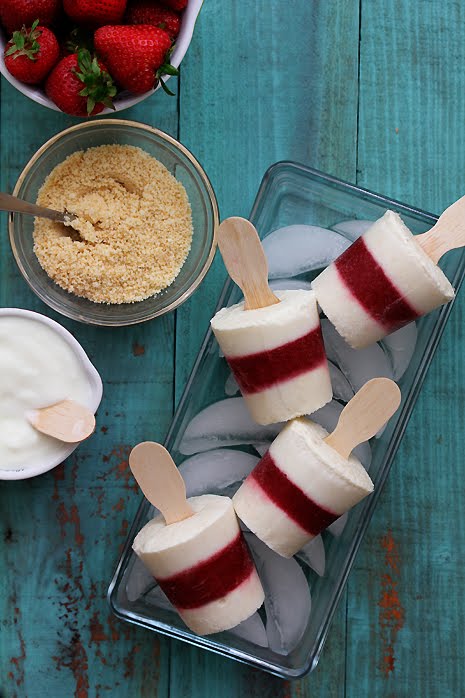
Strawberry Shortcake Popsicle, recipe via Bakers Royale

Ingredients
1 ½ cup puree of strawberries 
½ cup crushed vanilla Oreos
2 cups vanilla yogurt

How To
Puree strawberries
Place Oreos in a food processor and pulse until cookies become fine crumbs {or place Oreos in a Ziploc and use a rolling-pin to crush cookies}.
Add crushed Oreos to the yogurt and mix until combined. 
Layer the yogurt portion first and let freeze for 30 minutes before adding the strawberry layer.
Let the second layer freeze for 30 minutes, and then add the last yogurt layer.

For more notes and tips on this recipe, visit Bakers Royale.

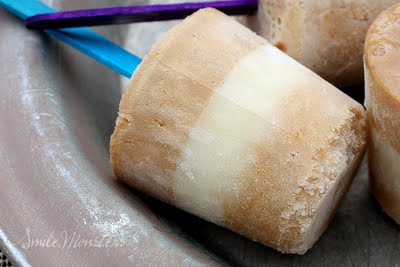
Root Beer Float on a Stick, recipe via Smile Monster

Ingredients
1 12oz. root beer or 1 1/2 cups
1/3 cup whole milk
1 Tablespoon sweetened condensed milk
1/4 teaspoon vanilla

How To
Pour into your cups or molds about 1/3 of the way and freeze for about an hour.
For the cream layer mix together: 1/3 cup whole milk, 1 Tablespoon sweetened condensed milk and 1/4 teaspoon vanilla
Pour the creamy mixture in even amounts into your molds and freeze another hour. Then top off with remaining root beer mixture.
Freeze again but don’t forget to insert your sticks once that top layer has gotten firm.

For more notes and tips on this recipe, visit Smile Monsters.

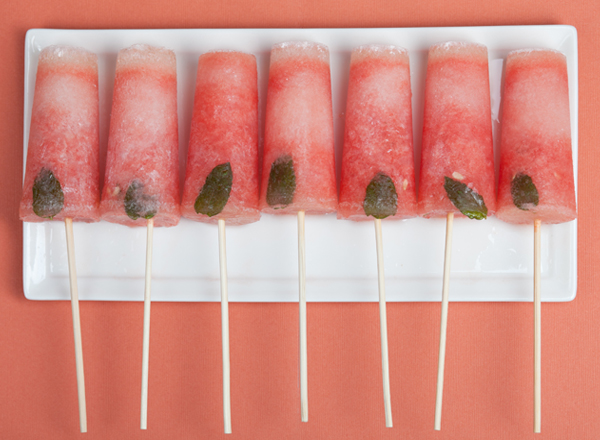
Watermelon Mojito Pops, Sugar and Charm

Find the delicious Watermelon Mojito recipe, visit here.

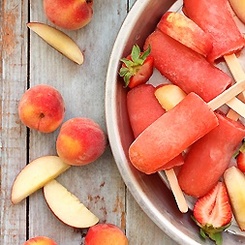
Strawberry Peach Vodka Collins, Endless Simmer 

For the Strawberry Peach Collins recipe, visit here.

{images via Design Sponge, The TomKat Studio, Bakers Royale, Smile Monsters, Sugar and Charm and Endless Simmer}