Last time, we got cozy and cute with DIY beanie wine bottle toppers. Today, we’re dressing up boxed wine. In fact, we made a DIY boxed wine gingerbread village we lovingly call Vinoville. Let’s get one thing clear, there’s nothing wrong with boxed wine. If your a wino, it may not be your thing, and that’s cool. We love a smooth bottle of Brunello di Montalcino as must as anyone, and if we had the budget, we would splurge all the time.
But, we love to sip wine, whether it’s in a bottle or box. Wine, even when it’s presented from a box, tastes good, and helps us get our chill on. Plus, we’re getting more bang for our buck, and gotta love that! As a college student or 20-something who is hanging with girlfriends – a boxed wine on the table or bar is ALL good. As grown women who like to host (sometimes), a box of wine is not the prettiest addition to the bar. Again, absolutely nothing wrong with it, but dressing it up just a bit can make all the difference for a more ‘grown-up’ look, especially during the holidays. You can do it for very little money, and get creative with it! You can use the wrapping paper you have on-hand, so you don’t even have to go to the store. We love to wrap with Kraft paper, so we had some on hand, and used it to create Gingerbread Houses. But, imagine how cute this would be with plaid paper, or pretty metallic paper with a big bow!
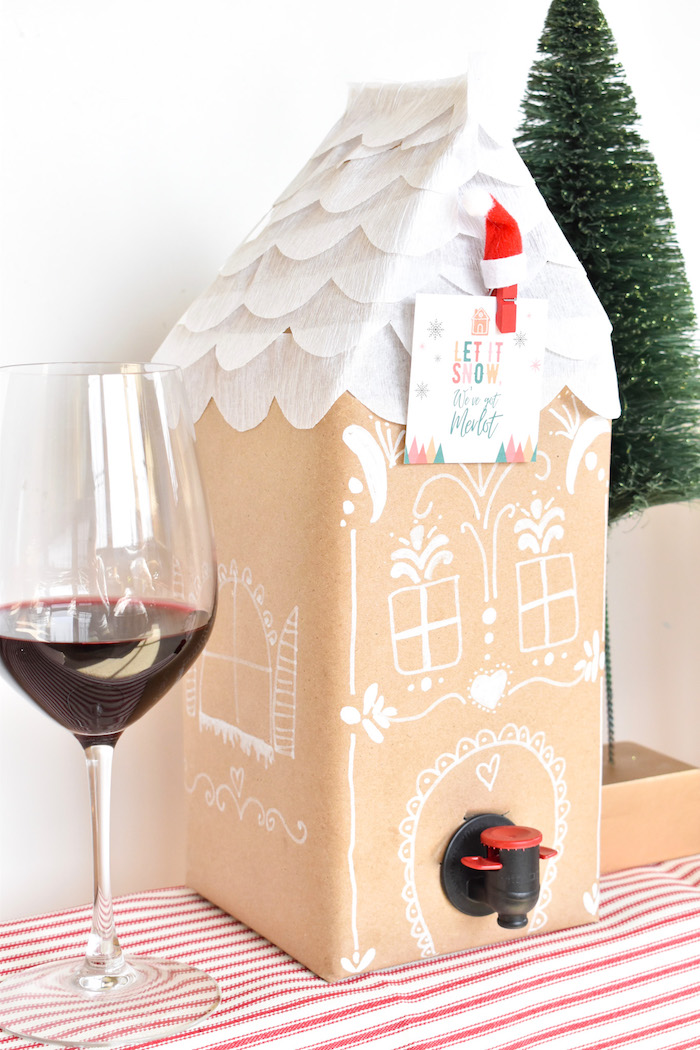
DIY Boxed Wine Makeover: Gingerbread Houses
Materials:
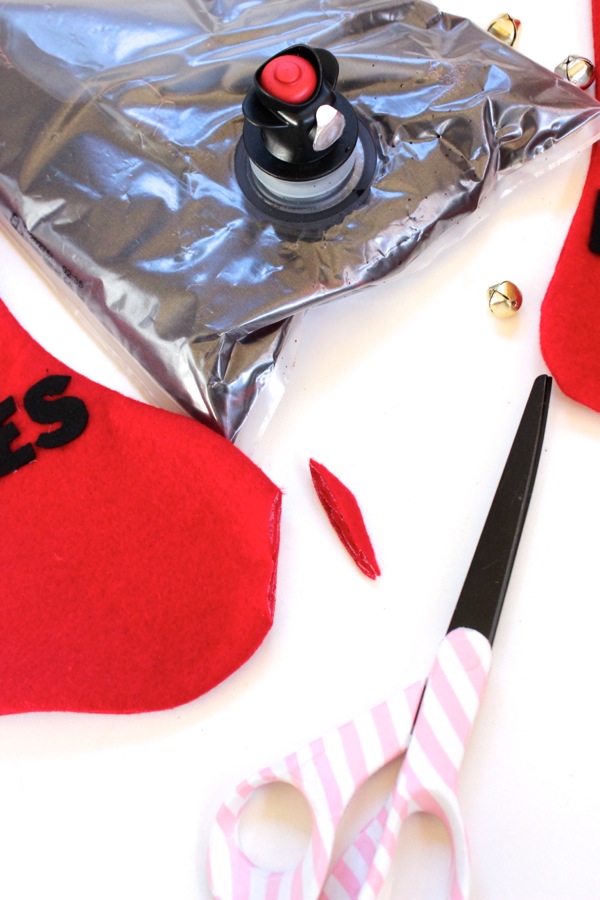
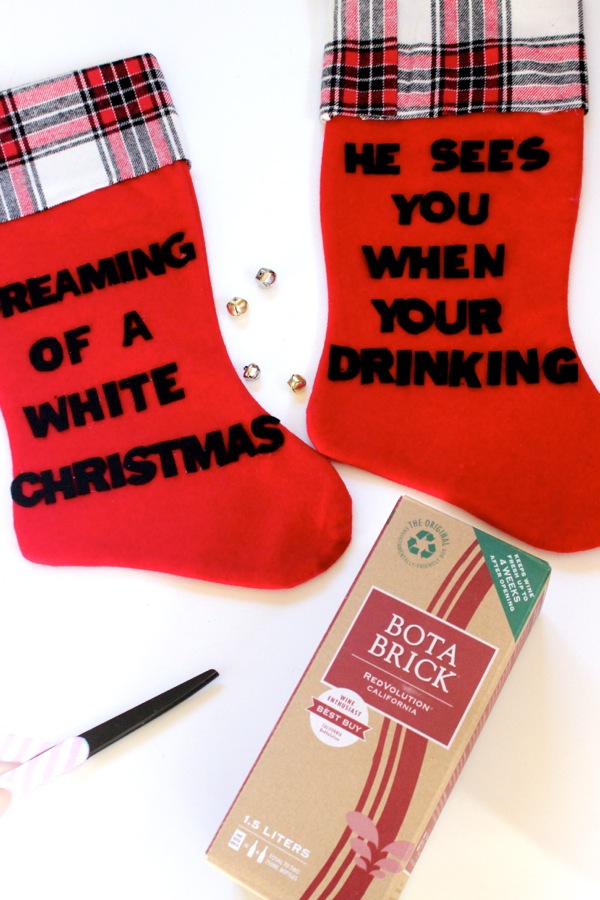
- Boxed wine: we used Bota Box and Pure Red Badger Mountain Organic Wine
- Kraft paper, or wrapping paper
- Tape (if you do use Kraft paper, you will need packing tape)
- Scissors
- White marker pen
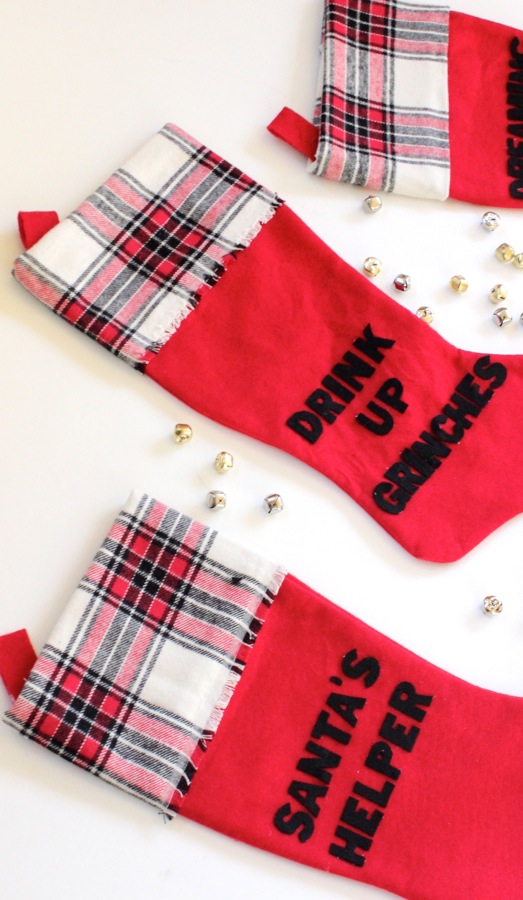
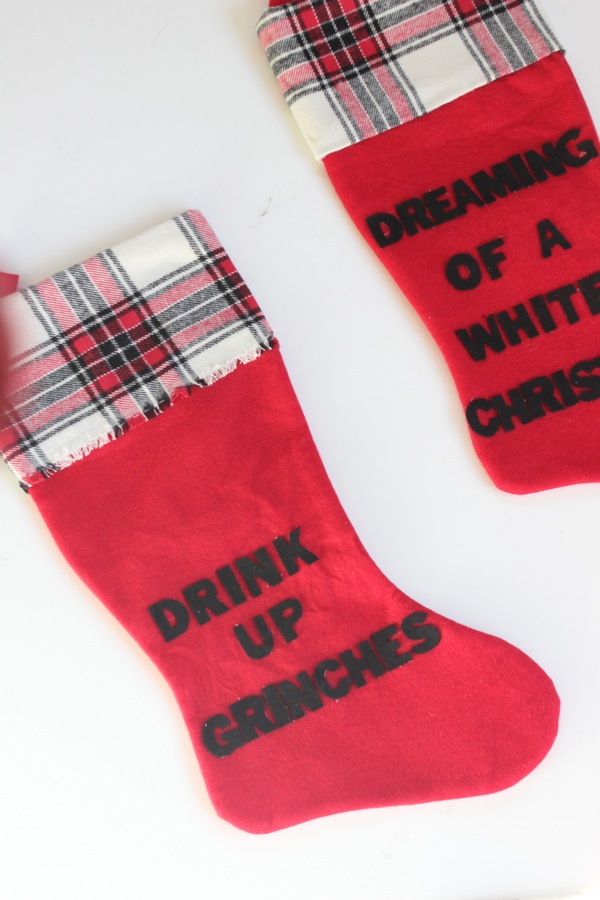
- Gingerbread house embellishments such as mini Santa hats, pom pom ribbon, bells, etc.
Directions:
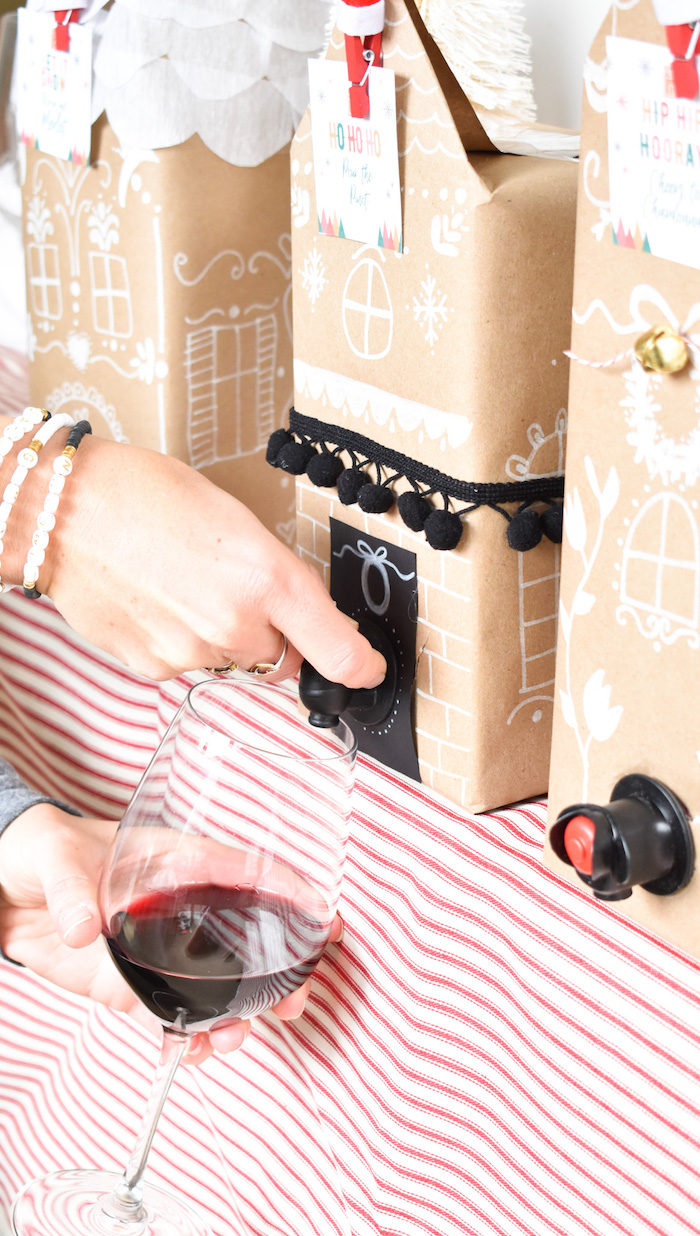
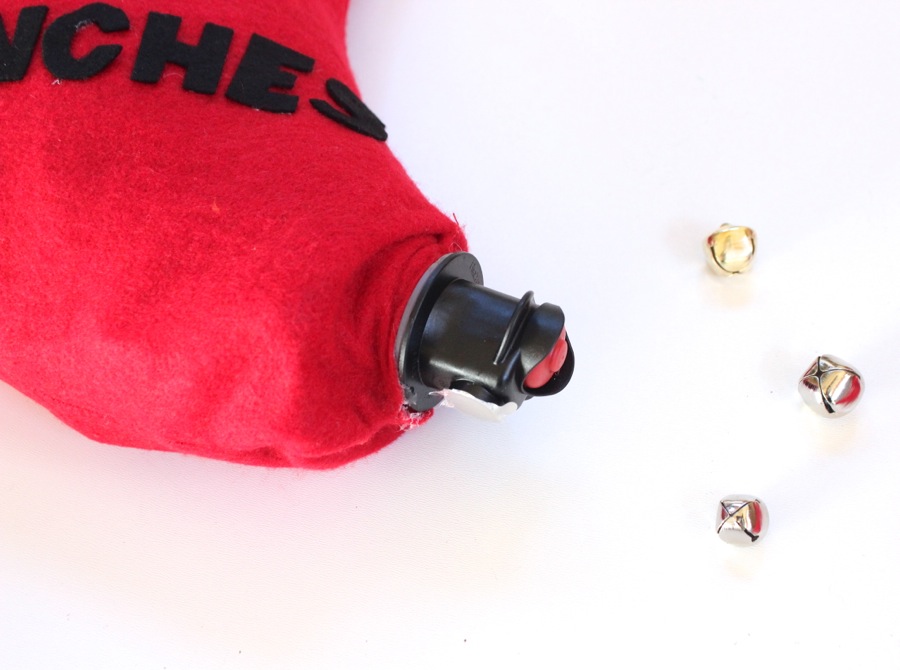
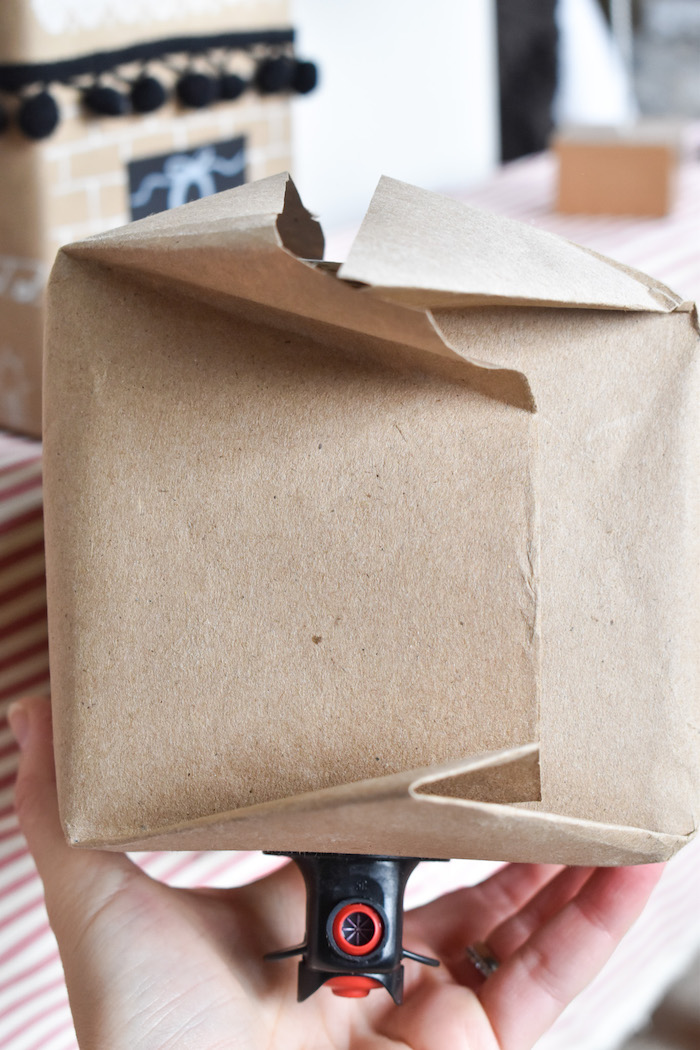
Step 1: Remove the cardboard circle, where the spout comes out. Next, trace that circle on the wrapping paper. Make sure you do it in the middle, like your wrapping a gift, so you have enough paper on all sides (basically don’t trace it on the edge of the wrapping paper). Cut the circle out with scissors or an X-acto knife. You can make it slightly larger so it doesn’t rip when you pull the spout through, or if you rip it like we did on one of them, you can add a black paper door (or even a mini wreath) around it and no one will ever know.
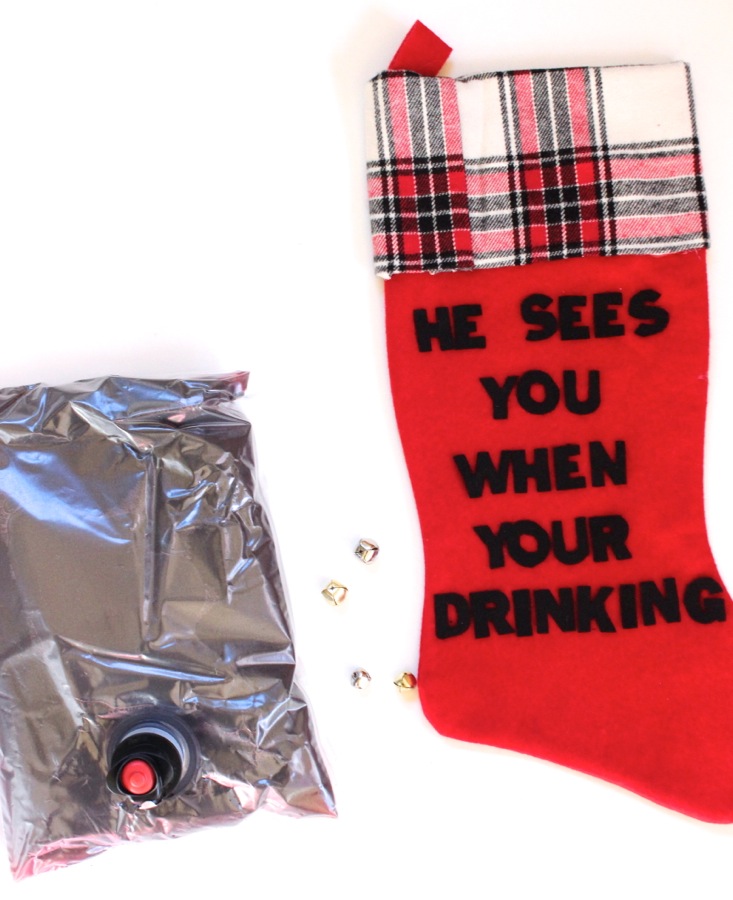
Step 2: Wrap the wine boxes. We didn’t get a good photo of that, but put the wine box upside down (you can take the bag out if it’s too heavy and crinkles the paper), and line up the cut out circle with the spout. You can pull the spout through it at this point if you didn’t already in step one. Wrap it like a gift, so do the back first, then “cut-in” on the sides for the bottom just like you would for a gift. See step 3 for the roof.

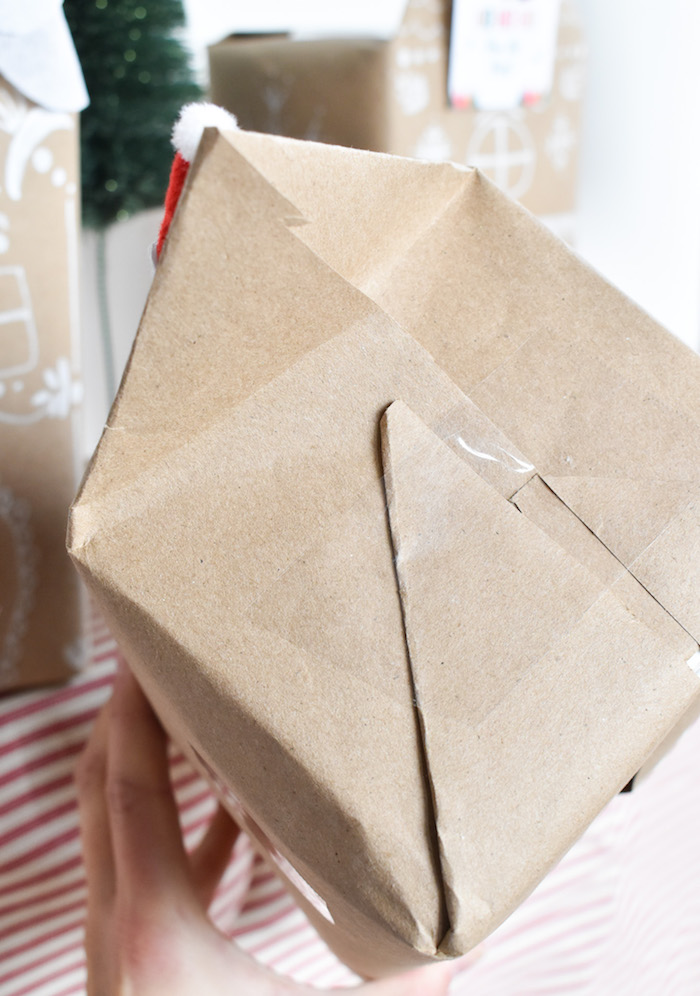
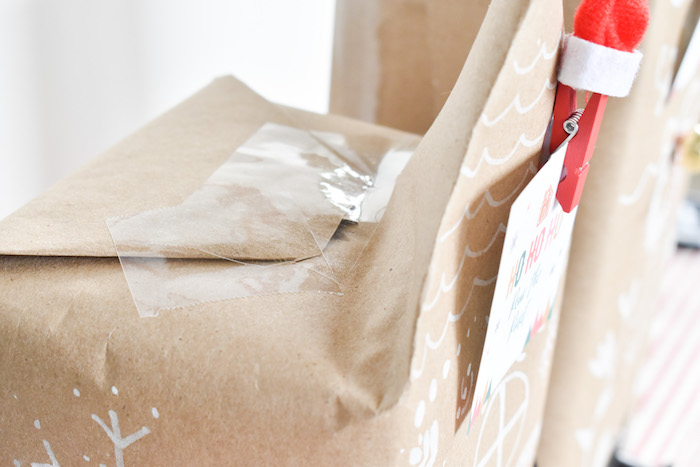
Step 3: Cut in the sides just like you did for the bottom, but just tape one of the sides, not the final “corner” – that peak is the roof. Kraft paper stays nice and straight. If you use flimsy wrapping paper, you can either find something to prop it up, have a flat roof or keep open up and glue two of the sides of the wine box together before wrapping it, so it creates a peak (we did that for the white-roof one before we created a ruffle roof with a crepe paper roll).
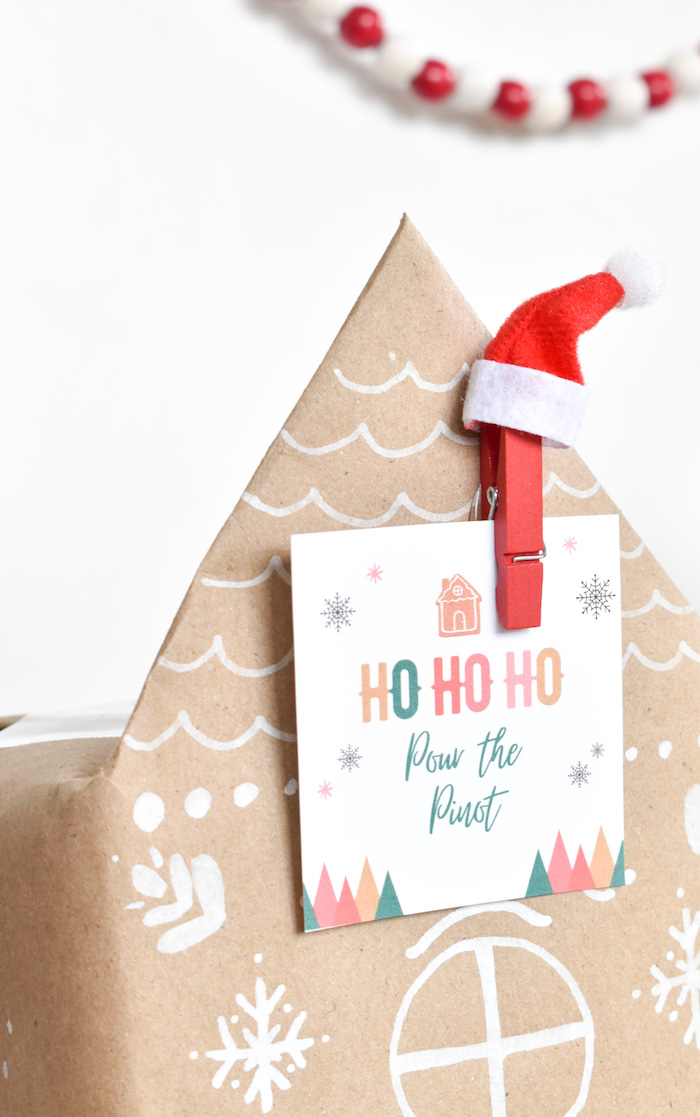
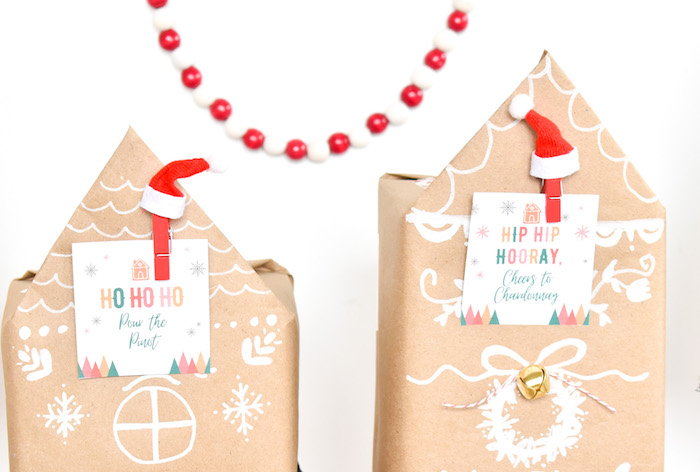
Step 4: Now, it’s time to make gingerbread house lines, swirls, doors, snowflakes, etc. Make each house your own. We used a marker pen for the white decorations, and added ribbon, pins and mini Santa hats, and a bell to accessorize. They can be as simple or as complex as you want. How fun would it be to make the Grinch house, Whoville, or even ugly Christmas sweaters?! If you want the labels, we can email them to you for free. Email us at hello@jsorelle.com or IM us on IG here and tell us you want the boxed gingerbread house wine printables. We have one for Merlot, Pinot and Chardonnay!

Step 5: Let the wine flow. Cheers!