The craziness of the season sometimes creeps up on us, and honestly we can feel our anxiety rise. Bake the cookies. Buy the gifts. Don’t just buy the gifts – find a good sale on the perfect gifts. Oh, and don’t buy every gift…make DIY homemade gifts. Host a holiday party. Mark the calendar for Christmas Pageants and office holiday parties, too. It’s all very magical, and we absolutely love it. But, wow, it’s exhausting.
Now that we are in Christmas mode, it’s only fitting that we kick it off with our official Advent calendar. Since Jessica is late with almost everything she ever does (and goes), it’s even more fitting this Advent Calendar comes on Dec. 4, 4 days after Advent officially started. Better late than ever. You still have time – make it this year, or pin it for next year.
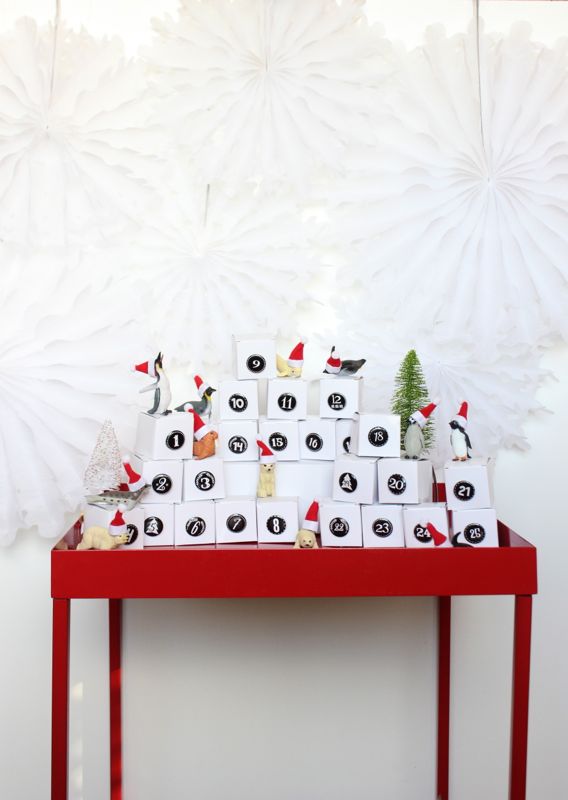
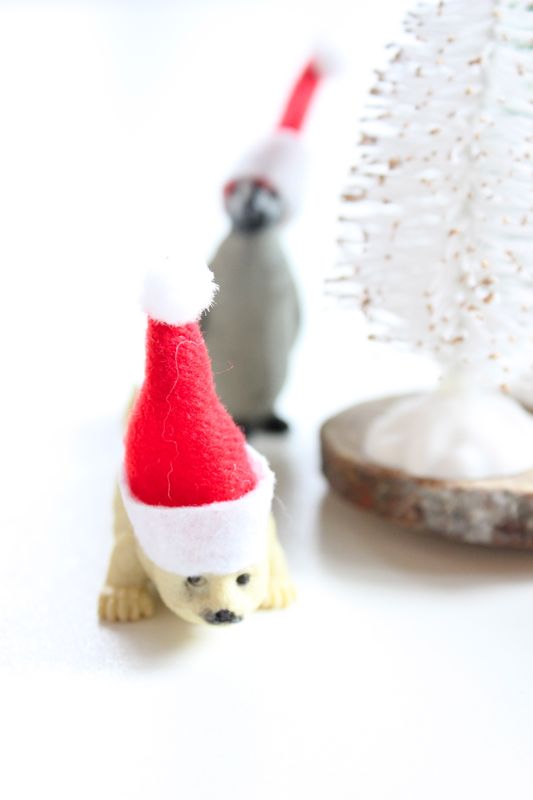
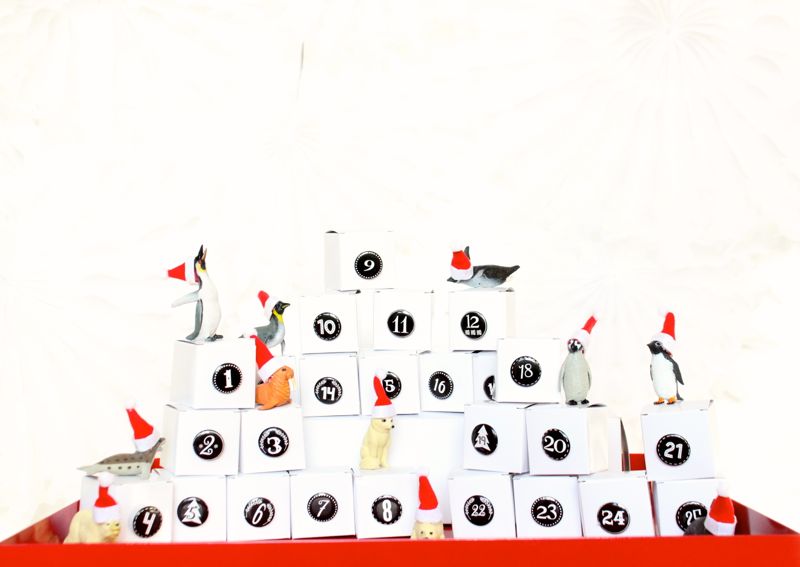
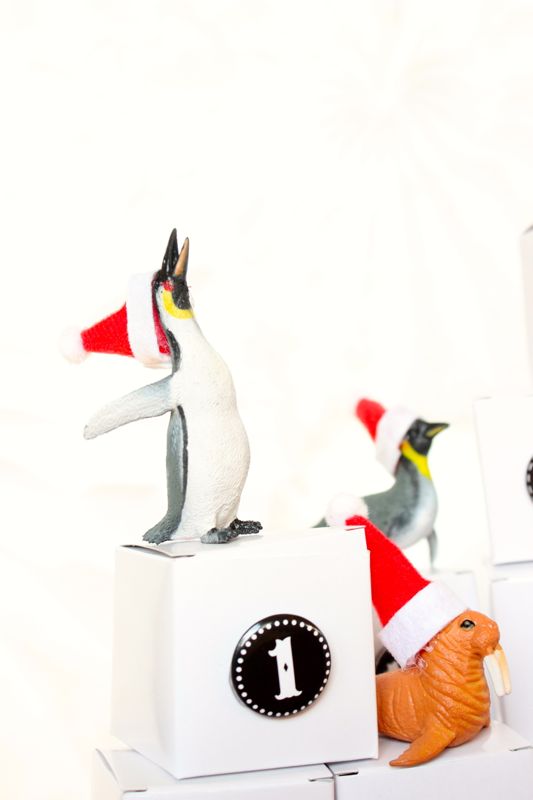
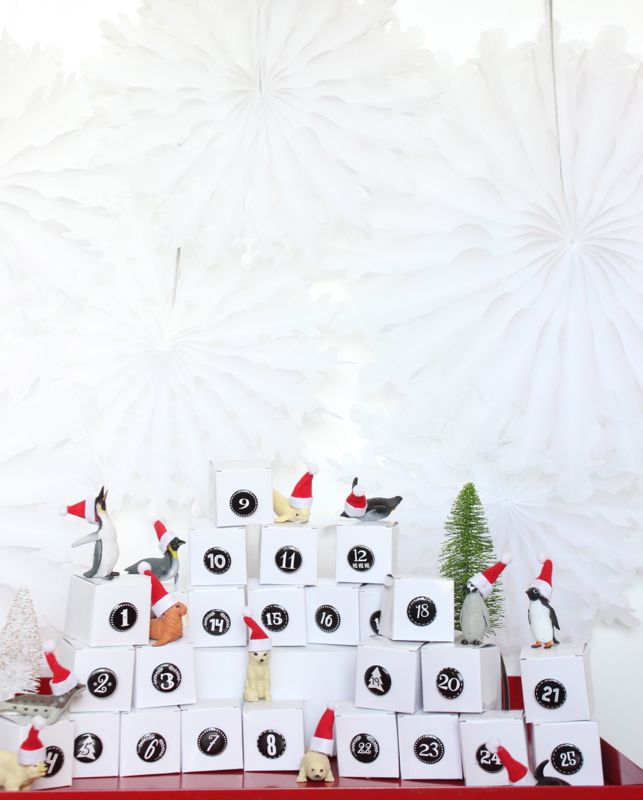
We made a fun DIY Advent Calendar last year. This year, we shopped Oriental Trading {where the options are endless} and went with a snowy, polar scene topped off with our kid’s favorite toys – animals. Not just any animals, but animals with mini Santa hats. Ho Ho Ho.
Materials:
- Tissue paper snowflakes, Oriental Trading
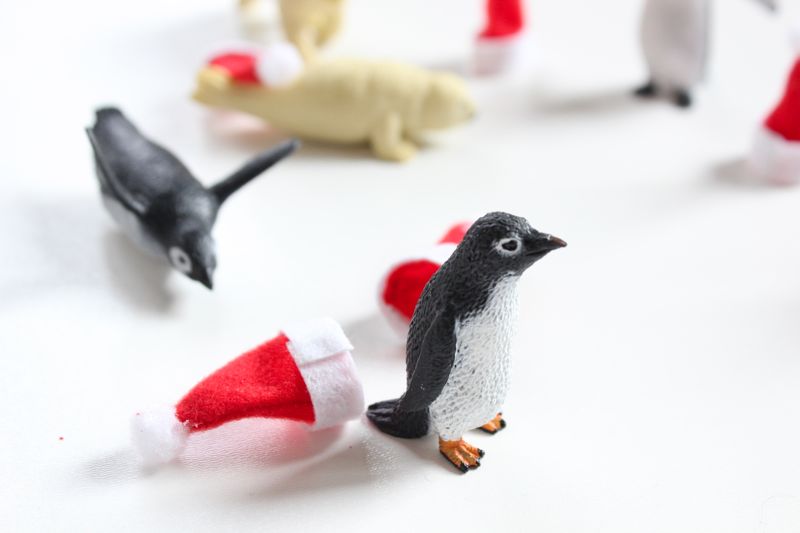
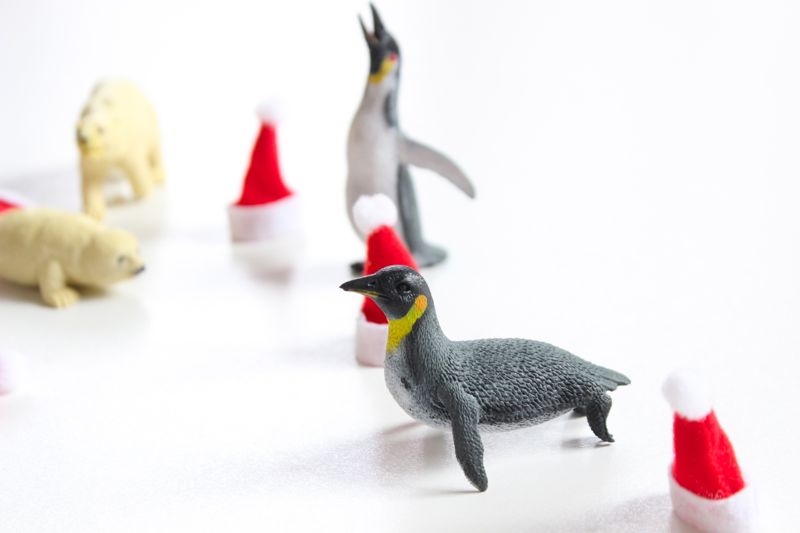
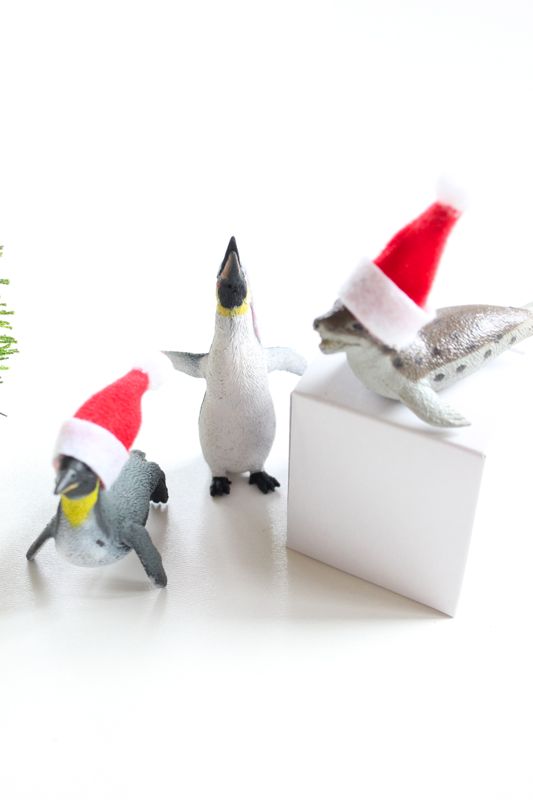
- Toy penguins or any other animals
- Mini Santa hats, Oriental Trading
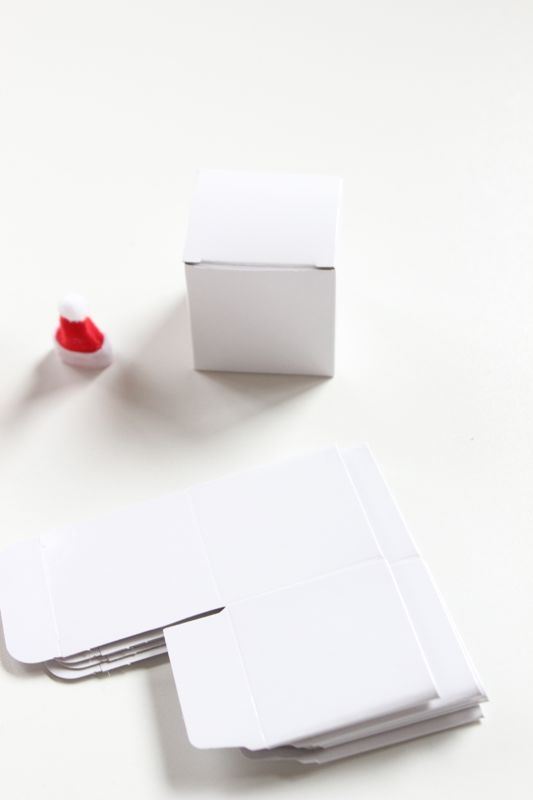
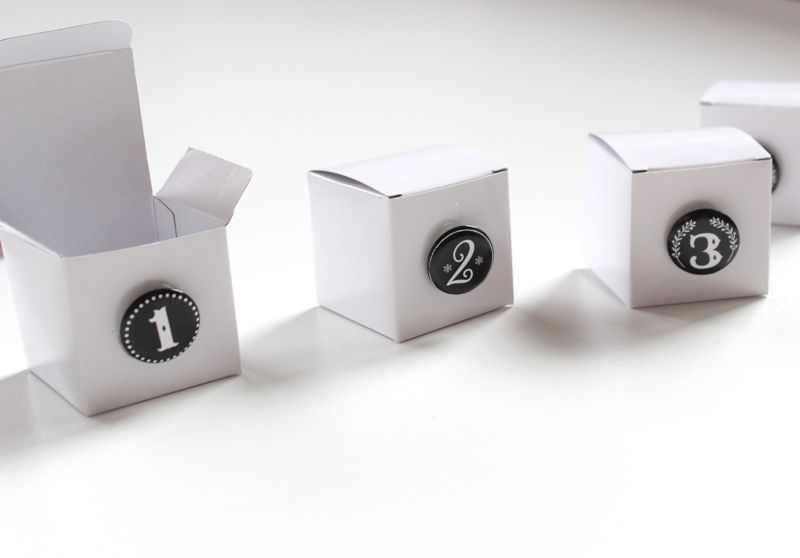
- Mini gift boxes, Oriental Trading
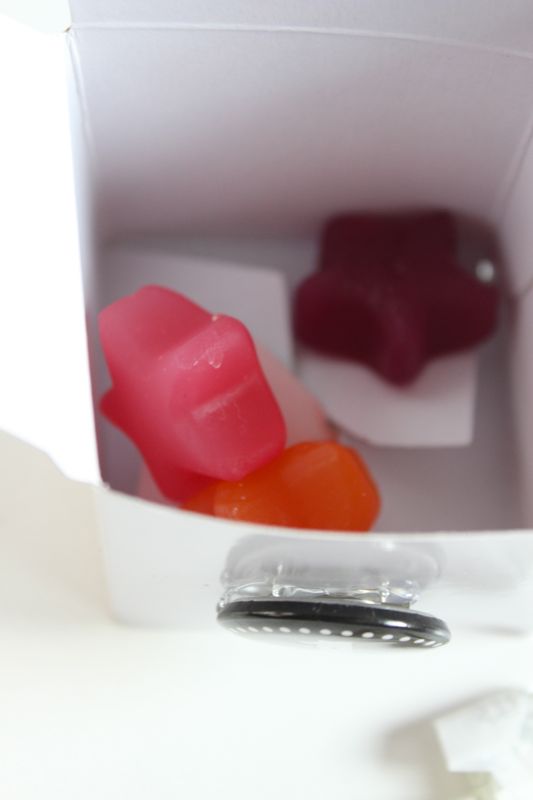
- Candy, mini toys and other items to fill the boxes
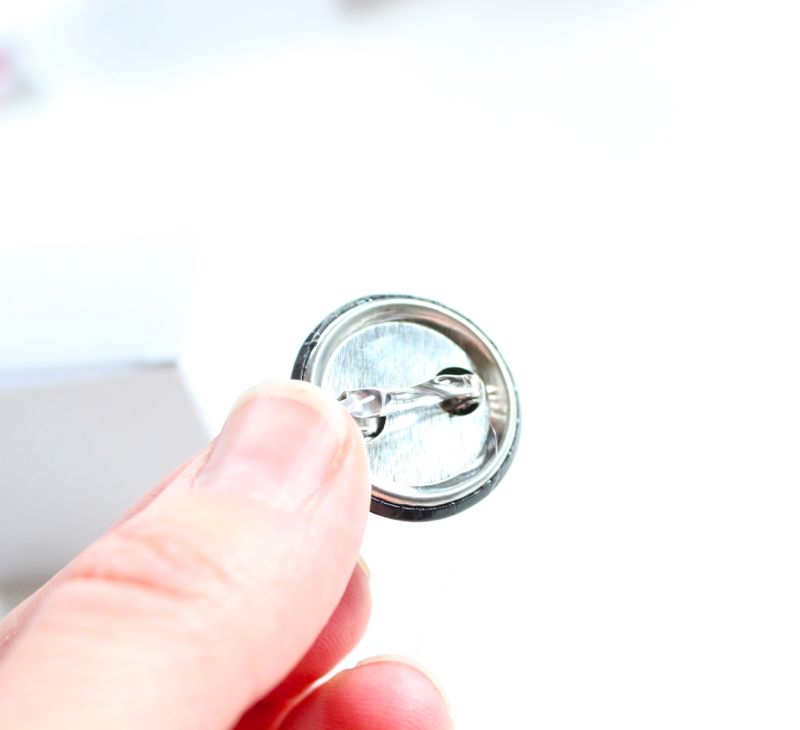
- Stickers, buttons or any other kind of numbers
Directions:
Step 1: Set the scene with snowflakes. Hang the snowflakes above the winter advent calendar with fishing wire or twine, and tape.


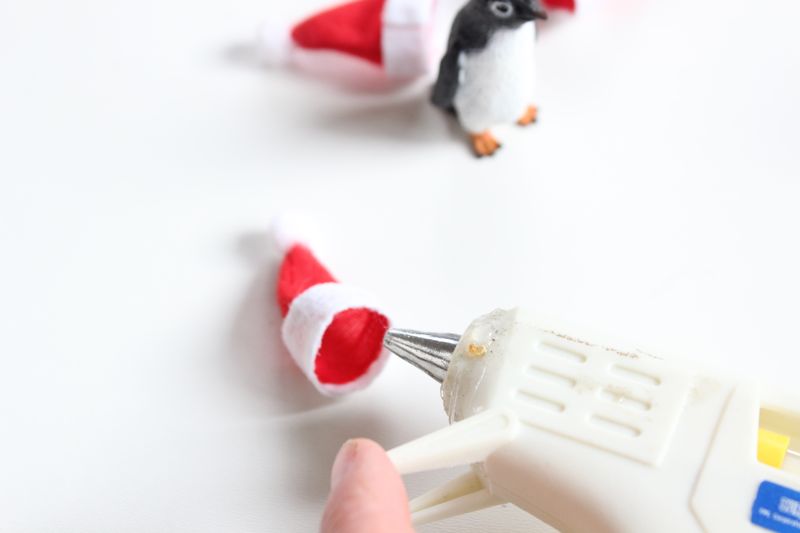
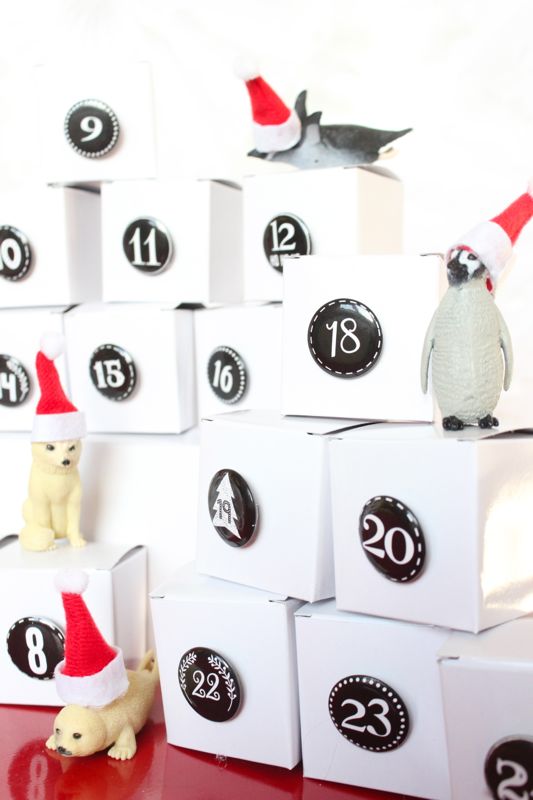
Step 2: Use a hot glue gun to glue the cute Oriental Trading mini Santa hats to the toy polar animals.
Step 3: Fold the cardboard boxes.
Step 4: Glue, stick or pin the numbers to the front of the boxes.

Step 5: Fill the boxes with goodies such as candy, and mini toys, or make it all about acts of kindness, a family activity or helping others.

Step 6: Stack the boxes so the numbers make sense, and it looks good visually to the eye. Then, place the animals randomly.
Step 7: Watch the kids open the mini boxes everyday with pure joy.


Oriental Trading sent us some items of our choosing for this post, free of charge. We’re so happy they did! All opinions are honest, and our own. No other type of compensation was received. Thanks for supporting the companies that support j. sorelle. We love Oriental Trading, even before this post.