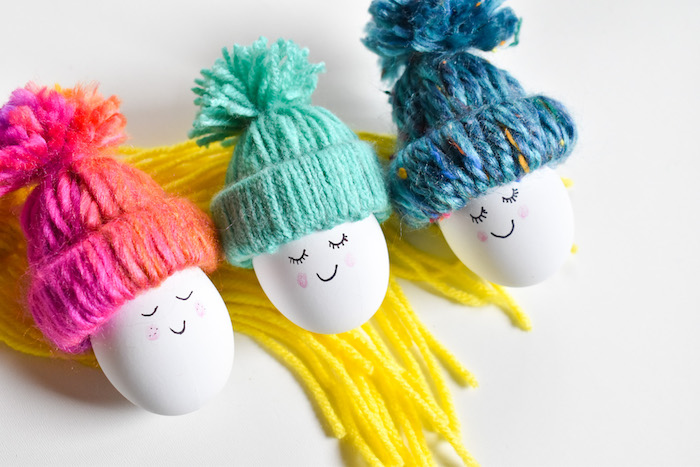
We made DIY easter eggs with beanie hats, and they are the cutest! This no-sew, no-dye, really easy Easter egg tutorial is fun for all ages. The eggs are not edible, so no boiling needed and you can reuse them yearly. The DIY yarn beanie does not require sewing or crocheting of any kind. We made DIY beanie ornaments and wine toppers this winter, so we improvised and made more this Spring.
You may think these are eggs are experiencing some seasonal confusion, but it’s actually quite accurate. We know Spring means snowmelt, new beginnings, sprouting seeds and warmer weather; however, we live in Colorado, so while it may be Spring (thank the Lord), that doesn’t mean the snow is gone for good. It likes to linger and March is often the most snowy month of the year. It is not uncommon to have Easter eggs hunts in the snow or to see a winter jacket over spring dresses. In fact, the weather this week is cold and snowy.
We hope to make some bright eggs with flowers and things that represent all-things-Spring, too. But, if you’re not ready to say goodbye to the snow, you’re looking for a fun craft that doesn’t require dye, or can’t resist that cozy beanie feeling, these DIY easter eggs are for you. These eggs are ready for rain, snow or sunshine – whatever Easter Sunday may bring.
Materials:
- Eggs, plastic (like this)
- yarn (any spring color, but the thicker the better)
- Sharpie (thin tip)
- Pink colored pencil
- Toilet paper roll
- Hot glue gun
- X-acto knife or scissors
Directions:
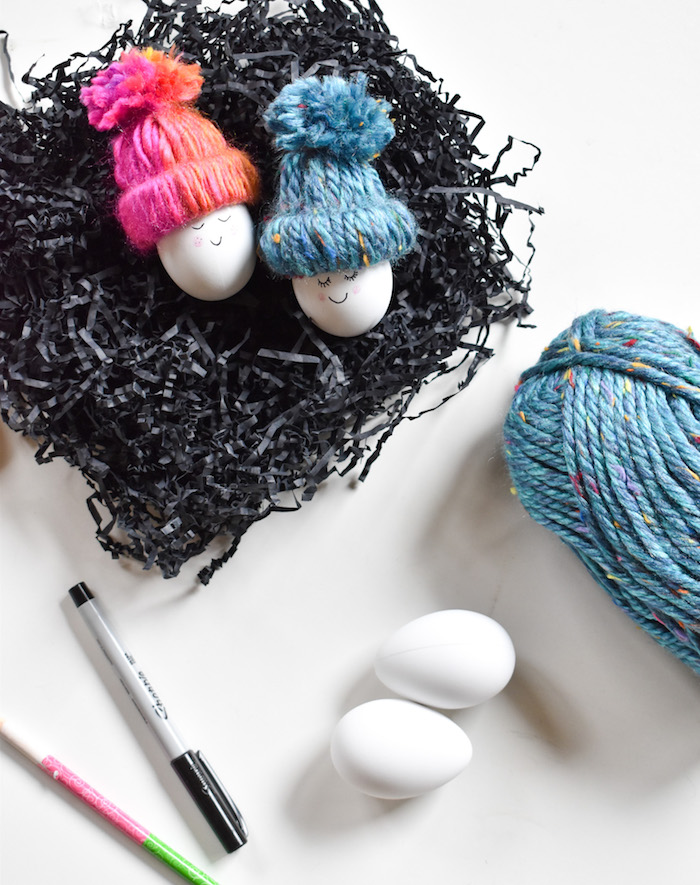
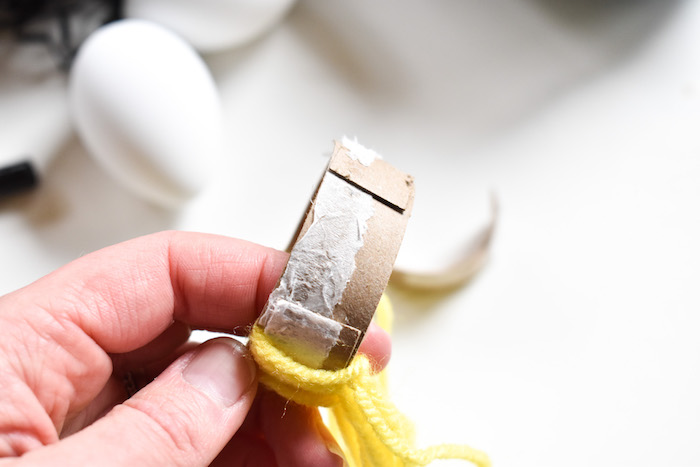
Step 1: Use scissors or an Xacto knife to cut a toilet paper roll about 1 inch wide. Cut several of these. You need to make the roll a little wider to fit around the circumference of the egg, so we cut one of the rolls, and added it to another one (to make it 1 inch bigger) with hot glue.
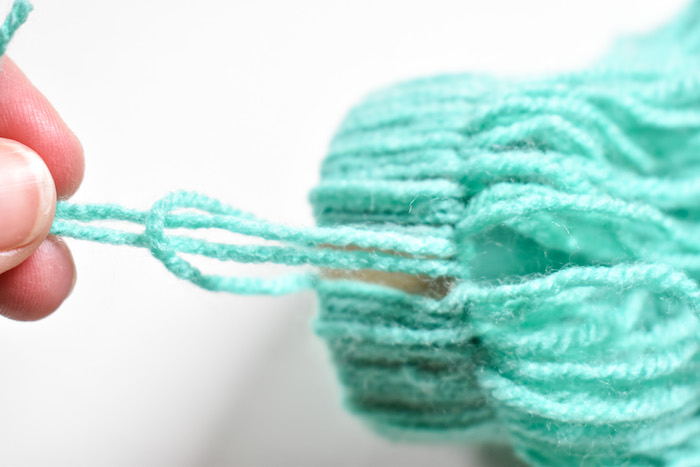
Step 2: Cut the yarn about 12 inches long. Fold the yarn in half, loop the “loop end” through the toilet paper roll, and pull the strings through the loop so it creates a knot. Continue this with the yarn until the entire roll is covered. It should look like a squid with long tentacles.

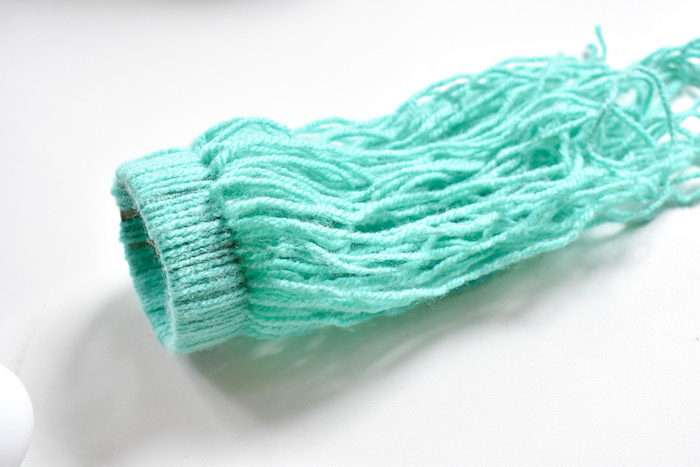
Step 3: Push the “tentacles” all the way back through the inside of the toiler paper roll.
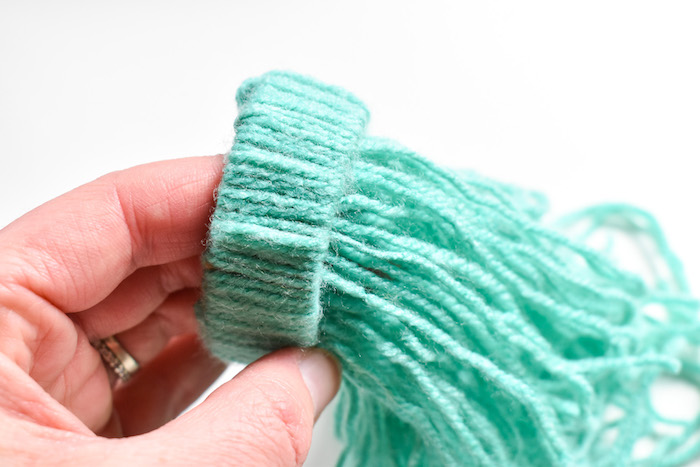
Step 4: Grab the bunch of yarn and tie another small piece of yarn tight around it.
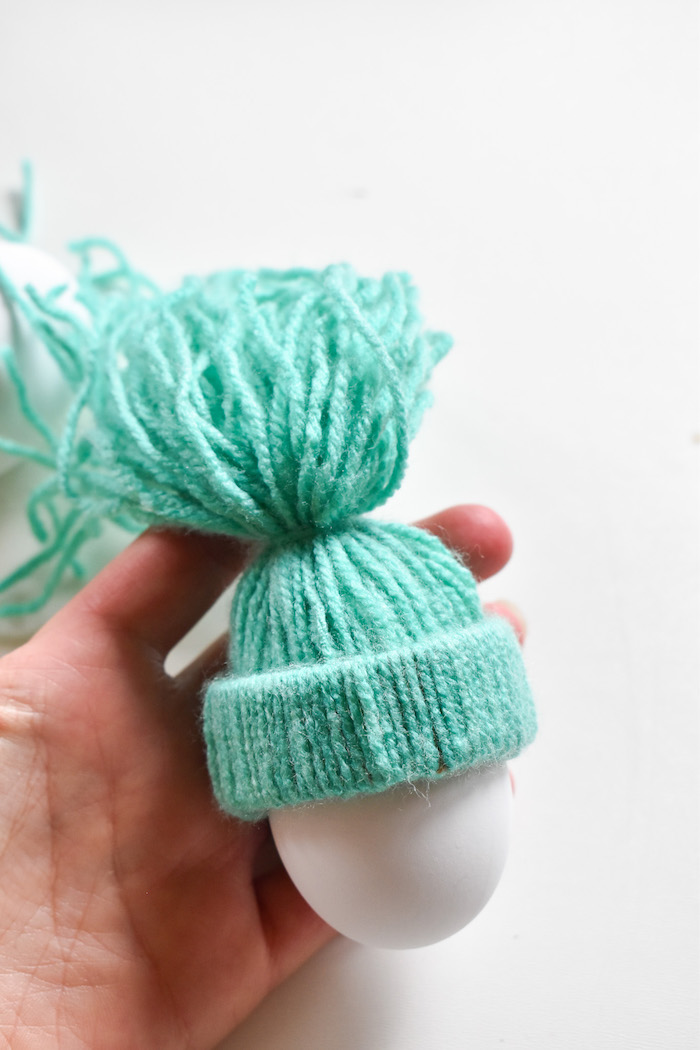
Step 5: Next, cut the yarn ends to make a small pom pom.

Step 6: Add a dab of glue on the eggs (try on the hat first to make sure where you want to glue it) and place the beanie on top. Finally add a cute face with a Sharpie and pink cheeks with the colored pencil.

Oh my goodness, they are so adorable.
Here’s more of our egg-traordinary spring and Easter egg favorites:
DIY Easter Eggs
- DIY Fingerprint pineapple eggs (just paint, a sharpie and fingers for this one)
- DIY tropical leaf easter eggs (Mod Podge for this one)
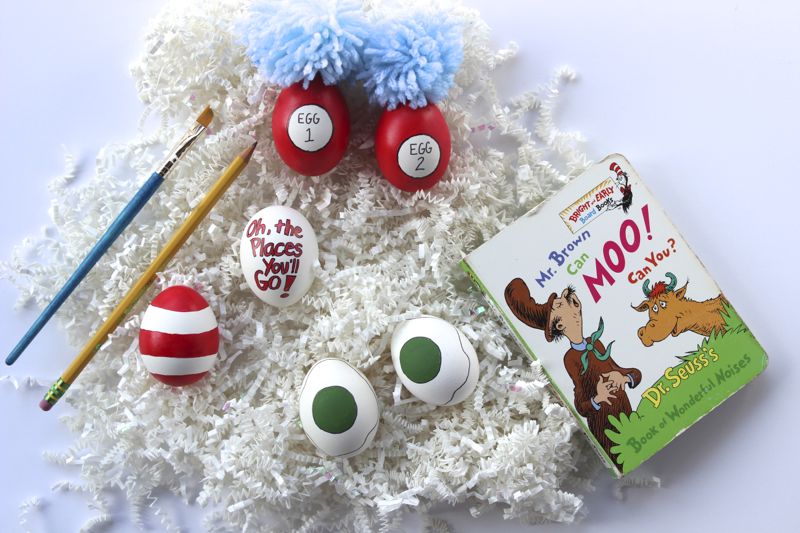
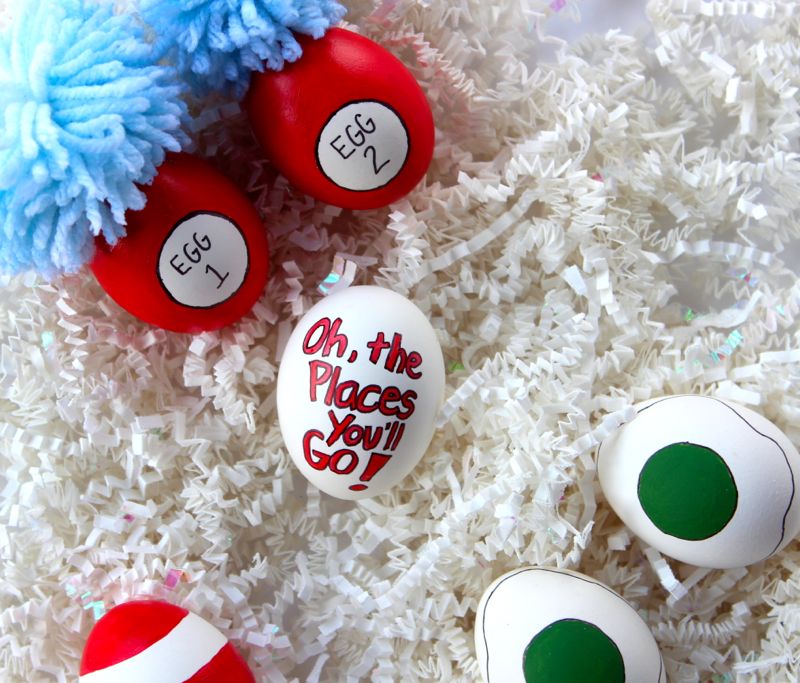
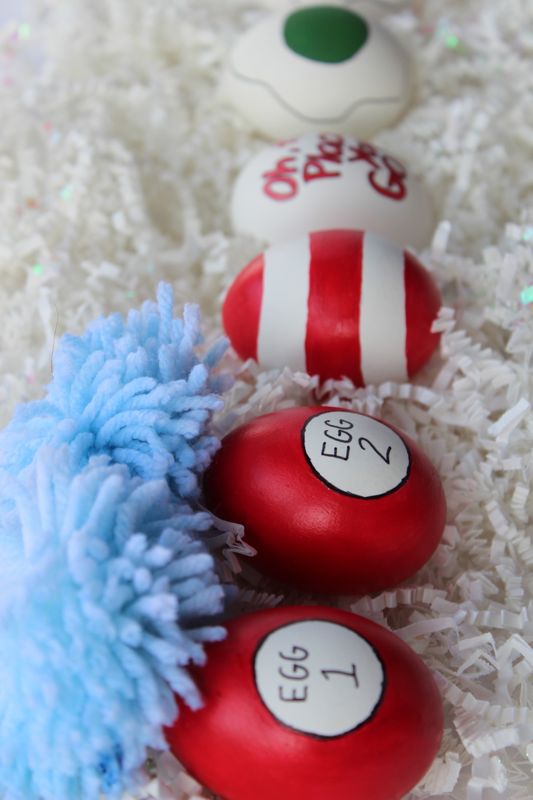
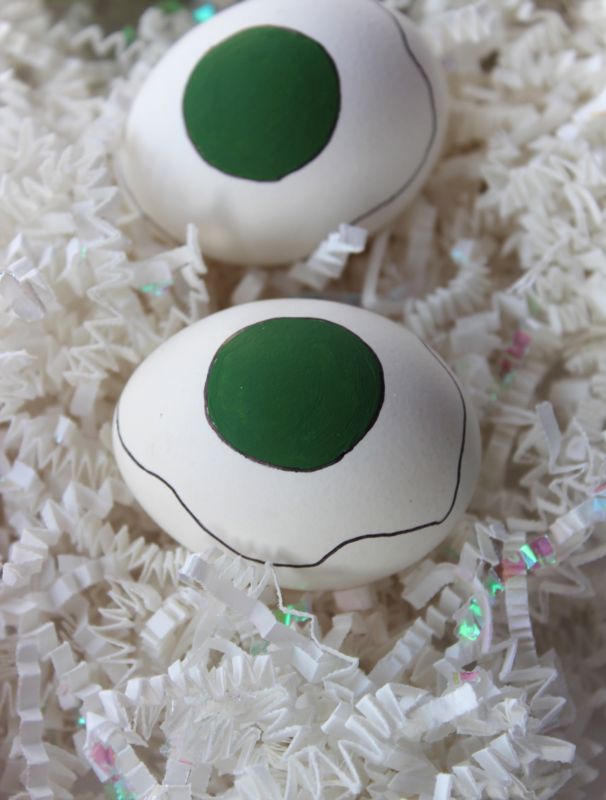
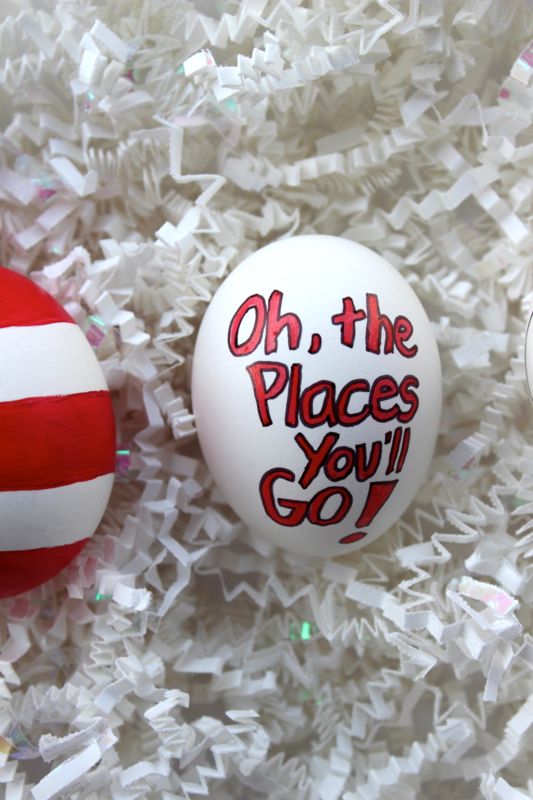
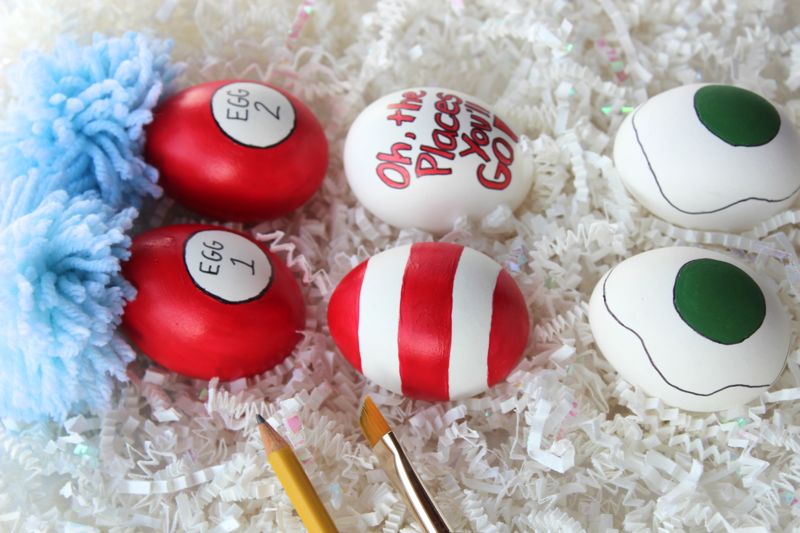
- DIY Dr. Seuss eggs (yes to Dr. Seuss)
- DIY Beach ball easter eggs
- DIY Kite eggs
- DIY fingerprint eggs (bunny, fish, sun, octopus, and cactus)
- DIY photo eggs with floral crowns
Happy Spring!
*this post contains affiliate links. thanks for supporting our blog.