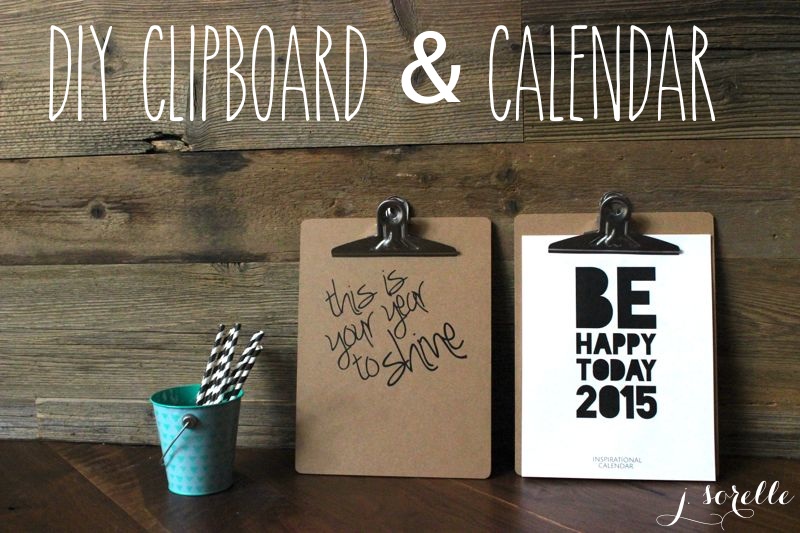
On the 9th day of Christmas, j. sorelle gave to you…DIY Clipboard and Calendar Gift Idea.
We love words of wisdom and quotes that strike a chord with us. And, when we’re having one of those days or weeks, or months, quotes can have a positive impact, and serve as a reminder to slow down, smile and enjoy the little things.
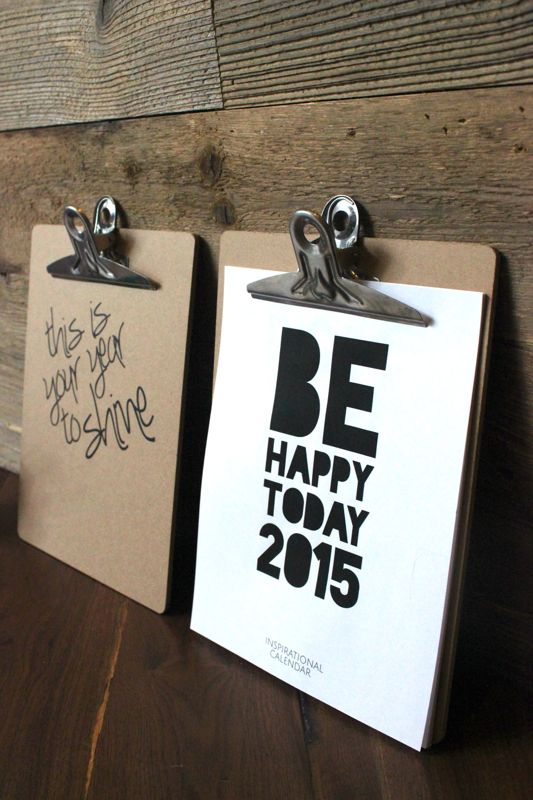
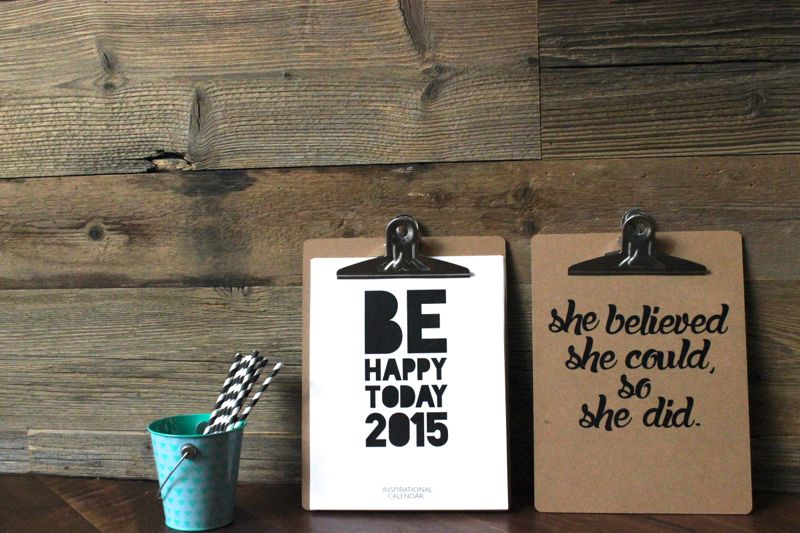
A calendar with simple, happy words is a wonderful daily reminder to stay positive. And, since the new year is just around the corner, and its gift-giving season, we want to share all those good vibes with our friends. This year, we’re giving our friends a DIY Clipboard, along with one of our new favorite calendars by etsy store ColourMoon. Anya made a beautiful, chic and simple 2015 calendar with great reminders each month. The calendar is just $10 and it’s an instant download. Just buy and print.
Here’s a look at the entire calendar, which you can buy here. Anya is offering j. sorelle readers 10% off their order with code Colour10. Thanks, Anya!
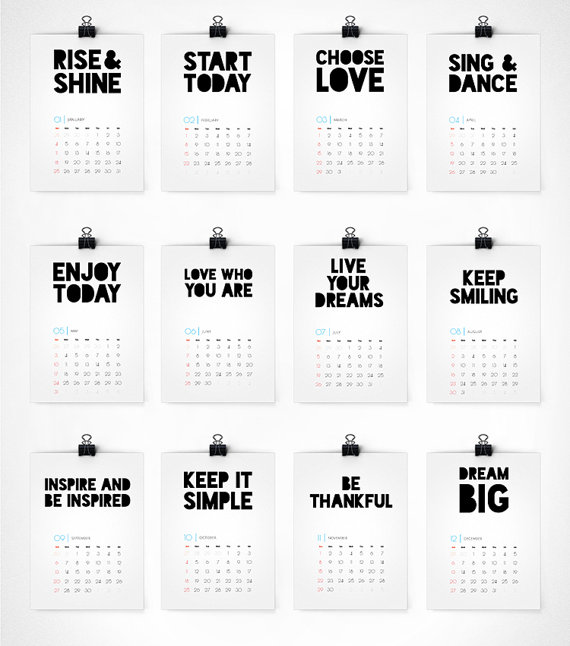
image via Colour Moon
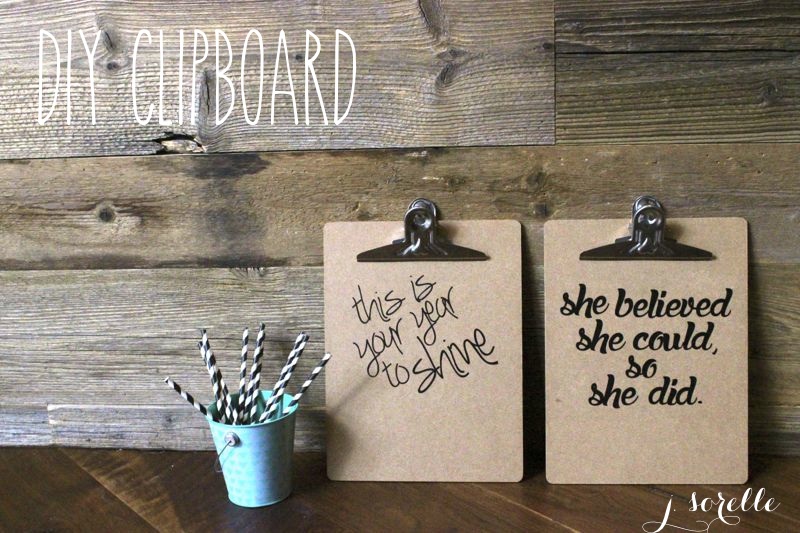
Here’s how you create the DIY Clipboard.
You’ll Need:
- Black Vinyl
- Silhouette cutting tool {today is the last day for the great Black Friday sale going on now. Use code SORELLE for the amazing discount…see here for details}
- Clipboard {you can buy from Office Depot, Target {we found it in the $1 and $3 section} or Wal-Mart
- Silhouette Vinyl Transfer Paper {lint roller refill is a good alternative if you don’t have the vinyl transfer paper}
How To:
- Design your quote or art using the Silhouette Software.
- Place your Vinyl on the cutting mat, click print and watch the tool work its magic.
- Peel away the vinyl you’re not using.
- Place the transfer paper over the art or quote and use a straight edge {credit card, etc} across the image to make sure the vinyl sticks to the transfer paper. Pull the paper up and your image should be stuck to the paper.
- Place the image on the item you want it on. You will need a credit card or a straight edge to smooth our all bubbles.
- Peel away the transfer paper slowly and your vinyl should stick to the item. Note: I did have trouble with some of the thin words sticking to the clipboard, so I had to pull the transfer paper very slowly so the letters didn’t rip, and if they ‘came up’ with the paper, I gently pushed back down.

{images via j. sorelle}