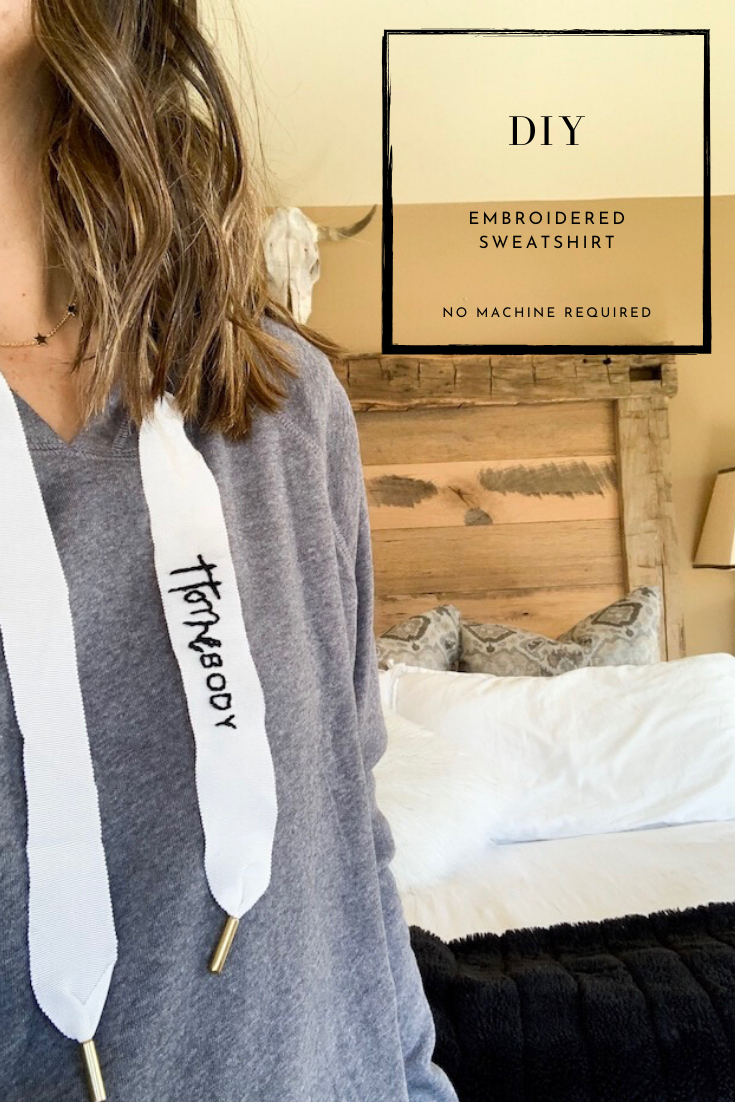
I saw this photo on instagram, and fell in love with the words, Homebody. The welcome mat is adorable, too! Anyone else a self-proclaimed homebody, like me? I love a great party and good people, and am definitely energized by them; however, 90% of the time, I am happiest at home with my family. I am a homebody at heart. Comfy clothes, a good movie, yummy pizza, snuggles with my husband and kids is the perfect night for me. I’ve been looking for ways to get in on the DIY embroidery trend, so this was the perfect opportunity to give my cozy sweatshirt a makeover.
Ladies, no sewing machine required. Let’s get this embroidery party started…
DIY Embroidery Sweatshirt
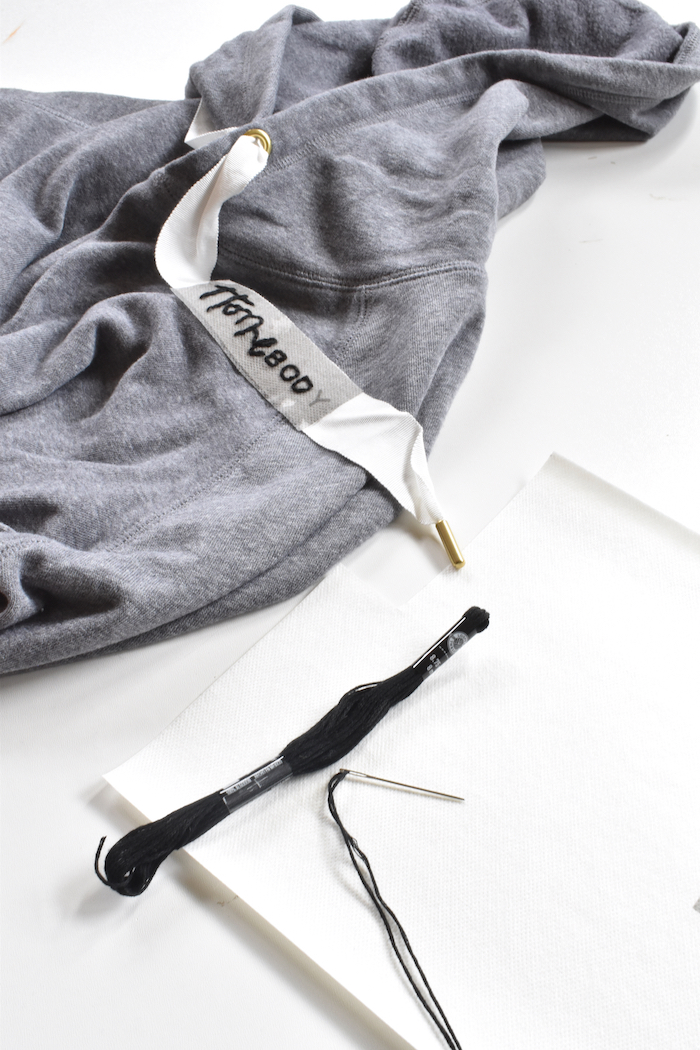
Materials:
- sweatshirt with wide ties (this one is from Old Navy)
- Embroidery floss and embroidery needle
- Sulky’s Solvy Water Soluble Sticky Fabric Stabilizer
- Print out of your favorite word you want on your sweatshirt
Directions:
Step 1: Print out a copy of your favorite word the size of your sweatshirt tie on the Sticky Fabric paper. BTW, the wider the tie’s on the hoodie, the better. Cut out the word, remove the backing from the sticky paper, and stick it on the hoodie tie.
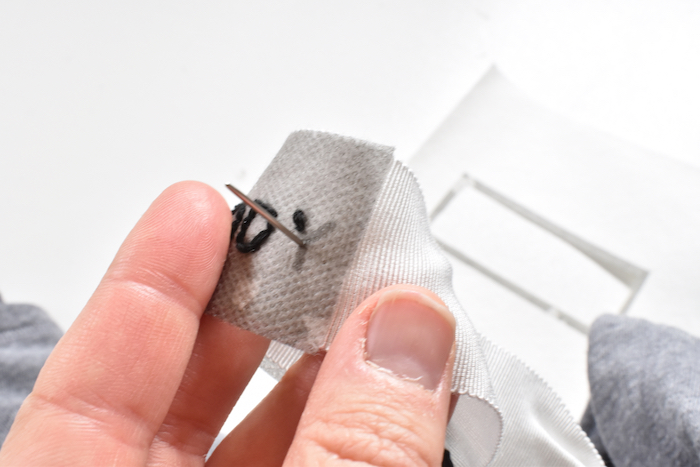
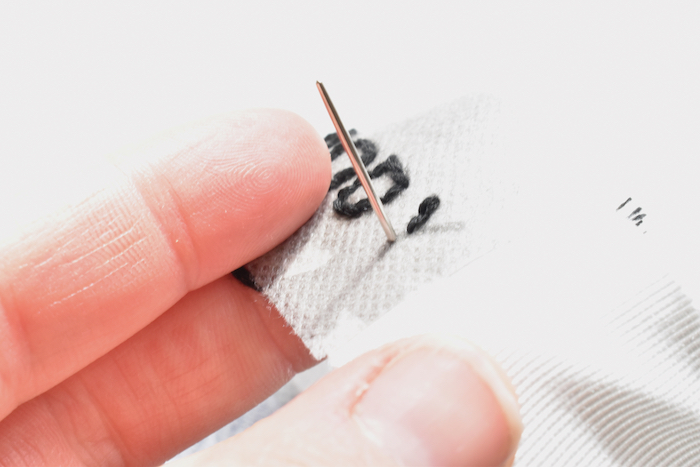
Step 2: Thread the embroidery needle with black embroidery floss, and begin to embroider. To this this, you will tie a knot at the end of the string, and insert the needle through the back of the tie on the top point of the first letter. For me, it was the top of the H (the photo below shows how I did the letter Y for a visual). When you pull it all the way through, begin to insert it along the line of the letter a couple millimeters down, and back through the tie. Now, instead of coming back up through it like before directly next to the first stitch, you’re going to move it a couple millimeters down the letter, pull it through, and then go down in the middle of the first stitch.

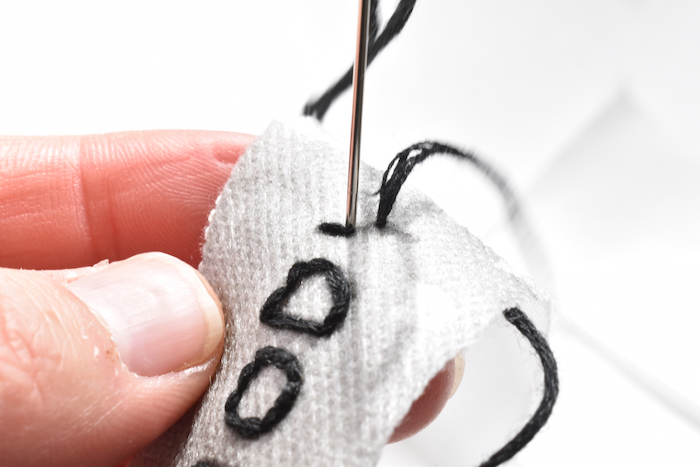
Step 3: Continue this split stitch process until the word is done. When the word is complete, tie a knot with the embroidery string on the back of the tie. If you have to cut any of the embroidery string through the word (either you run out of string, or your word is not attached with script and you have to do each letter separately), be sure to start each strand the same way with a small knot at the end of the string.
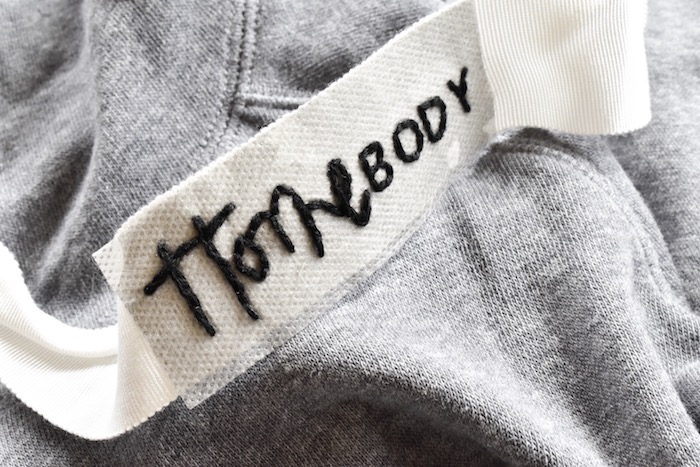
Step 4: Wash the sticky soluble fabric with water. It comes right off! Let it dry, and you have a cute custom embroidered hoodie sweatshirt to stay cozy in all year long! This would be a fun gift for friends – find their perfect word, and embroider a custom sweatshirt for them this holiday season.


