The kids started school this week. It’s so bittersweet. Summer is the best, and we hate to see it near it’s end. Plus, we love hanging out with our kids. But, we’re happy they get to see classmates again, get into a routine again (that went out the window in March, thanks COVID) and learn, learn, learn. We know it’s been a challenging time for everyone. Some people are choosing to homeschool, some are heading back into the classroom, and others are doing distance learning at home. We hope your navigating this new “norm” the best you can. We are rooting for you, and sending good (and patient) vibes to everyone.
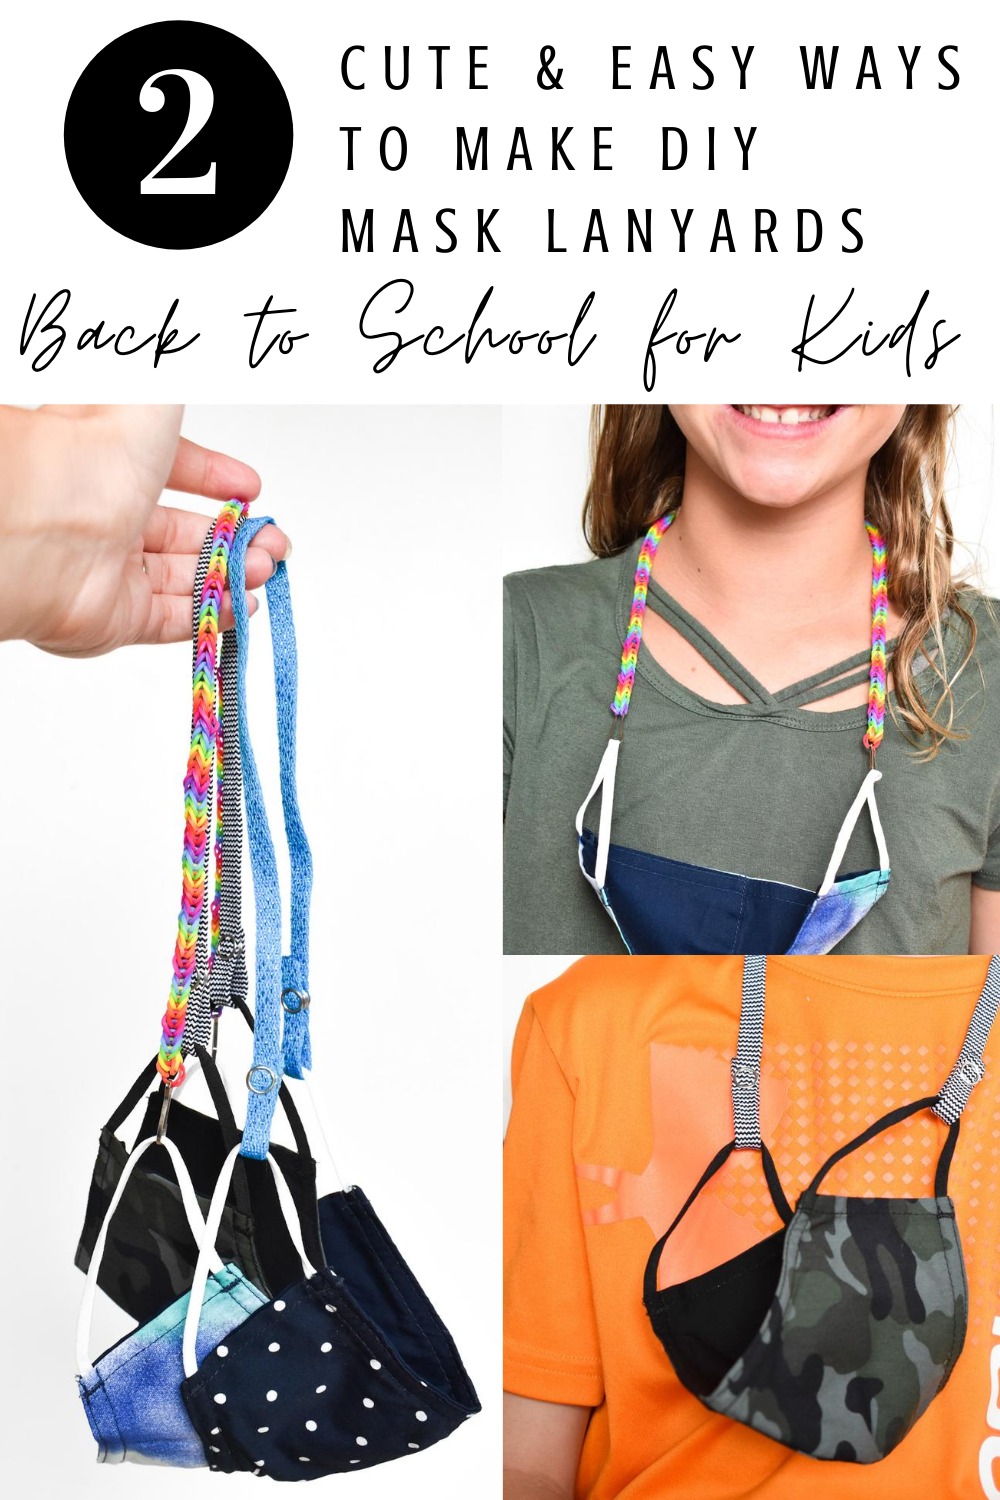
We know the mask topic brings out everyone’s STRONG opinions. We should be able to listen to others opinions, and not hate one another for them. So, here it goes. We don’t think the kids should have to wear masks all day at school. It makes us incredibly sad and mad they have to try to connect to others (and learn) when their precious faces are covered up all day. We also believe masks should be a personal decision for individuals and businesses, not a government mandate. So, it was really hard for us to accept the fact that if we wanted our kids back in school, it meant they had to wear masks all day. We’ve done all we can to keep the kids outside all summer, where they don’t have to wear them. Now, it’s a huge reality check for us. Since masks are a giant pain in the ass, and the kids are likely to lose them, we made some last minute accessories to keep the masks around their neck and not on the floor, on their desk, on someone else’s mouth, or who knows where. They are so easy with absolutely no sewing skills or tools required (and a huge life-saver), so we just had to share!
We can’t take credit for the shoelace idea. Our family friends (shout out to Karen and Bill) came up with this simple, genius idea. They took it one step further, and added a bead in the middle of the shoelace (back of the head), so it fit like a glove around the head, and you don’t even have to use the mask ear straps. We didn’t make it that far yet, but it’s on our list of things to do.
DIY No-Sew Mask Lanyard with Shoelaces
Materials:
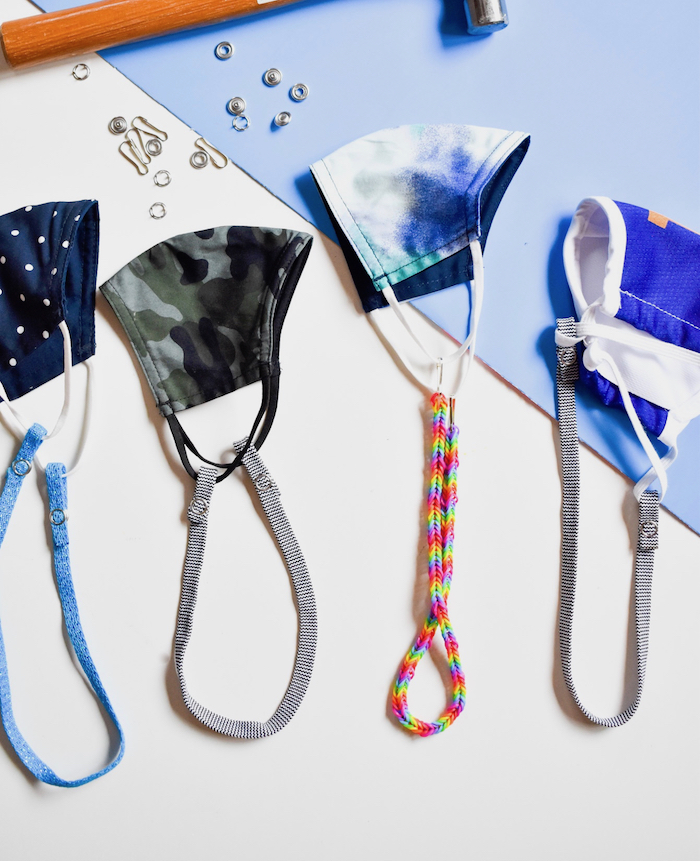
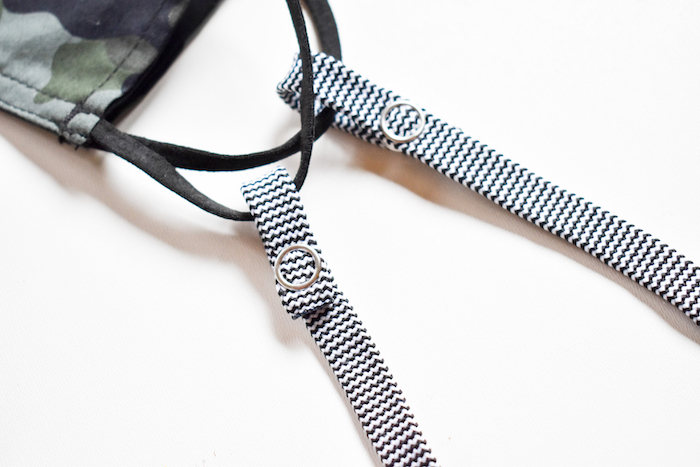
- Shoe lace, flat (make sure the width of the lace is large enough for the snap closures. We found ours at Walmart, and also used the waist tie from an old pair of shorts.
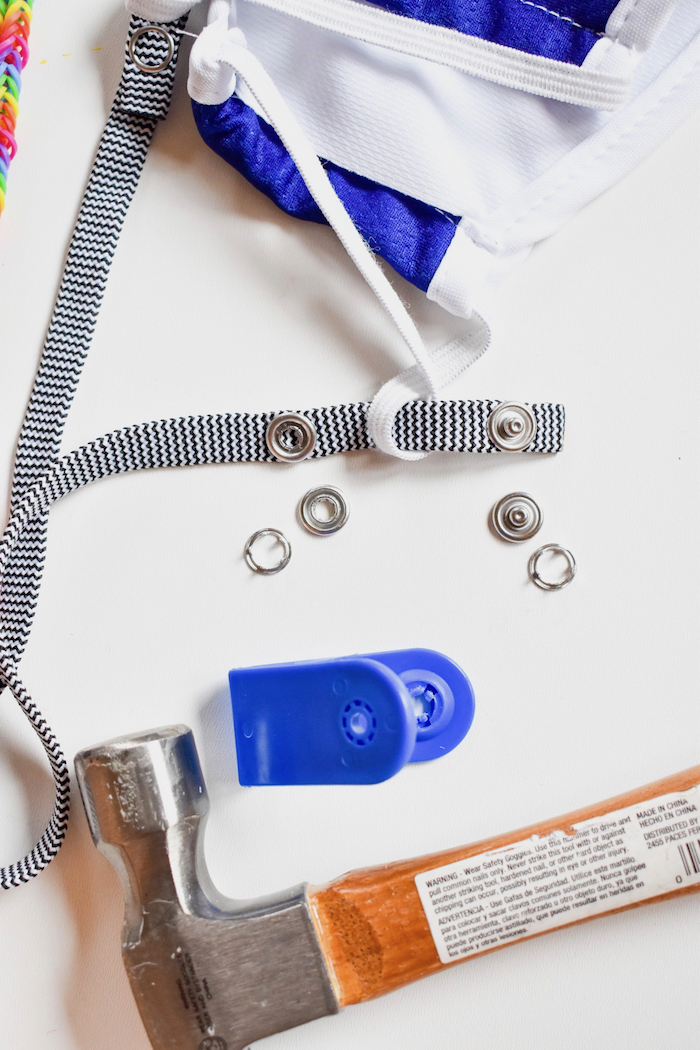
- Dritz Snap Fastener Kit
- Hammer
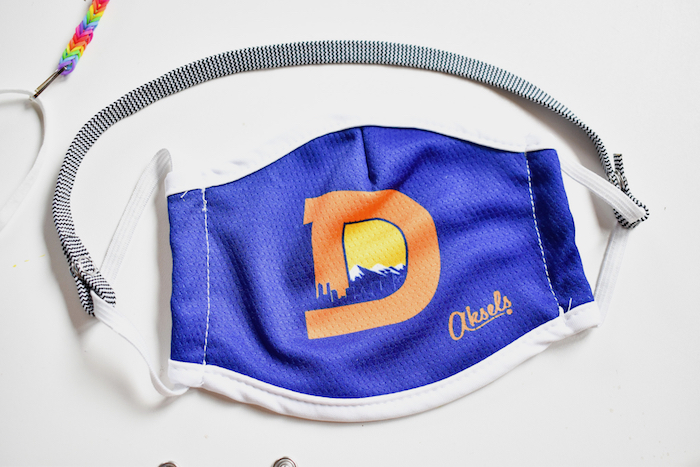
- Masks – we bought some from Target (Cat & Jack brand) and also supported a local company we love, Aksels
Directions:
Step 1: Cut the ends off the laces. My laces were long enough, that I cut the entire lace in half for two mask straps. The length you want is a personal preference, but mine were about 17 inches.
Step 2: Carefully burn the ends of the laces so they don’t fringe.
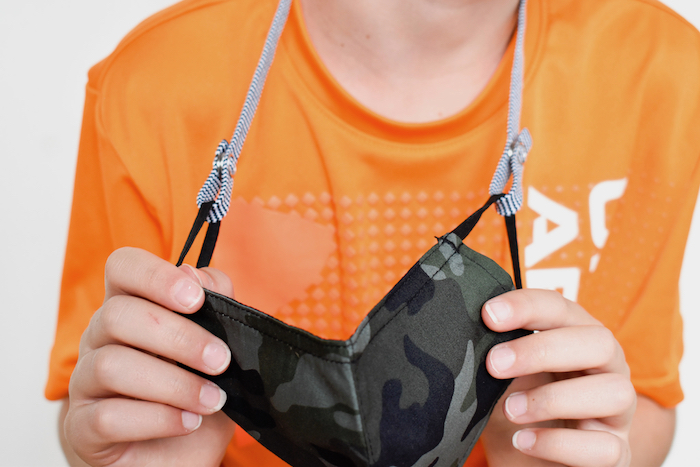
Step 3: Add the fasteners on each end, and hammer in place. You will create two little loop on each side of the lace that snaps, and you will put the mask straps inside each loop. These can be easily removed when you need to wash the mask, and it’s comfortable on your neck.
If you have a child that likes to craft, or wants a really colorful DIY mask lanyard, he or she might want to try the following method, a DIY Loom Mask Lanyard.
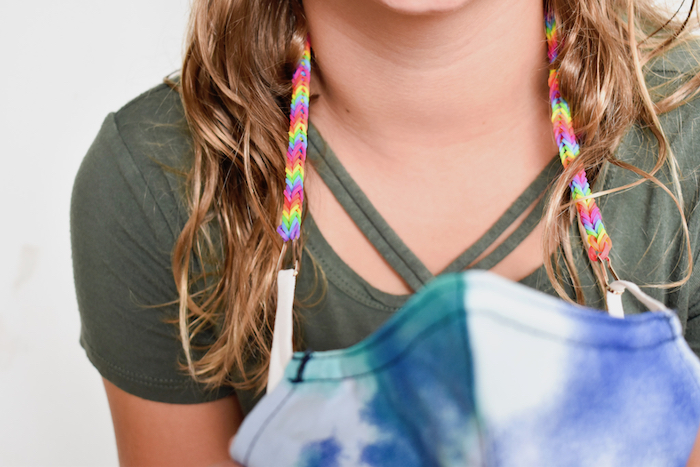
DIY Loom Band Mask Lanyard
Materials:
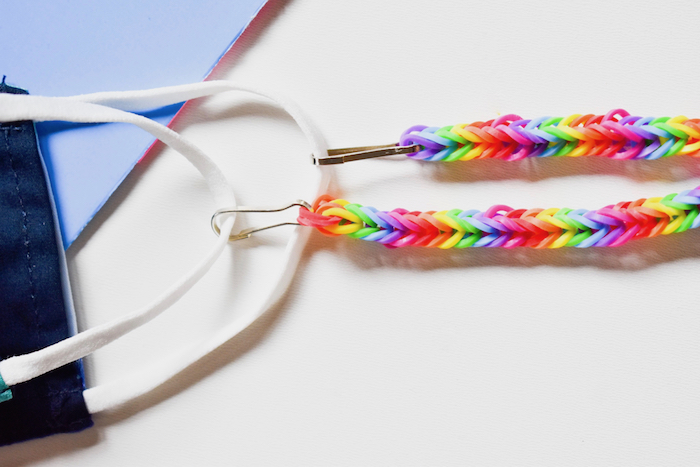
- Key ring clasp, or mini carabiners would work too, or these colorful keychain clips
- Rainbow loom
- Loom bands – Jessica’s daughter loves this toy/craft, so this is a great investment toy if your daughter likes to create!
Directions:
The one and only step: Make a standard loom bracelet, except longer, about 17 inches. Then, add the key ring clasp on each end, and then attach to the ear straps for the mask. Voila. So easy to put on and take off.


SHOP THIS POST:
[show_shopthepost_widget id=”4156269″]
This post contains affiliate links, which mean we may receive a small commission from your purchase; however, it is at NO additional cost to you. Thanks for supporting our blog. It means the world to us.


