We have always had every reason to believe in love. This year our grandparents will celebrate their 60th wedding anniversary {once celebrated by our other grandparent’s, also}. Our parents will celebrate 38 years together in August. We had an amazing childhood in a house full of love, and a large family that loved us unconditionally. We fell in love with and married our high school sweet hearts. Love was easy. Until it wasn’t. Love hurt us in 2015. It hurt us, particularly one of us, bad.
For the first time, love wasn’t enough. What? Love is always enough, isn’t it? Well, not when the person on the receiving end stomps on it, cheats on it, is reluctant to receiving it and lies through it without any remorse. Can you tell one of the high school sweet hearts wasn’t really sweet after all?
So, does love really just stink? Some of you may answer yes and some may answer no – either is ok and the answer is likely based on your current situation or your life’s circumstance thus far.
Well, we are not love experts, but we do know that love is complicated and hard, love is essential, love can unite, love can instigate change, love can cause heartbreak, love comes in many forms, love is passion and ultimately love heals.
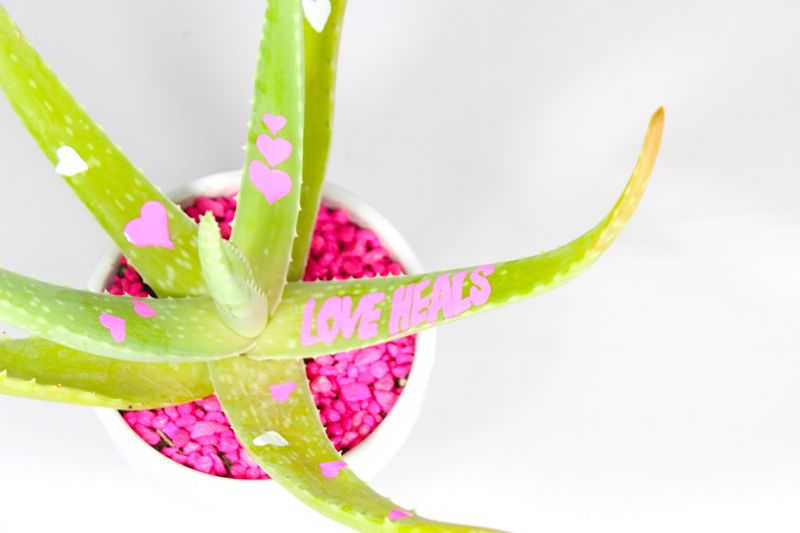
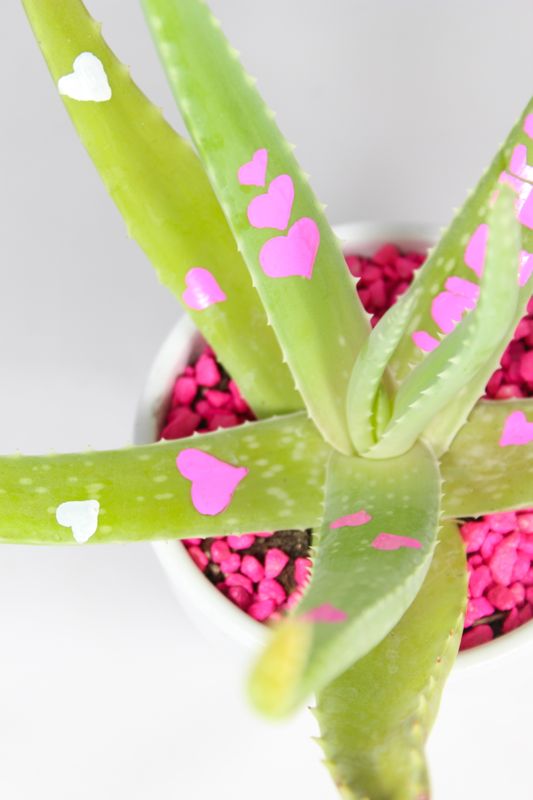
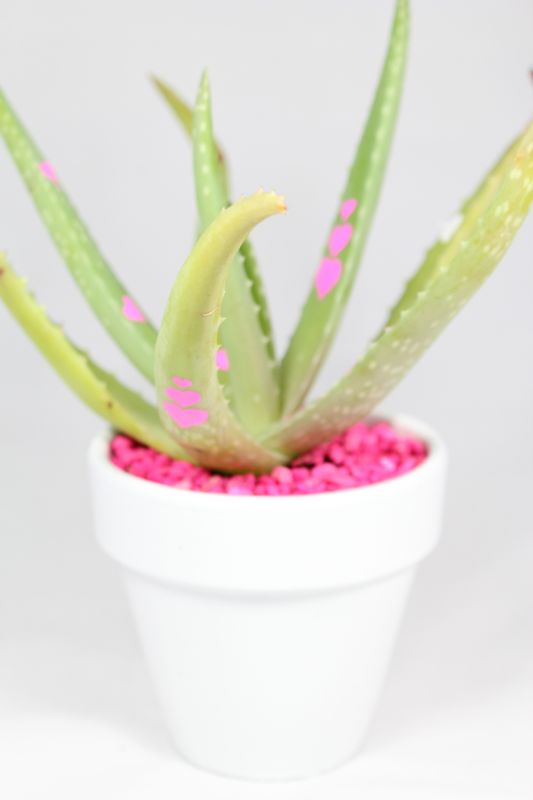
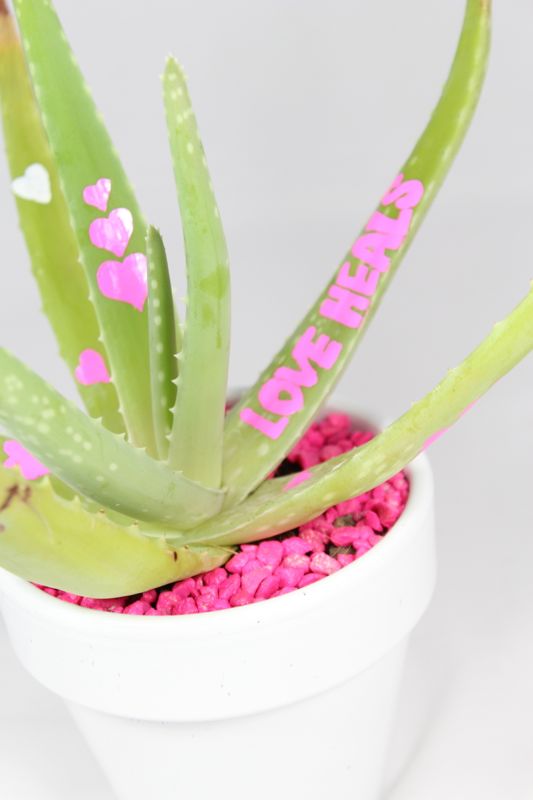
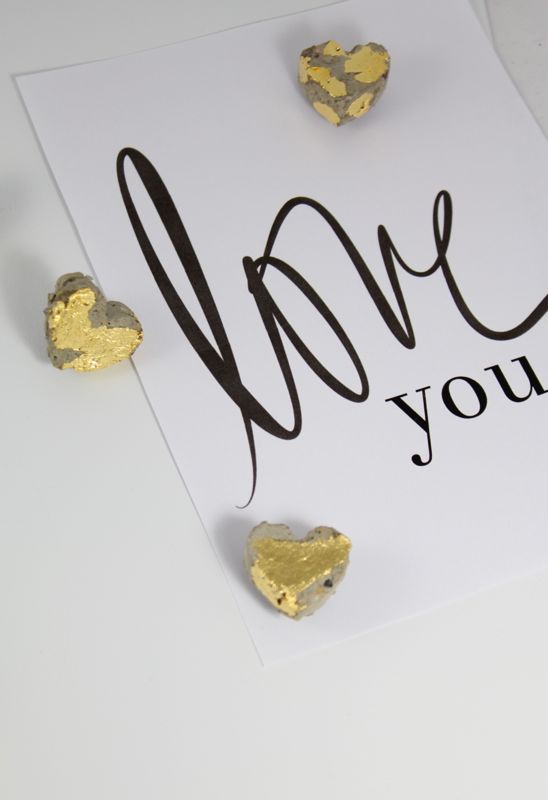
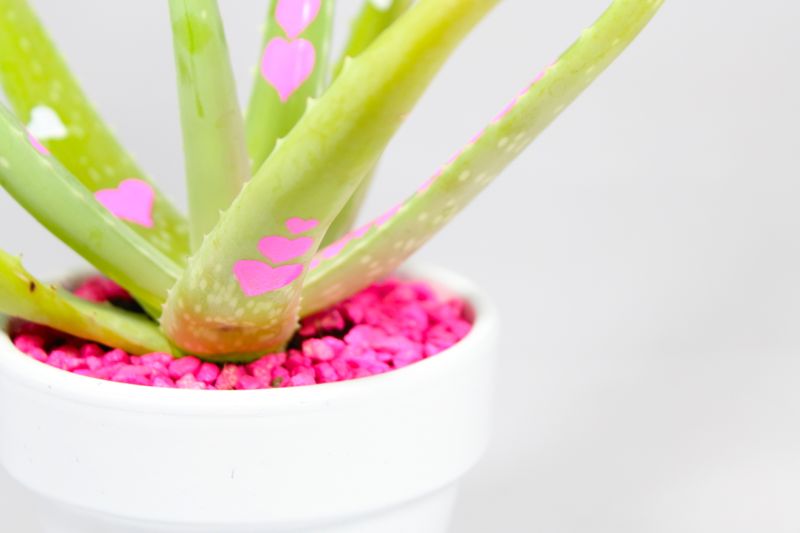
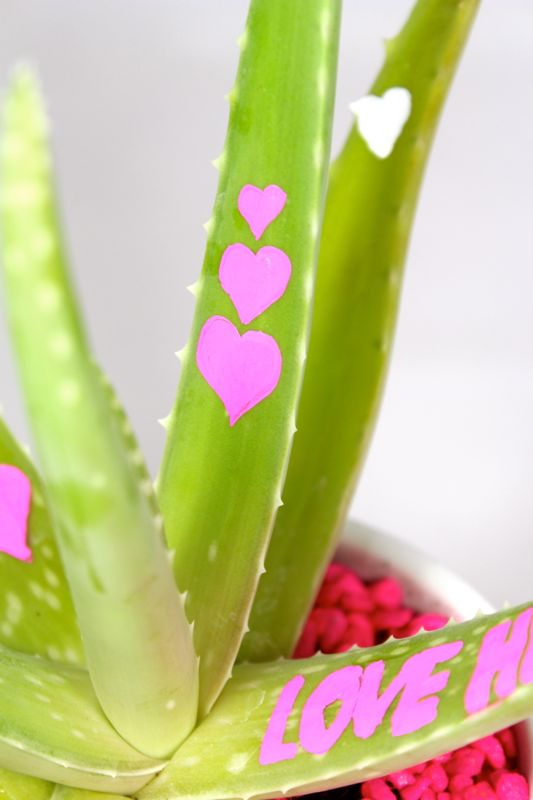
We have a little aloe plant, also known for it’s healing properties, we lovingly named Hope. Hope because we are hopeful for all the wonderful things love will bring our way. And, because now she has LOVE HEALS and hearts written all over her! It’s a good, hopeful reminder for us all.
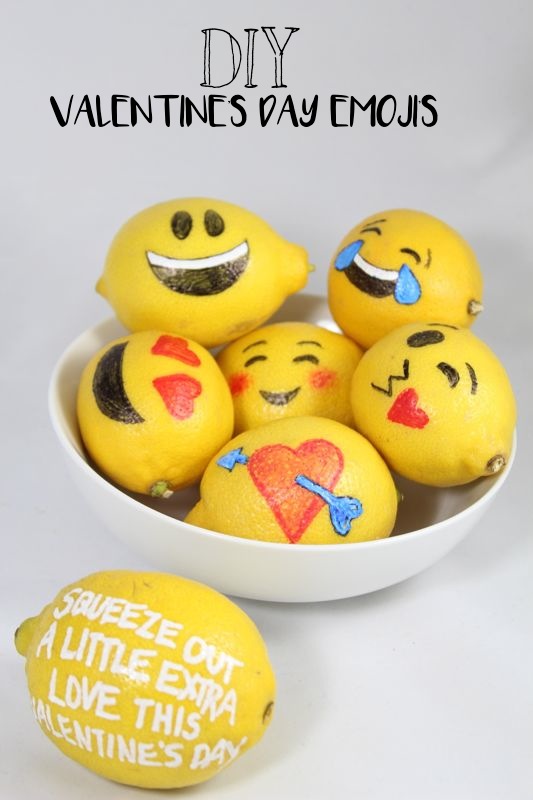
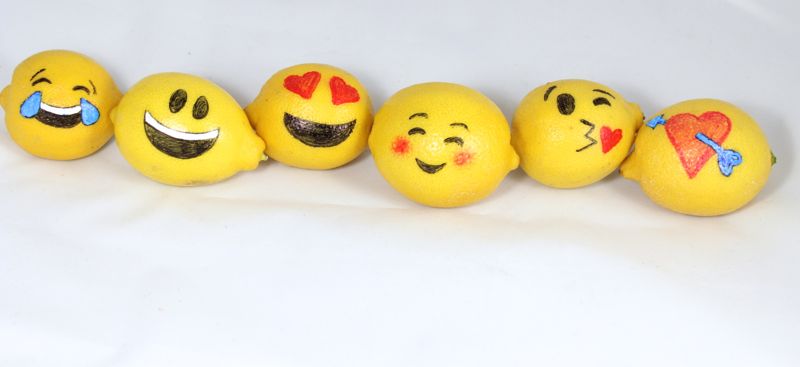
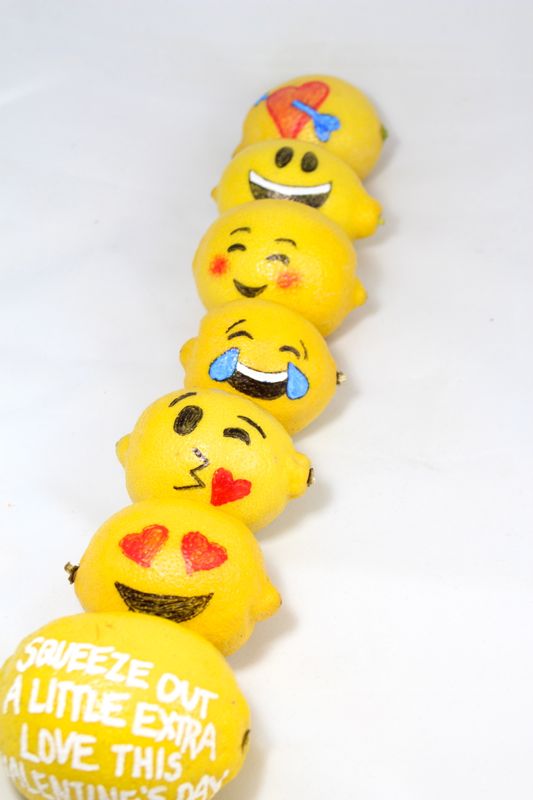
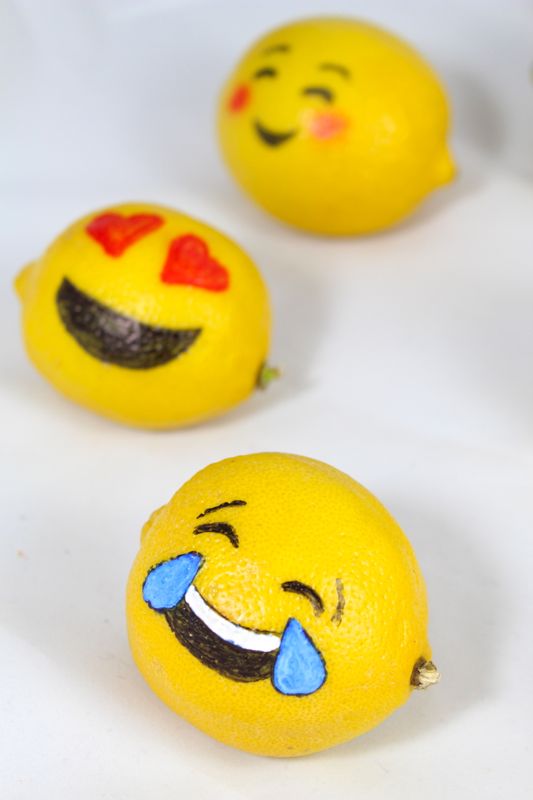
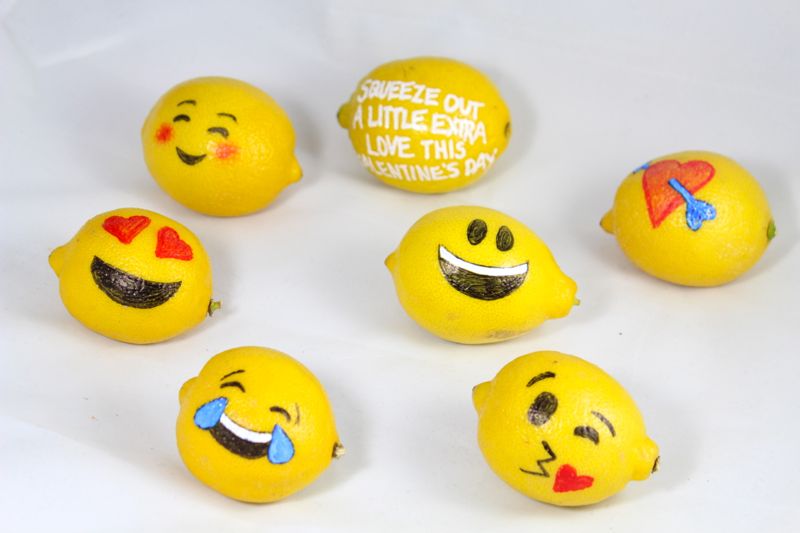
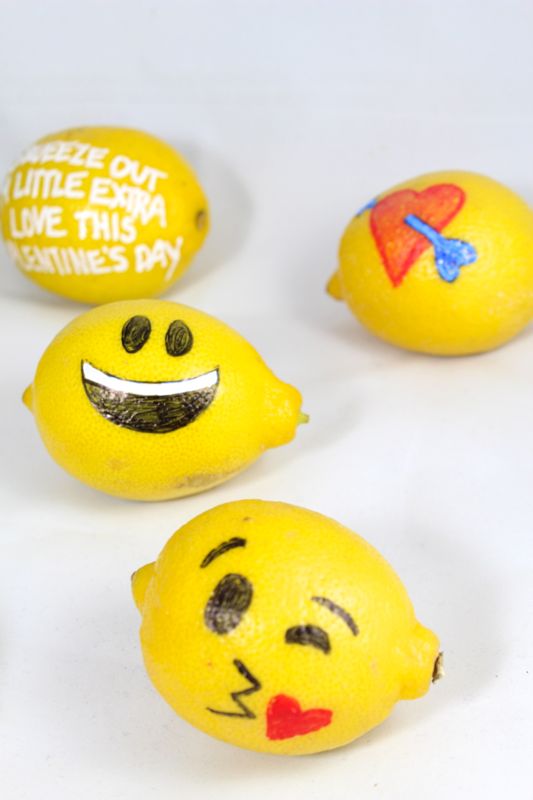
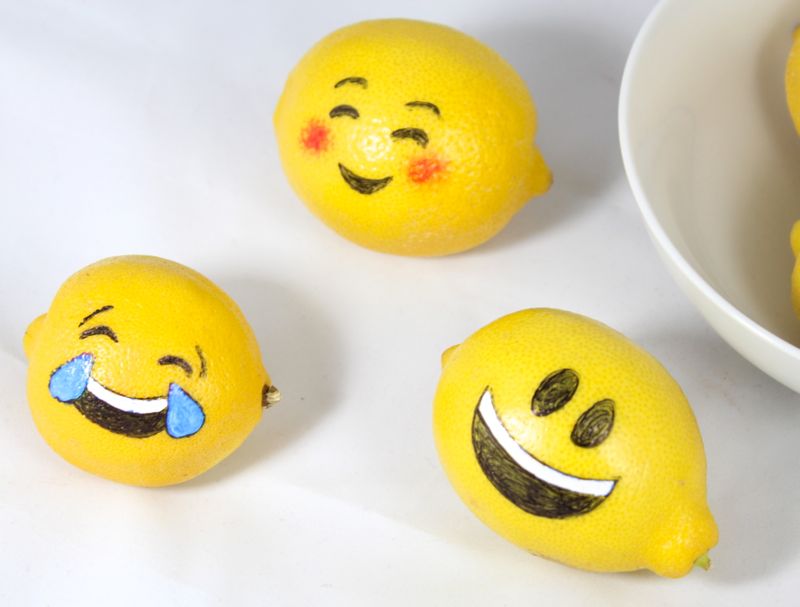
This is a 5-minute project anyone can do. And, it may just bring a little love to you.
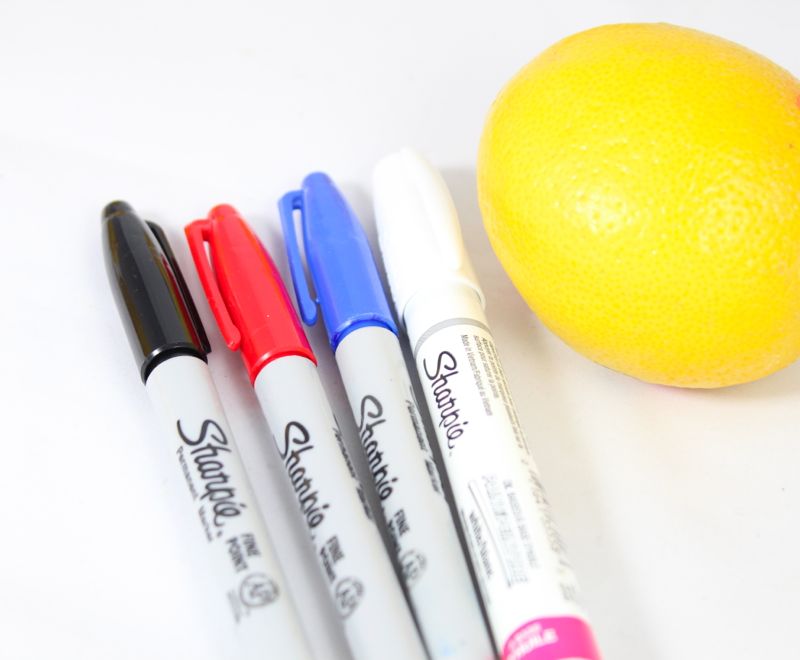
Materials:
- Aloe plant
- Sharpie Oil-Based Paint Pens
Directions:
All you have to do is draw. Sweet!
Give the DIY painted aloe plant as a gift this Valentine’s Day, or any day! Love isn’t just limited to one day in a calendar year – it lives in us 365 days a year – if we let it!
Maybe it’s not about the fairytale ending, it’s about the journey. Make love a part of your story, in whatever form it may be. There is no sense in living our lives without love.