DIY Peppermint Serving Tray

diy peppermint serving tray

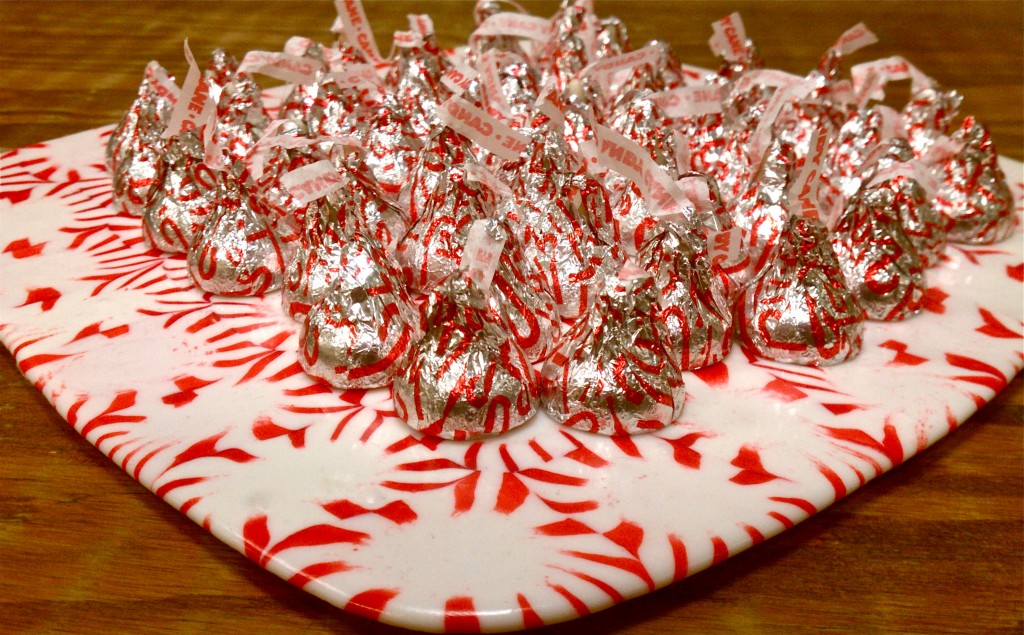
I am officially obsessed with these candy serving trays…and guess who I got the idea from?!

Hosea Rosenberg, founder and chef of BlackBelly Catering.
Yes, he’s also the Top Chef Season 5 winner 🙂
Jenna and I met him at Anne Be’s Five party a few weeks ago, and he was kind enough to share this creative idea with me!
{Thanks, Hosea!}

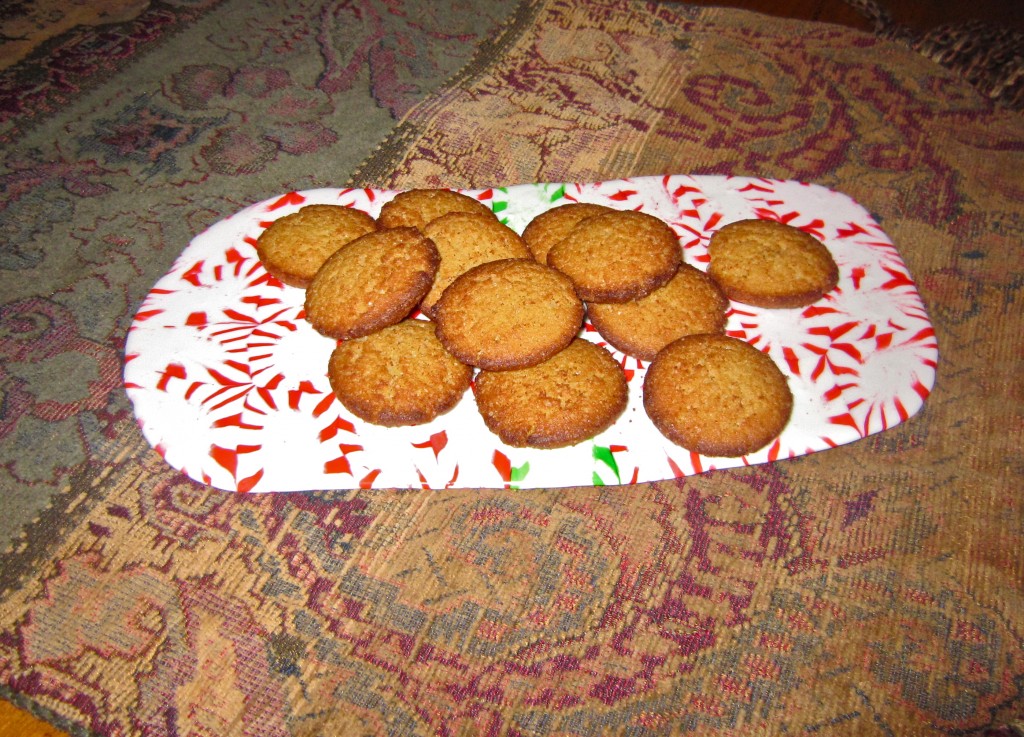
This DIY serving tray is adorable to serve your holiday cookies, apps or drinks! It’s an easy {and cheap} way to add a little something extra to your holiday treats.

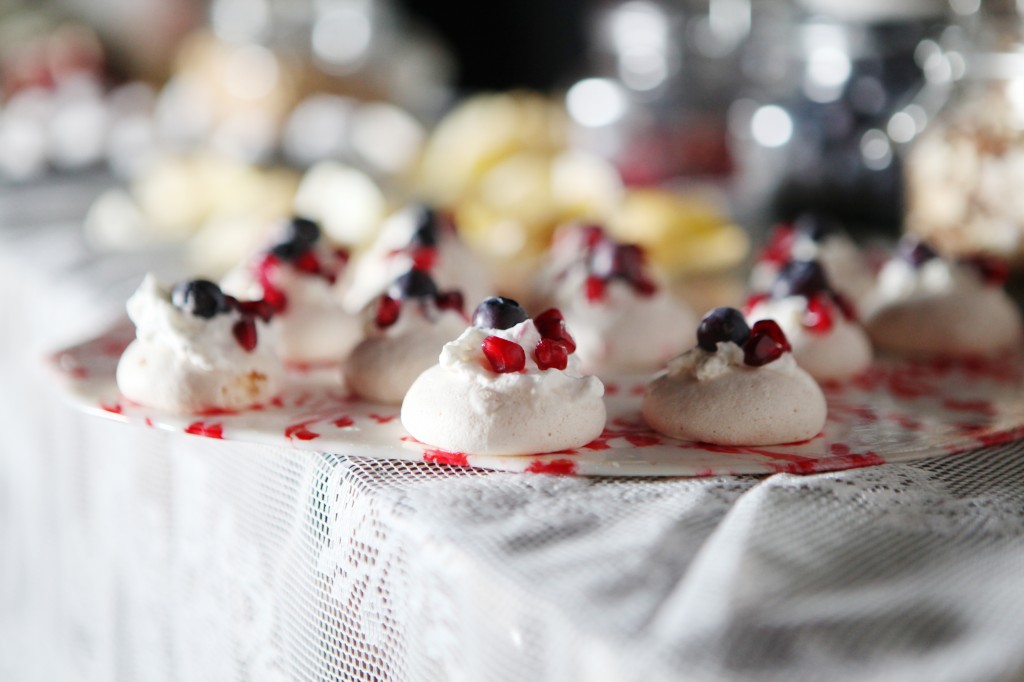
 Hosea’s beautiful creation at Five:

Mint Serving Tray

You’ll need:
Brach’s Starbright Mints {we bought mints from Candy Crate}
a cookie sheet
parchment or wax paper {I used wax paper, but heard parchment paper works better!}
your oven

How To:
1. Heat oven to 350 degrees
2. Place wax paper on cookie sheet
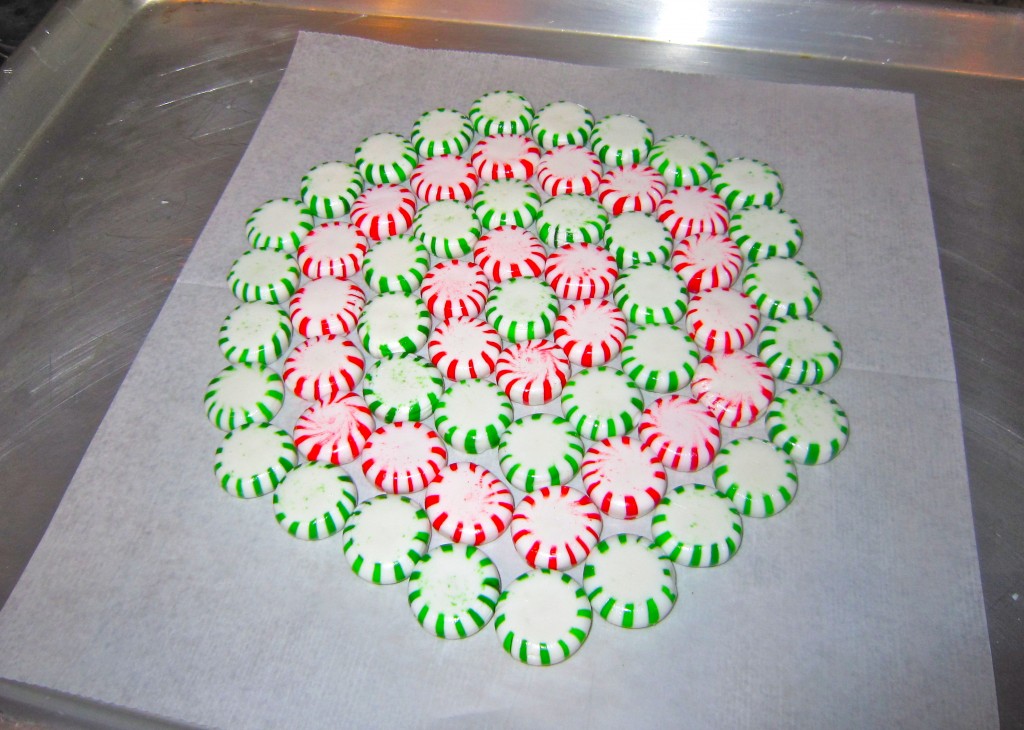
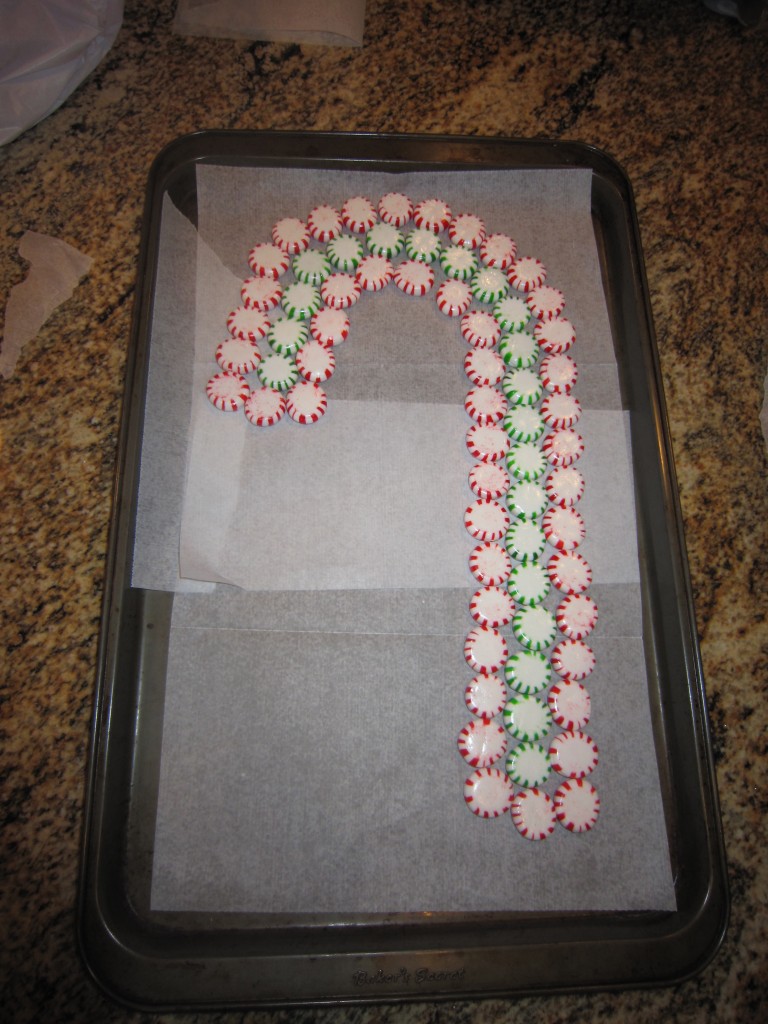
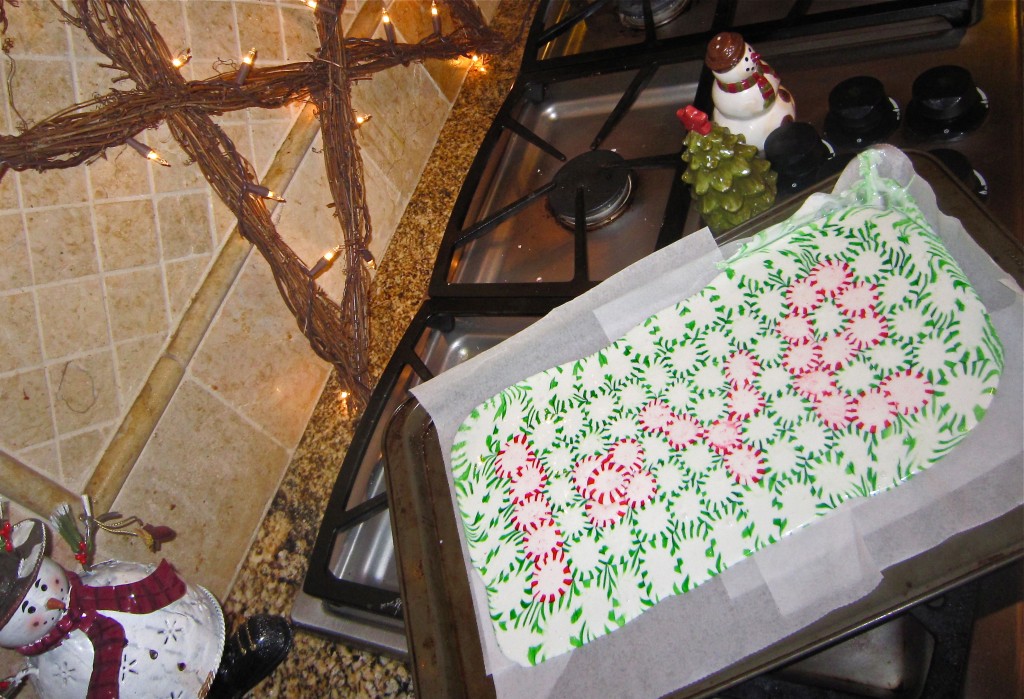
3. Arrange mints in any design you wish on top of wax paper or parchment paper on a cookie sheet {allowing extra room on the sides}
4. Bake for approximately 8-10 minutes
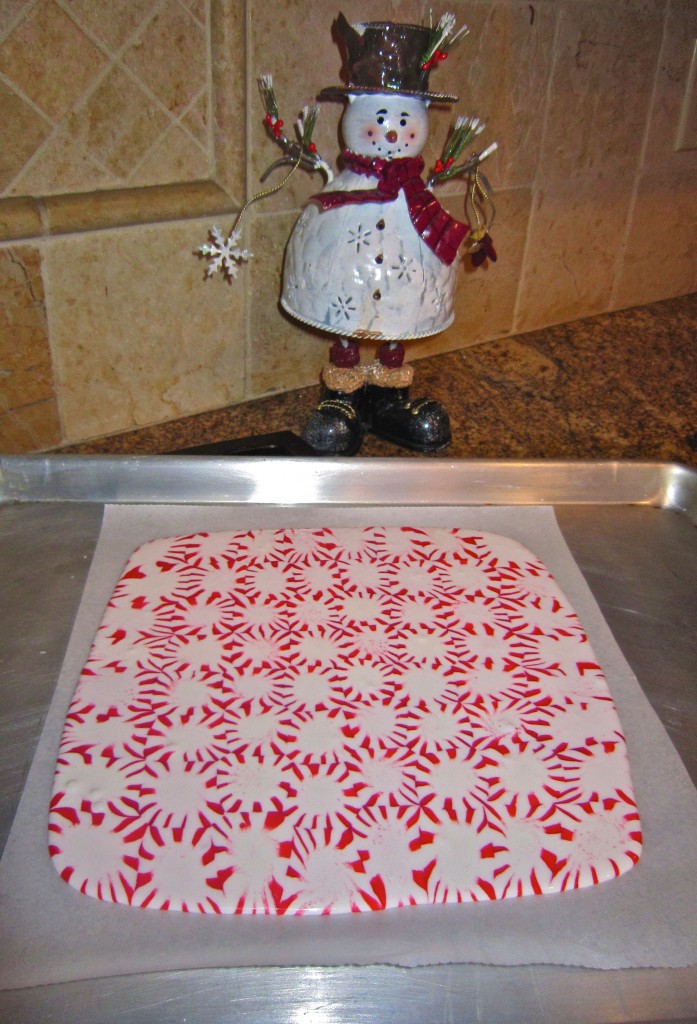
5. Take out and allow to cool on cookie sheet {cools in approximately 5 minutes}
6. Remove wax paper from bottom {be careful, tray is fragile and breaks easily}

Voila!  A beautiful serving tray!

jennawalkerphotographers_080

{Don’t forget your wax paper underneath the mints!
… lesson learned on this tray because it never made it off the cookie sheet in one piece!}

diy starlight mints

candy-cane-peppermint-serving-tray

melted peppermint serving tray

melted-peppermint-serving-tray

diy-peppermint-serving-tray

sending love…

love-melted-peppermint-serving-tray

{images via Tutto Bella & Jenna Walker Photographers}
holiday treats

My mouth is drooling over these yummy and festive holiday treats!
Great ideas to bring to your holiday parties over the weekend 🙂

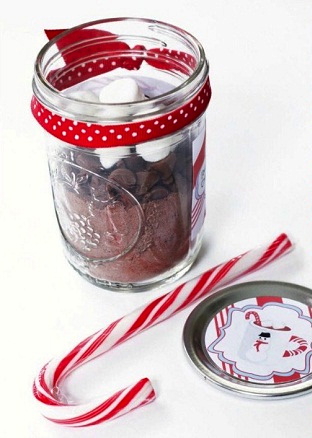
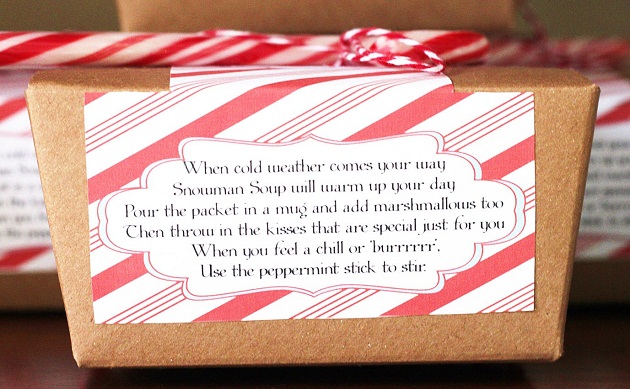
Snowman Soup, found at Celebrations at Home
original source and FREE printables at Paper & Pigtails

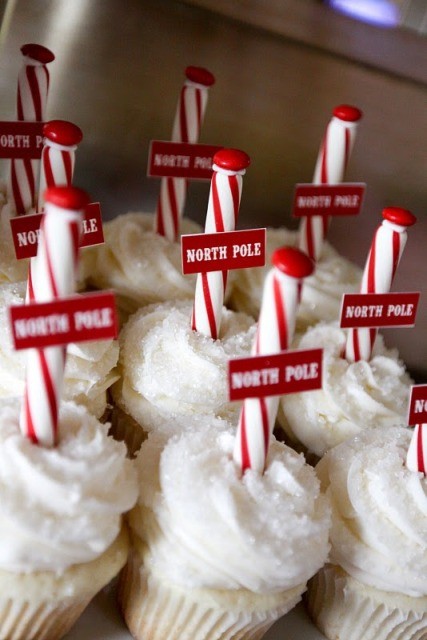
North Pole Cupcakes, Pinterest

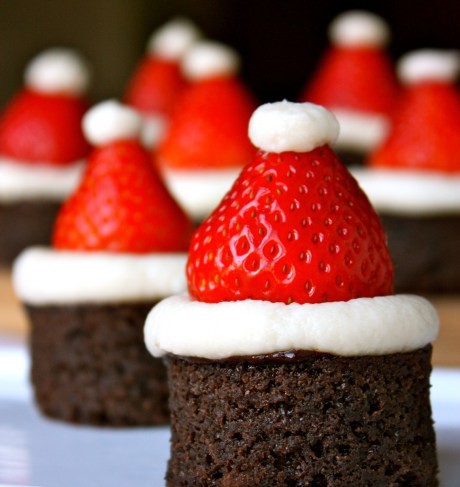
Santa Hat Brownies at Daisy’s World

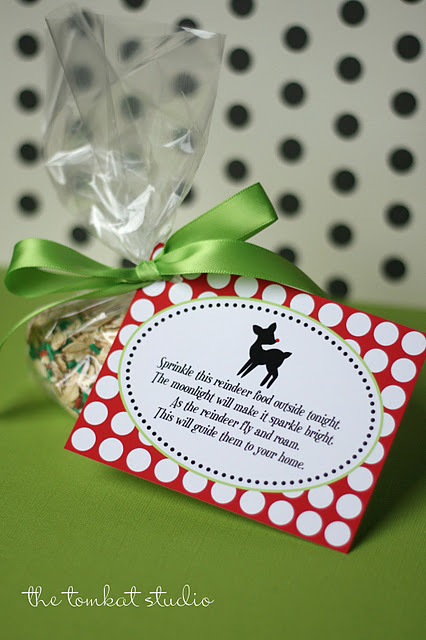
Reindeer Food and FREE printables at TomKat Studio

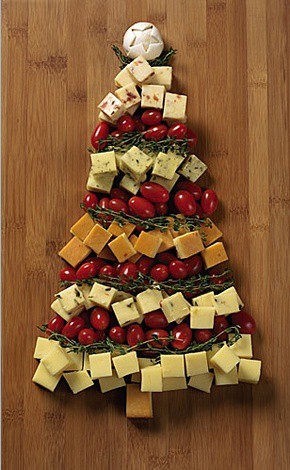
Cheese Tree from Cabot Vermont

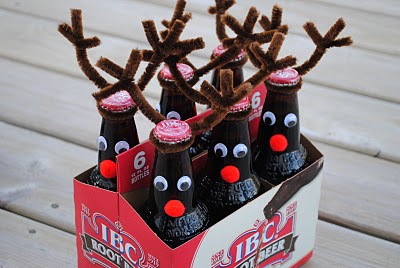
Rootbeer {or beer} Reindeer seen at Life of a Modern Mom
 

{images via Celebrations at HomeTomKat Studio, Cabot Vermont, Life of a Modern Mom, Daisy’s World & Pinterest}

{giveaway} engagement bracelet by kathryn giarratano jewelry

Every bride wants something:

sparkly
unique
special

{let’s be honest, she wants these things all the time, whether she’s a bride or not}.

Well, we found the PERFECT thing that can be worn on her wrist that’s all of the above and more ~ Kathryn Giarratano’s Engagement Bracelet. It’s stunning and beautifully hand-made by Kathryn herself.

It can be her “something blue” on her wedding day, or throughout her engagement she can wear it as a reminder that she is a beautiful bride about to marry the man of her dreams and when she becomes a Mrs., she can still wear it {to accessorize an outfit} and remember the special time in her life before she said, “I do.”

Kathryn, owner and creator of Kathryn Giarratano Jewelry, is a Denver-based designer and Colorado native. After working as a fashion consultant for Saks Fifth Avenue she decided to follow her dream of creating a line of jewelry that is fun, funky and can be worn by women of all ages. Thus Kathryn Giarratano Jewlery was born and we’re grateful it was because she creates one-of-a-kind jewelry, including necklaces, bracelets and earrings, for women that we LOVE.

Kathryn has always had an amazing sense of style and the girl can accessorize! Even as a preggo mama {when sweat pants call out your name}, she always looks chic and adorable.

Her jewelry has been seen on celebs on E! News and the Grammy Awards. Her pieces are sold at specific retailers {including the fabulous Fleur de Lis} or you can e-mail her directly at kathryngiarratano@gmail.com for orders.

She creates distinct jewelry for brides on their wedding day, as well as coordinating pieces for the bridal party. Jodi {a Tutto Bella sister} worked with Kathryn to create her bridal jewelry, as well as bracelets for her bridesmaids. The pieces were beautiful {and made a great gift for the bridesmaids}.

Today, we’re so happy because Kathryn is kindly offering her beautiful Engagement Bracelet to a lucky Tutto Bella reader {$50 value plus shipping}.

To enter the giveaway, you must:
{1.} Visit Kathryn Giarratano Jewelry, then come back here and leave a comment telling us which piece you like best {earrings, necklaces or bracelets}.

For additional entries:
{which means you can enter the giveaway up to four times}
{2.} “Like” Kathryn Giarratano Jewelry on Facebook. Come back and leave a comment telling us you did {you must leave a comment so we can enter your name in the drawing}.
{3.} Leave a comment telling us who you would give the engagement bracelet to {even if its yourself} or tell us a funny or romantic engagement story.

Winner will be chosen via random.org. Must enter by Sunday, December 18, 2011. Winner will be chosen Monday, December 19, 2011.  

{images via Kathryn Giarratano Jewelry & Jenna Walker Photography}

’tis wreath season

My holiday DIY projects are ongoing here at my house. I think it’s beginning to drive my husband crazy when he comes home to craft projects every night, but the kids and I have had fun inside making gingerbread houses, wreaths and cookies during the freezing, arctic cold temperatures outside.

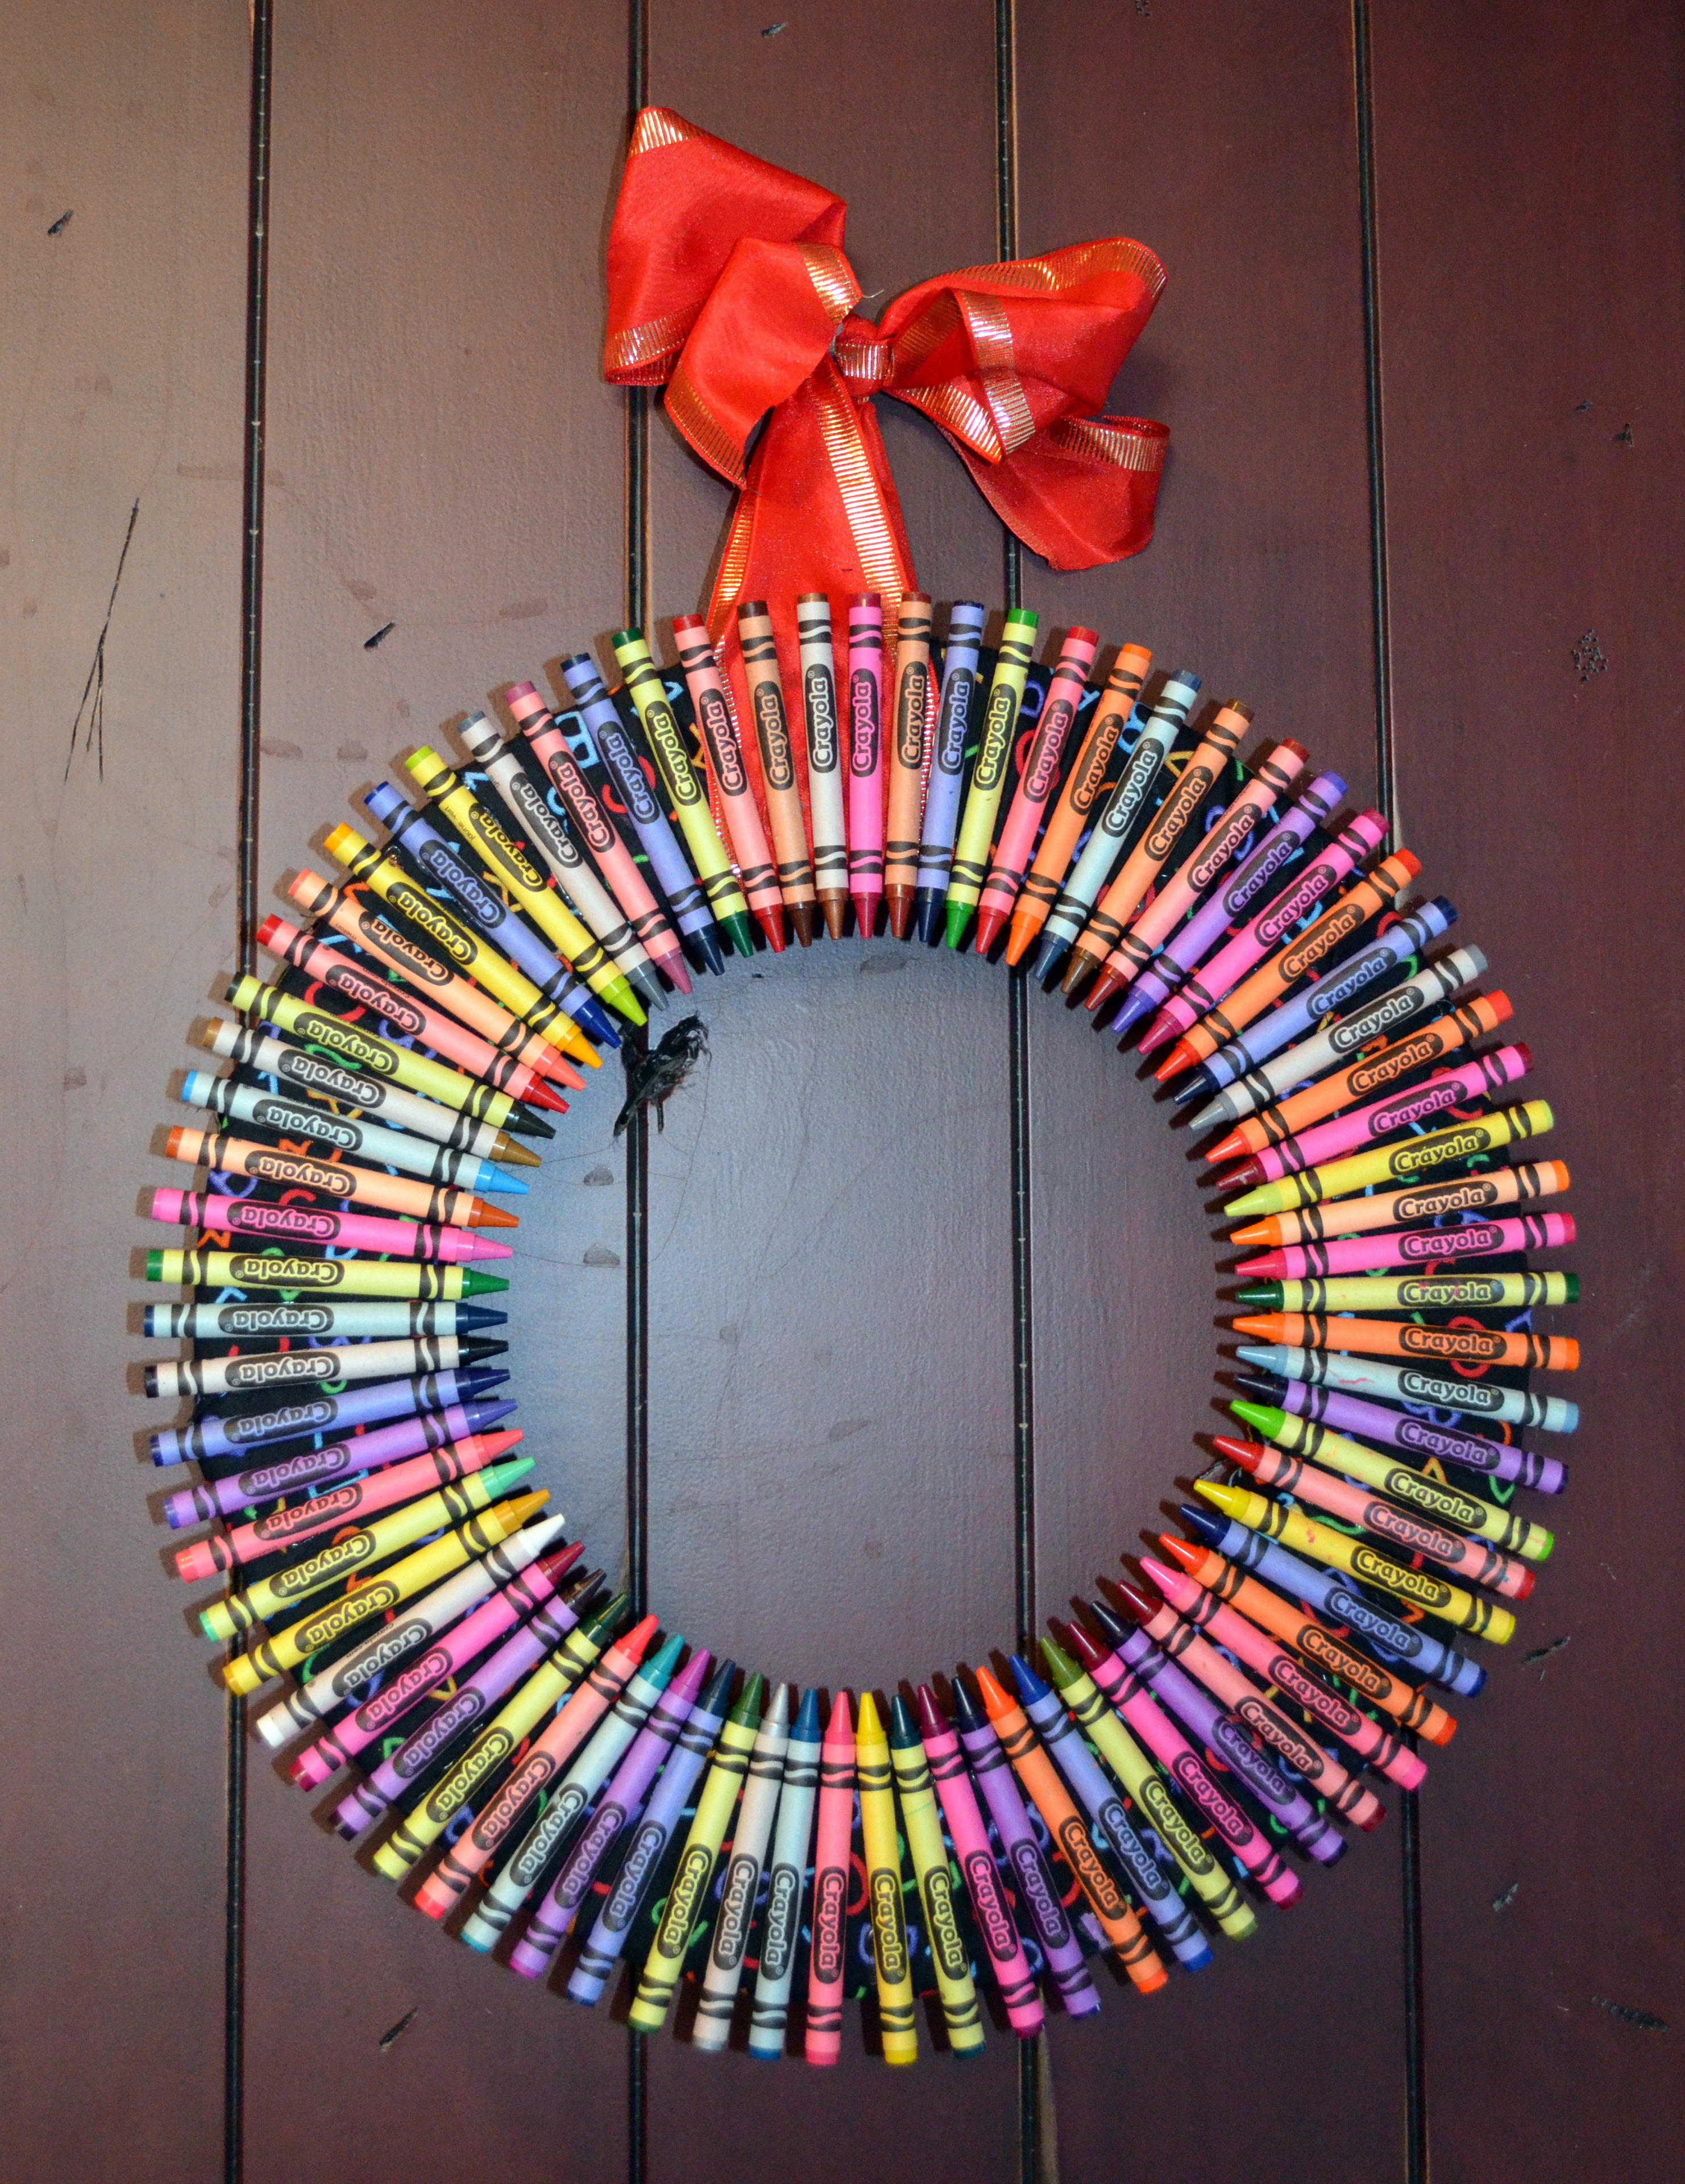
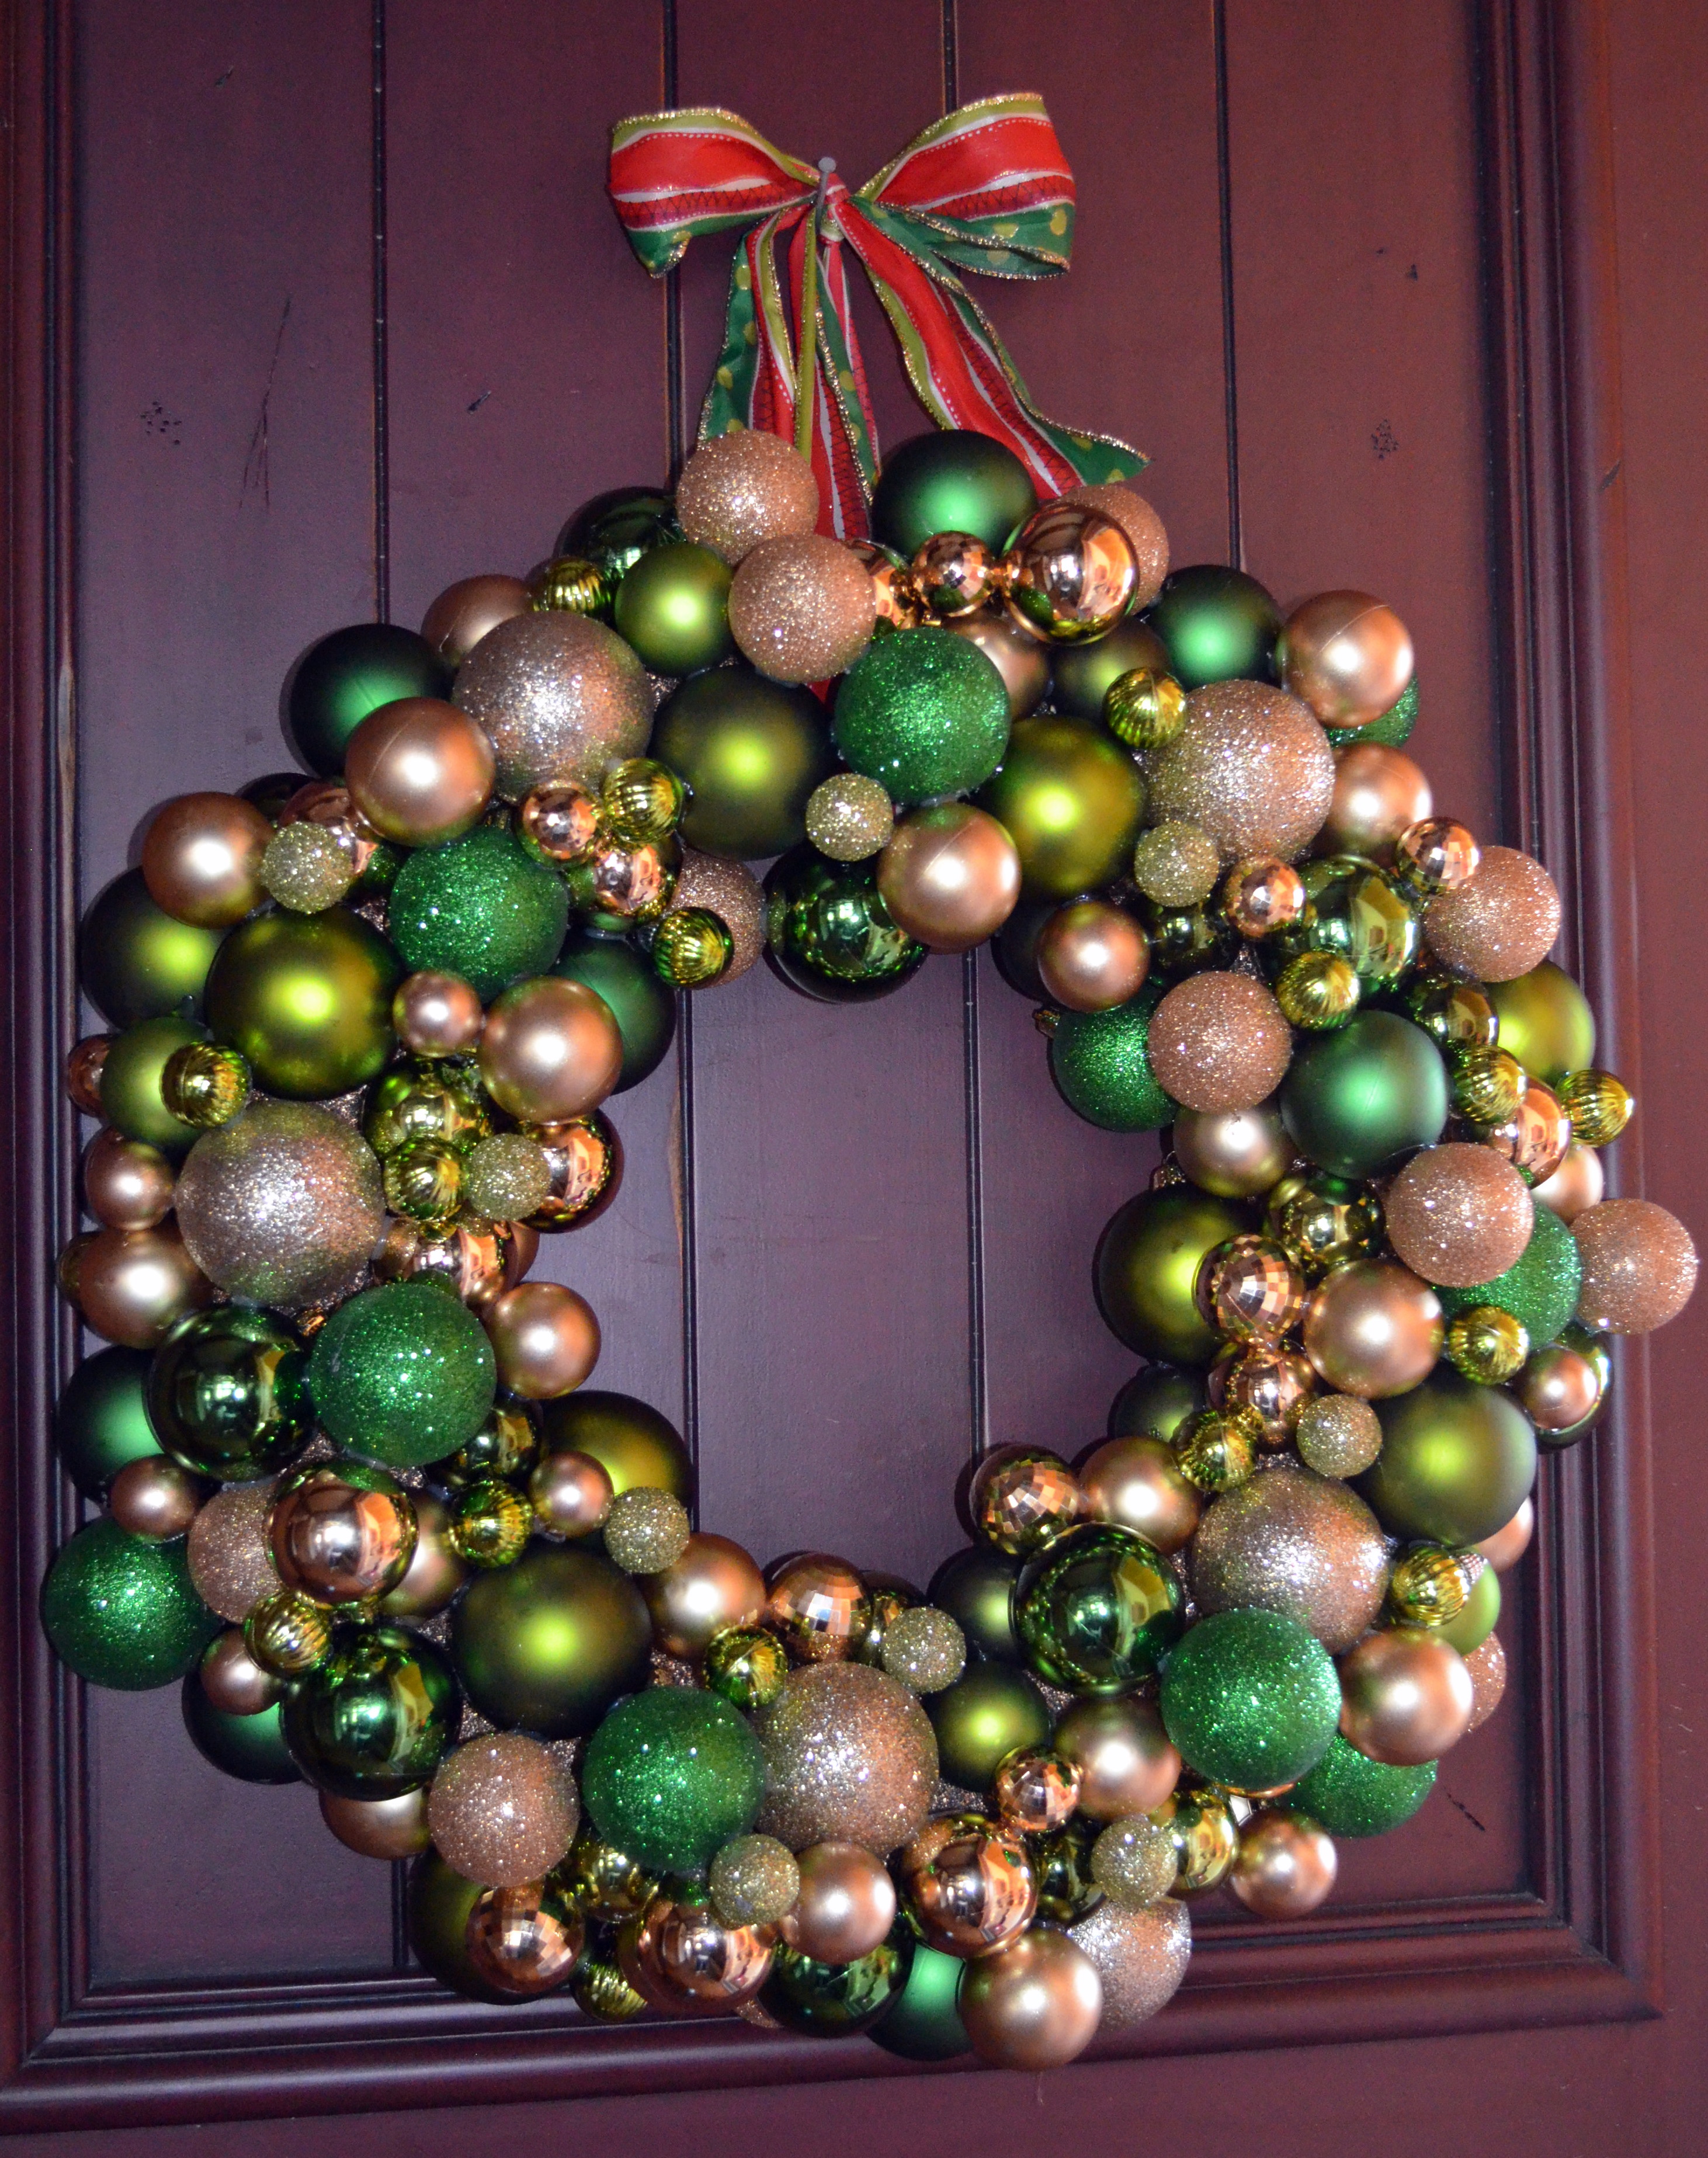
Yesterday we completed two wreaths ~ one for my son’s teacher, appropriately a crayon wreath and the other one for me, an ornament wreath. Both were enjoyable, affordable and quite easy.

Crayon Wreath


You’ll Need:
Styrofoam wreath {I bought a 12-inch from Hobby Lobby}
Box of 96 crayons {I used Crayola}
Hot glue gun and hot glue
Ribbon {to hang it}
Fabric {a little less than 1 yard} to cover the wreath {I found adorable and teacher-friendly fabric for less than $5 at Hobby Lobby with ABC’s and 123’s printed all over it}

How To: 
Cut the fabric into 6 inch strips.
Glue the end of the first strip of fabric to the back of the wreath, and begin to wrap it. Glue the end of the strip onto the wreath before you begin your next one. Repeat until wreath is covered.
Find a wide ribbon, cut to the length desired and glue the ‘base’ of it to the wreath so you can glue crayons over it.
Place a bowl in the middle of the wreath that is small enough to fit in the hole, but large enough to leave room for only the tips of the crayons to fit into the center of the wreath {this will ensure a perfect circle with your crayon tips in the center of the wreath}.
Begin to glue the crayons one by one.
{Tip: The tips of the crayons will be really close to one another, if not touching. However the rest of the crayon needs to be spaced appropriately to ’round the corners’ evenly}.

Ornament Wreath
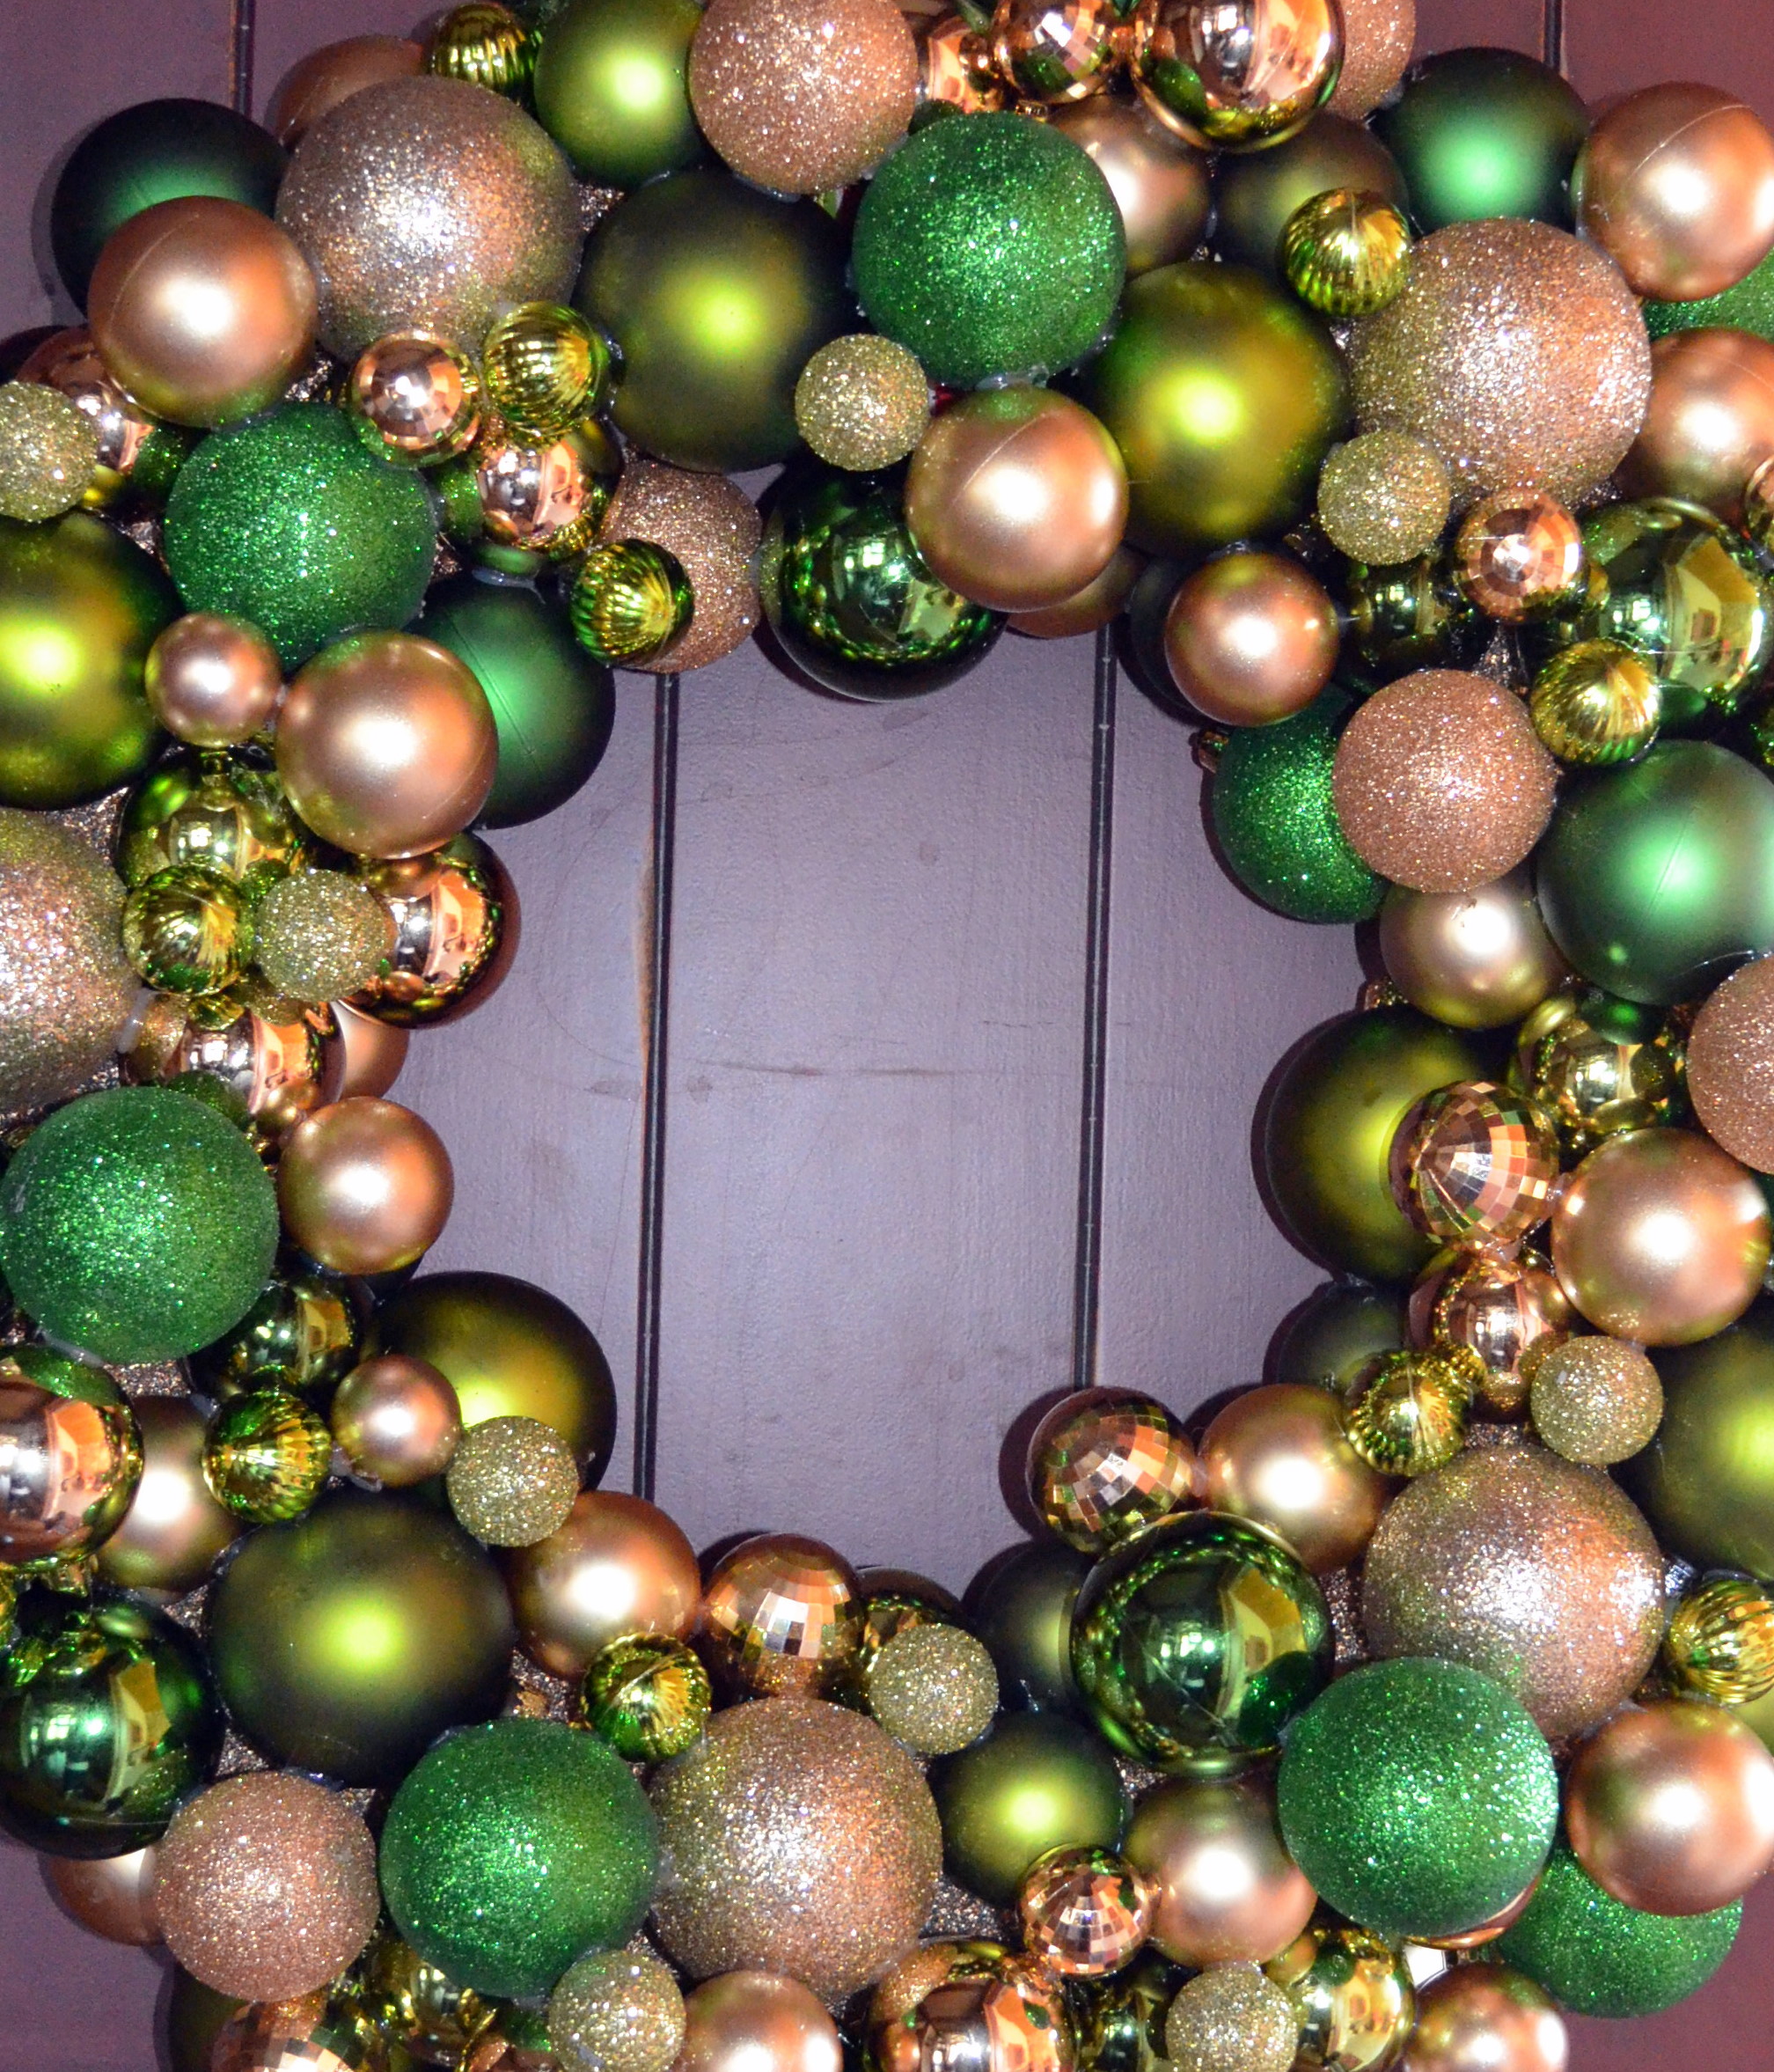
I saw a version of an ornament wreath on Pinterest several weeks ago and was inspired to make one for my front door, or for the inside of my home during the holidays. I decided to go with a green and gold color scheme.

You’ll Need: 
Styrofoam wreath {I bought an 18-inch wreath from Hobby Lobby}
Spray paint {I used gold}
150 ornaments of all different sizes {I probably used 25 large, 75 medium and 50 small}.
A glue gun and A LOT of hot glue
Ribbon {to hang it}

How To:
Spray paint the wreath your desired color. Because my ornaments were green and gold, I spray painted the styrofoam wreath gold.
Find a wide ribbon, cut to the length desired and glue the ‘base’ of it to the wreath so you can glue ornaments over it.
Begin to glue the ornaments. Start with the large ornaments and work your way to the small ornaments. It’s like a puzzle ~ just fill in and add on top of and next to one another to cover all the gaps.
Voila ~ you have a new, festive decor piece to hang in your home for the holidays.

Here’s more holiday wreath inspiration I’m swooning over {and tutorials for all you DIYers}
This burlap wreath from P is for Party is lovely and would be a fantastic holiday card display with push pins.

A vintage music lover would adore this beautiful sheet music DIY wreath with a full tutorial at Double Take Event Styling.

Bring the ring of sleigh bells into your living room or front door with this jingle bell wreath from Martha Stewart.

A delicate-looking wreath made of paper doilies that creates the magical effect of candles flickering in the snow would delight all.

Stun your guests with this gorgeous pearl wreath. I’m in love…

{images via Tutto Bella}

{giveaway} i see me personalized children’s books

I love when I discover a new, fabulous and unique product that makes the perfect gift. I get giddy…seriously! I love it even more when I get to share it with all of YOU.

I became familiar with I See Me Personalized Children’s Books because I received My Very Own Name from a good friend {thanks McKenna} when I had my first child. It was one of my favorite gifts I received. Not only because it was personalized {who doesn’t love the added touch of personalization?}, but because it was a beautiful, lasting book that engaged my son with words, letters and animals to teach him his name.

There is something for everyone at I See Me! Whether you’re an uncle or aunt, grandparent, godmother or godfather, brother or sister, friend or neighbor ~ you can make a child smile with the gift of words and pictures beautifully bound in a story they can keep forever.

Your little one can have a magical holiday with A Christmas Bear for Me or A Hanukkah Bear for Me. Your fairy princess will star in her own magical fairy tale in My Very Own Fairy Tale as fairies bring letters one by one to spell out her name in rhyme {my daughter loves this book and actually tries to smell the flowers on every page}. Sea creatures will spell your child’s name in rhyme in My Very Own Pirate Tale. The newest member of the family will feel even more blessed and loved when he or she receives God Love You! Personalized Book for his/her christening. And big brothers and big sisters can feel extra special and rewarded with The Super, Incredible Big Brother/Sister personalized books.

I love these books! In fact, I loved these books even before I knew the hottest Hollywood celebrities coveted I See Me books for their children.

Today, I See Me is offering one lucky Tutto Bella blog reader a FREE personalized My Very Own Name book. This giveaway is worth $29.95 plus shipping. Thank you I See Me!

My Very Own Name is a beautifully illustrated personalized children’s book that helps children to learn to recognize letters and spell their names. In this hardcover, professionally bound book, animals bring letters one by one to create the child’s first and last names in rhyme. A jackal brings a J, an ostrich brings an O, and so on. At the end, the animals celebrate because they’ve created the perfect name.

As an added personal touch, this award-winning book includes the child’s birth date, a printed dedication from the sender, and an illustrated encyclopedia of 61 animals. This storybook is made in the USA and written by Maia Haag.

Click here to order “My Very Own Name”, a personalized children’s book

To enter the giveaway, you must:
{1.} “Like” I See Me on Facebook. Come back and leave a comment telling us you did {you have to leave a comment so we can enter your name in the drawing}.

For additional entries:
{which means you can enter the giveaway up to three times}
{2.} Visit I See Me on Twitter and become a follower. Then tell us you did it.
{3.}Visit I See Me, then come back here and leave a comment telling us which book is your favorite {you have to leave a comment in order to enter your name in the drawing}.

Winner will be chosen via random.org. Must enter by Sunday, December 11, 2011. 

{images via I See Me}