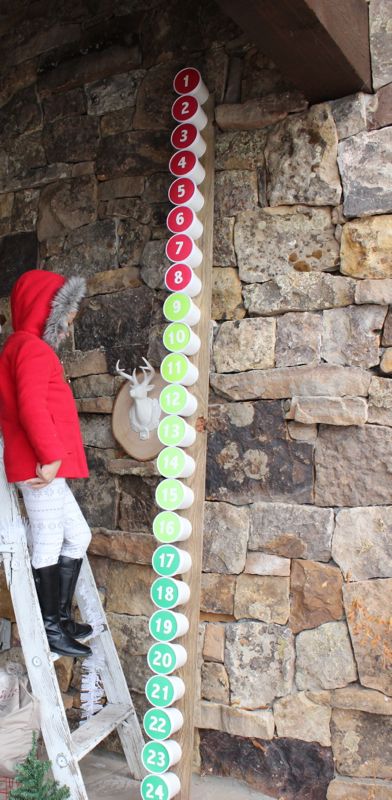
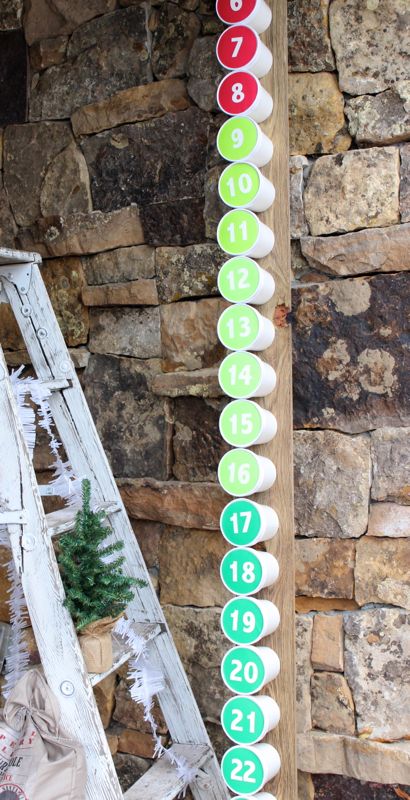
The thought of the upcoming holidays brings us a sense of panic with all there is to do, but also great joy. It’s our favorite time of year, so bring on the cheer. We’ve been known to not put up our Advent calendar until mid-December, which may or may not defeat the purpose, so this post is our attempt to have our DIY Advent calendar up by December 1. Other than our usual tardiness, the other con to our past Advent calendar was the size…how are we supposed to fit one thing larger than a candy cane in each tiny opening? This year, we went long and tall, and got creative with ice cream pint containers!

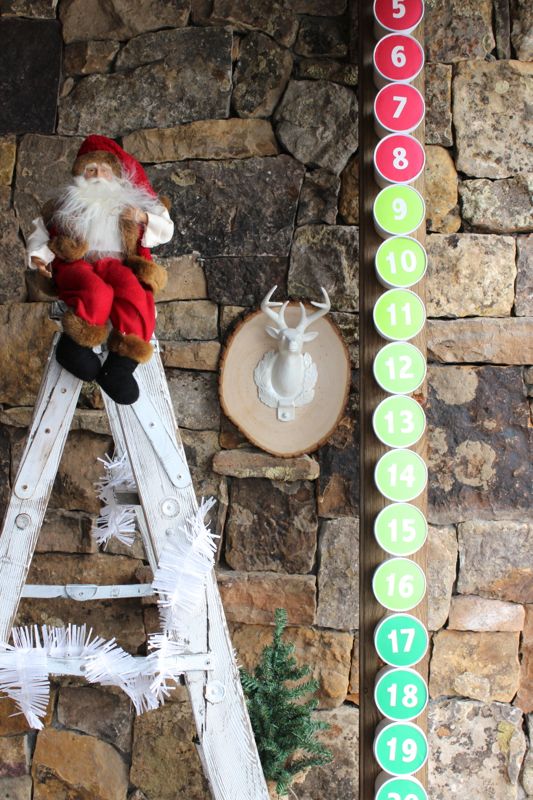
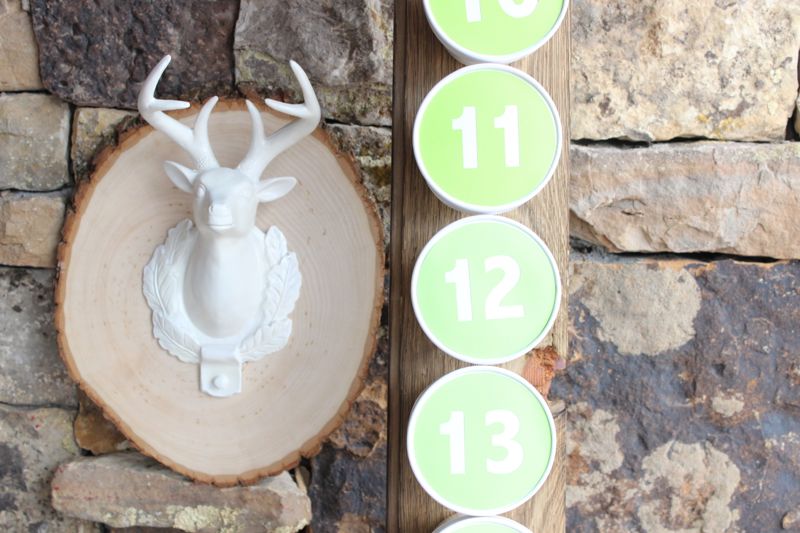
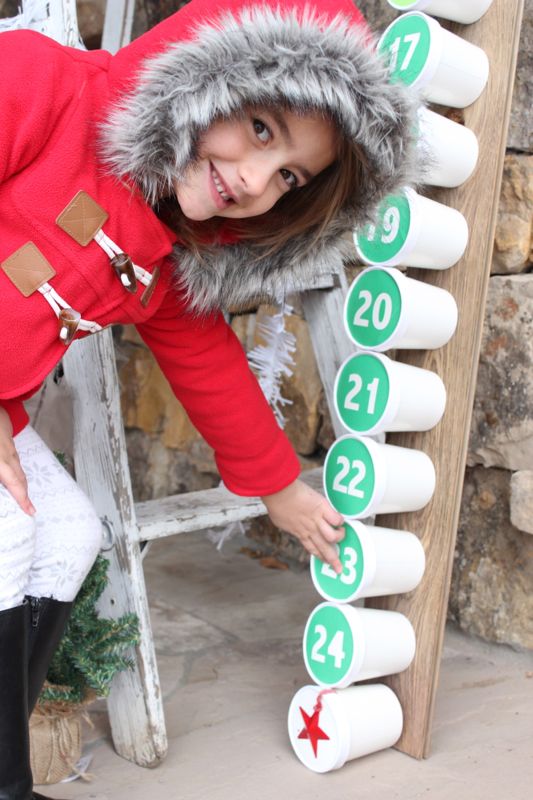
May we just say that had we known blogging would have been in our future, we would have an all-white wall with light floors. Since that’s not feasible with any of our homes, and we needed a well-lit area to show you our Advent Calendar, a ‘rustic Colorado ‘ rock wall was our second best option. Our 5-year-old model had a ‘make-it-work’ moment, which she didn’t seem to mind.

You’ll Need:
- 8 ft piece of wood from Home Depot {make sure it’s wide and long enough prior to purchase}
- White Pint Frozen Dessert Containers from Amazon
- Number labels – we made our labels with Astrobrights Papers and our favorite Silhouette electronic cutting machine. Enter to win a Silhouette CAMEO here.
- Screws
- Drill
- Glue Stick
- Goodies to put inside {we hit up the Target $1 and $3 bin for hand warmers, bracelets and socks, and then got creative with the rest of it – dollar bills, sweet notes, candy and animal toys}
Directions:
Make or print number labels. You can use a Silhouette like we did, or buy number stickers. For number 25, we used a red star ornament since that’s the magical day. Glue the labels on the container lids.
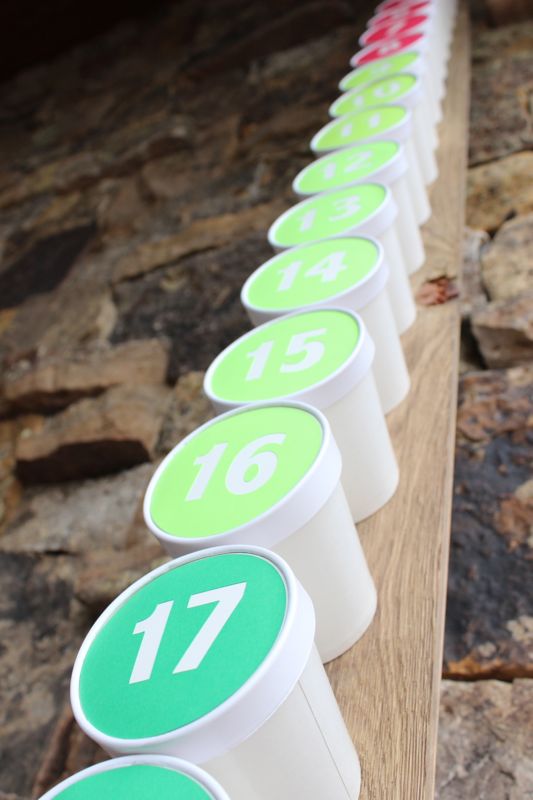
Drill the pint containers to the long piece of wood {totally doable, even with do drill experience}, and then fill the pint containers with goodies.
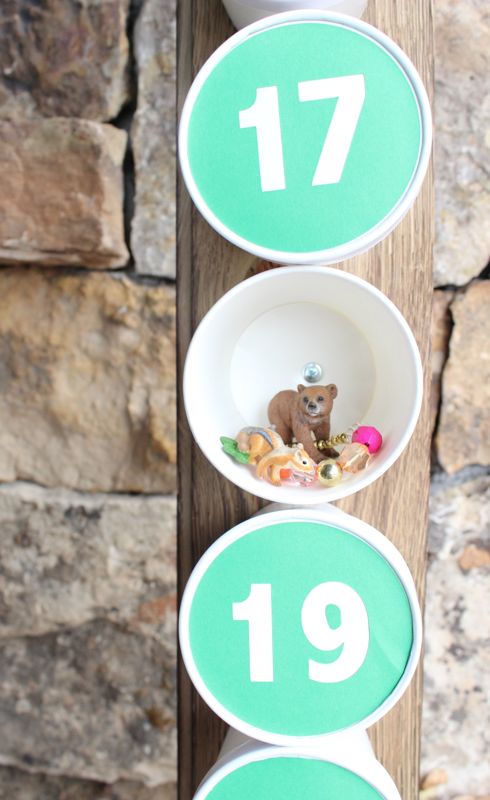
Place lids on the pint containers.
Set up the colorful Advent calendar. You can make it a horizontal Advent calendar, or a vertical one like we did. Because ours is vertical and tall, we couldn’t resist a set up with a ladder – it makes for a fun adventure everyday for the kids and with a good lean, no nails or holes in the wall.
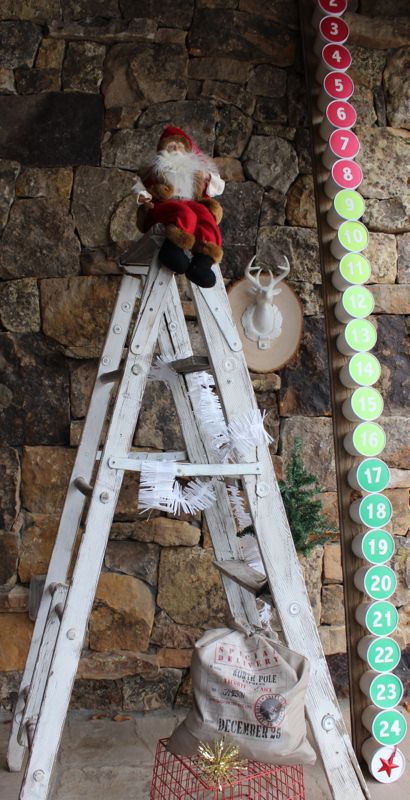
Someone special wants it to be Christmas now.
We teamed up with Sillhouette America to give away 1 Silhouette CAMEO on Instagram. Nov. 25 the giveaway ends, and all you have to do is follow us on Instagram and tag 3 friends. Go here now.
#colorize #silhouetterocks #adventcalendar


