DIY Rope Necklace

diy ROPE NECKLACE with text

We got a couple pleasant, but “WHAAAT?” looks when we told the employees at Home Depot what we were making with brass compression sleeves. It’s not everyday they get customers asking for compression sleeves and rope for DIY rope necklaces. Or, maybe they are used to it with all the bloggers around the country using hardware for everyday DIY’s?! We got a few laughs and made some Home Depot friends, and then we went home to make cute DIY rope necklaces.  If you’re looking for a new summer accessory, visit Momtastic for all the details.

embroidery-string-wrap-necklace-diy-summer-ootd-and-accessories


SHOP THIS POST

[show_shopthepost_widget id=”3098488″]

Walk On The Wild Side With A DIY Zebra Rug

diy-zebra-rug-inspired-home-decor-pop-of-orange

Do you walk on the wild side sometimes? When Jessica was in High School, she got on a wild streak with her room decor. Her room was bold with tiger and cheetah prints! No, it was not manageable splashes of the animal print – it was an entire comforter, large pillows, bath towels and a rug. We all go through periods in our lives, and sometimes look back and say, “What in the world was I thinking?” This is one of those periods.

We hope this isn’t one of those moments, but after seeing many expensive zebra rugs online, we decided to walk on the wild side once again and make an affordable version of the zebra rug. We like the way it turned out, and happy we paid less than half the prices online.

To see the full tutorial, visit a site we love, Momtastic.

DIY Lip Balm Pouches Just In Time For Valentine’s Day

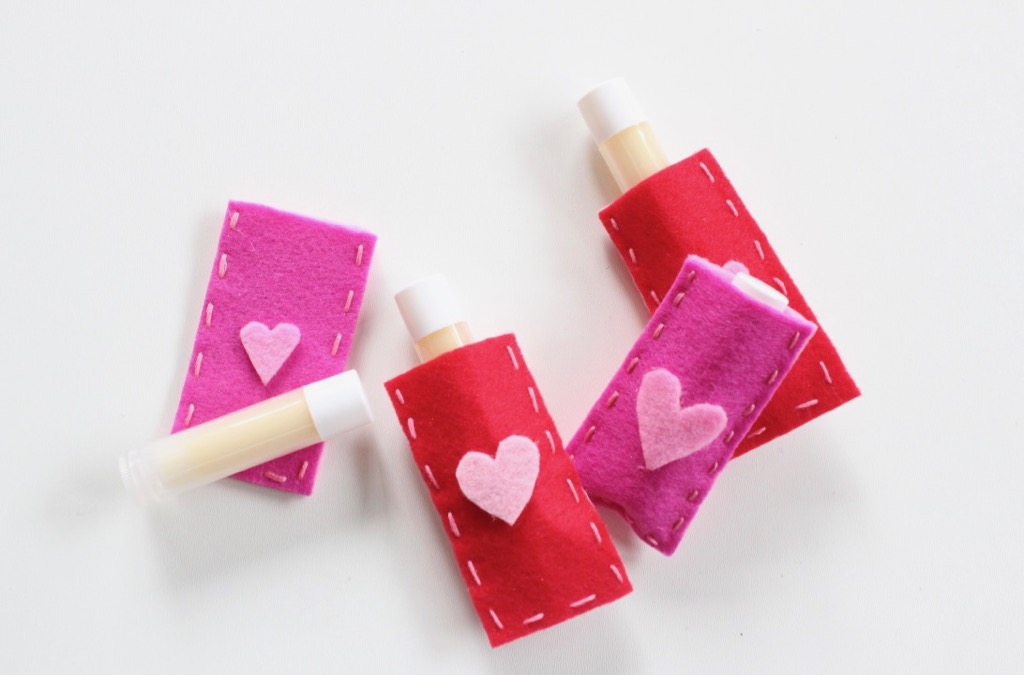
diy-lip-balm-in-red-and-pink-pouches-with-hearts

We love our essential oils, and one of our favorite goodies to make with our oils is DIY lip balm. Our lips are so dry in the winter, plus we love when we can put pure ingredients on our lips. Valentine’s Day is coming up, and for those that want kissable lips, or want to give a gift of kissable lips, we recommend DIY essential oil lip balm.

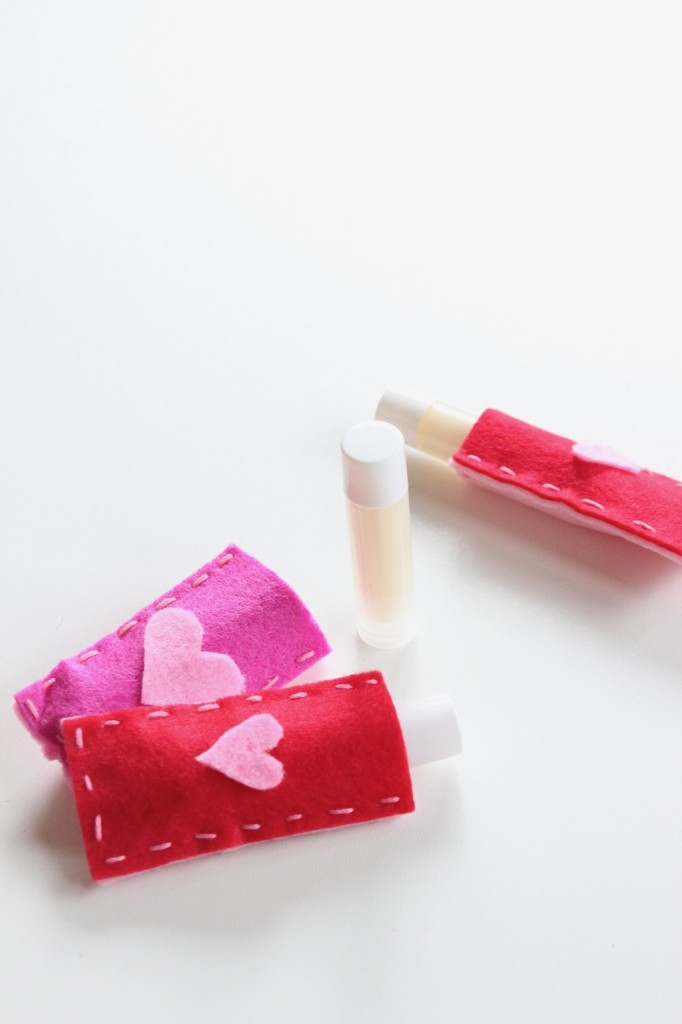
Read our DIY lip balm tutorial for the ingredients and instructions. To jazz it up a bit for gift giving, make a cute holder for it – a DIY lip balm pouch. It’s almost like a lip balm sleeping bag. It’s a cute DIY that can be made into all shapes and sizes. We made heart-shaped pockets to hold gift cards for teachers. You can also make DIY felt pouches to hold tissues, treats, and even larger pockets for photos and sweet notes.

This DIY project is incredibly easy. Here’s how we did it.

Materials:

Directions:

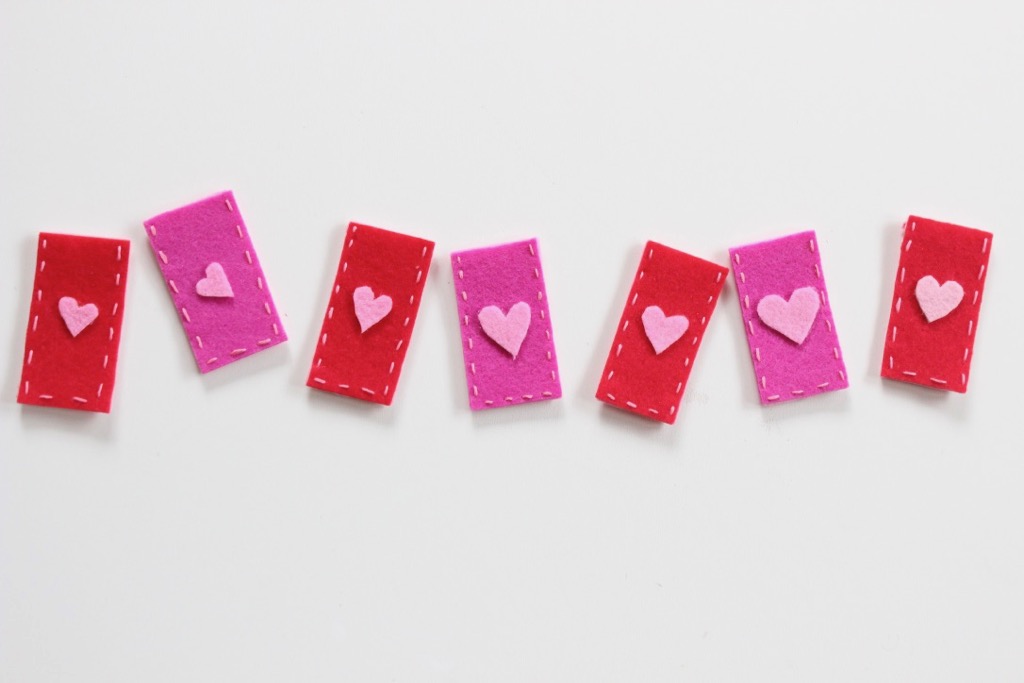
Step 1: Cut felt (we bought a pretty library of felt from Target, and it’s thicker than traditional felt, which worked well) into a rectangle larger than the width of the lip balm tube.

red-pink-felt-with-pink-hearts

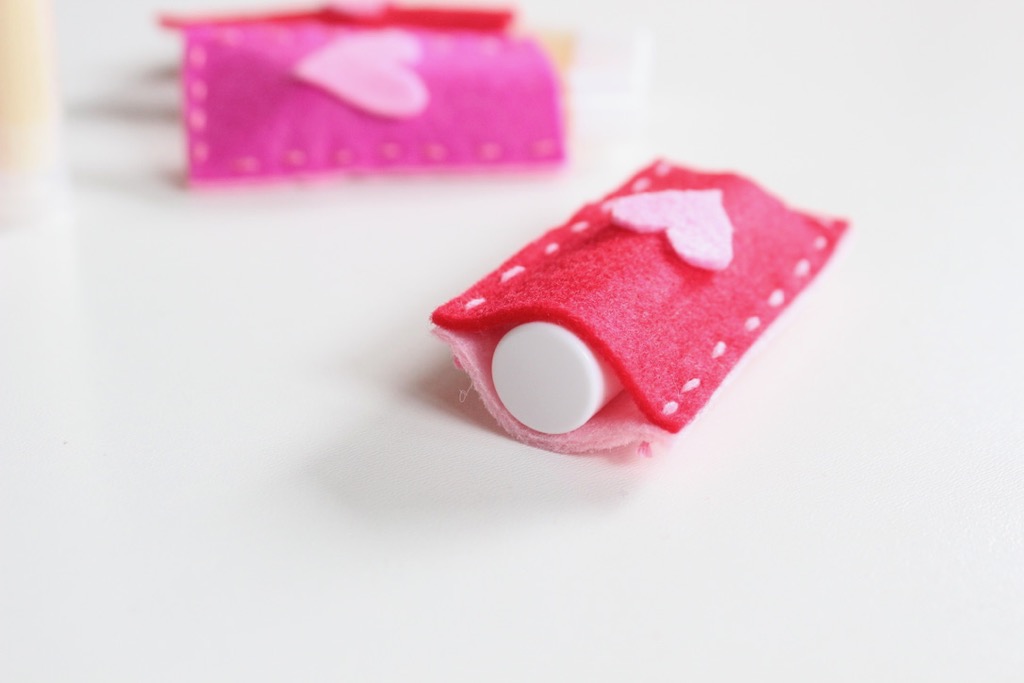
Step 2: Once you have the pieces cut, thread a needle (don’t forget to tie a knot on the end), along the edges of two rectangles that are lined up. We do not have any sewing skills whatsoever, and we did it! Just go in and out of the felt, which will create a cross stitch pattern. Leave the top of the rectangle open so you have an opening for the lip balm.

diy-lip-balm-pouches-red-pink-felt-craft

diy-lip-balm-in-red-and-pink-pouches-with-hearts

diy-lip-balm-in-red-and-pink-pouches-with-hearts

Hope you find a way, even if it’s a wave or hug, to spread the love on Valentine’s Day!

SHOP THE POST:
[show_shopthepost_widget id=”3022995″]

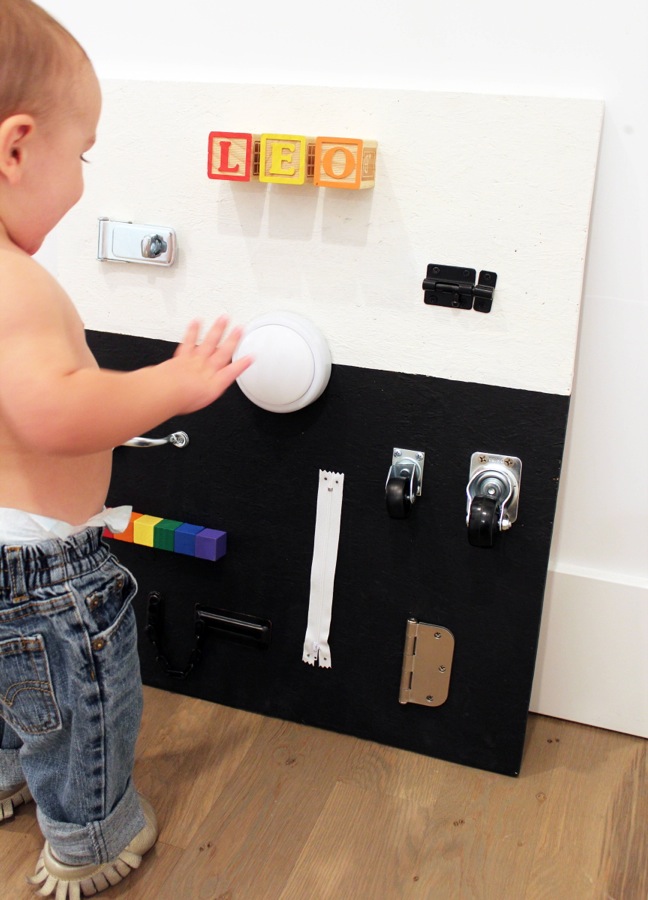
DIY Busy Board Fun for Toddlers

Jenna has the baby of our entire family now (he’s the youngest of eight grandbabies for our parents), and it’s hard to believe he’s not a baby anymore. He is such a blessing, and pure joy – nothing can stop him from smiling.

Nine years ago, when we started having kids, we wish we had the knowledge that a quick stop to Home Depot could be the discovery of a DIY sensory activity for our kids that would last hours! Leo is the lucky one, because he got one of his very own.

diy-black-and-white-busy-board-for-toddlers

Whether you call it a sensory board, an activity board or a busy board, it’s all the same thing that keeps toddlers busy for hours. It’s genius. It’s so engaging for kids, and good practice for their fine motor skills.

The full tutorial of our DIY Busy Board is on Momtastic. Check it out here. IMG_1601

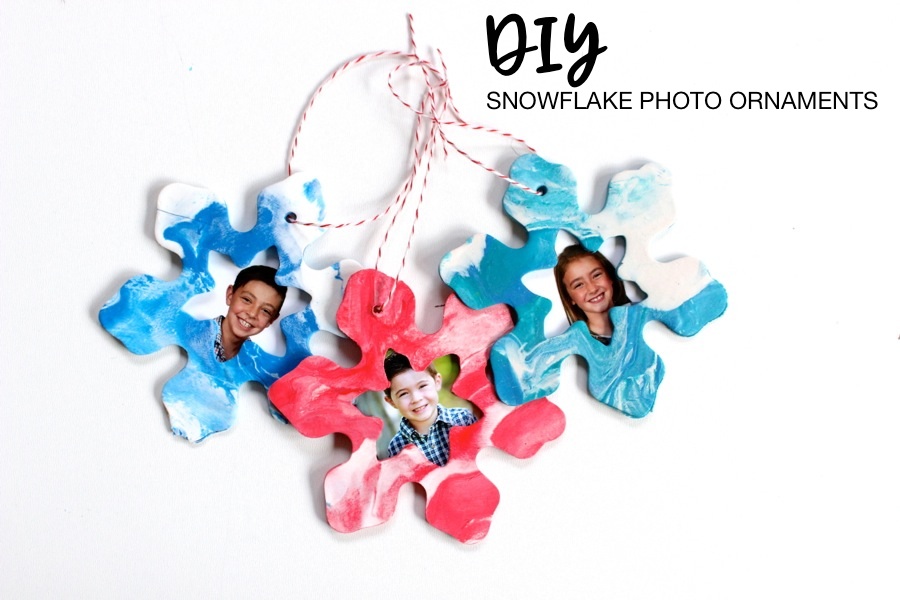
DIY Winter Snowflake Ornaments


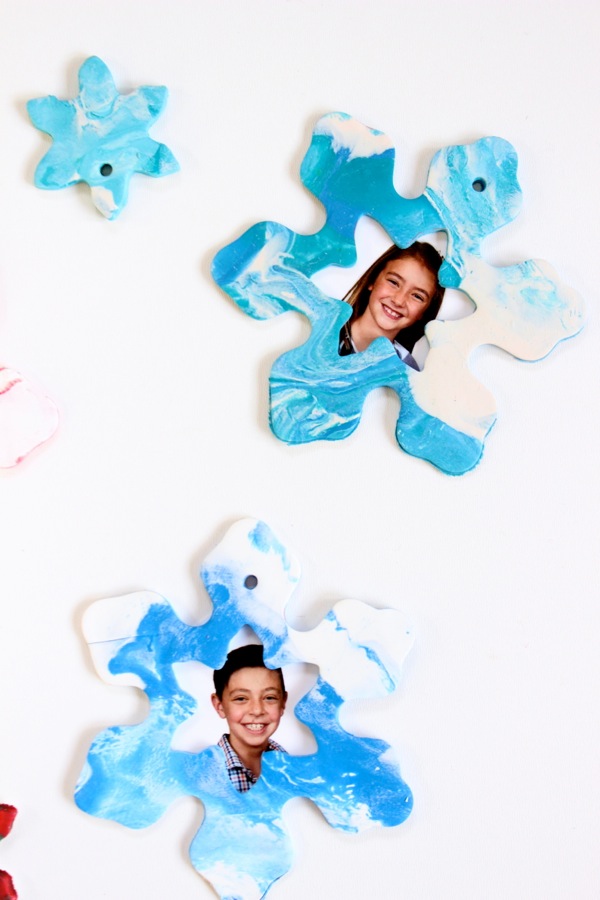
diy-marbled-clay-ornaments-with-photos-for-kids

This week my children’s school held bake sales and homemade ornament sales to raise money for a school in Houston whose families have suffered tremendous loss from the hurricane. My kids were thrilled to participate, and wanted to make as many ornaments as they could to raise as they said, “a ton of money.” While they made DIY marbled clay snowflake ornaments of their own, I made a couple, too. It’s a super simple craft for kids and adults of all ages, which is why I’m sharing it with you today. Plus, this is a wonderful gift to encourage the kids to give their family and friends.

Materials:

Directions:

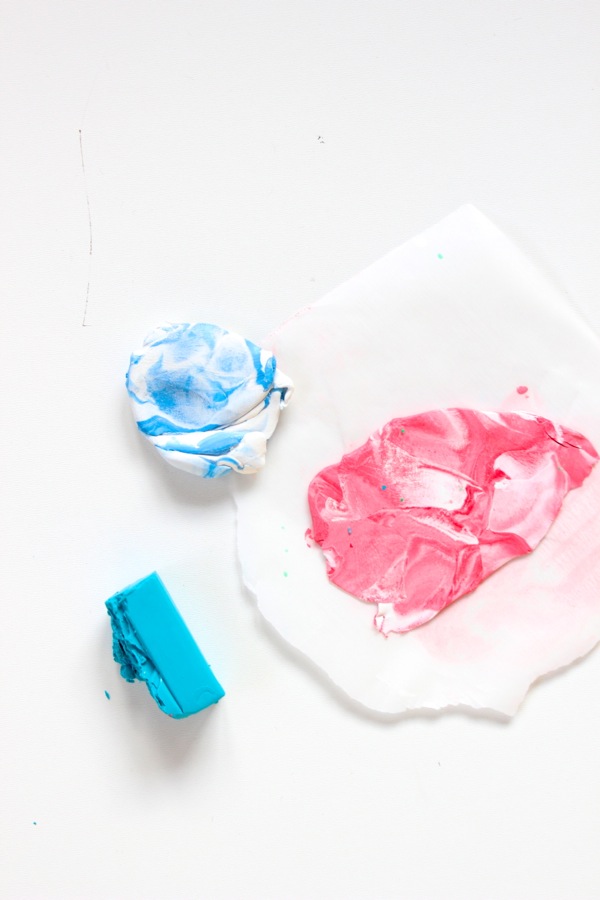
Step 1: Lay down parchment paper, and roll balls of clay with the various colors.

Step 2: Combine colors, and then twist and turn to blend the colors together for that marbled effect. With a rolling-pin, roll it out so it’s about 1/4 inch thick.

clay-crafts-with-kids-marbled-clay

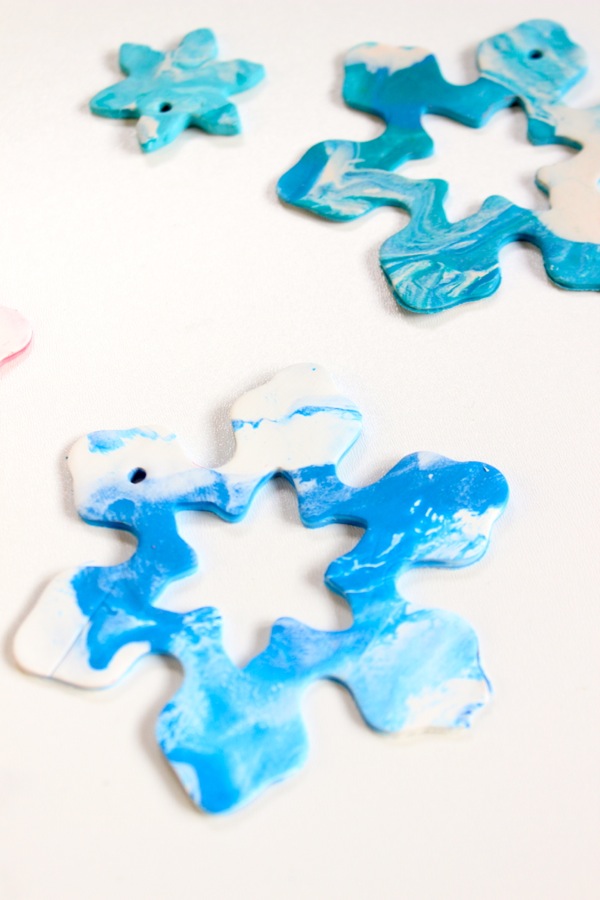
Step 3: Press the cookie cutters into the clay, both the large snowflake and the small one. Remove excess clay around the cutter.

diy-marbled-clay-christmas ornaments-for-kids

Step 5: With a small straw (like the ones used in coffee shops), punch a small hole through the top of the ornament.

diy-marbled-clay-snowflake-ornaments

Step 6: Bake on parchment paper according to clay package directions.

Step 7: Add a wallet size photo with glue dots on the back of the ornament, string and hang it.

diy-frozen-snowflake-marbled-ornaments

diy-marbled-clay-ornaments-with-photos-for-kids

[show_shopthepost_widget id=”2945047″]