brown paper flowers for easter

What did I do with a couple free hours {nap time}, brown paper bags, easter eggs and inspiration from The Nate Berkus Show?

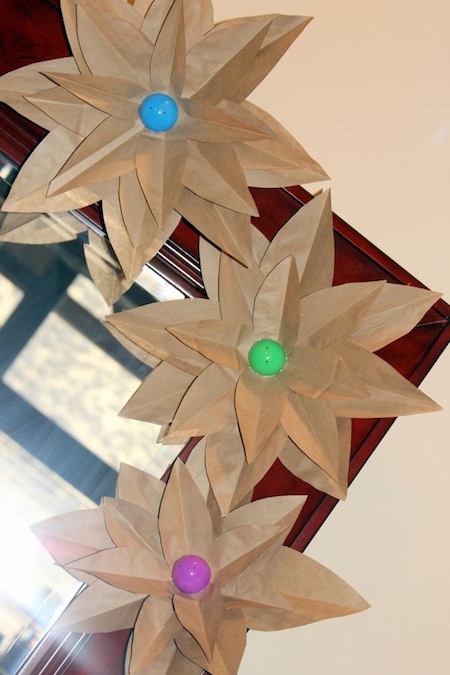
Brown paper flowers for easter, of course.
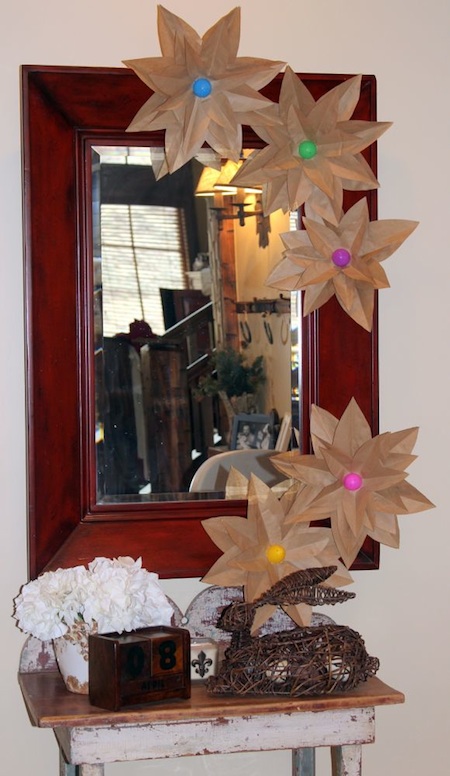
This might be the cheapest project I’ve ever done – the eggs were .50 cents, and I already had brown paper bags and hot glue. My husband would say the word ‘cheap’ is not in my vocabulary, but after this project I beg to differ.

The creator of this simple and adorable project {that can be used for holidays, or even decor for birthday parties} is Destiny from A Place For Us. She created them for her mantle, and has a wonderful tutorial on how to make the flowers.

I followed her tutorial, then made the flowers Easter-friendly by gluing one side of a plastic easter egg to the center of the flower.

Step 1:
Draw and cut out a leaf template or find one online. I used three different sized leaf templates, small, medium and large.

Step 2:
Trace your leaf template onto brown paper bags. I used about 20 bags for this project.

Step 3:
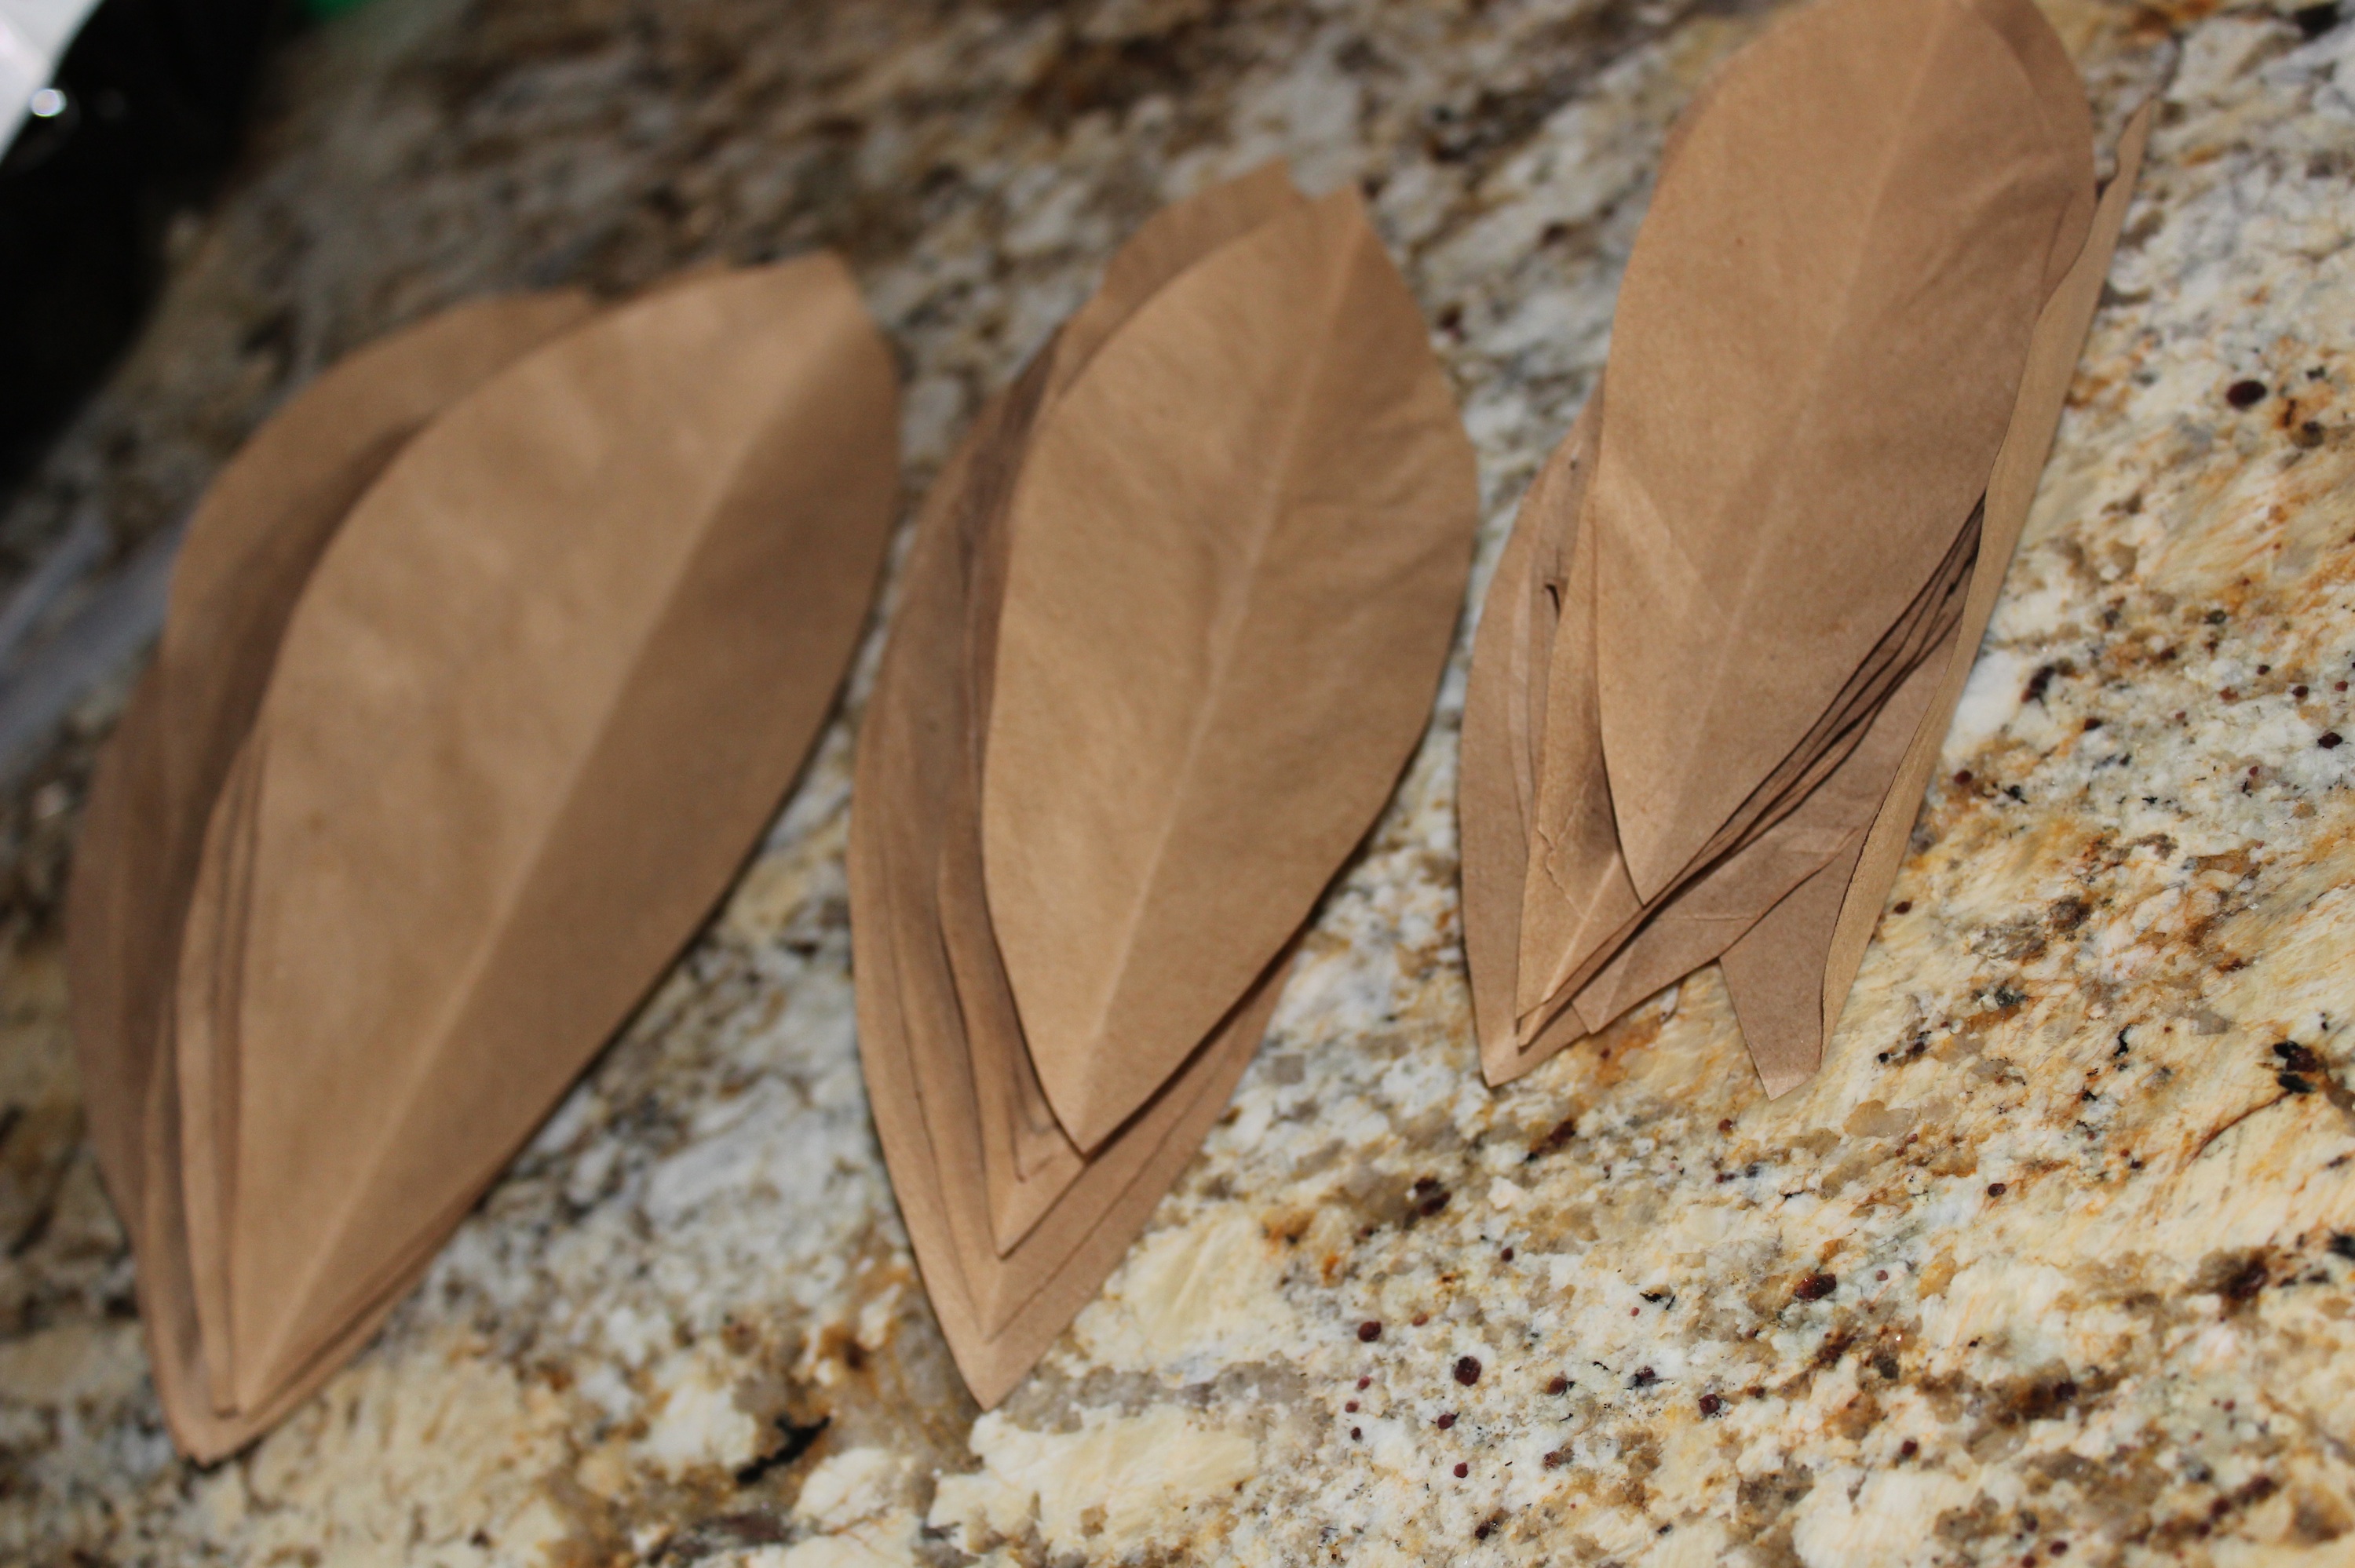
Fold each leaf length-wise so it will help create a multi-dimensional effect when displayed.
Step 4:
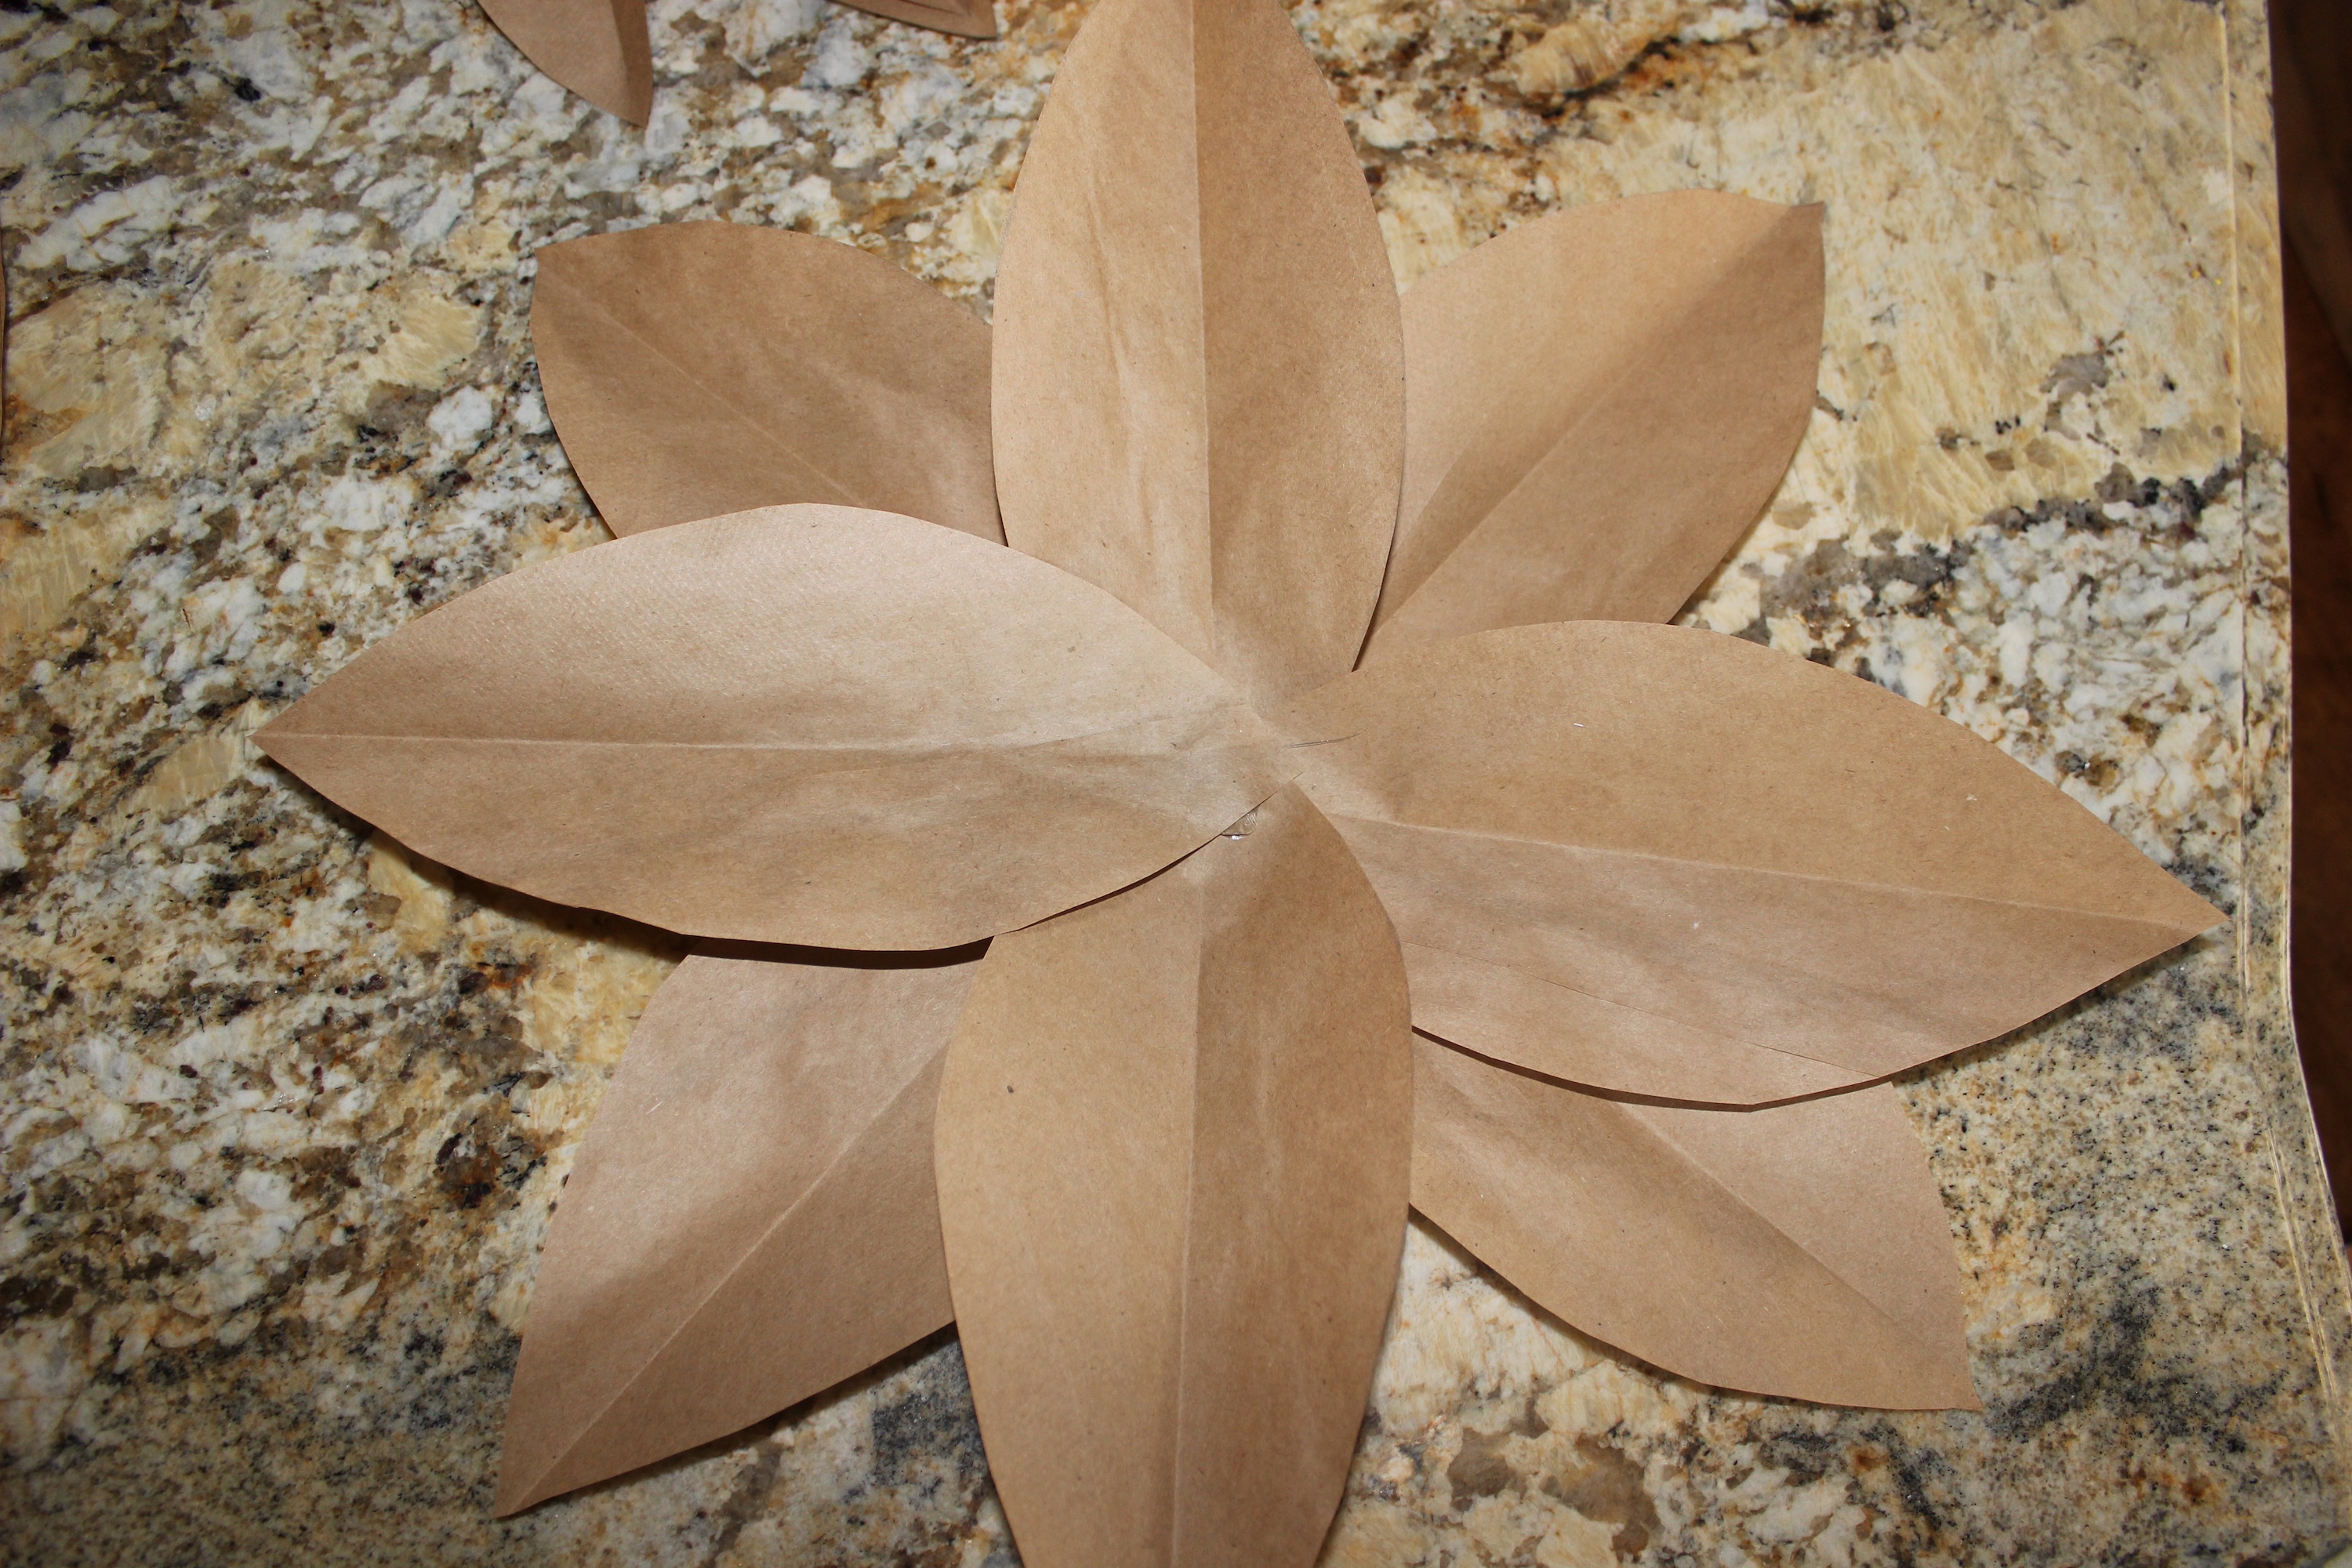
Start with the largest size leaf, and begin to glue {I used a hot glue gun} each leaf on top of one another in the same central point. Continue to glue leaves on your flower, layering the large leaves, then the medium-sized leaves, finishing with the small leaves.

Step 5:
Cut one side of a plastic egg and glue to the middle of the flower.

Step 6:
Add tape to the back and find the perfect spot to display in your home.

{images via Tutto Bella}
will you be my bridesmaid?

I am so the type of woman that makes something bigger than it needs to be. Instead of asking a simple question/favor of someone or buying a lovely gift, I obsess about the perfect gift or the most unique and elaborate way to ask a question. For me, it’s about taking that extra step to make something cute and memorable. It doesn’t have to be super elaborate or expensive – just personal and creative!

A perfect example is asking a friend to be a bridesmaid. It’s an honor to stand next to a dear friend on her wedding day and it’s a big commitment, so it’s an important question to ask. There’s nothing wrong with asking a girlfriend to be in your wedding face to face or with a simple card. But, I love the idea of taking it a step further…

Here are some adorable ways you can impress your maids {the first one is my new fave}…

Will You Be My Bridesmaid Postcard, Fleur de Lis, a paperie on Etsy
{We are so excited to announce that this piece is sold at our Etsy store…yes, we have an Etsy store, Fleur de Lis, a paperie on Etsy. It’s still a project we’re streamlining, but we are so happy to offer our paper products to all of you via Etsy. You can customize and buy this bridesmaid postcard and many others in the future.
{NOTE: We have so many beautiful and fun pieces to post and promise to do so in time, so thank you in advance for your patience}
{front}

{back}

Will You Be My Bridesmaid Personalized Token of Affection Gifts, Choosing You on Etsy

{Or, for all you DIY gals}
DIY Wooden Spool Will You Be My Bridesmaid, featured at Hey Gorgeous

Personalized Wine Bottles

Will You Be My Bridesmaid Cigar Box, The Wedding Chicks
{love the idea of laying out the day to your maids with details, their role, what you want your wedding to look like, bridesmaid dress inspiration, color samples and personal notes, photos and momentos of you and your maid throughout the years}

{images via Choosing You, Hey Gorgeous, Jacey at Damsel in Dior, Wedding Chicks and Tutto Bella}

revived with vintage revivals

I knew I was impressed with Mandi at Vintage Revivals when I saw her Anthropologie-inspired teapot lamp and DIY rug, but after I saw her again on The Nate Berkus Show last week, now I know Mandi is extremely talented and I can’t wait to see what she comes up with next. I want to hire her to come into my house. Her blog and Nate will have to do for now.

Hope you find some inspiration for your own home with these DIY beauties. Click on the links below to read Mandi’s how-to tutorials.

Yarn Ombre Lamp

PVC Pipe Dresser

Mirrored Dresser

{images via Vintage Revivals}

horse shoe escort cards

I am so excited to share the first DIY project from my own wedding:
horse shoe escort cards.
Our wedding reception was at Crooked Willow Farms in Larkspur, Colorado.
A perfectly elegant and rustic venue for the all-Colorado wedding.

For my escort cards, we used pony {horse} shoes tied with raffia and a hand-calligraphied card by Christi Johnson {contact Fleur de Lis (a paperie) for contact info} and hung them onto an old, rustic door.
Not only was it a fun DIY project, but the photos turned out AMAZING!
{And, horse shoes are lucky! Not a bad thing to be lucky in love, either!}
Thank you Cori Cook Floral Design for the photos!

Materials
{pony shoes from a local warehouse/horse shoe manufacturer, escort cards from Fleur de Lis (a paperie), calligraphy from a local Colorado calligrapher, raffia from Hobby Lobby}

Assembly Team
Wonderful fiancé, mother, sisters, aunts, fabulous bridesmaids and a few bottles of wine is all you need for an assembly team 🙂
{Thanks to everyone who helped me! xoxo}

{images via Cori Cook Floral Design}

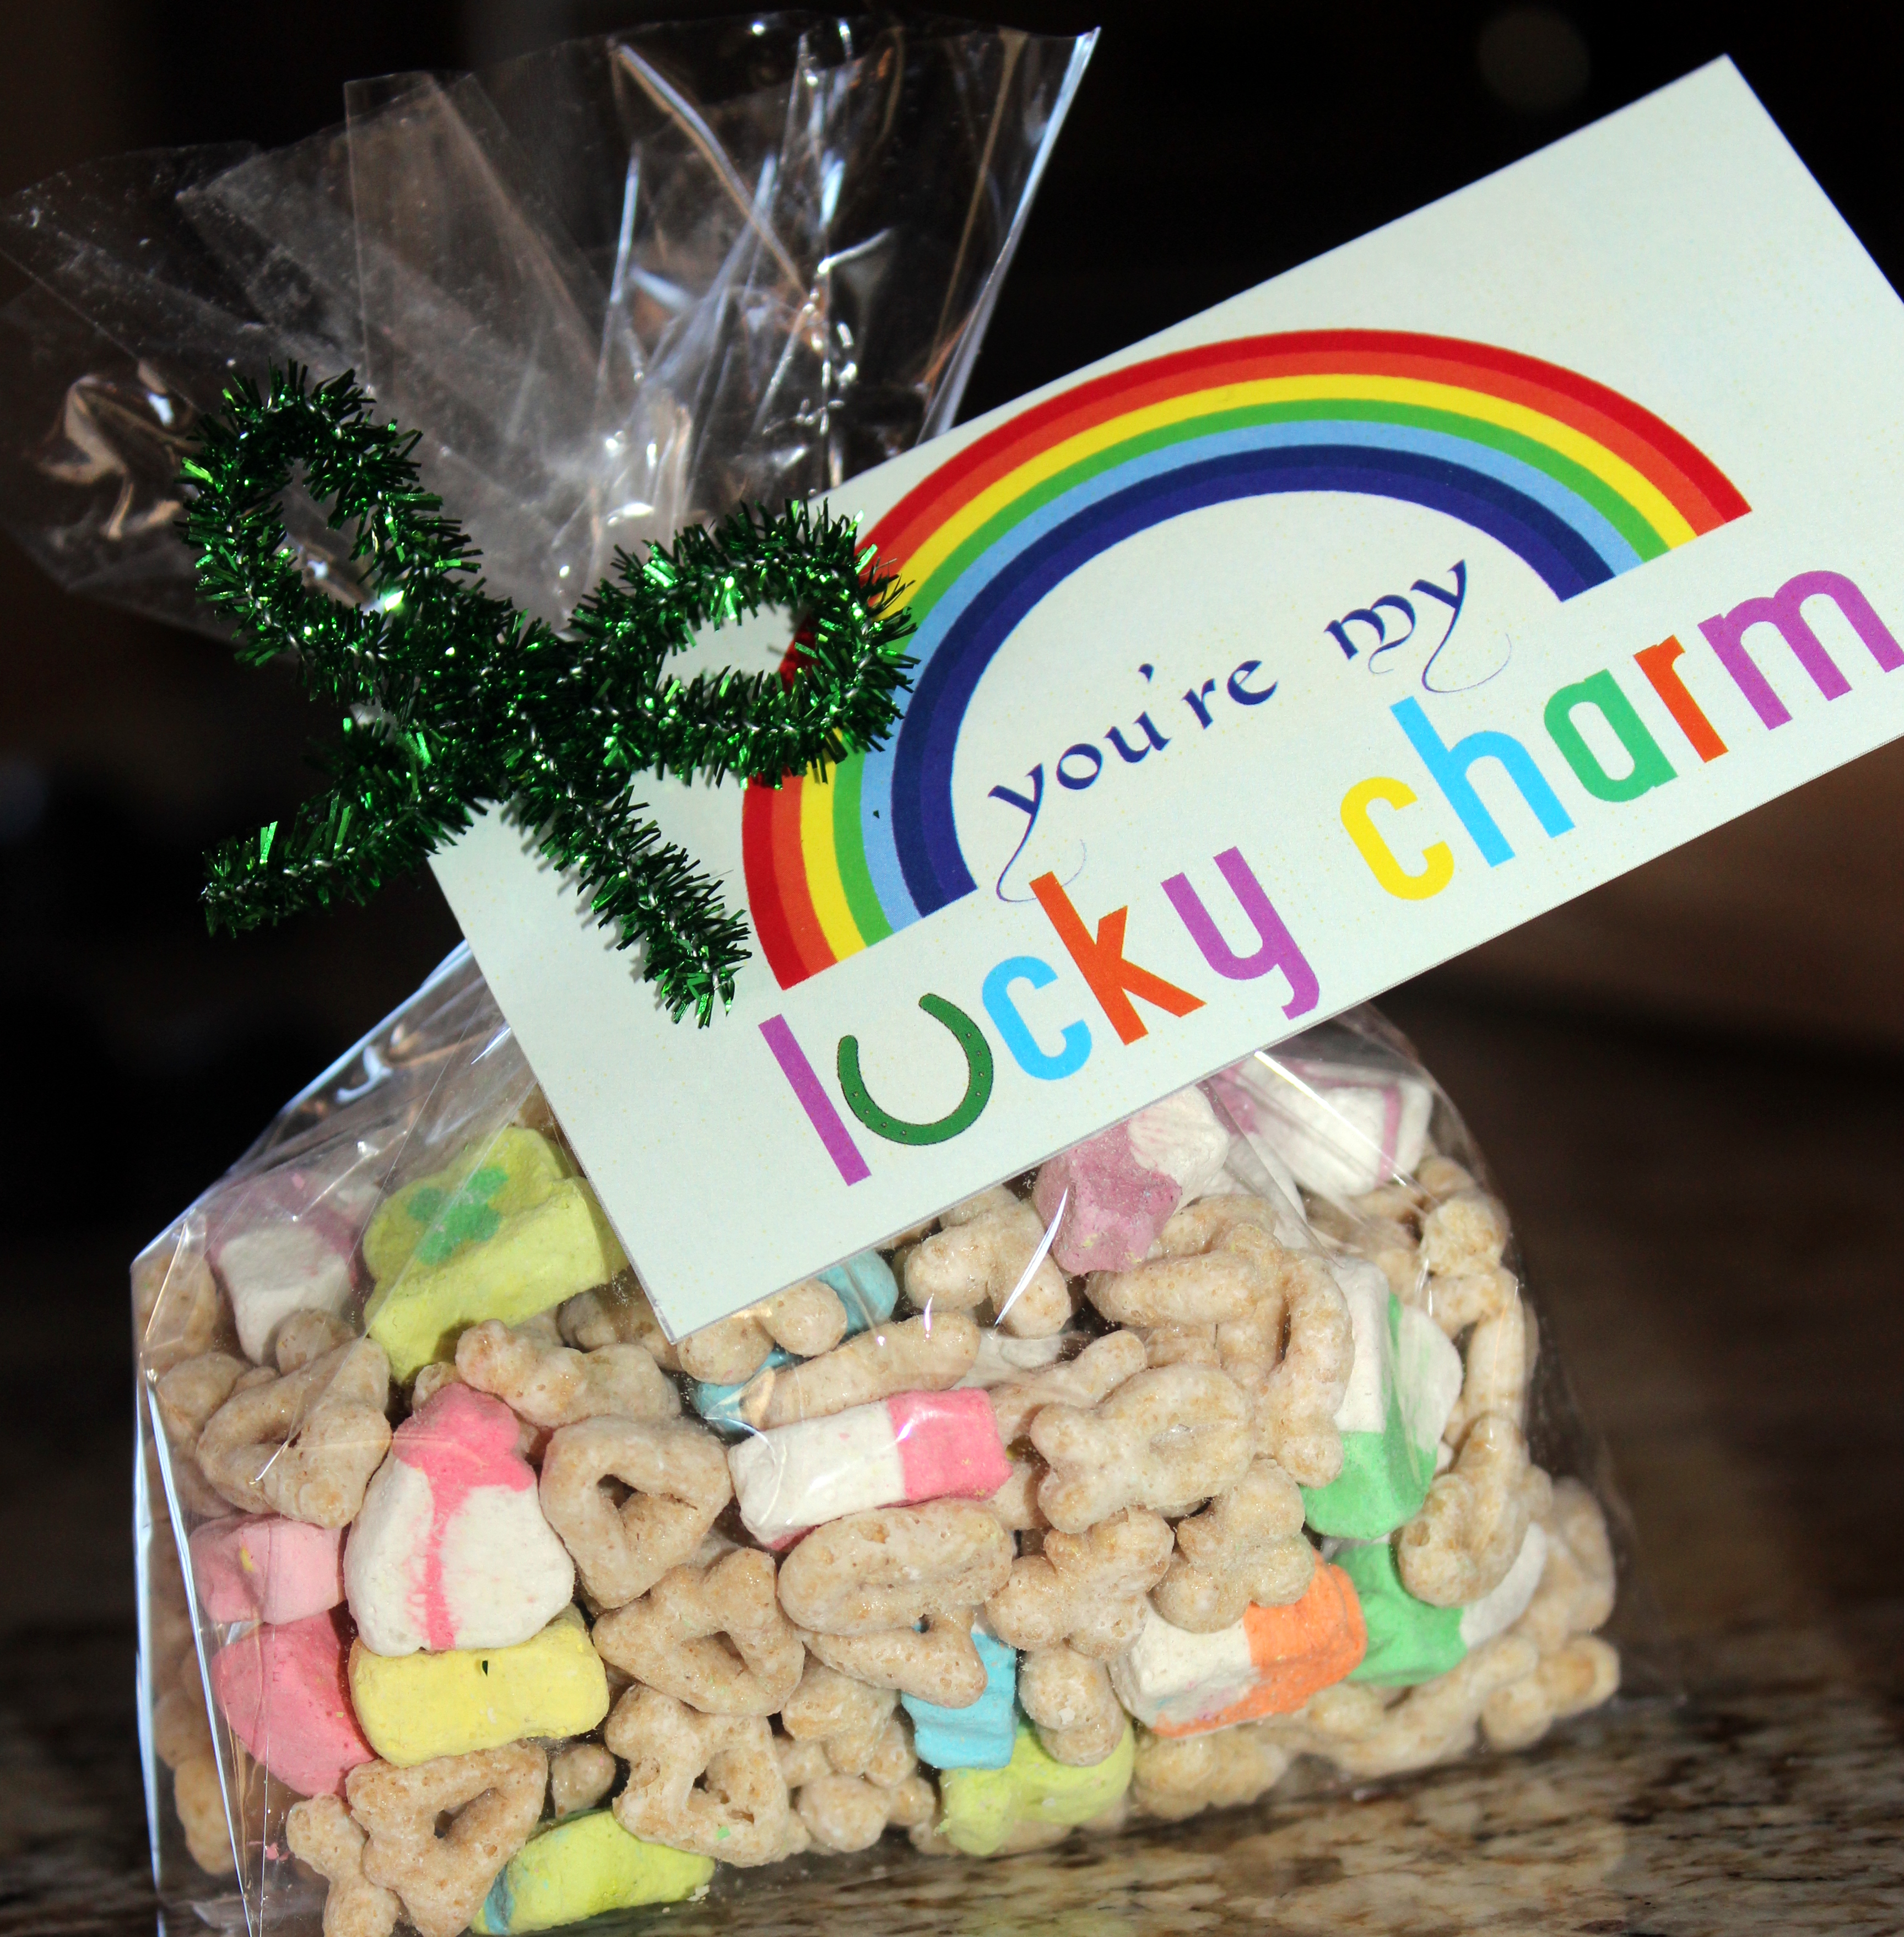
lucky charm

St. Patrick’s Day is a celebrated holiday in my house ~ after all, I have an Irish hubby, a son named Jameson and a little Irish blood running through my mostly Italian veins.

This year, I created DIY treats to spread luck and cheer to our family and friends. All they need to enjoy it is a cold cup of milk and a spoon. I admit, it’s not the healthiest breakfast or snack, but kids love it, and it’s justifiable at least once a year to celebrate the luck of the Irish.

Jenna at Fleur de Lis, a paperie, created these adorable “lucky charm’ custom tags to attach to my treat bags.

Click here for the free printable.

All You Need Is:

  • 1 box of Lucky Charms cereal
  • Green pipe cleaners or ribbon
  • Clear Party Bags {I used Wilton Clear Party Bags, 4×9.5 inches}
  • Scissors to cut the tags and bags
  • Custom tags

How To:

  • Fill the bag with a cup or so of Lucky Charms.
  • Cut each tag, and punch a hole through each one to attach to favor.
  • Wrap or tie the green pipe cleaner around the bag tight, add the custom tag and make either a bow or a 3-leaf clover to complete the look.
  • Gather the excess bag on top, and cut to your preferred length.

{images via Tutto Bella}