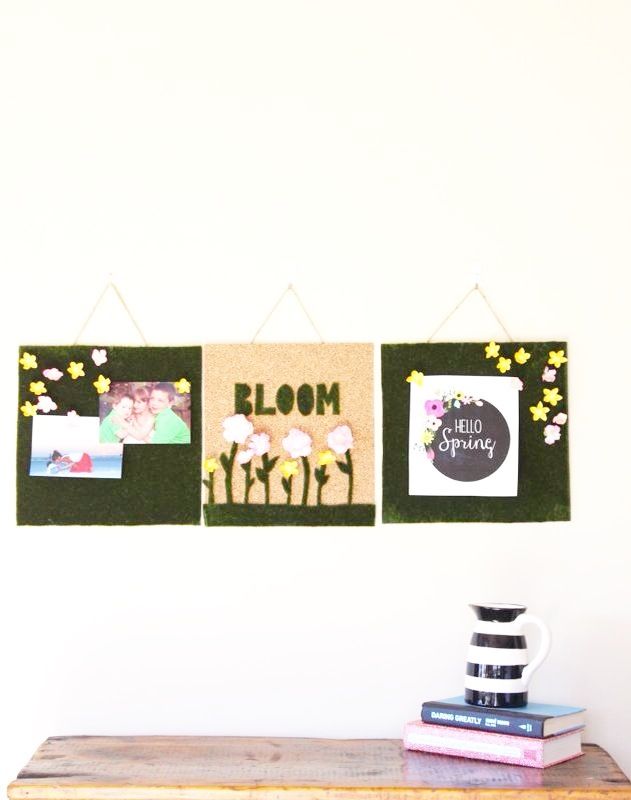
It’s almost spring time, so naturally we’re upgrading our cork boards. If you have to be stuck inside at work on a beautiful spring day with dingy, fluorescent lighting, why not add a little greenery and blooms to the walls for color and sunshine?!
Here’s how we made our DIY faux moss cork board and flower push pins.
Materials:
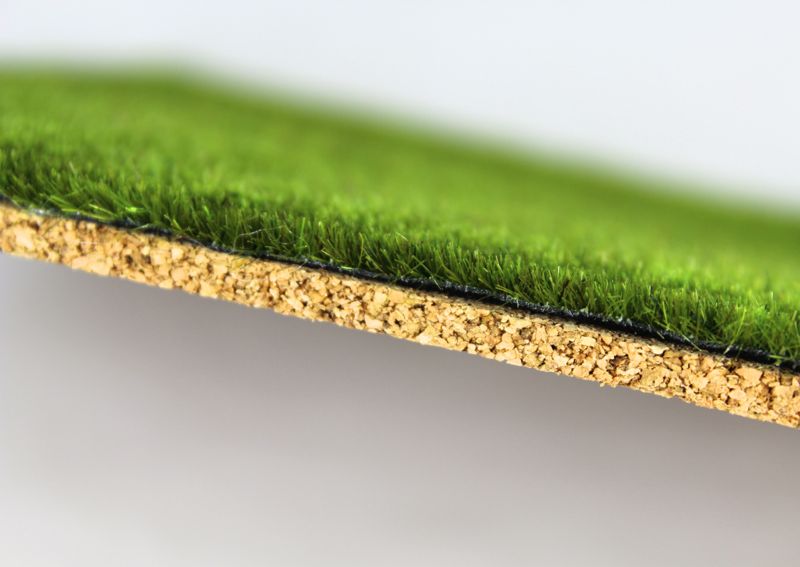
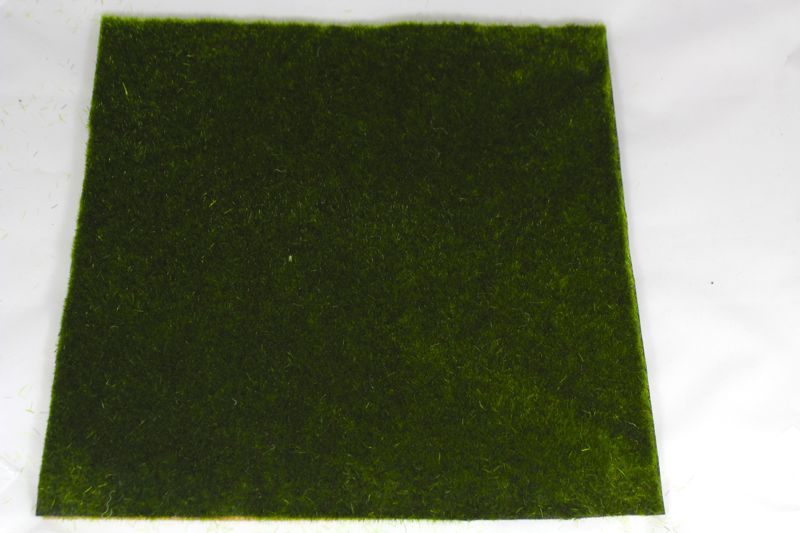
- Faux moss, in this case a table runner from Pier 1 {you could also use turf}
- Flowers
- Hot glue gun and glue
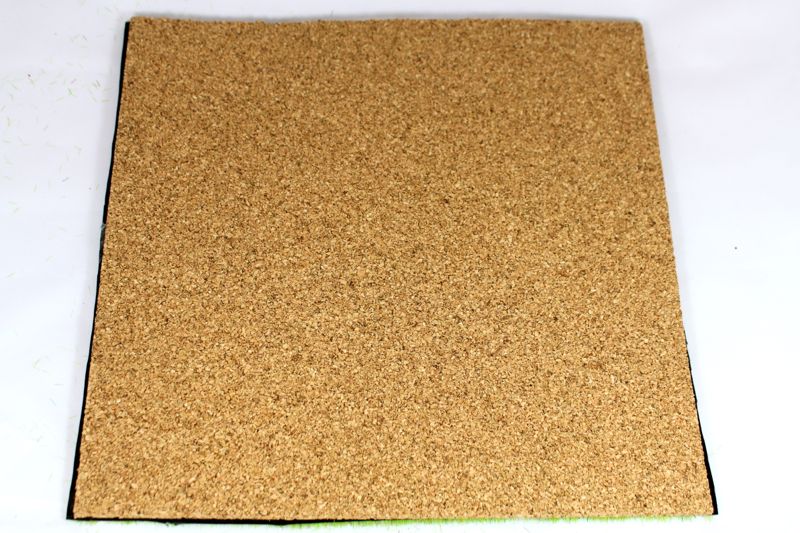
- Cork board squares, Michaels
- Pencil
- X-acto knife
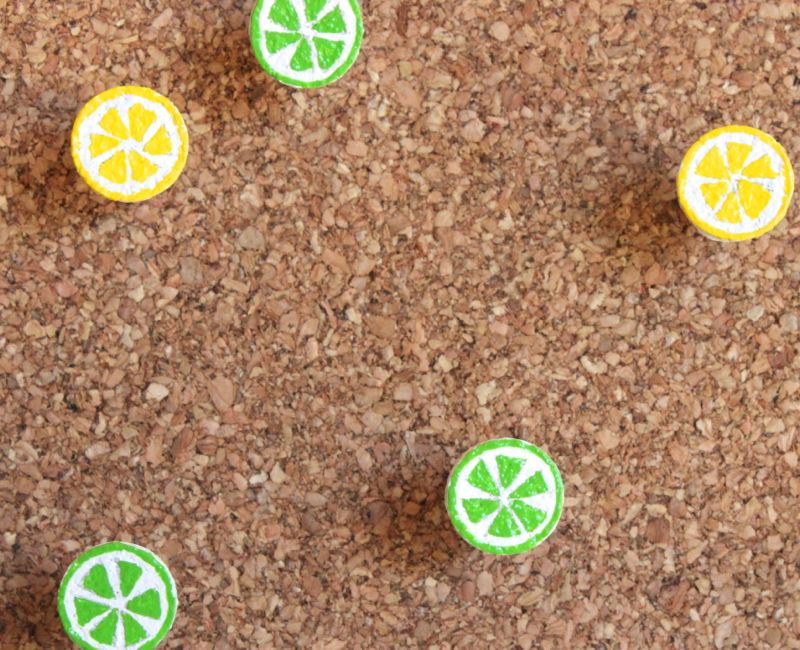
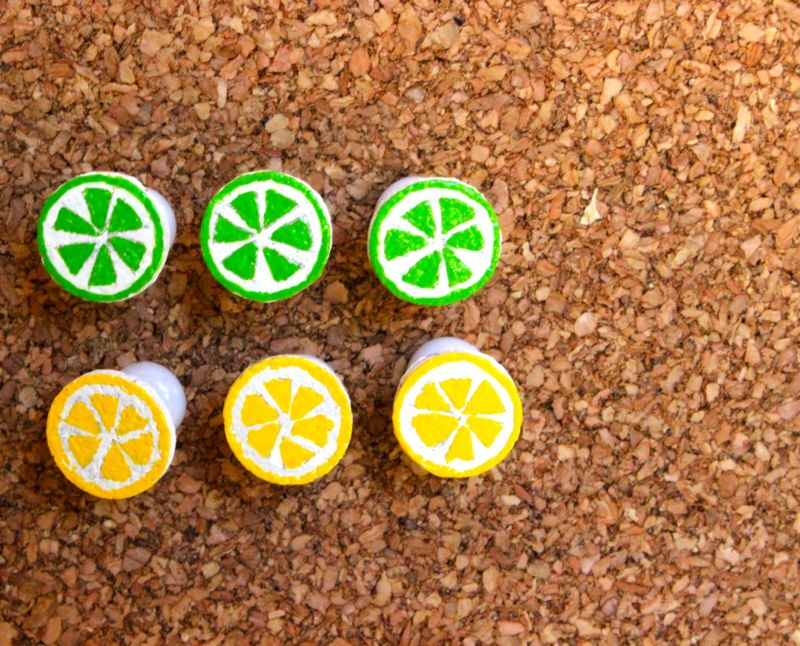
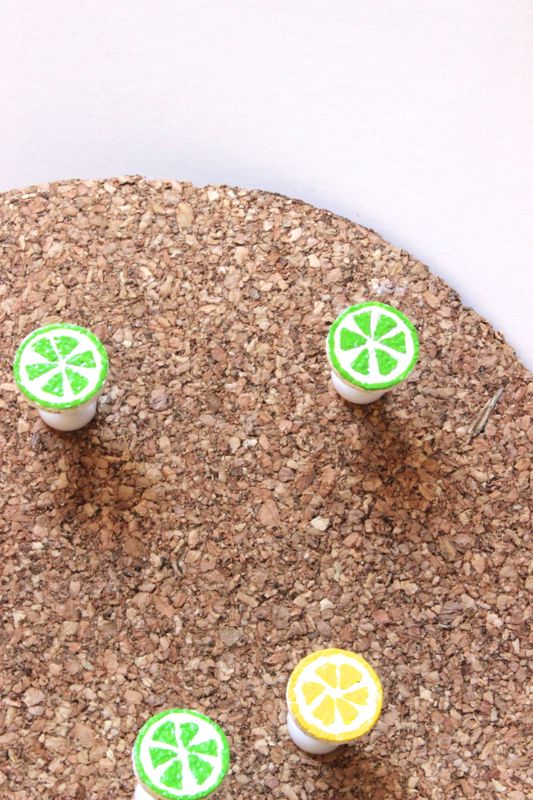
- Pushpins
Directions:
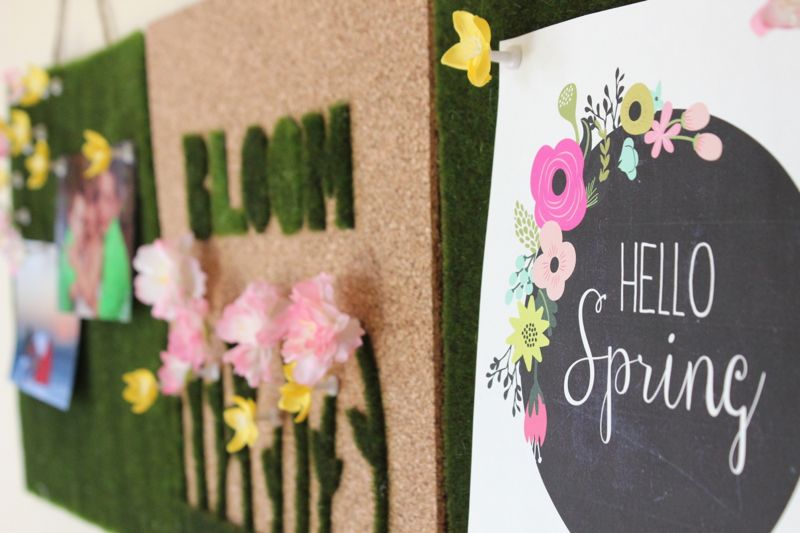
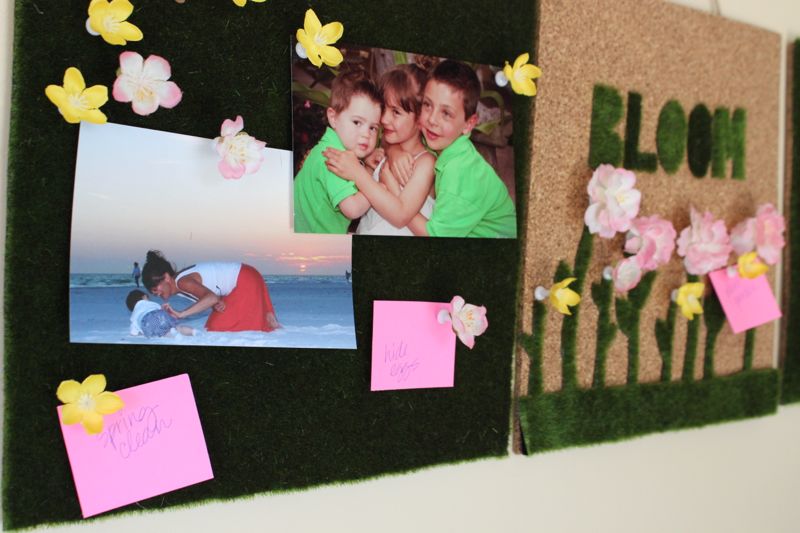
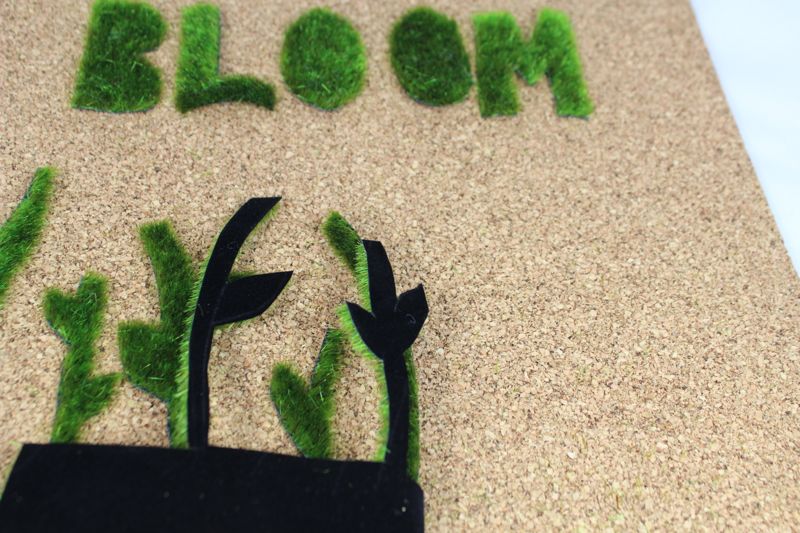
Lay out the faux moss runner. Measure the cork board squares on the moss, and pencil an outline of the cork board on the back of the moss. Cut the faux moss with the X-acto knife. We had enough moss to fully cover two squares, and decorate the third square with the word BLOOM, and grass/stems. If you want to trim all the cork boards into slightly smaller squares, there will be enough faux moss to cover all three.
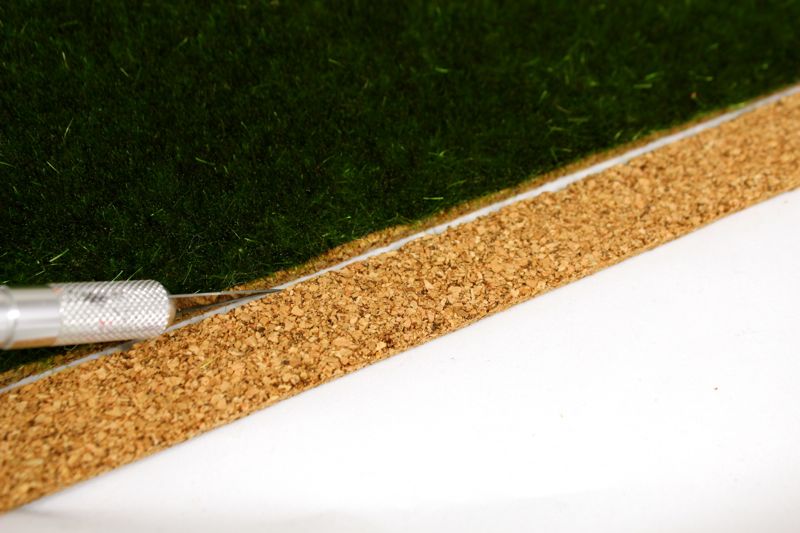
Glue the moss onto the cork board. We lined the edges of the moss with hot glue, and pressed down.
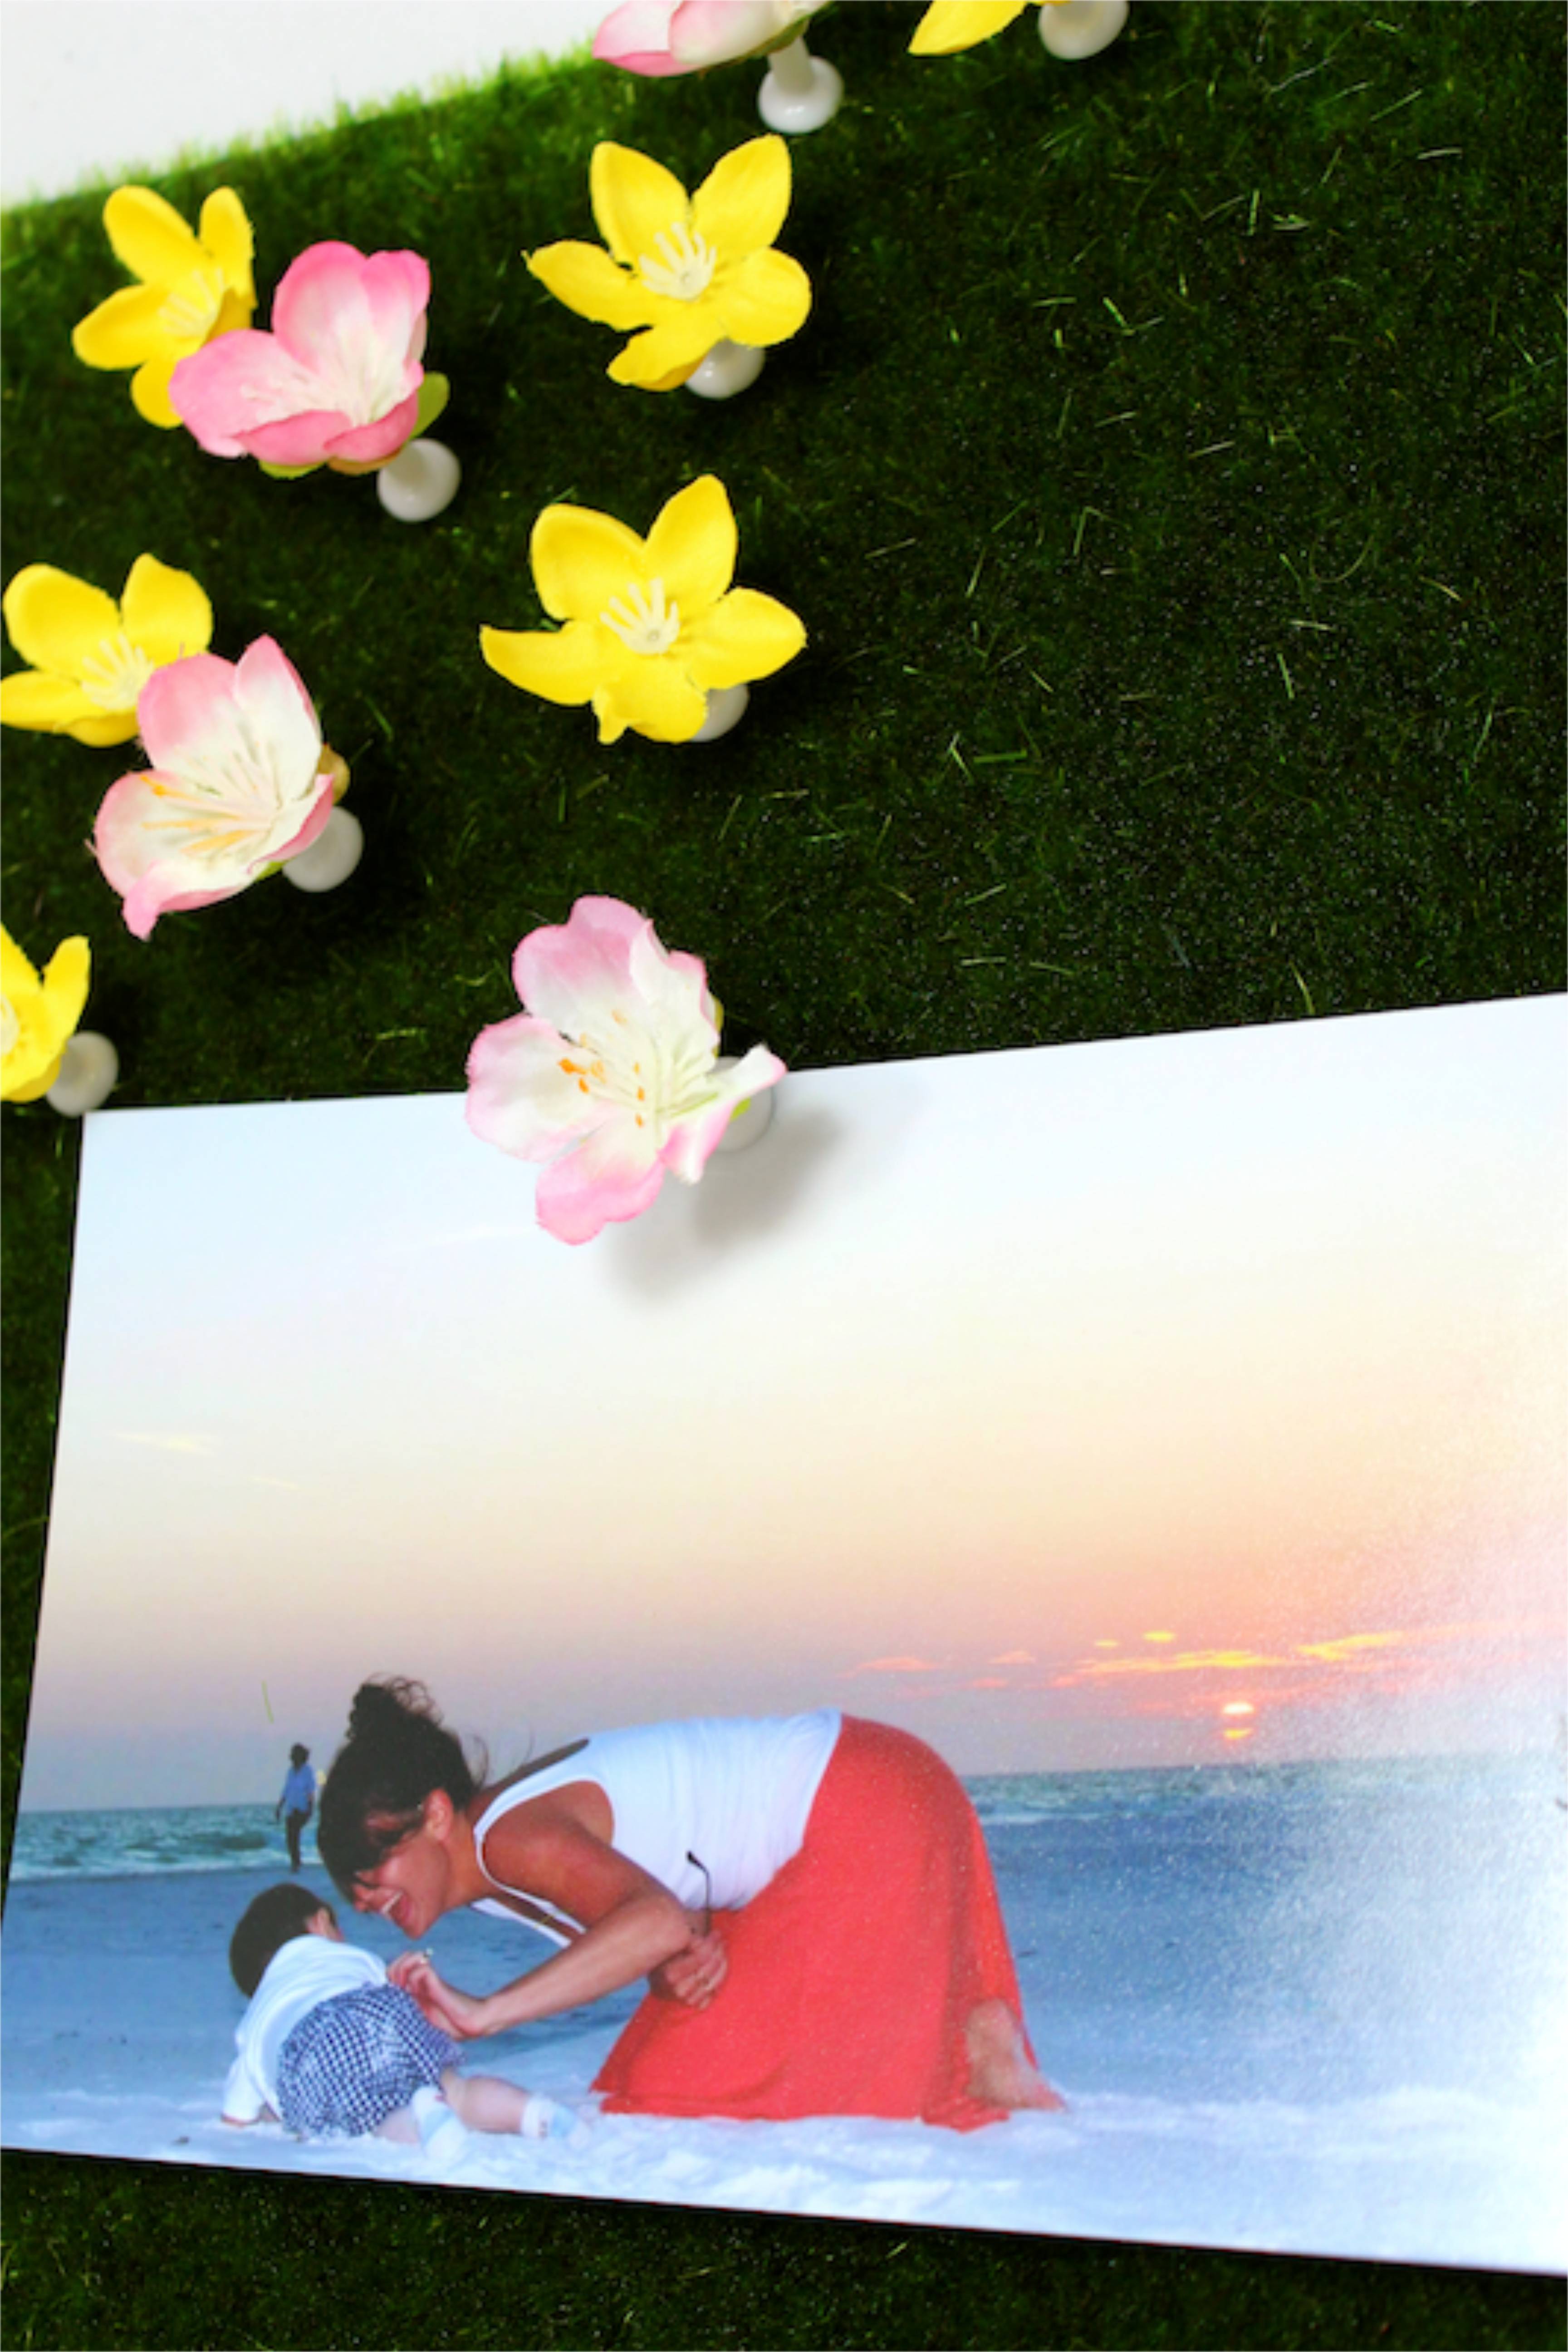
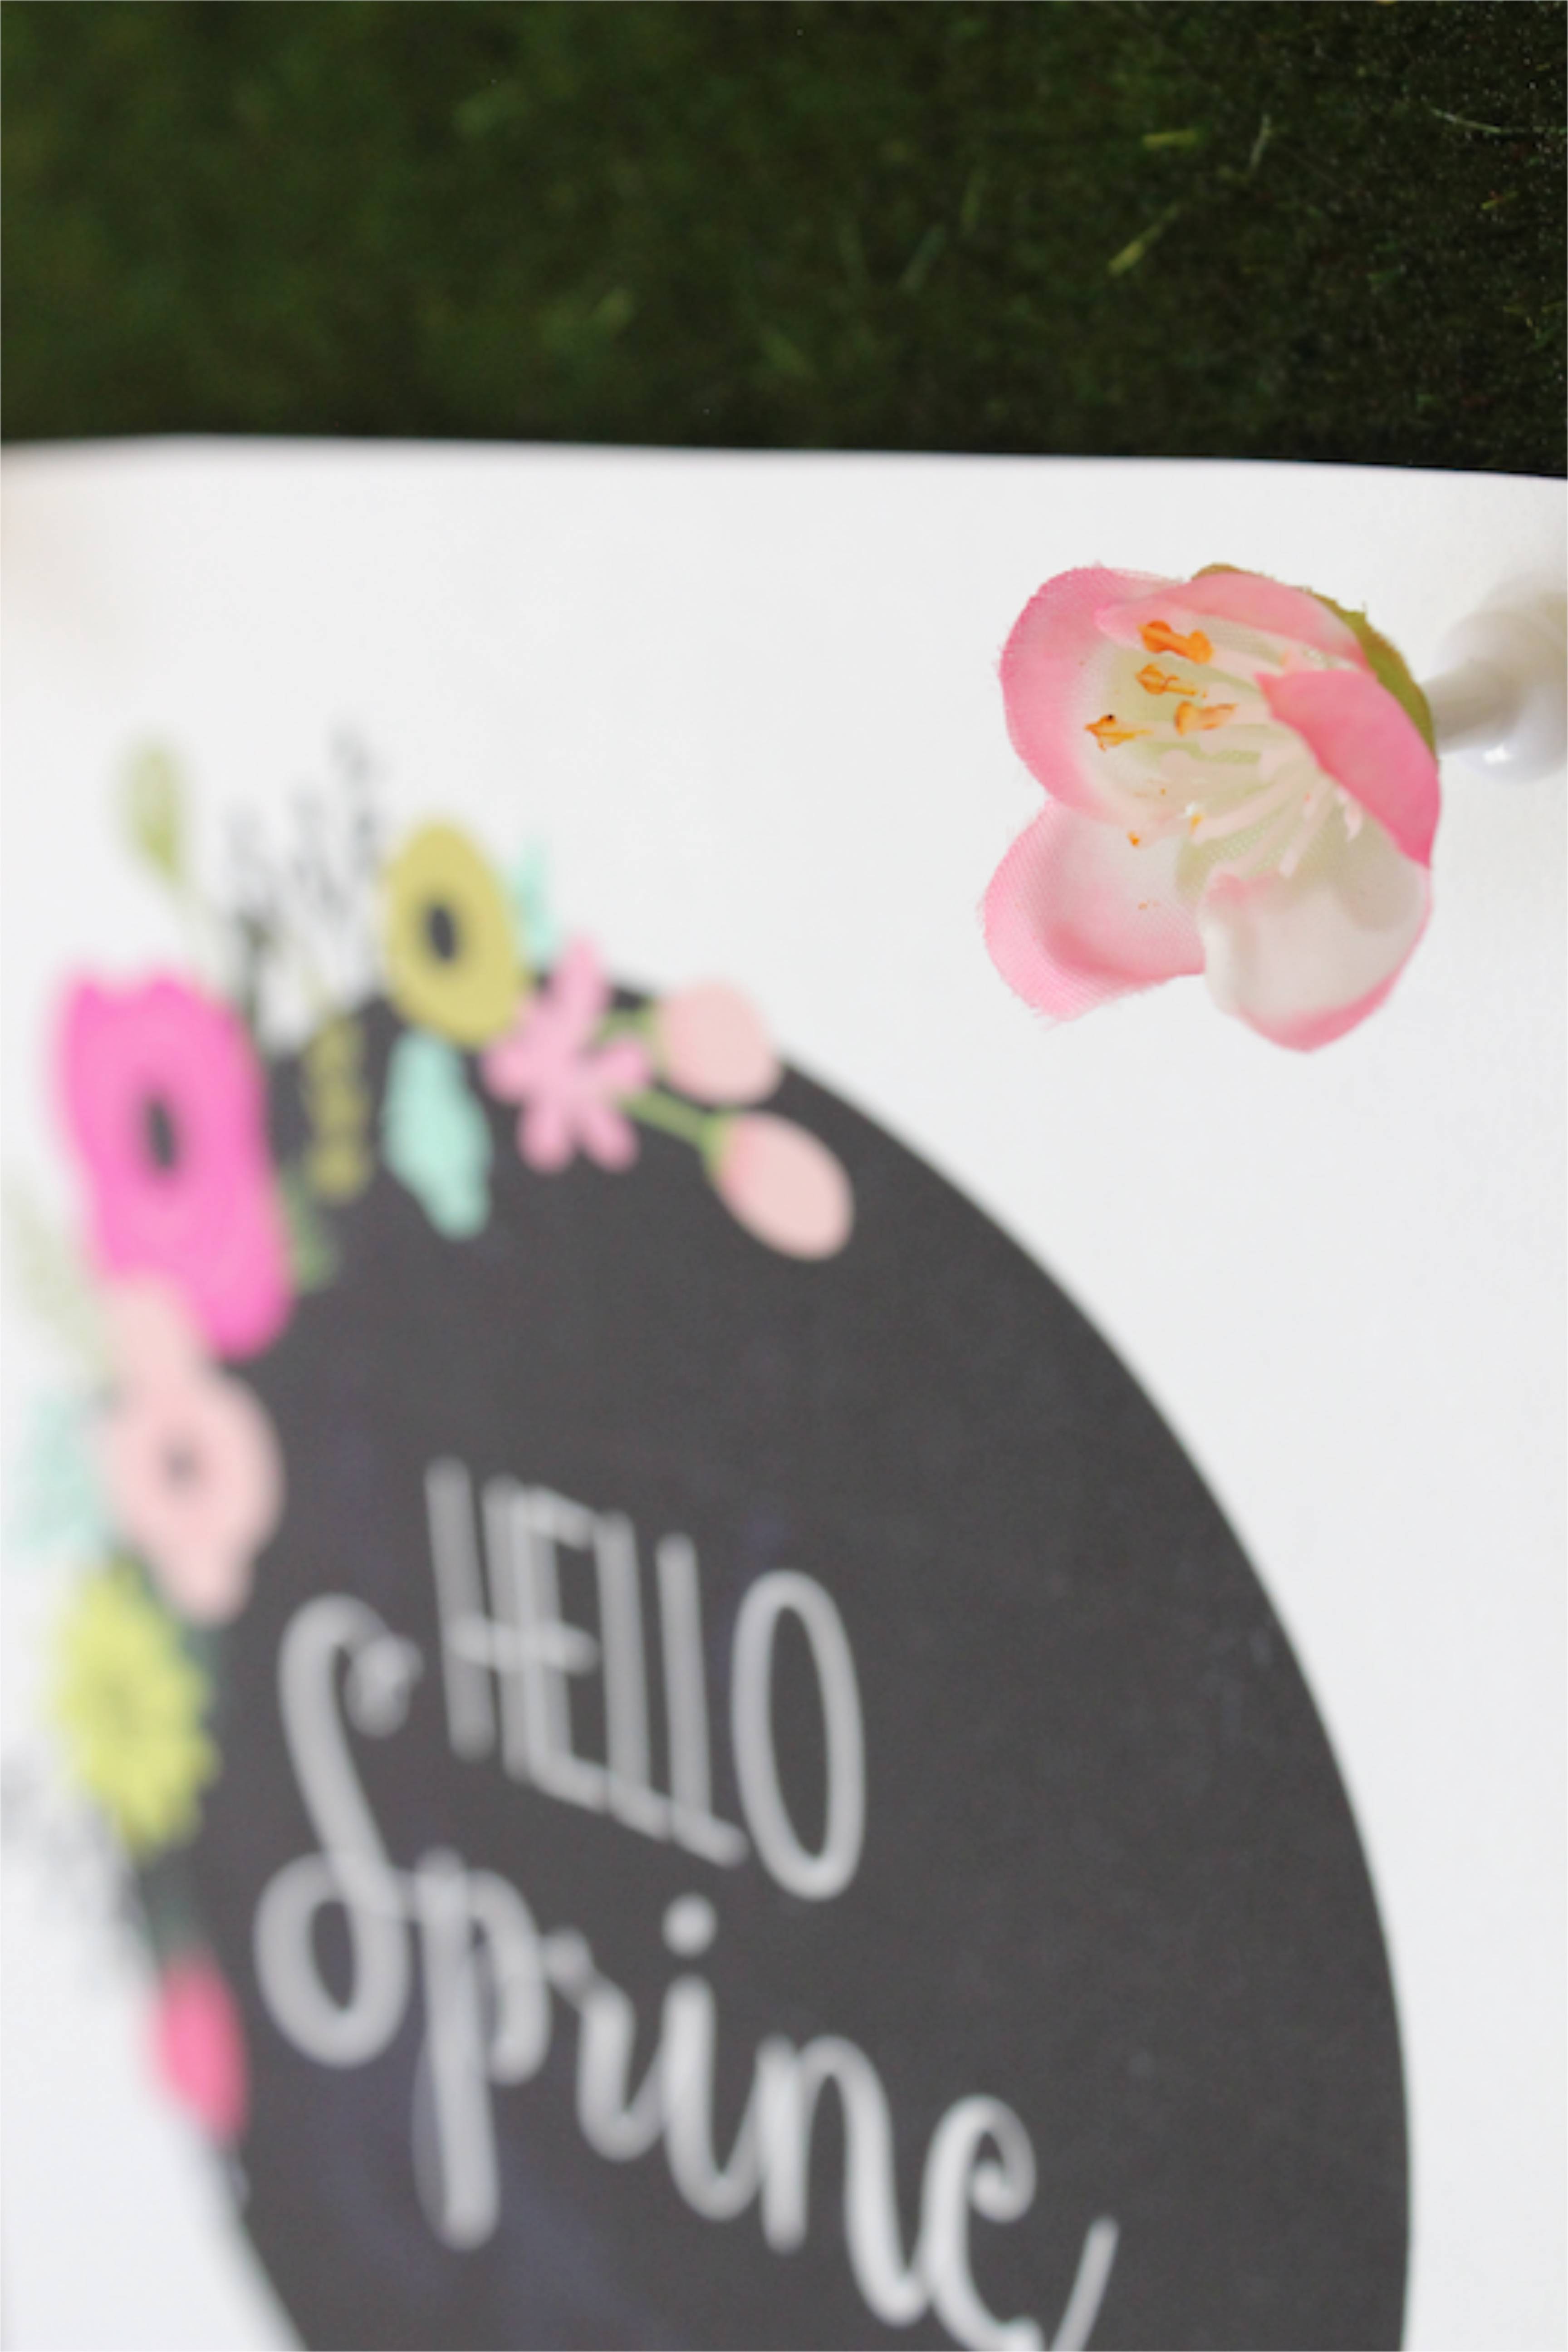
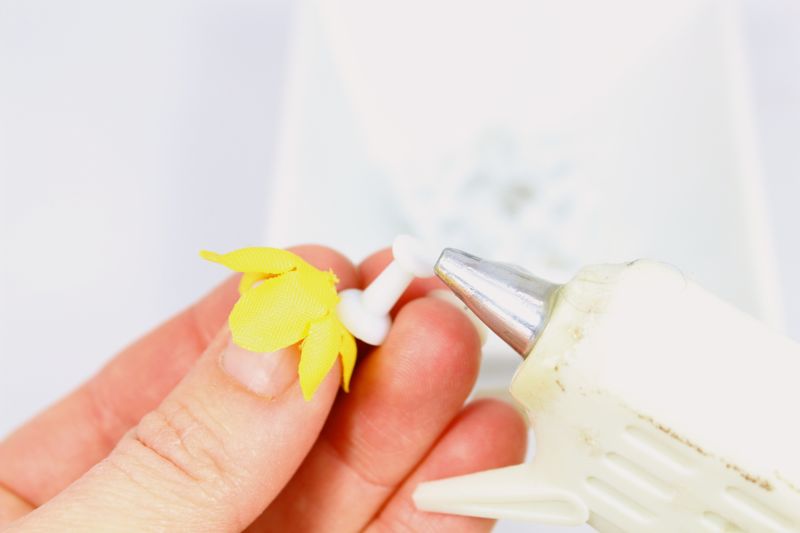
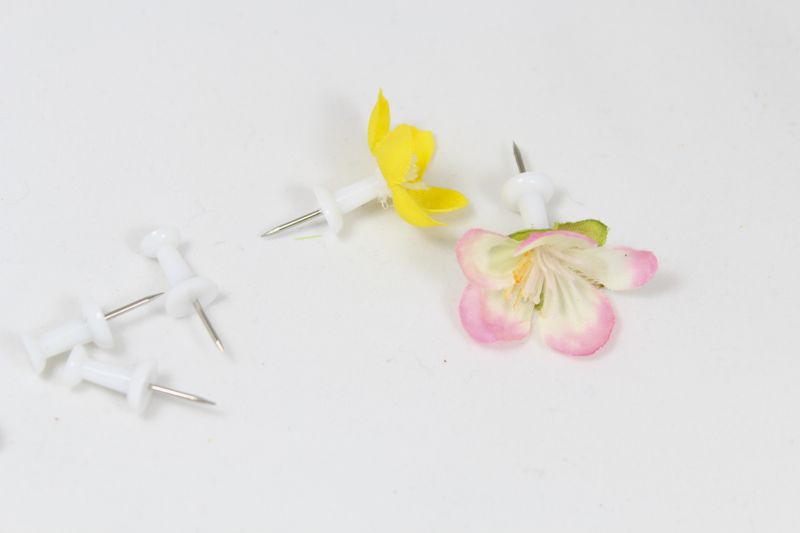
Pull the flower blooms from the stems, and glue onto the pushpins. We kept the middle plastic part of the flower to retain its shape, so we just cut the long part of the plastic stem from under the flower.
Glue twine onto the back of the cork squares {in the center} to hang the board.
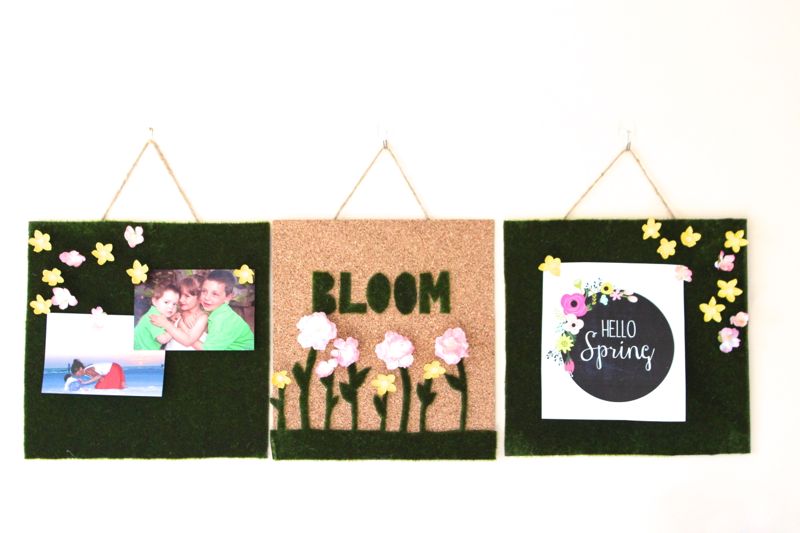
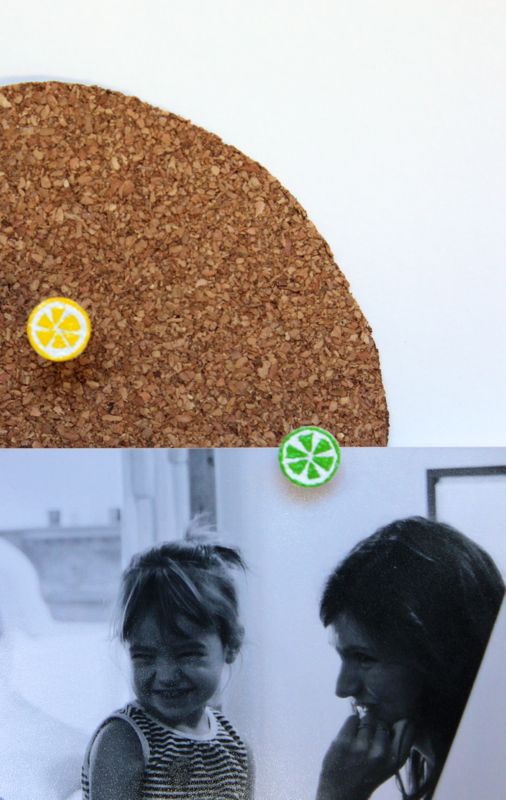
Hang photos, notes and art prints.