taste the rainbow

Well, we’ve taken the melting candy project to another level since our peppermint DIY serving tray back in December.
This time around, we used Jolly Ranchers … and we are loving the results!
How cute is this rainbow tray for St. Patty’s Day?!

All you need is:
Jolly Ranchers {I used about half of the large bag}
A cookie sheet
Wax {or parchment} paper
Pennies
{or other decorative items – I think marshmallows would be adorable to use as clouds in place of pennies!}

How to:
Pre-heat oven to 200 degrees
Line the cookie sheet with wax paper
Decorate Jolly Ranchers in a rainbow shape
Bake for approximately 12 minutes
{time may vary depending on altitude, thickness of cookie sheet, ect – keep an eye on it!}

Take Note:
The wax paper may get a little smoky while baking in the oven… just keep an eye on it!
{check every two minutes or so}
The center candies may not melt as quickly as the outside. I took it out when the outside candies were properly melted and left the candy on the cookie sheet – the inside candies slowly melted from the heat of the cookie sheet.
If you have imperfections, don’t sweat it. Carefully glaze the outside of your shape with a sharp knife.
Wait until your tray cools to peel wax paper off of the bottom. I kept mine on at the bottom to avoid stickiness while carrying.
Feel free to experiment with a sealant to solve the sticky issues. (I have not tried a sealant before}

May you have all the happiness
and luck that life can hold—
And at the end of all your rainbows
may you find a pot of gold!

{images via Tutto Bella}

snowman fun

It’s been a snowy couple weeks in the mountains, and my kids are loving the wet, snowy playdates outside. Followed, of course, by some hot chocolate in our favorite snowman cups inside. It could be double or triple the fun with friends. So, if I get my act together, I’m going to host a Snowman Party for my kids friends…and mine too.

ACTIVITIES

Be sure to tell everyone coming to the party to dress warm. Bring their gloves, hats, mittens, etc for playing outside. Form groups of 3-4 people {depends on the total number of rsvp’s} to compete in a Build the Best Snowman competition. Have plenty of carrots, scarves, oreo cookies, tree branches, buttons hats, clothes, etc available so the kids can get creative. The winning team {judged by the party hostess} gets a cute new winter hat/beanie.

Sleds make for a fun playdate in the snow too.

A fun indoor activity {and snack} is Snowman on a Stick. This was the activity at our local library’s story hour this week and the kids loved it.

WHAT’S ON THE MENU

Serve 2-3 different kinds of soups and grilled cheese for the kiddos too. Easy to prepare ahead of time and warming to the soul and belly. Don’t forget the fresh baguette.
Lasagna Soup
Winter Lentil Soup
Tomato Basil Soup with Grilled Cheese Bites

Have a hot chocolate bar ready for when the kids come in from playing in the snow for dessert, served of course with snowman donuts {simply place a candy corn down in a mini powdered sugar donut, and use black icing or chocolate for creating eyes and mouth}. For the hot chocolate bar, fill bowls with all the yummy fillings…marshmallows, cinnamon sticks, candy canes, whipping cream, sprinkles, chocolate syrup, cherries and Bailey’s Irish Cream {for the moms of course}.  To make this easy on yourself, prepare the hot chocolate ahead of time, and keep in a large thermos. Set as many cups as you need on the bar, along with all the toppings, so when everyone comes in from the cold, they can go straight to the hot chocolate bar.

Serve irresistable Milk Men from Bakerella too for a cold glass of milk. You MUST check it out here.

FAVORS

I was smitten when I saw this Snowman Soup party and printable on Celebrations at Home awhile back, and Snowman Soup served in little mason jars would be an adorable favor for all the kids. Visit here for photos of the party and a link to FREE printable for the soup label. You will need hot cocoa powder, marshmallows, chocolate chips and peppermints to fill the mason jars.

{images via Giggles Galore, Celebrations at HomeFête Fanatic, Disney Family Fun and Bakerella}

perfect party plates

We recently celebrated our grandma’s 76th birthday {btw, she still looks fabulous and has more energy than us most of the time}, and we brought some appetizers for the family to enjoy during the celebration. Among the thousands of options, we went with a delicious foursome – Pepperoni Roll, Avocado and Bean Salsa, Baked Brie Bites and a Veggie Tray served with Knorr’s Veggie Dip.

Take note {these are secret family recipes} and add to your recipe book.

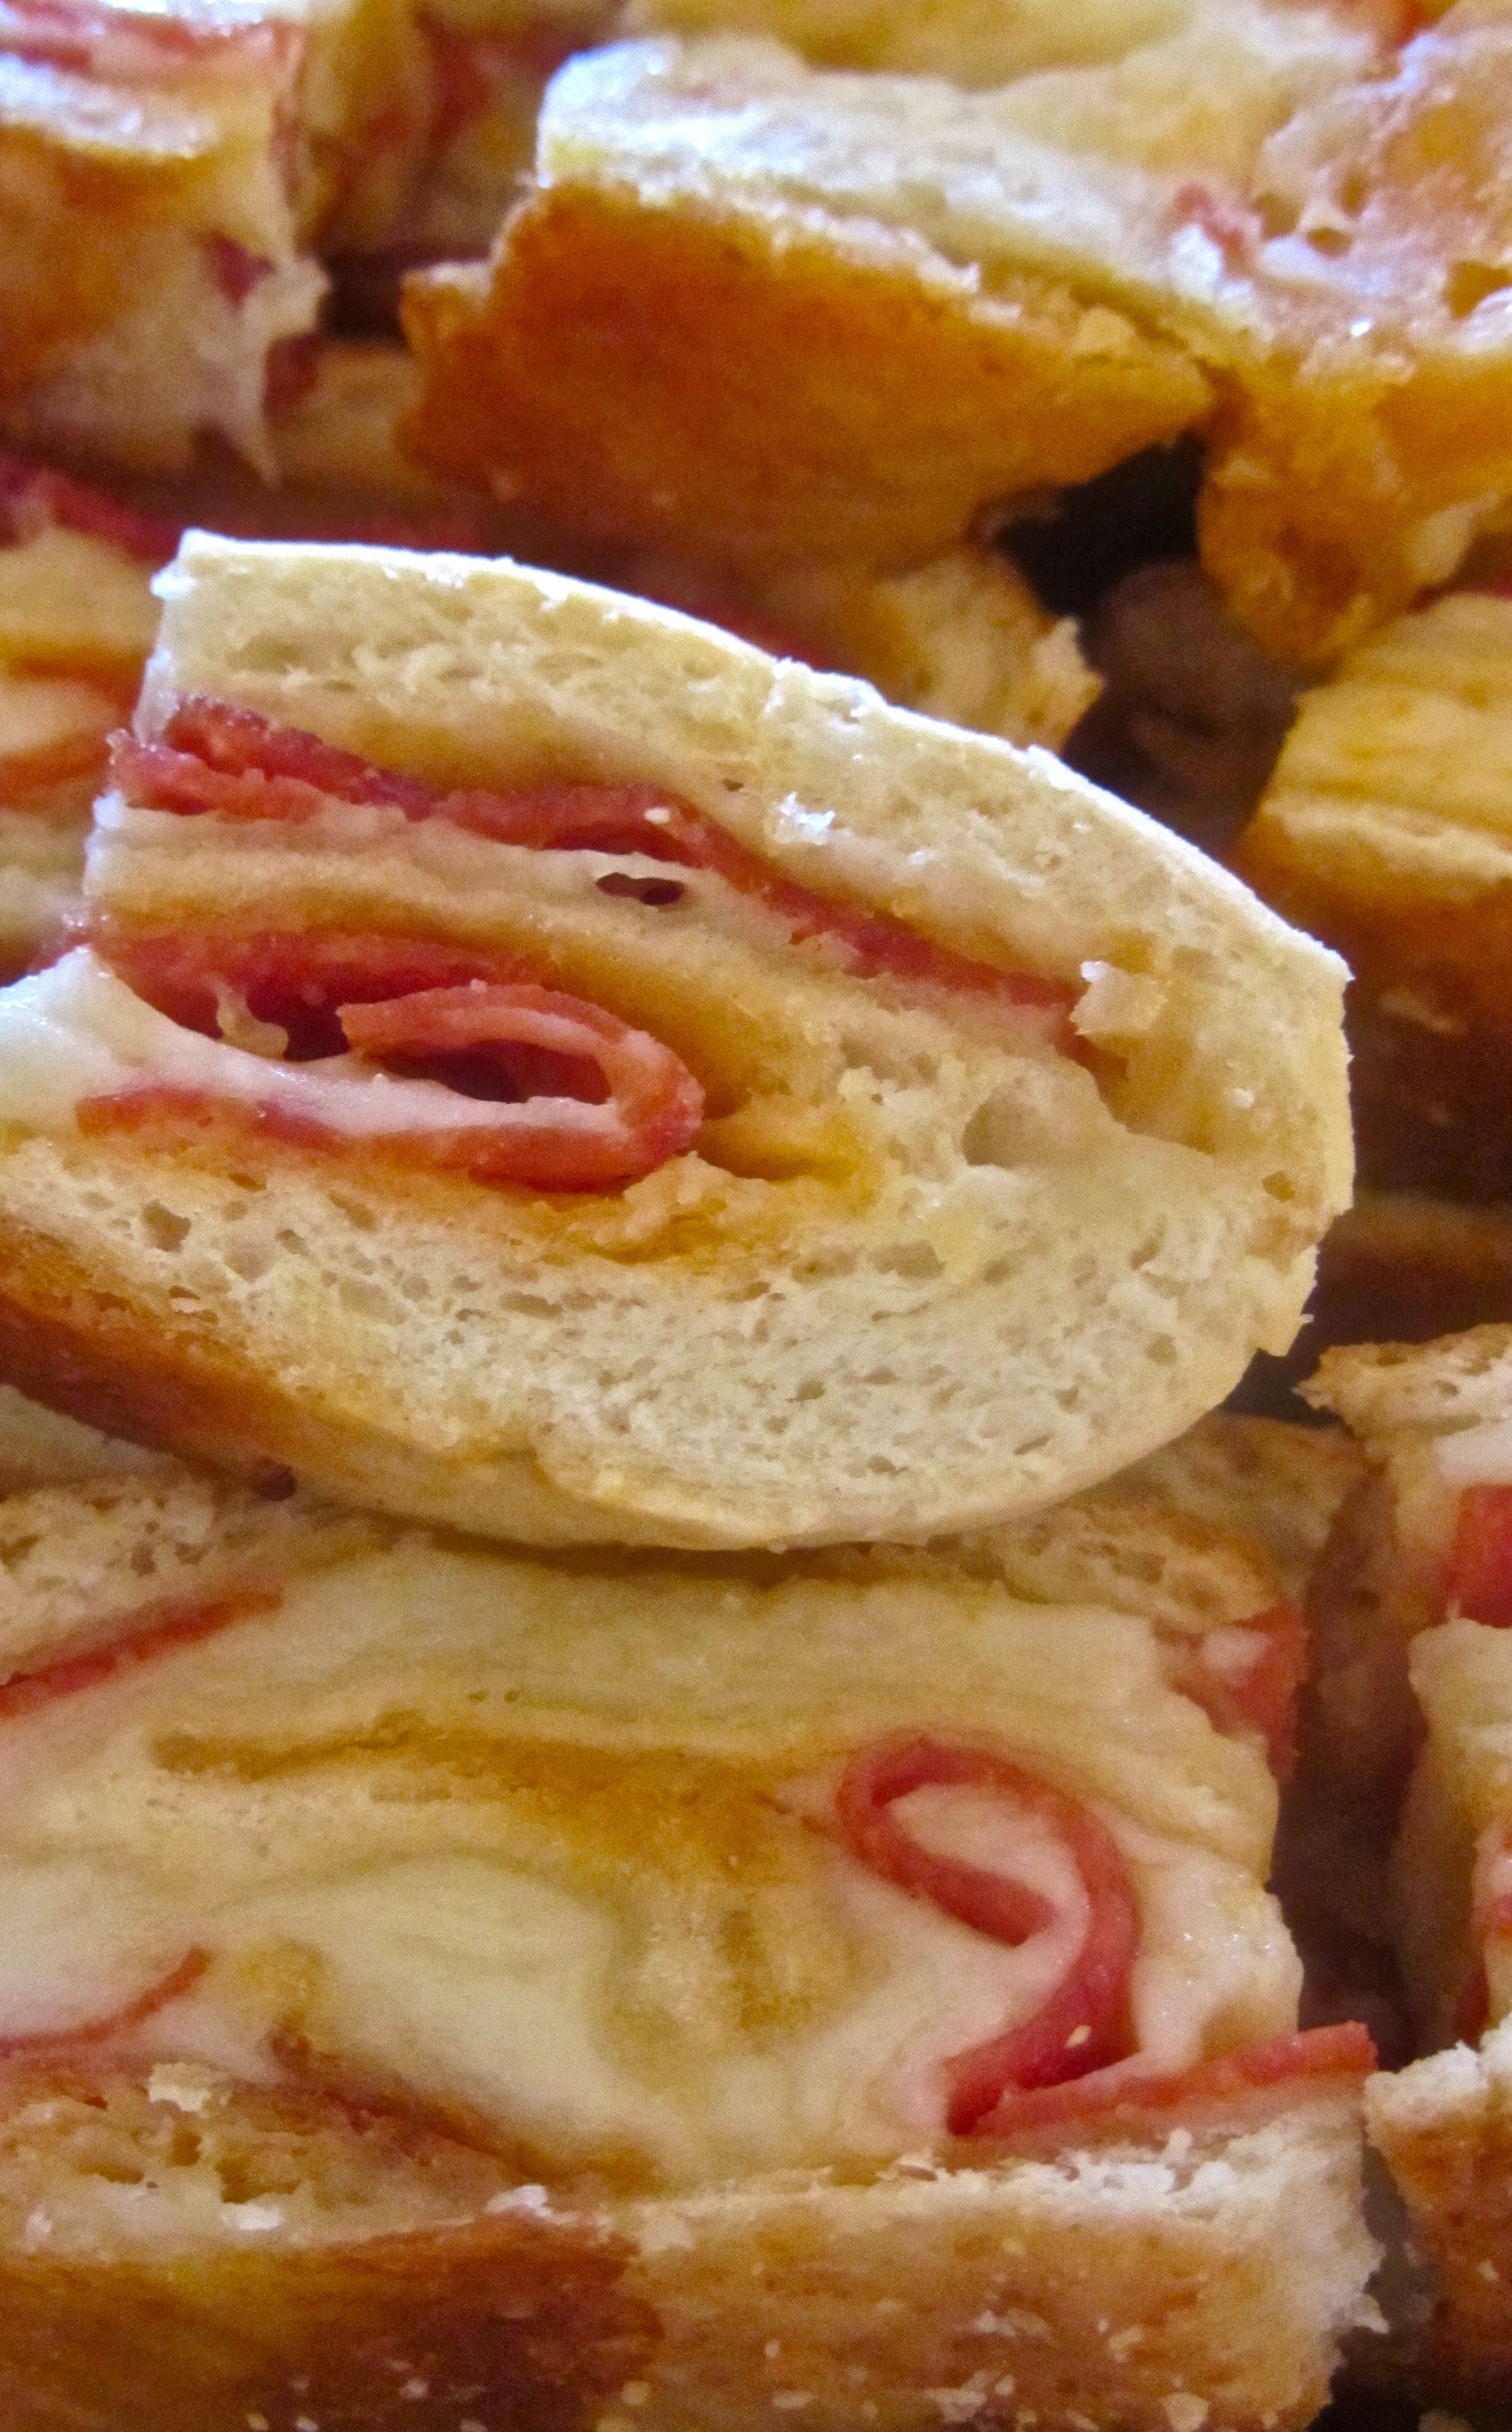
Pepperoni Roll
{family recipe}

Ingredients
Pepperoni
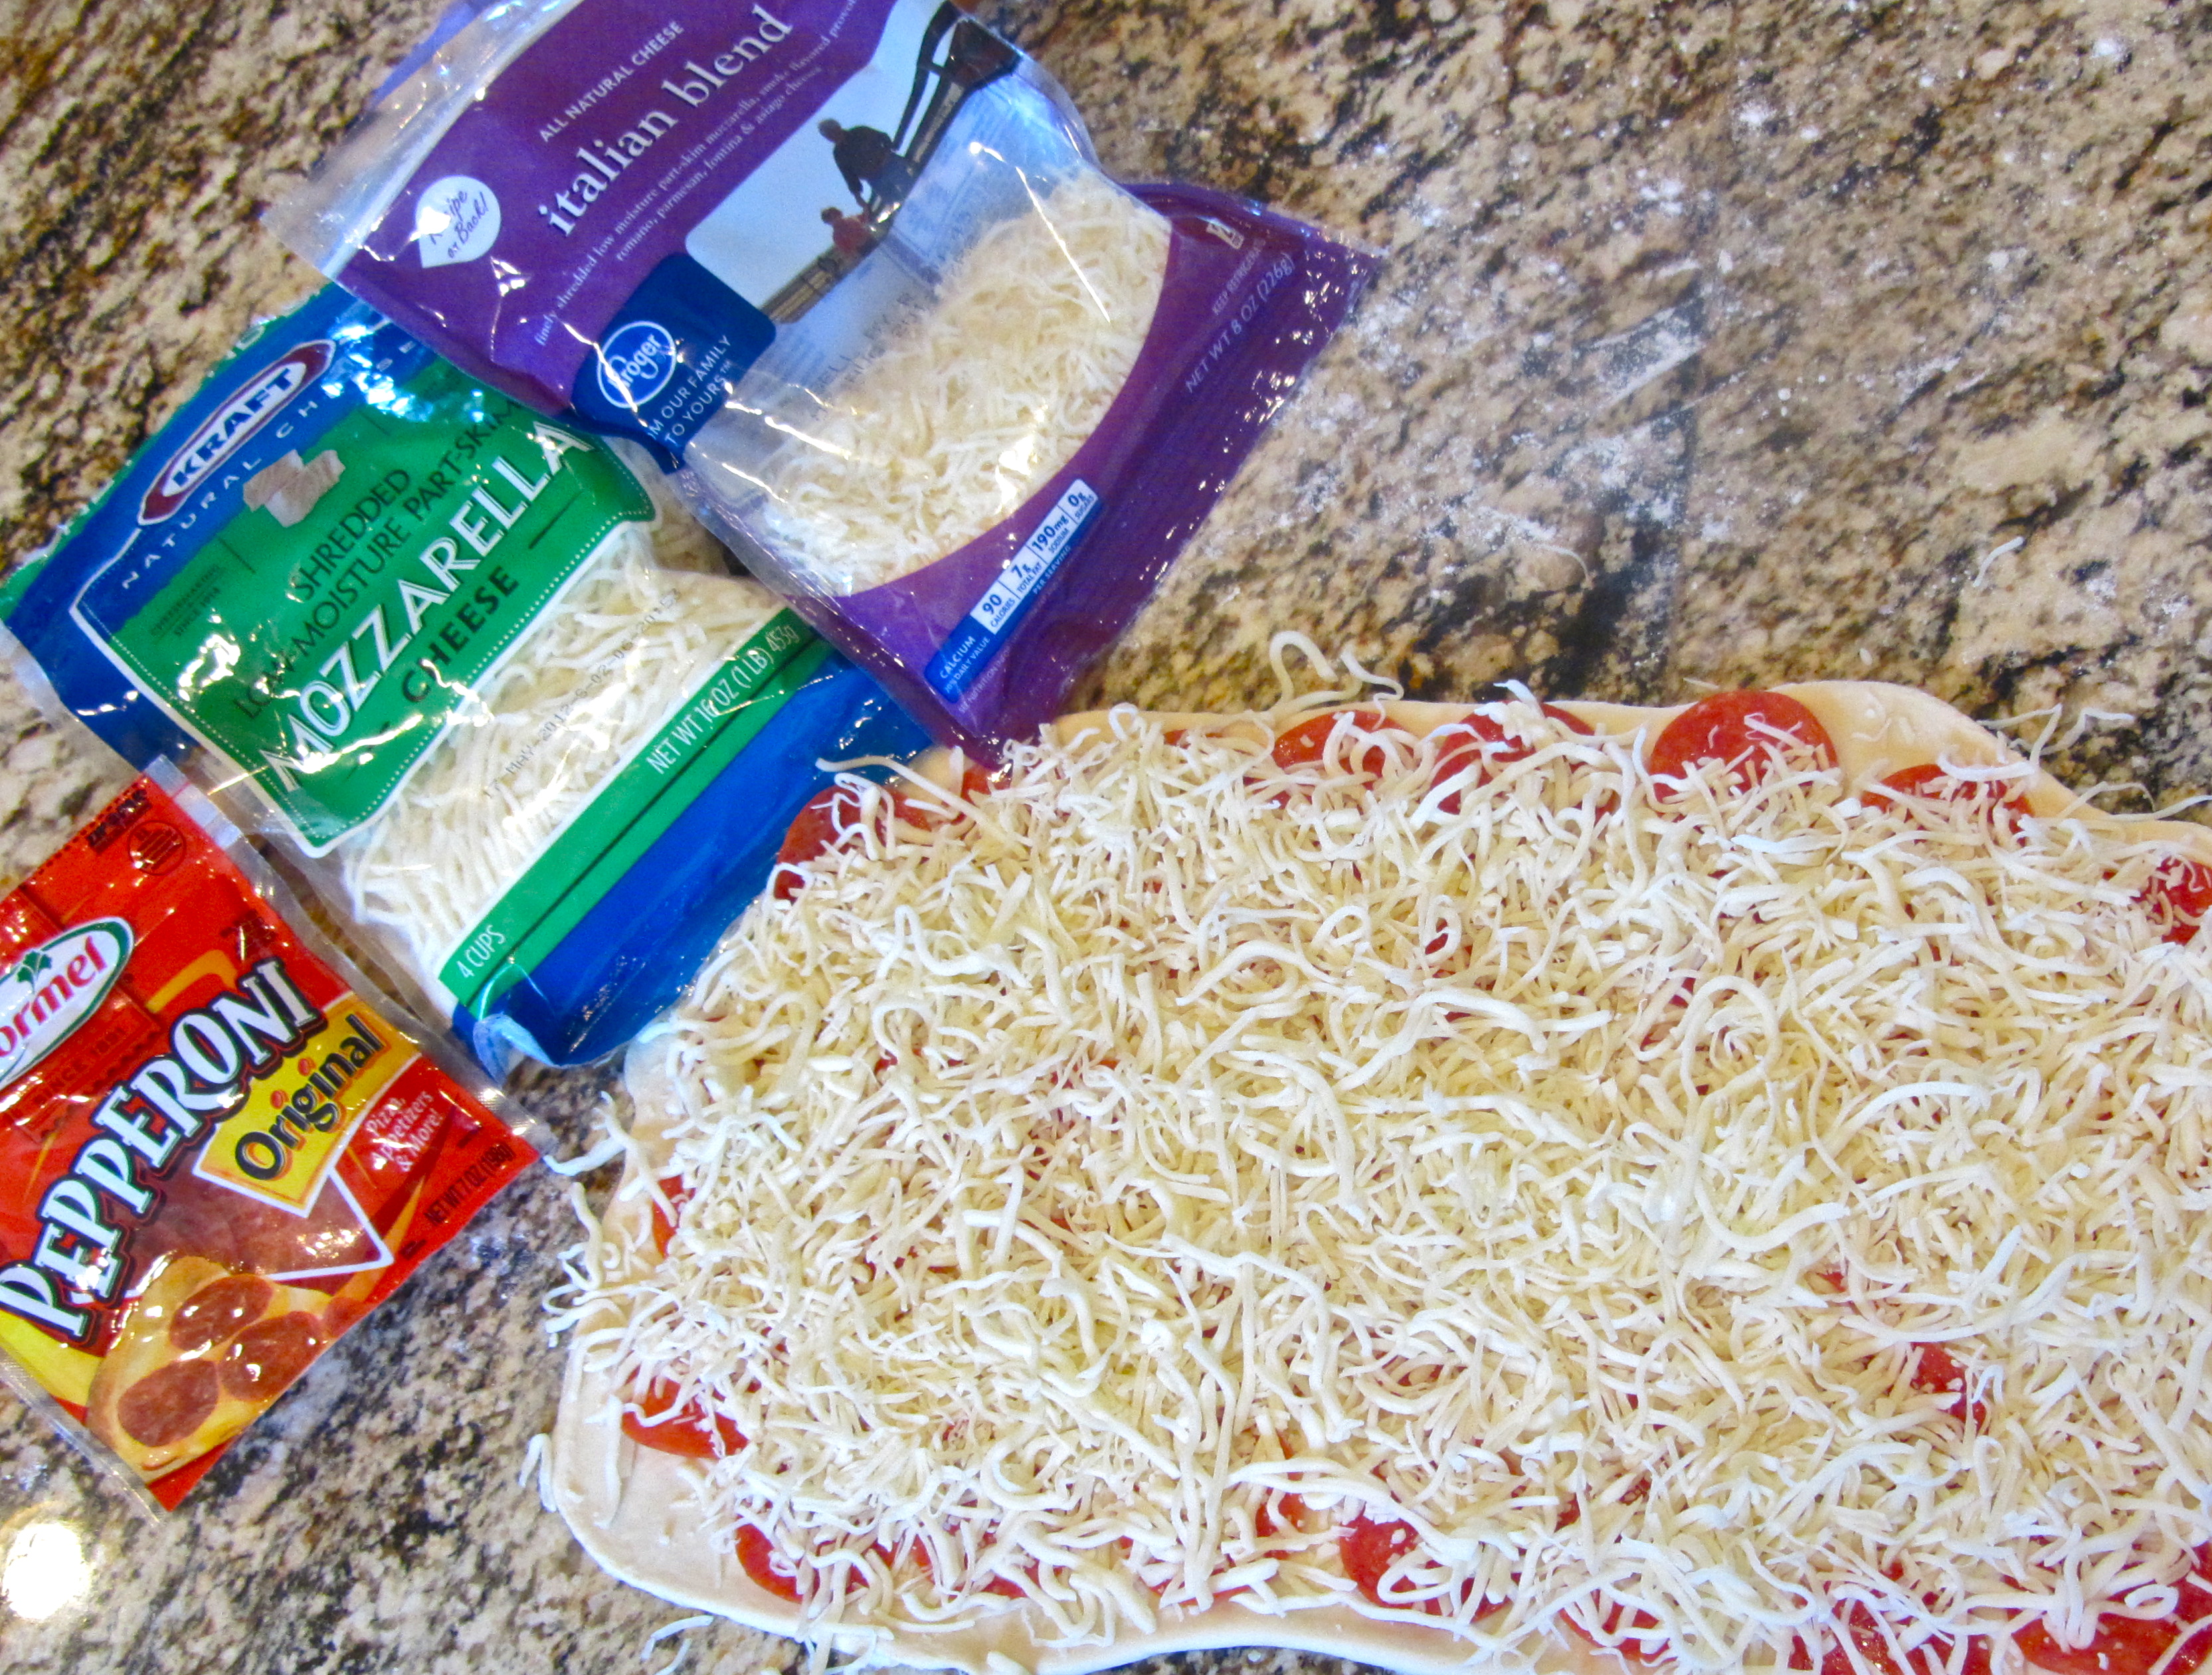
8 oz. Shredded Mozzarella Cheese
4 oz. Italian Cheese Blend
About 1 tablespoon Grated Parmesan Cheese
1 loaf Rhodes Dough {buy in frozen section and thaw before rolling out}

How To
Preheat oven to 350 degrees
Rub a drizzle of olive oil to the bottom of a cookie sheet
Flour the table surface you plan to roll the dough on
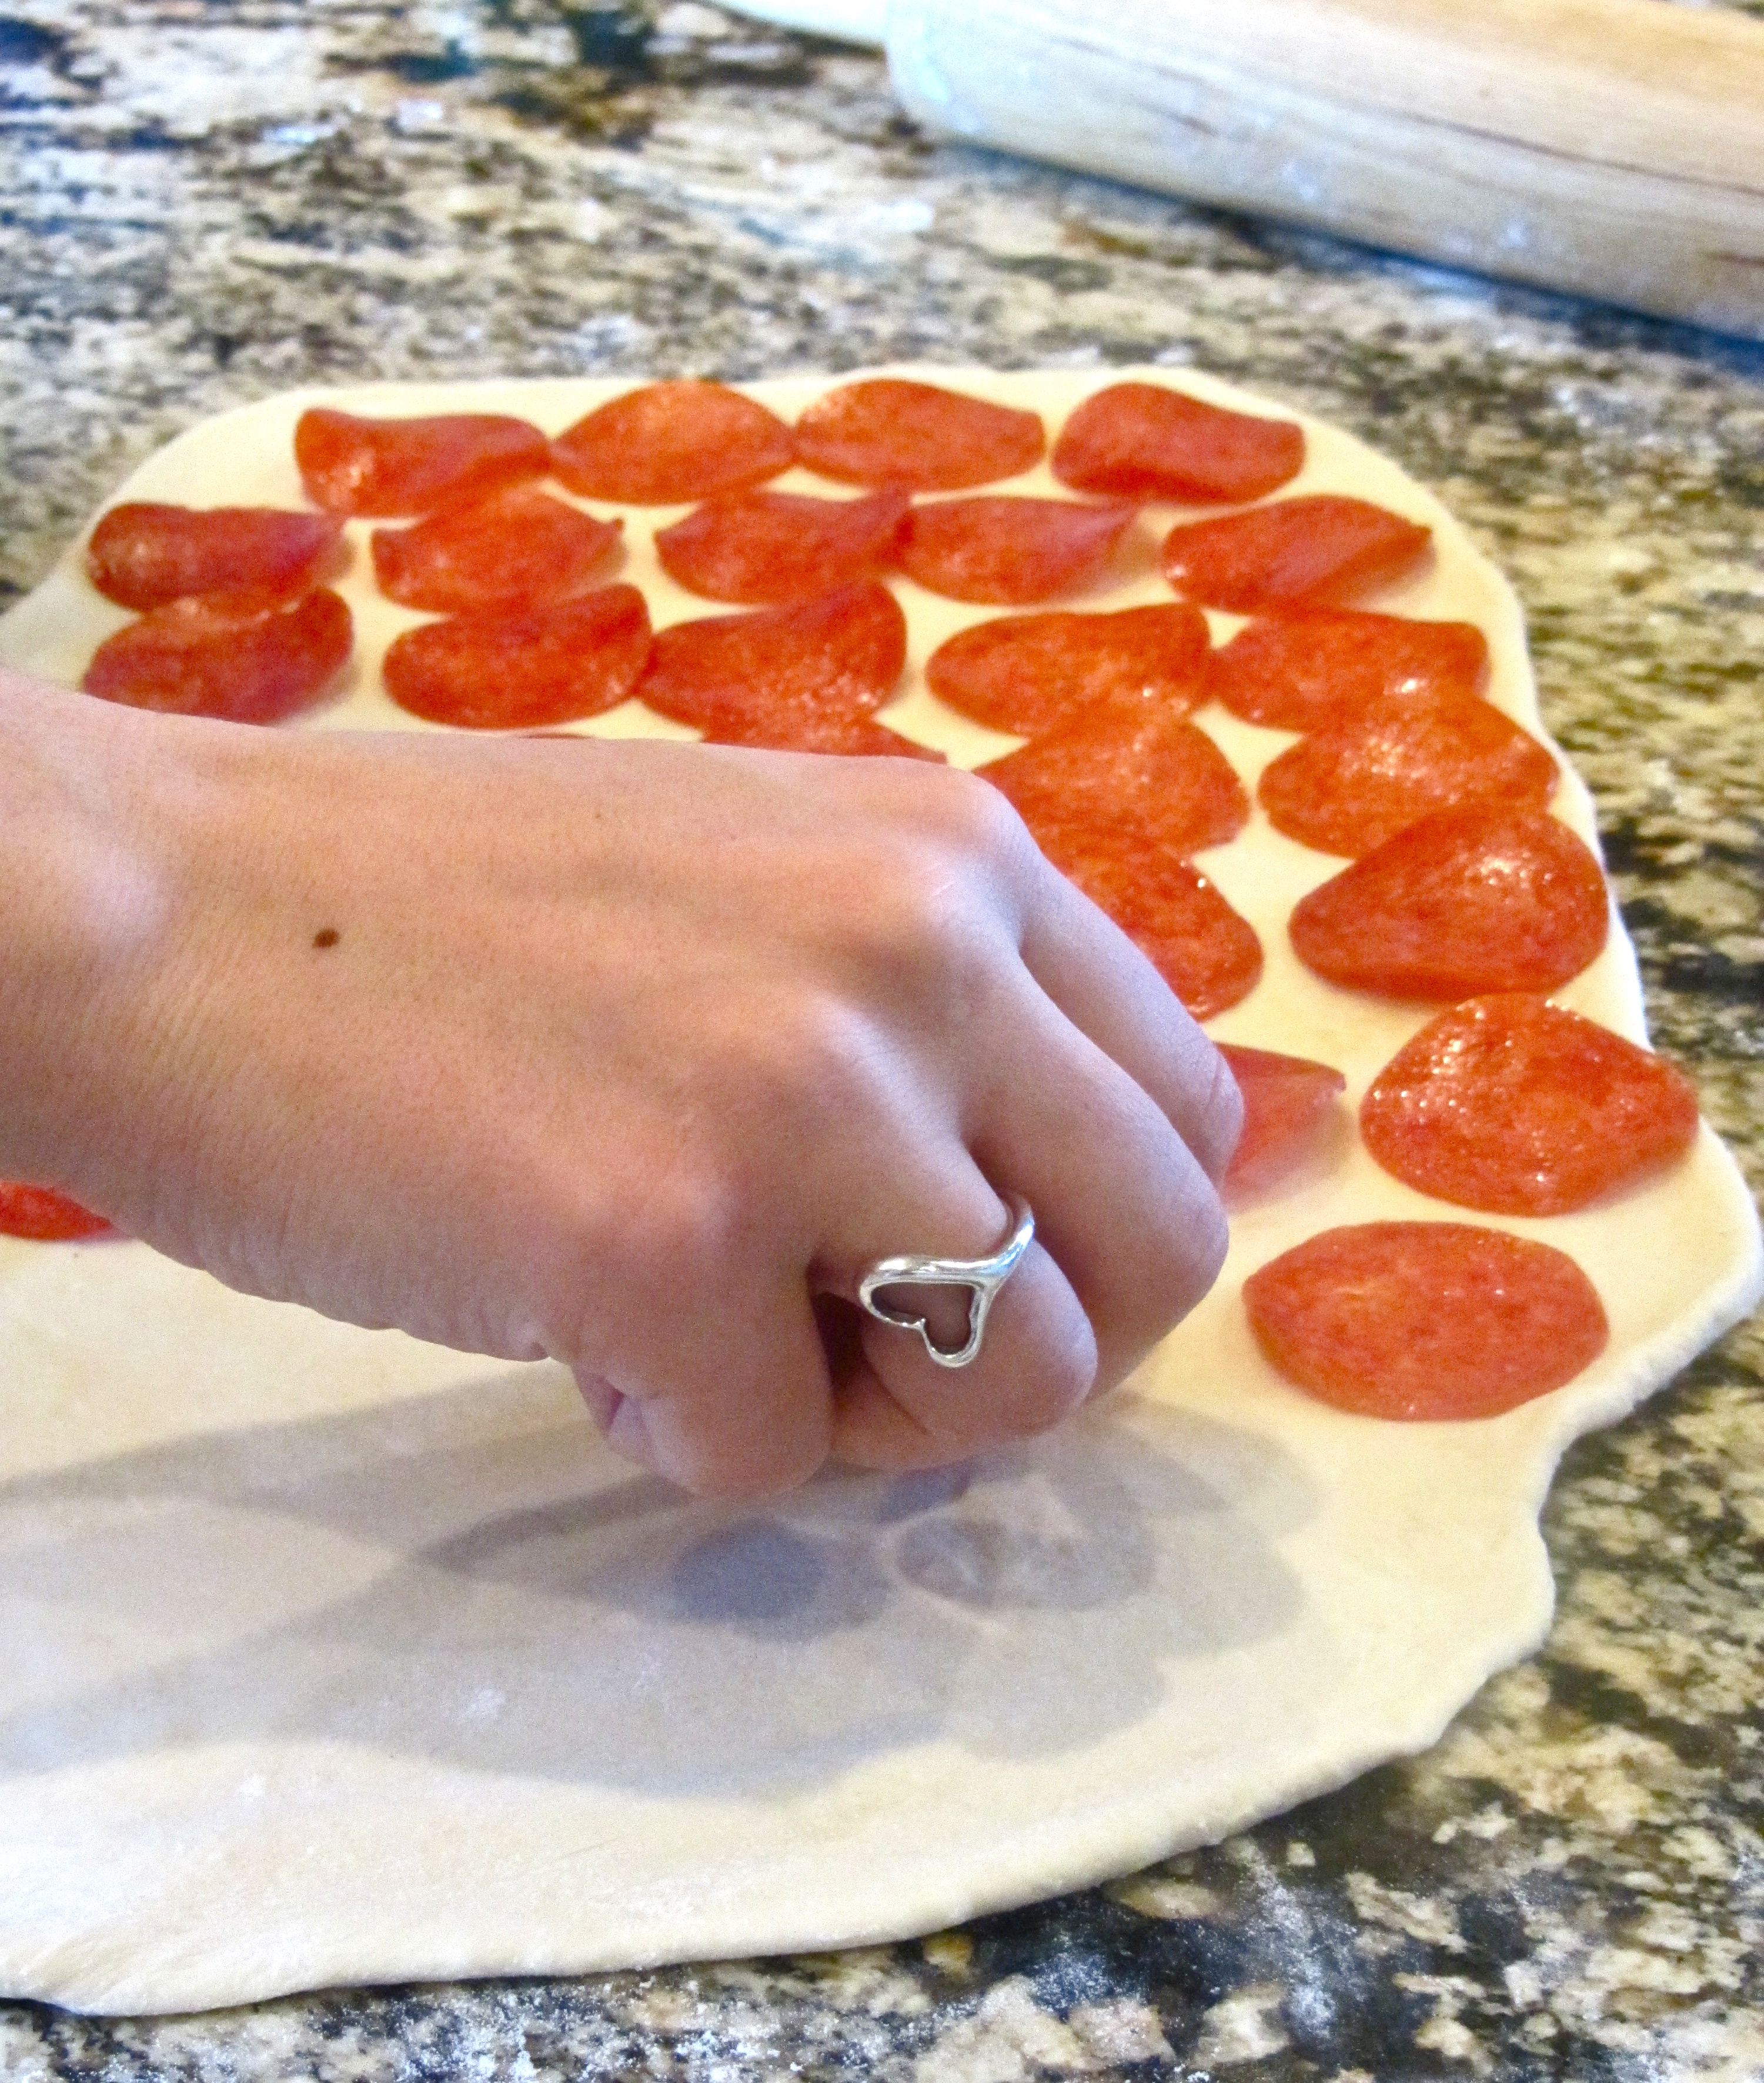
Use a rolling-pin to roll out the dough into a rectangle

Add one layer of Pepperoni to the dough, covering the entire surface

Add the Mozzarella Cheese and Italian Cheese Blend on top of the Pepperoni

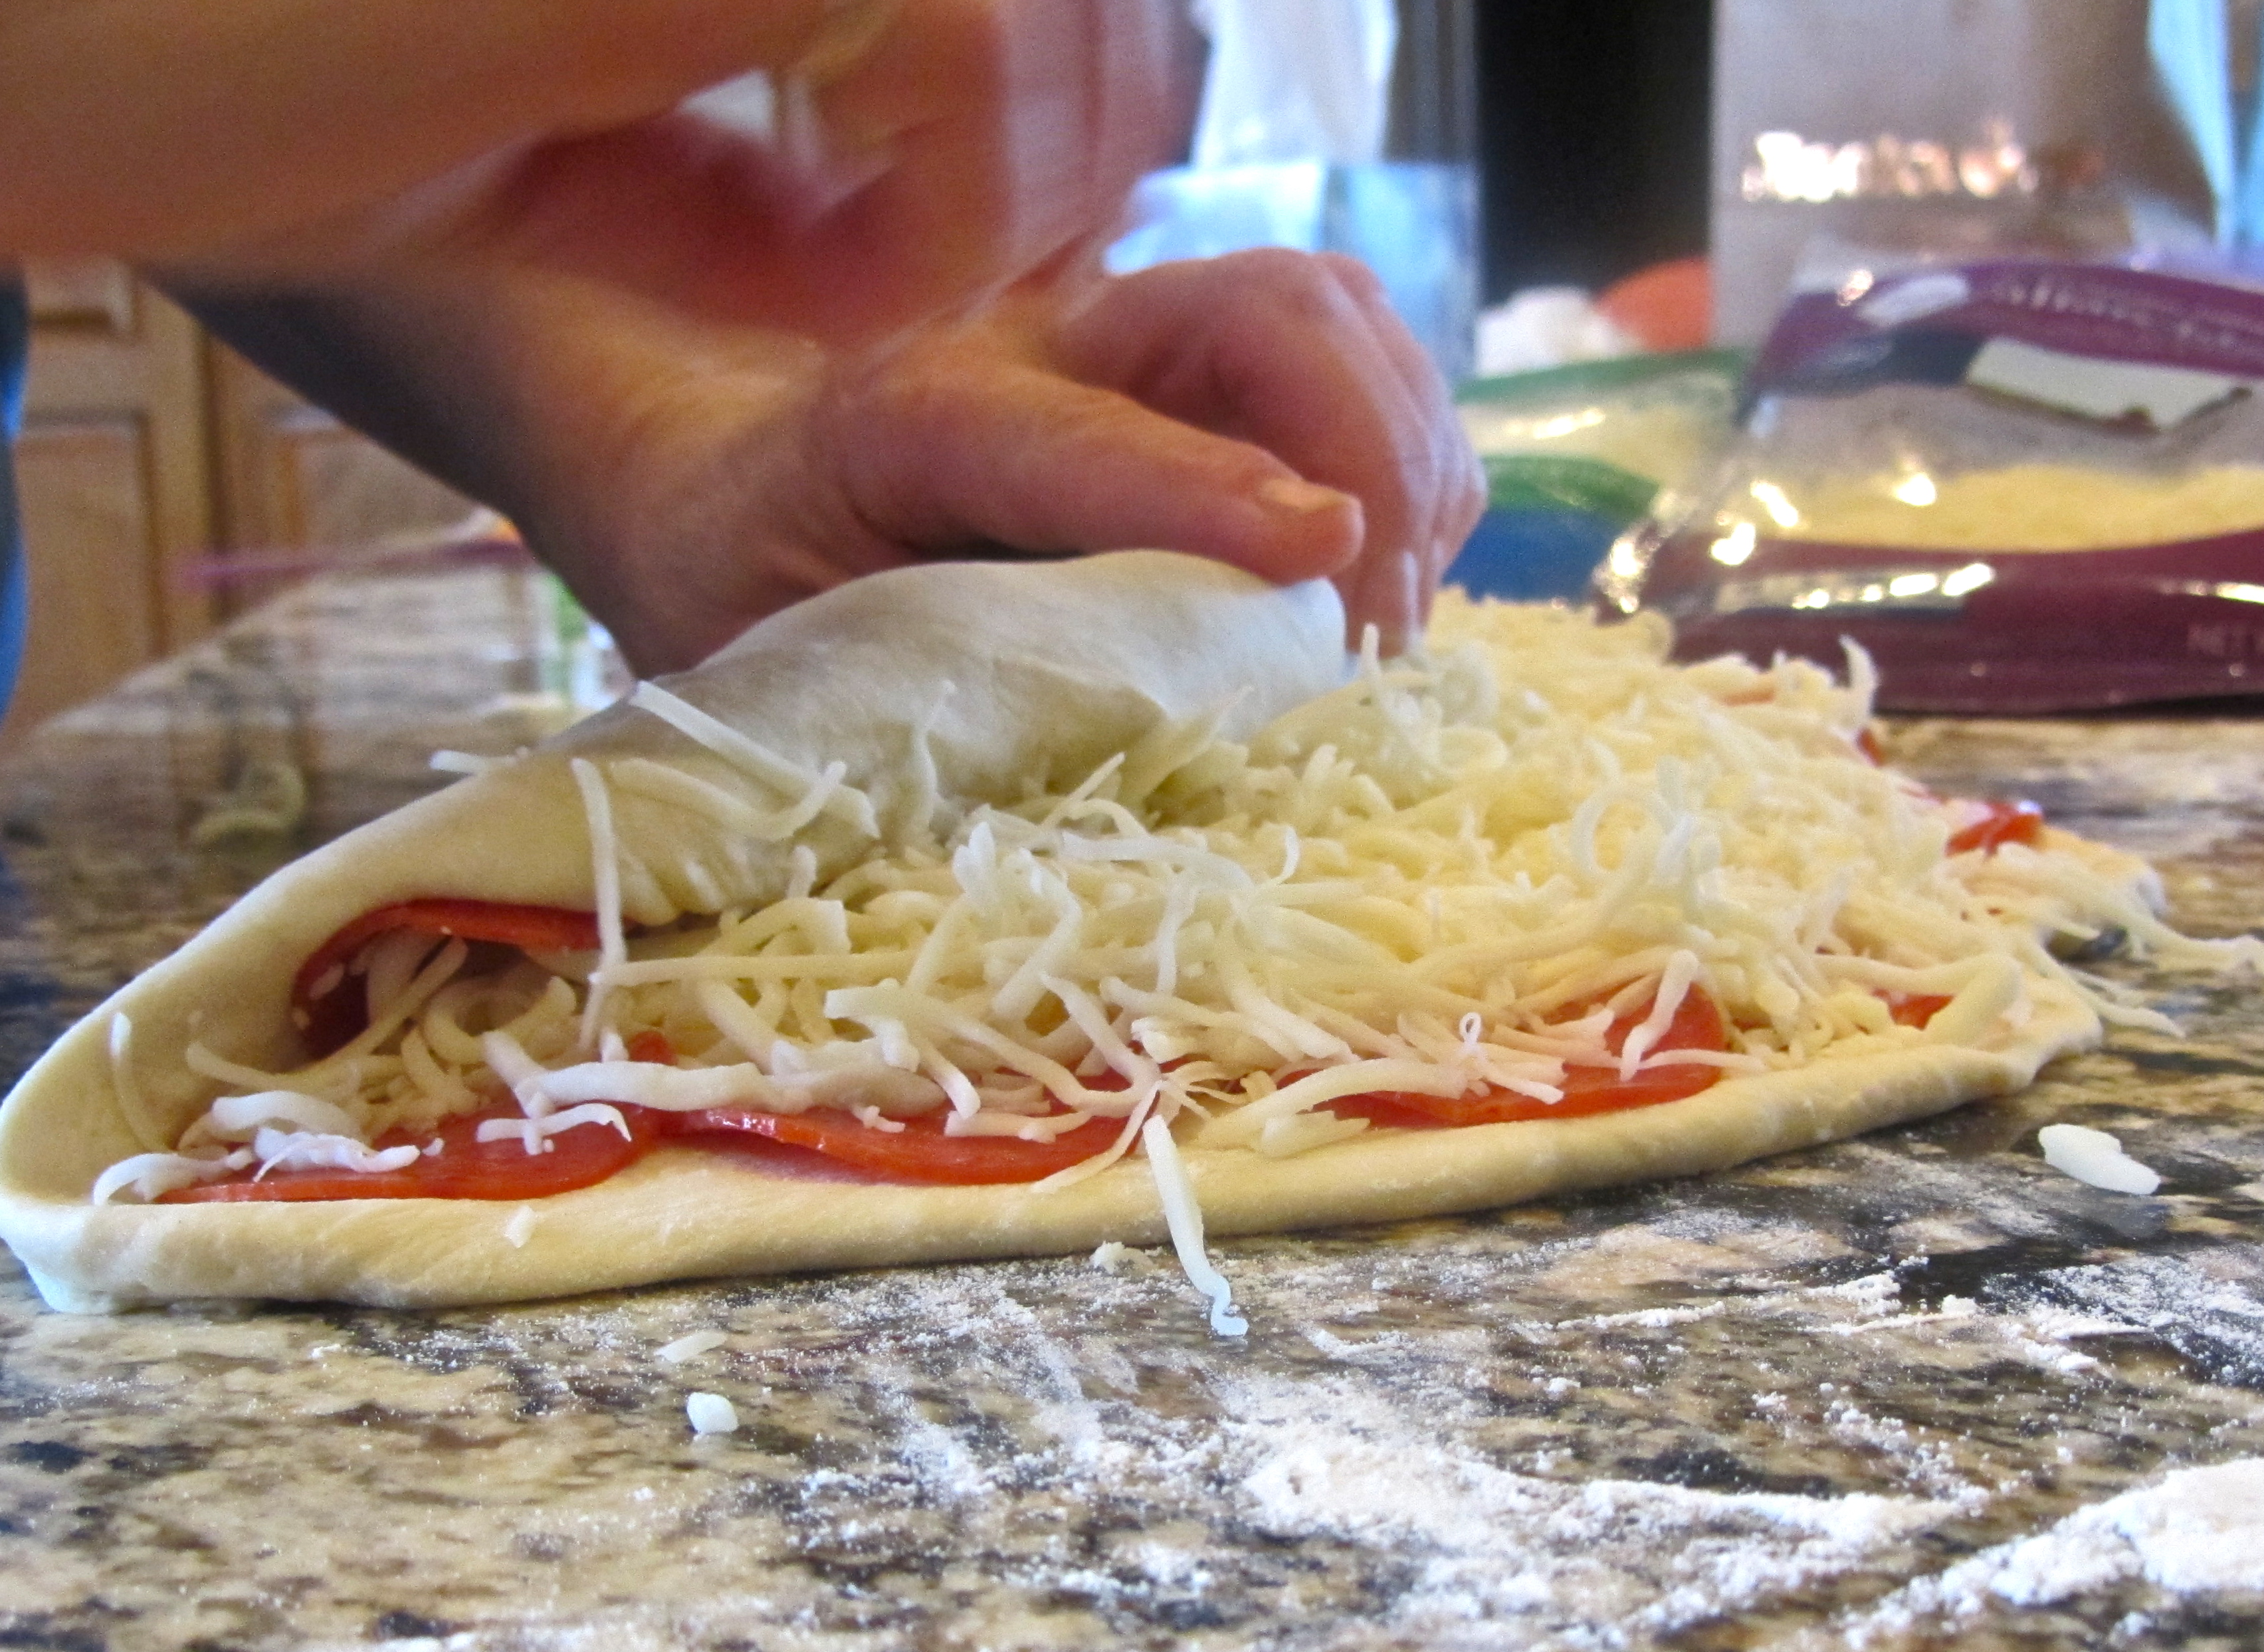
Roll the dough and its ingredients from the bottom to the top, like you would roll a cinnamon roll

Once you get to the end of the roll, pinch the seams together

Place the roll seam-down on the cookie sheet
Massage the entire roll with olive oil
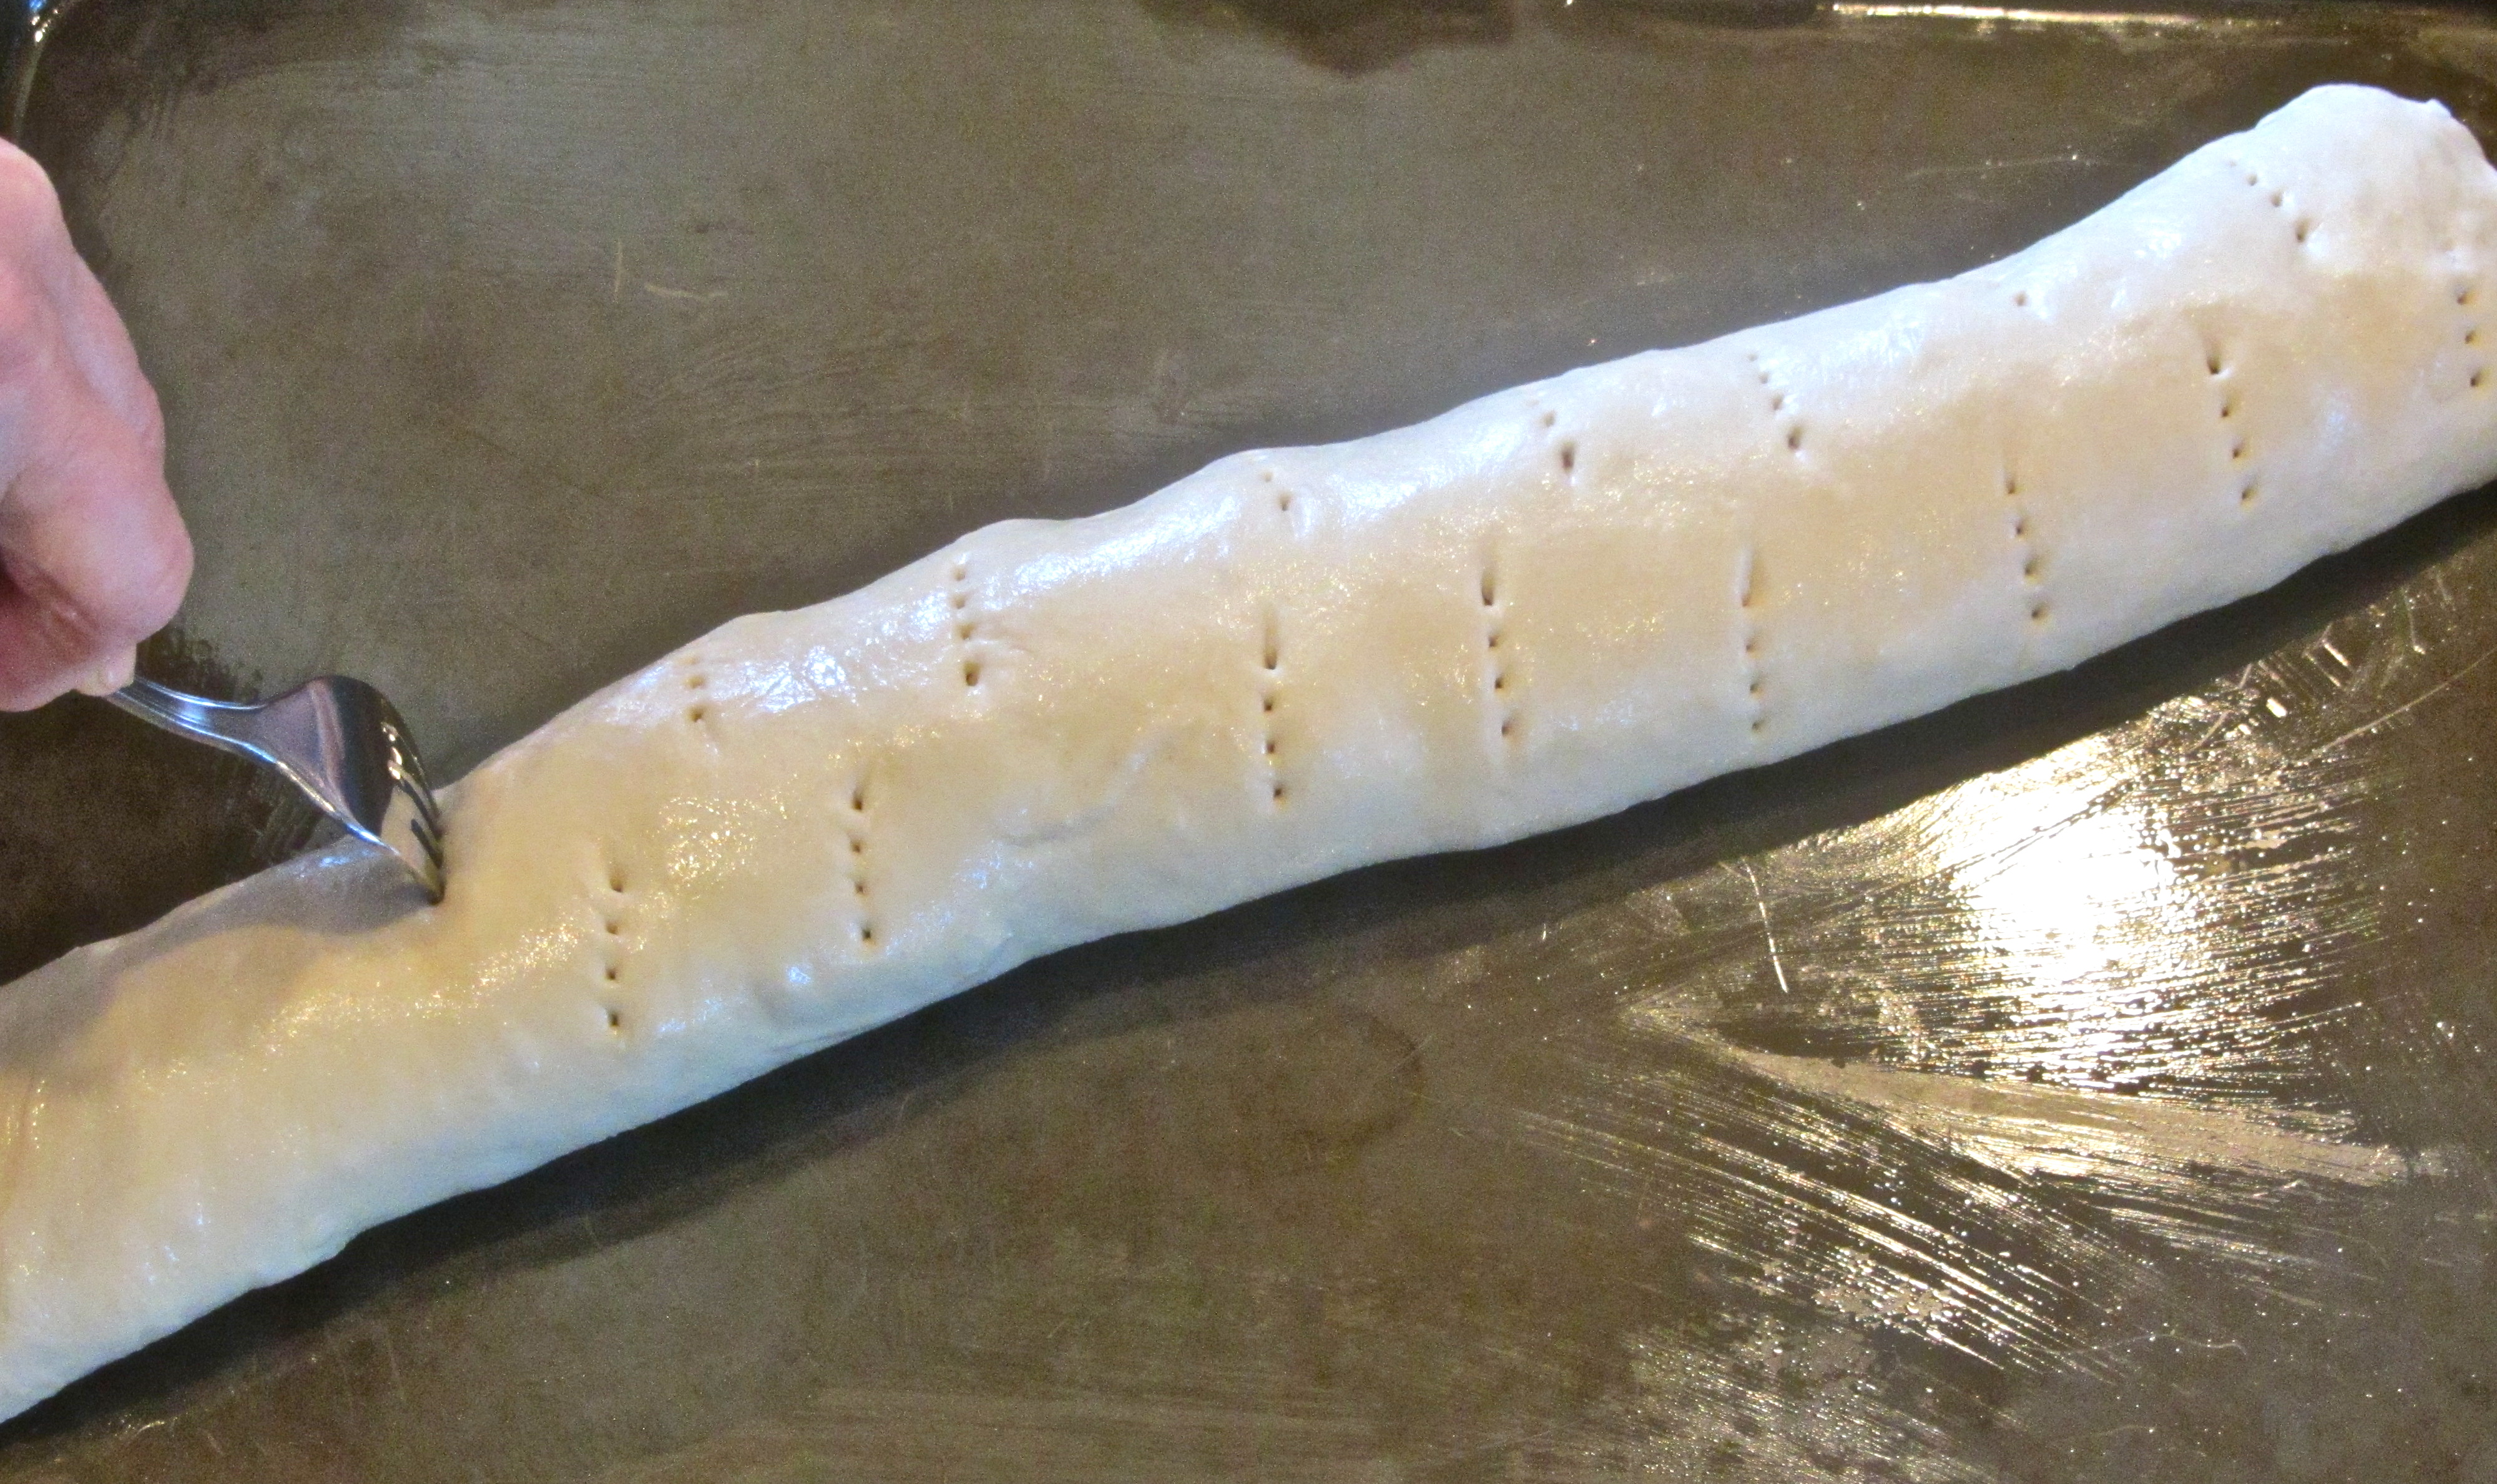
Use a fork to pierce the length of the roll. Pierce through the roll and the ingredients inside until you hit the bottom of the cookie
sheet. {Pierce every 2 or 3 inches, so you will have about 10-20 fork marks}

Sprinkle about 1 tablespoon Parmesan Cheese on top of the roll
Cook in oven for about 30 minutes or until golden brown
Let it cool for about 20 minutes
Once cool, slice and place on a beautiful platter
I promise this is so easy…when my sisters and I had to learn to cook when we moved out of our parents house, this was the only app we could make. If we could do it as inexperienced cooks, anyone can do it!
P.S. This will be gone ASAP at a party, so we always make 2 rolls.

Avocado and Bean Salsa
{family recipe}

Ingredients
5 Avocados {more firm than soft} chopped
1 can White Shoepeg Corn
1 Jicama {small to medium-sized} chopped
1 Serrano Chili chopped
1 red pepper diced into small pieces
1 can black beans
1 small red onion
1 tablespoon olive oil
2 limes
Salt and Pepper to taste

How To
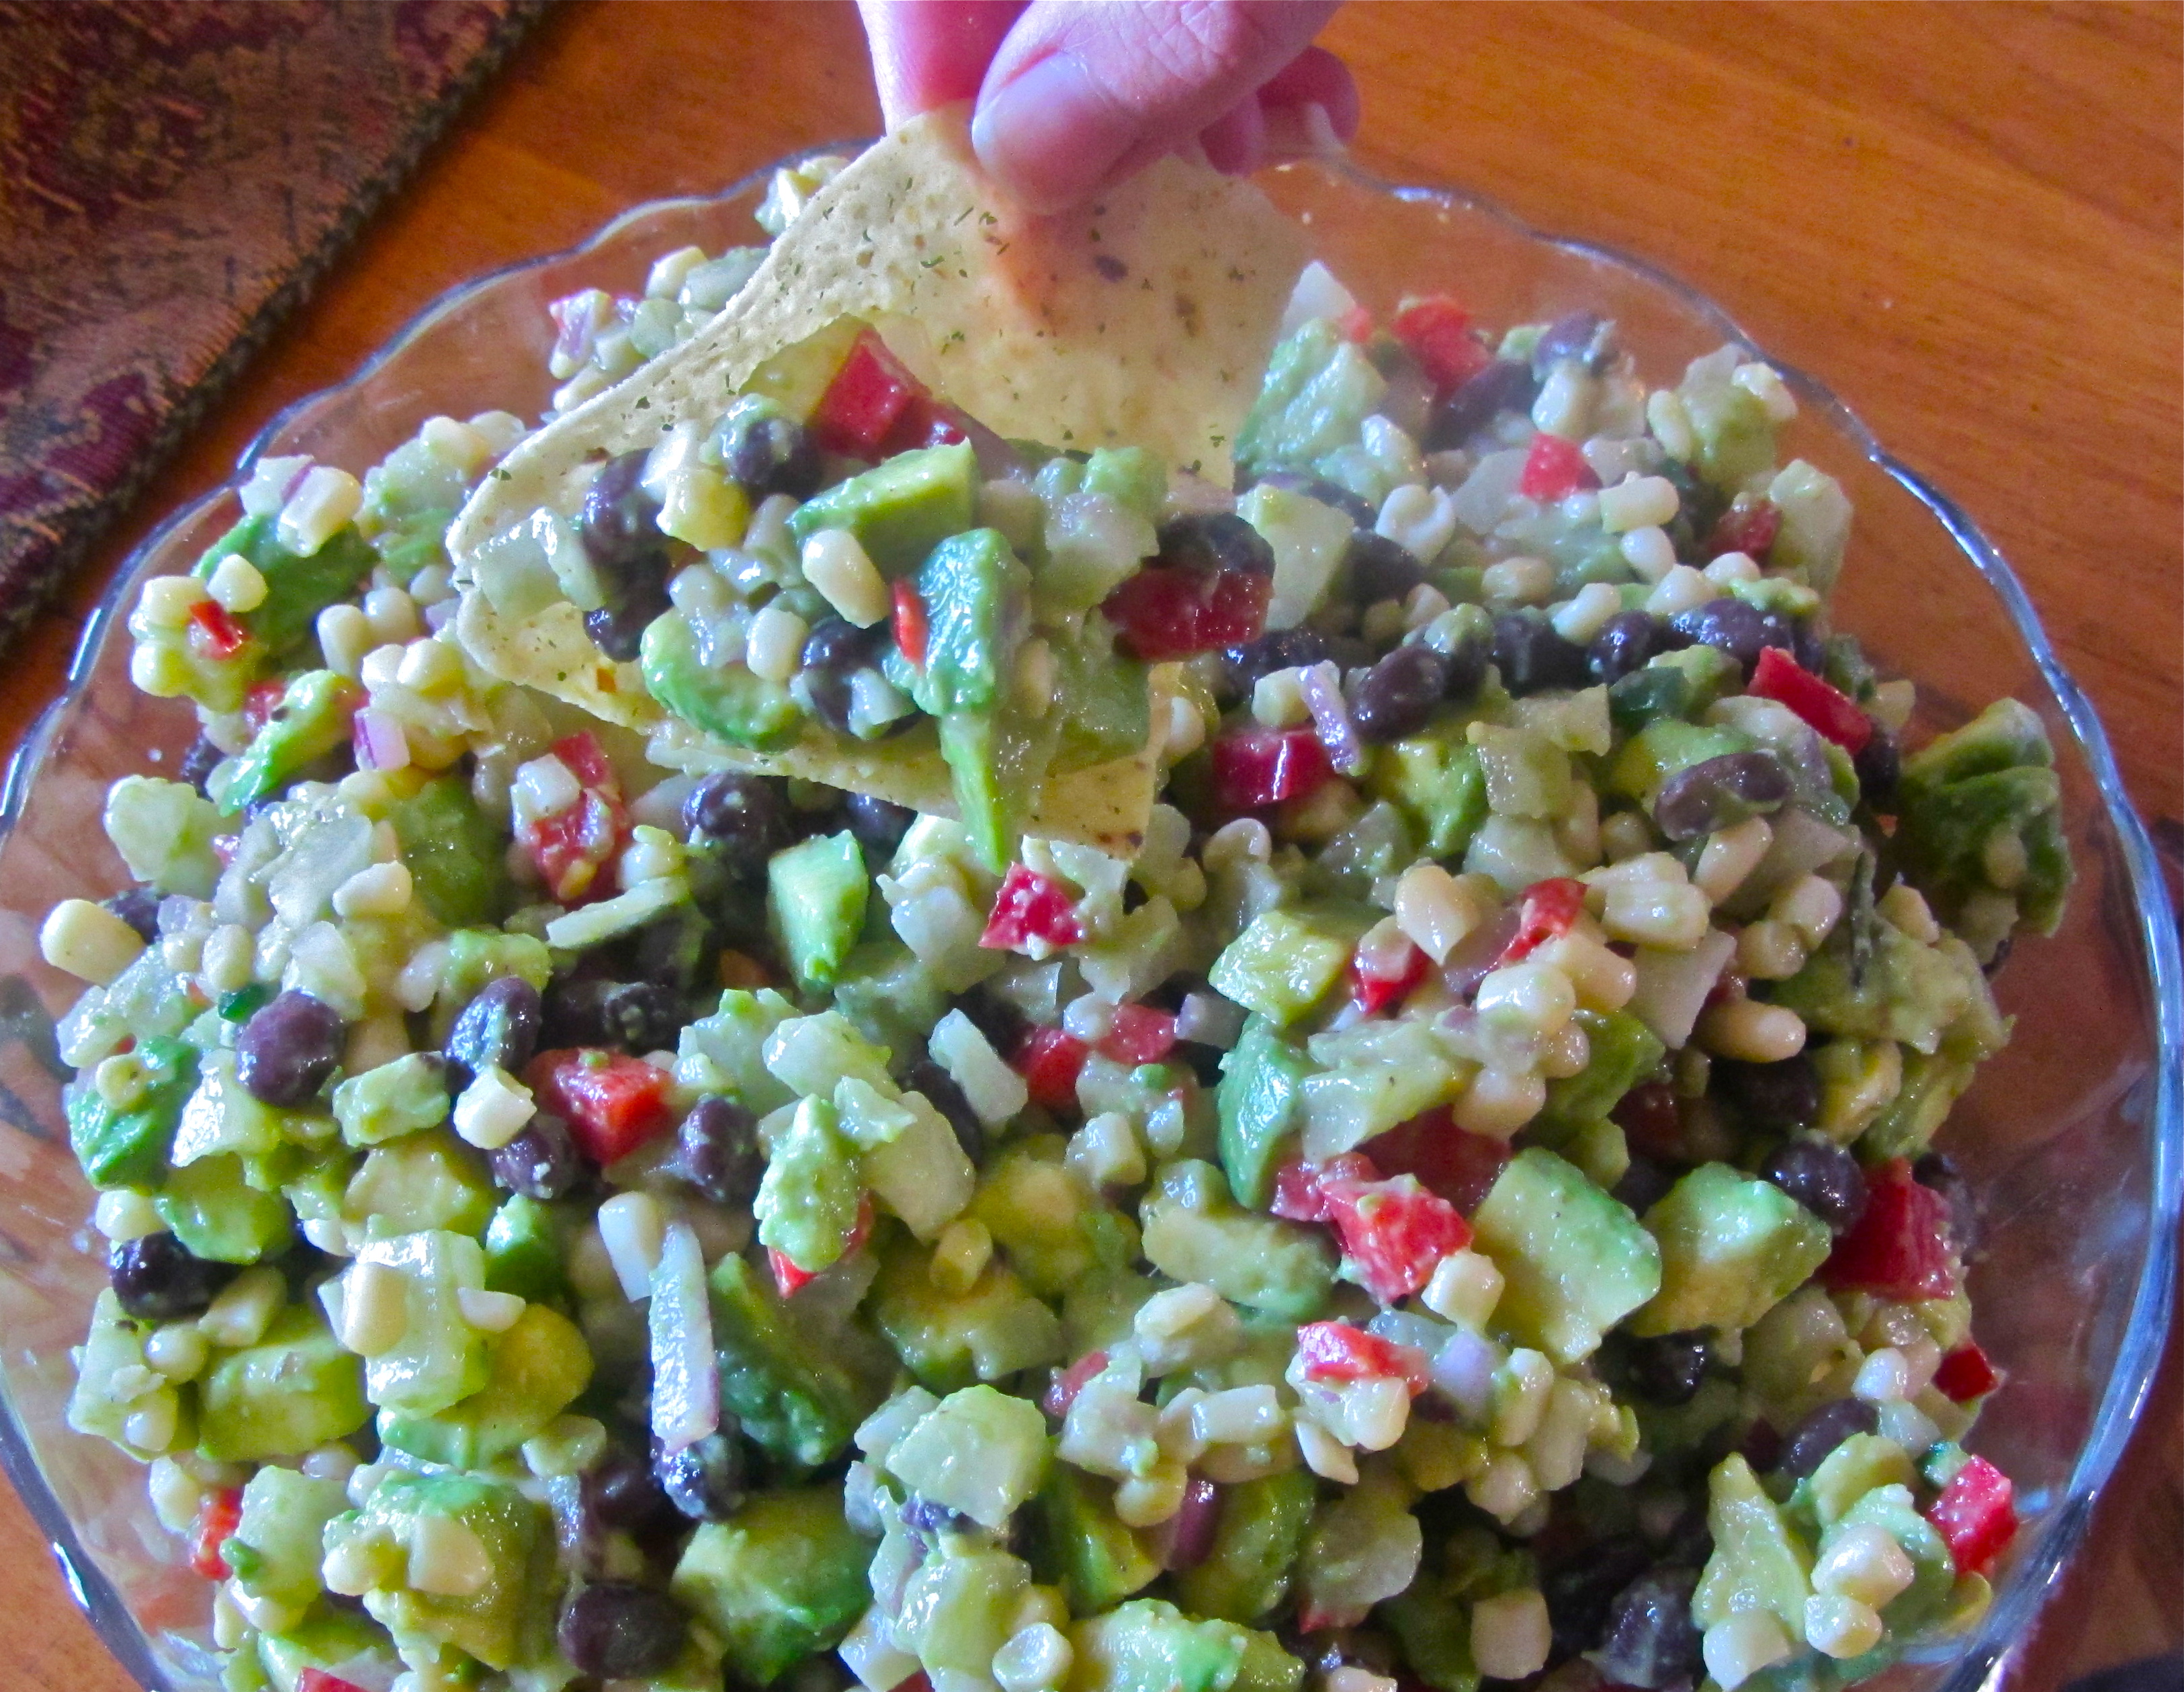
Add all ingredients to bowl and mix
Add olive oil, lime, salt and pepper
Mix with a spoon
Serve with chips

Note: If you want to make hours ahead of time, add White Shoepeg Corn, Jicama, Serrano Pepper, Red Pepper, Red Onion and Black Beans to a bowl. An hour or so before the party, add Avocado and season {Olive Oil, Lime, Salt and Pepper}.

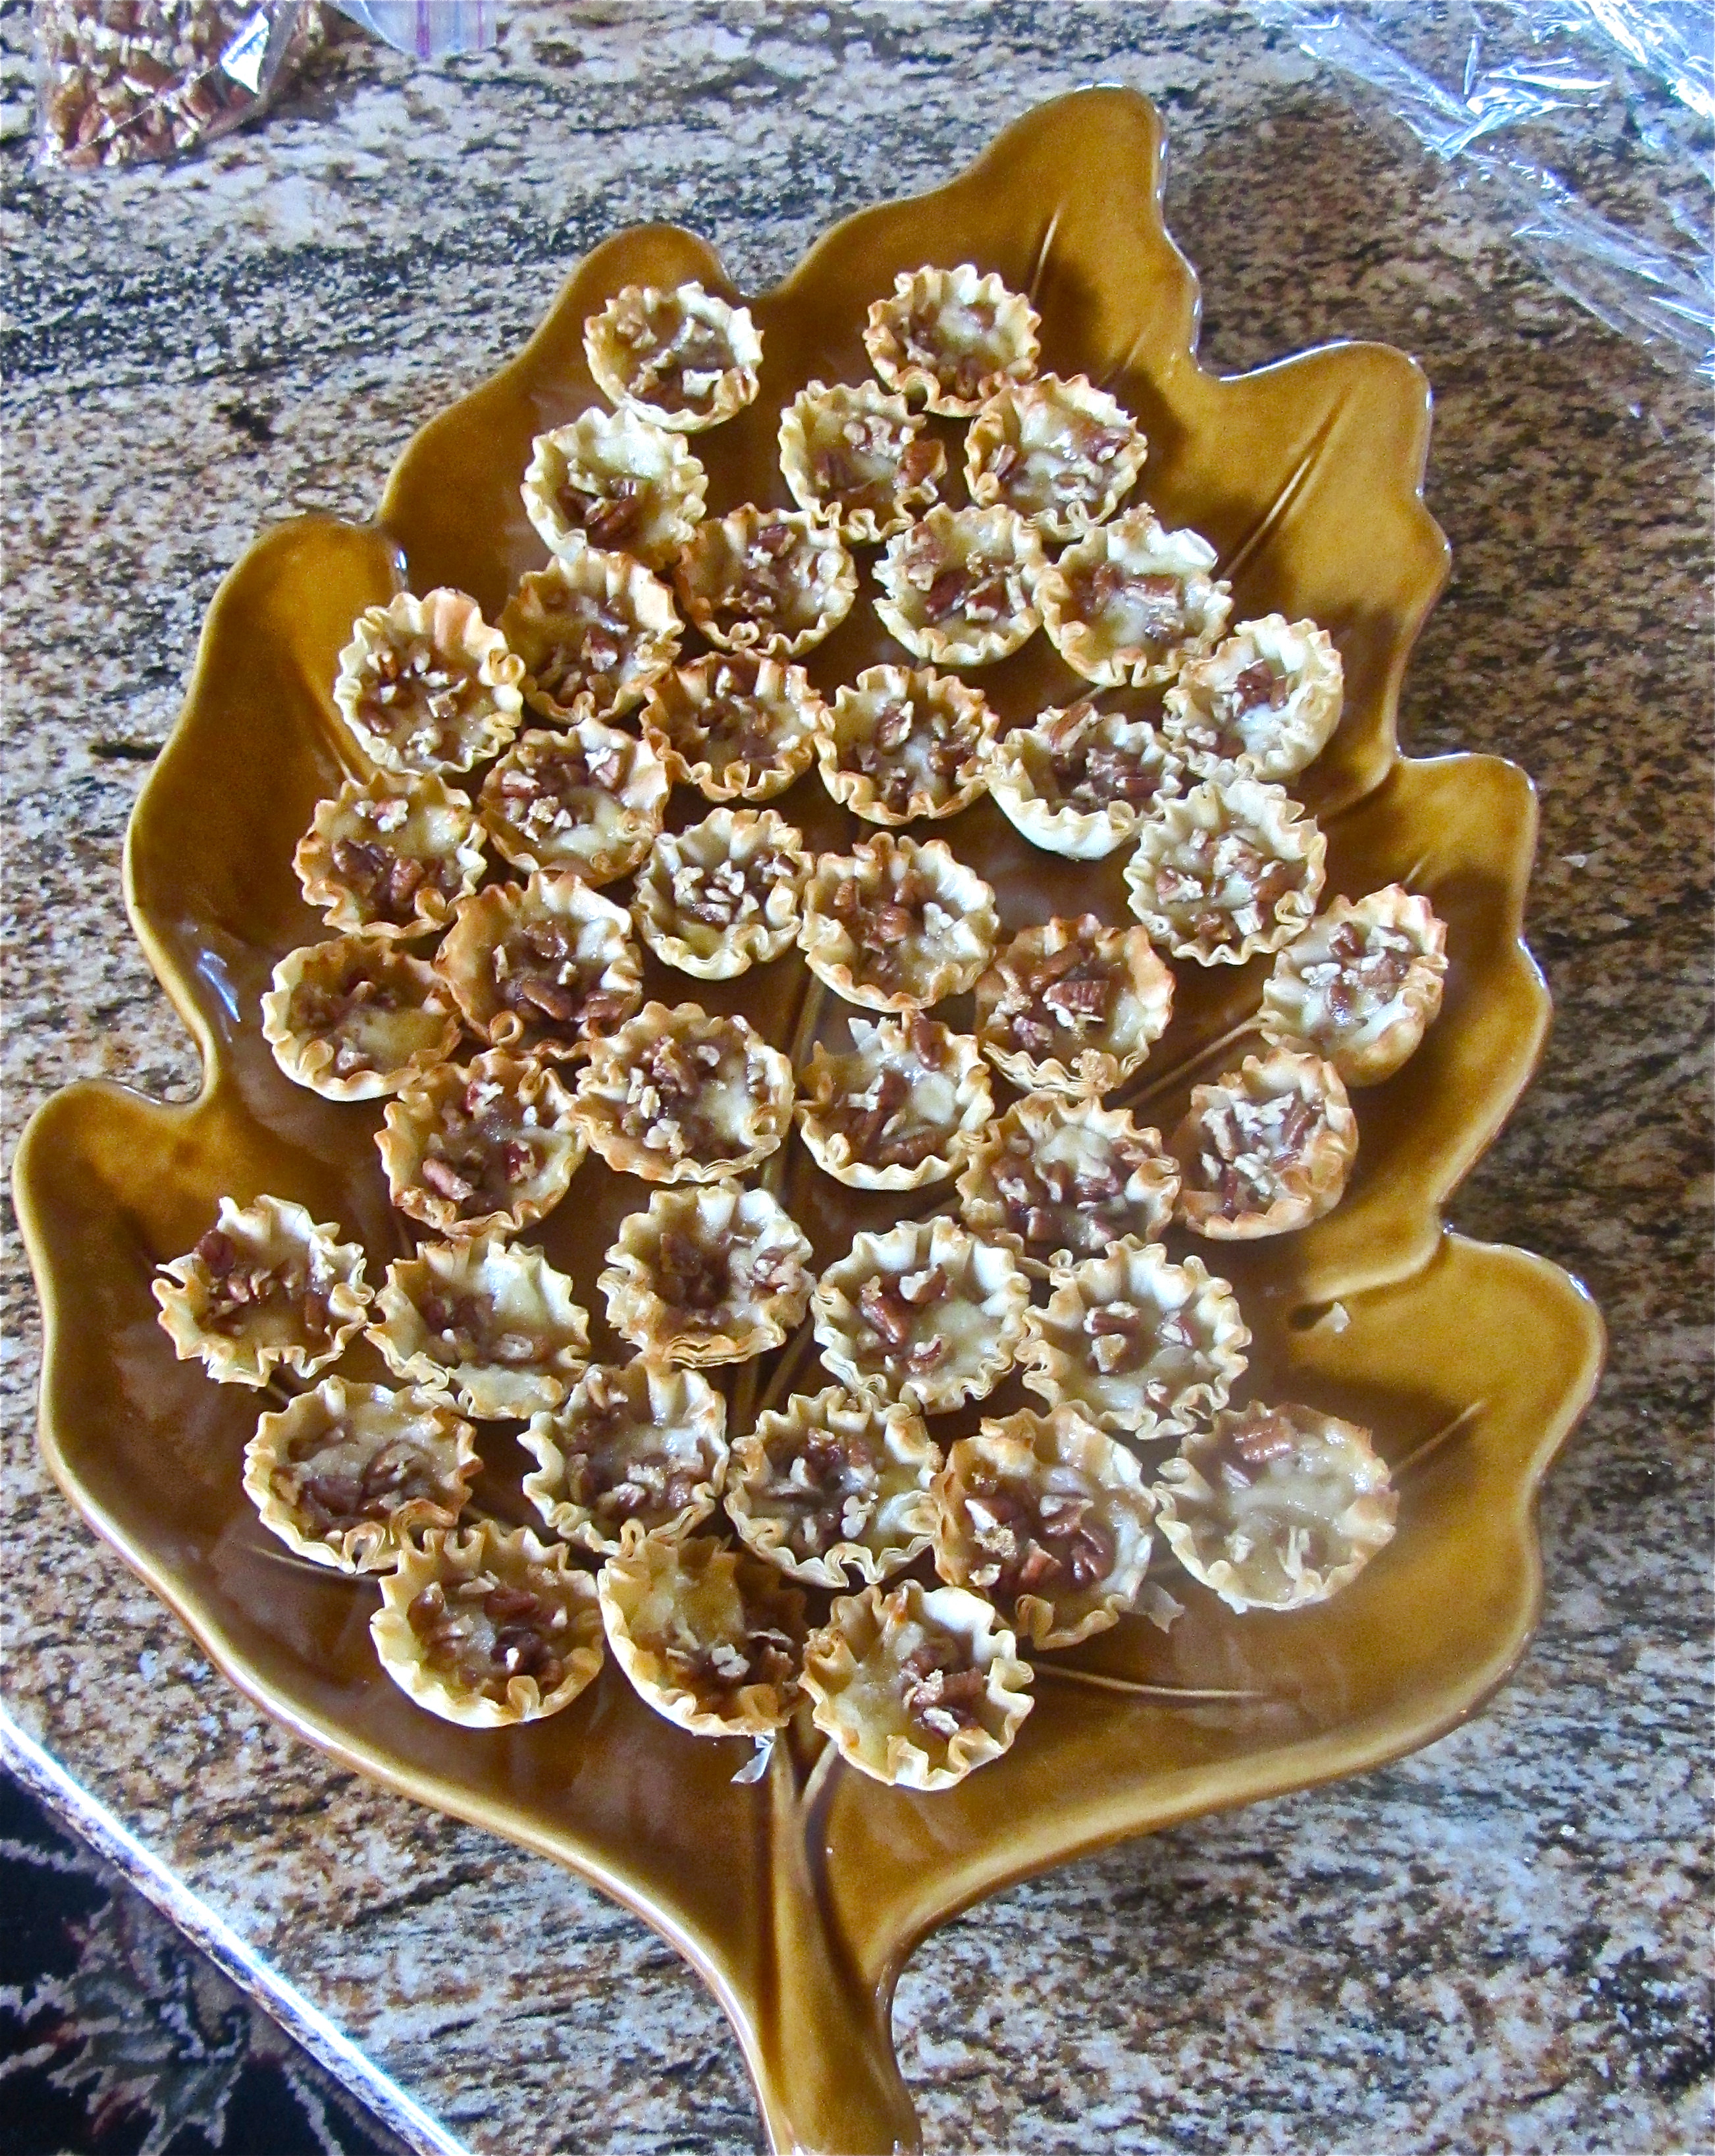
Baked Brie Bites
{original recipe by Plain Chicken, but you can also find the recipe at Pizzazzerie}.

Ingredients
1 package mini fillo sheets
4 oz. Brie
Chopped Pecans
Brown Sugar
Honey

Visit Pizzazzerie for the directions on how to make. This recipe is a MUST. Seriously, it’s so good and a quick, easy and fabulous go-to recipe to keep on file.

Hope you and your lucky guests enjoy these delish apps!

{images via Tutto Bella}
girl scout cookie remix

Girl Scout Cookie season is {finally} upon us, and I am loving every second of it!

If you’re a Thin Mint and Samoa lover like me, these recipes are going to be hard to resist 🙂

Girl Scout Thin Mint Oven Strudels from Picky Palate
{find the complete recipe here}

Thin Mint Cake Pops from Life and Food Seattle
{find the complete recipe here}

Samoa Cheesecake Bars from Baking Bites
{find the complete recipe here}

Samoa Popsicles from My Baking Addiction
{find the complete recipe here}

Tagalong Peanut Butter Parfaits from My Baking Addiction
{find the complete recipe here}

{images via Picky PalateLife and Food SeattleBaking Bites & My Baking Addiction}

my funny valentine

We’ve bought boxed Valentine’s in year’s past, but this year we got creative with our words. Some are healthy and others are not, but they are all adorable, and for Valentine’s Day, that’s all that really matters, right? We have cutesy kid-and-adult-friendly DIY Valentine’s for…all the hot mama’s, the stud{s} in your life, all the cutie’s and for those who make you giggle! You can buy them here for just $3, and they are an instant download.

DIY Adult Valentine’s

you are one hot mama
{fill the bag with hot tamales, fold over the custom tag and staple closed}

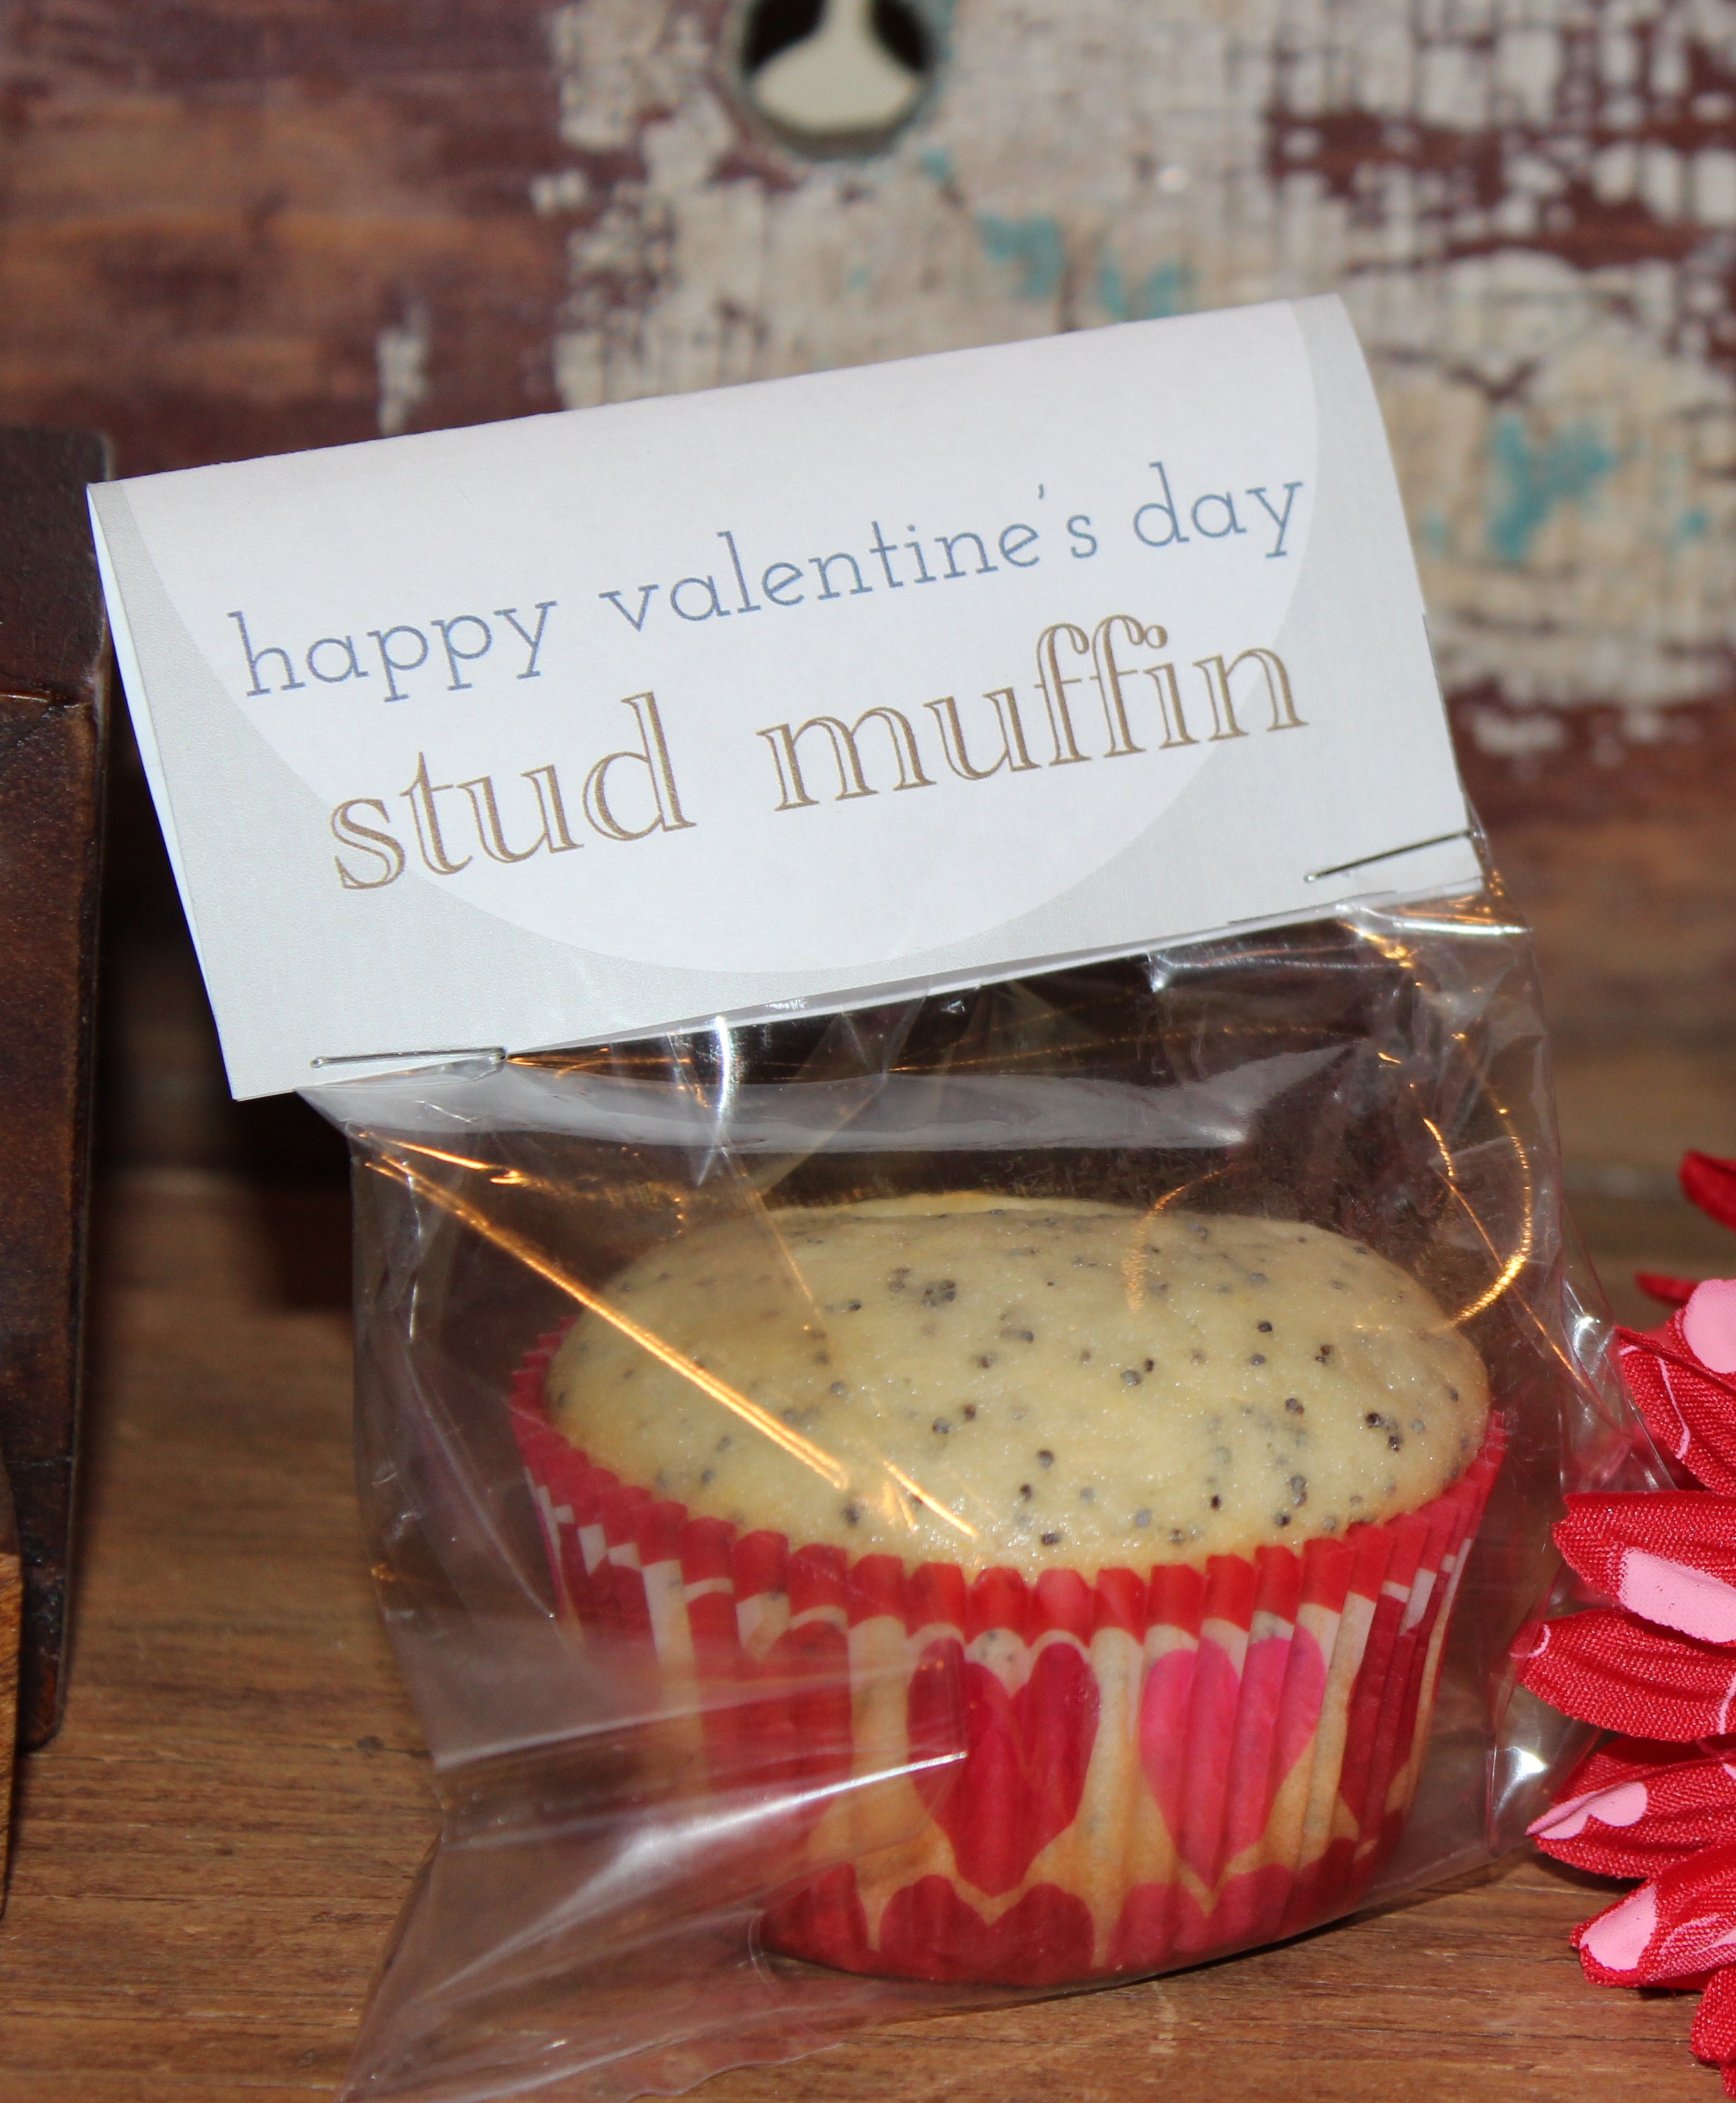
happy valentine’s day stud muffin
{fill the bag with a homemade poppy-seed muffin, fold over the custom tag and staple closed}

Poppy-seed Muffin Recipe
Makes 12 muffins
recipe adapted from our wonderful mom

Add the following ingredients to a large bowl and mix:
2 cups flour
1/8 cup poppy seeds {a used a little more, but less than 1/4 cup}
1/2 tsp salt
1/4 tsp baking soda
1 cup sugar
1/2 cup butter

Add 2 eggs{1 at a time} to the above ingredients and mix well

Add 1 cup plain yogurt and 2 tsp. almond extract and mix into the rest of the mixture.

Put the muffin mixture in baking cups and bake in the oven on 400 degrees for about 15-20 minutes {It took me about 18 minutes}.

DIY Kid Valentine’s

i think you are quite a cutie
{fill a bag with clementines, fold the custom tag over the top of the bag and staple closed}

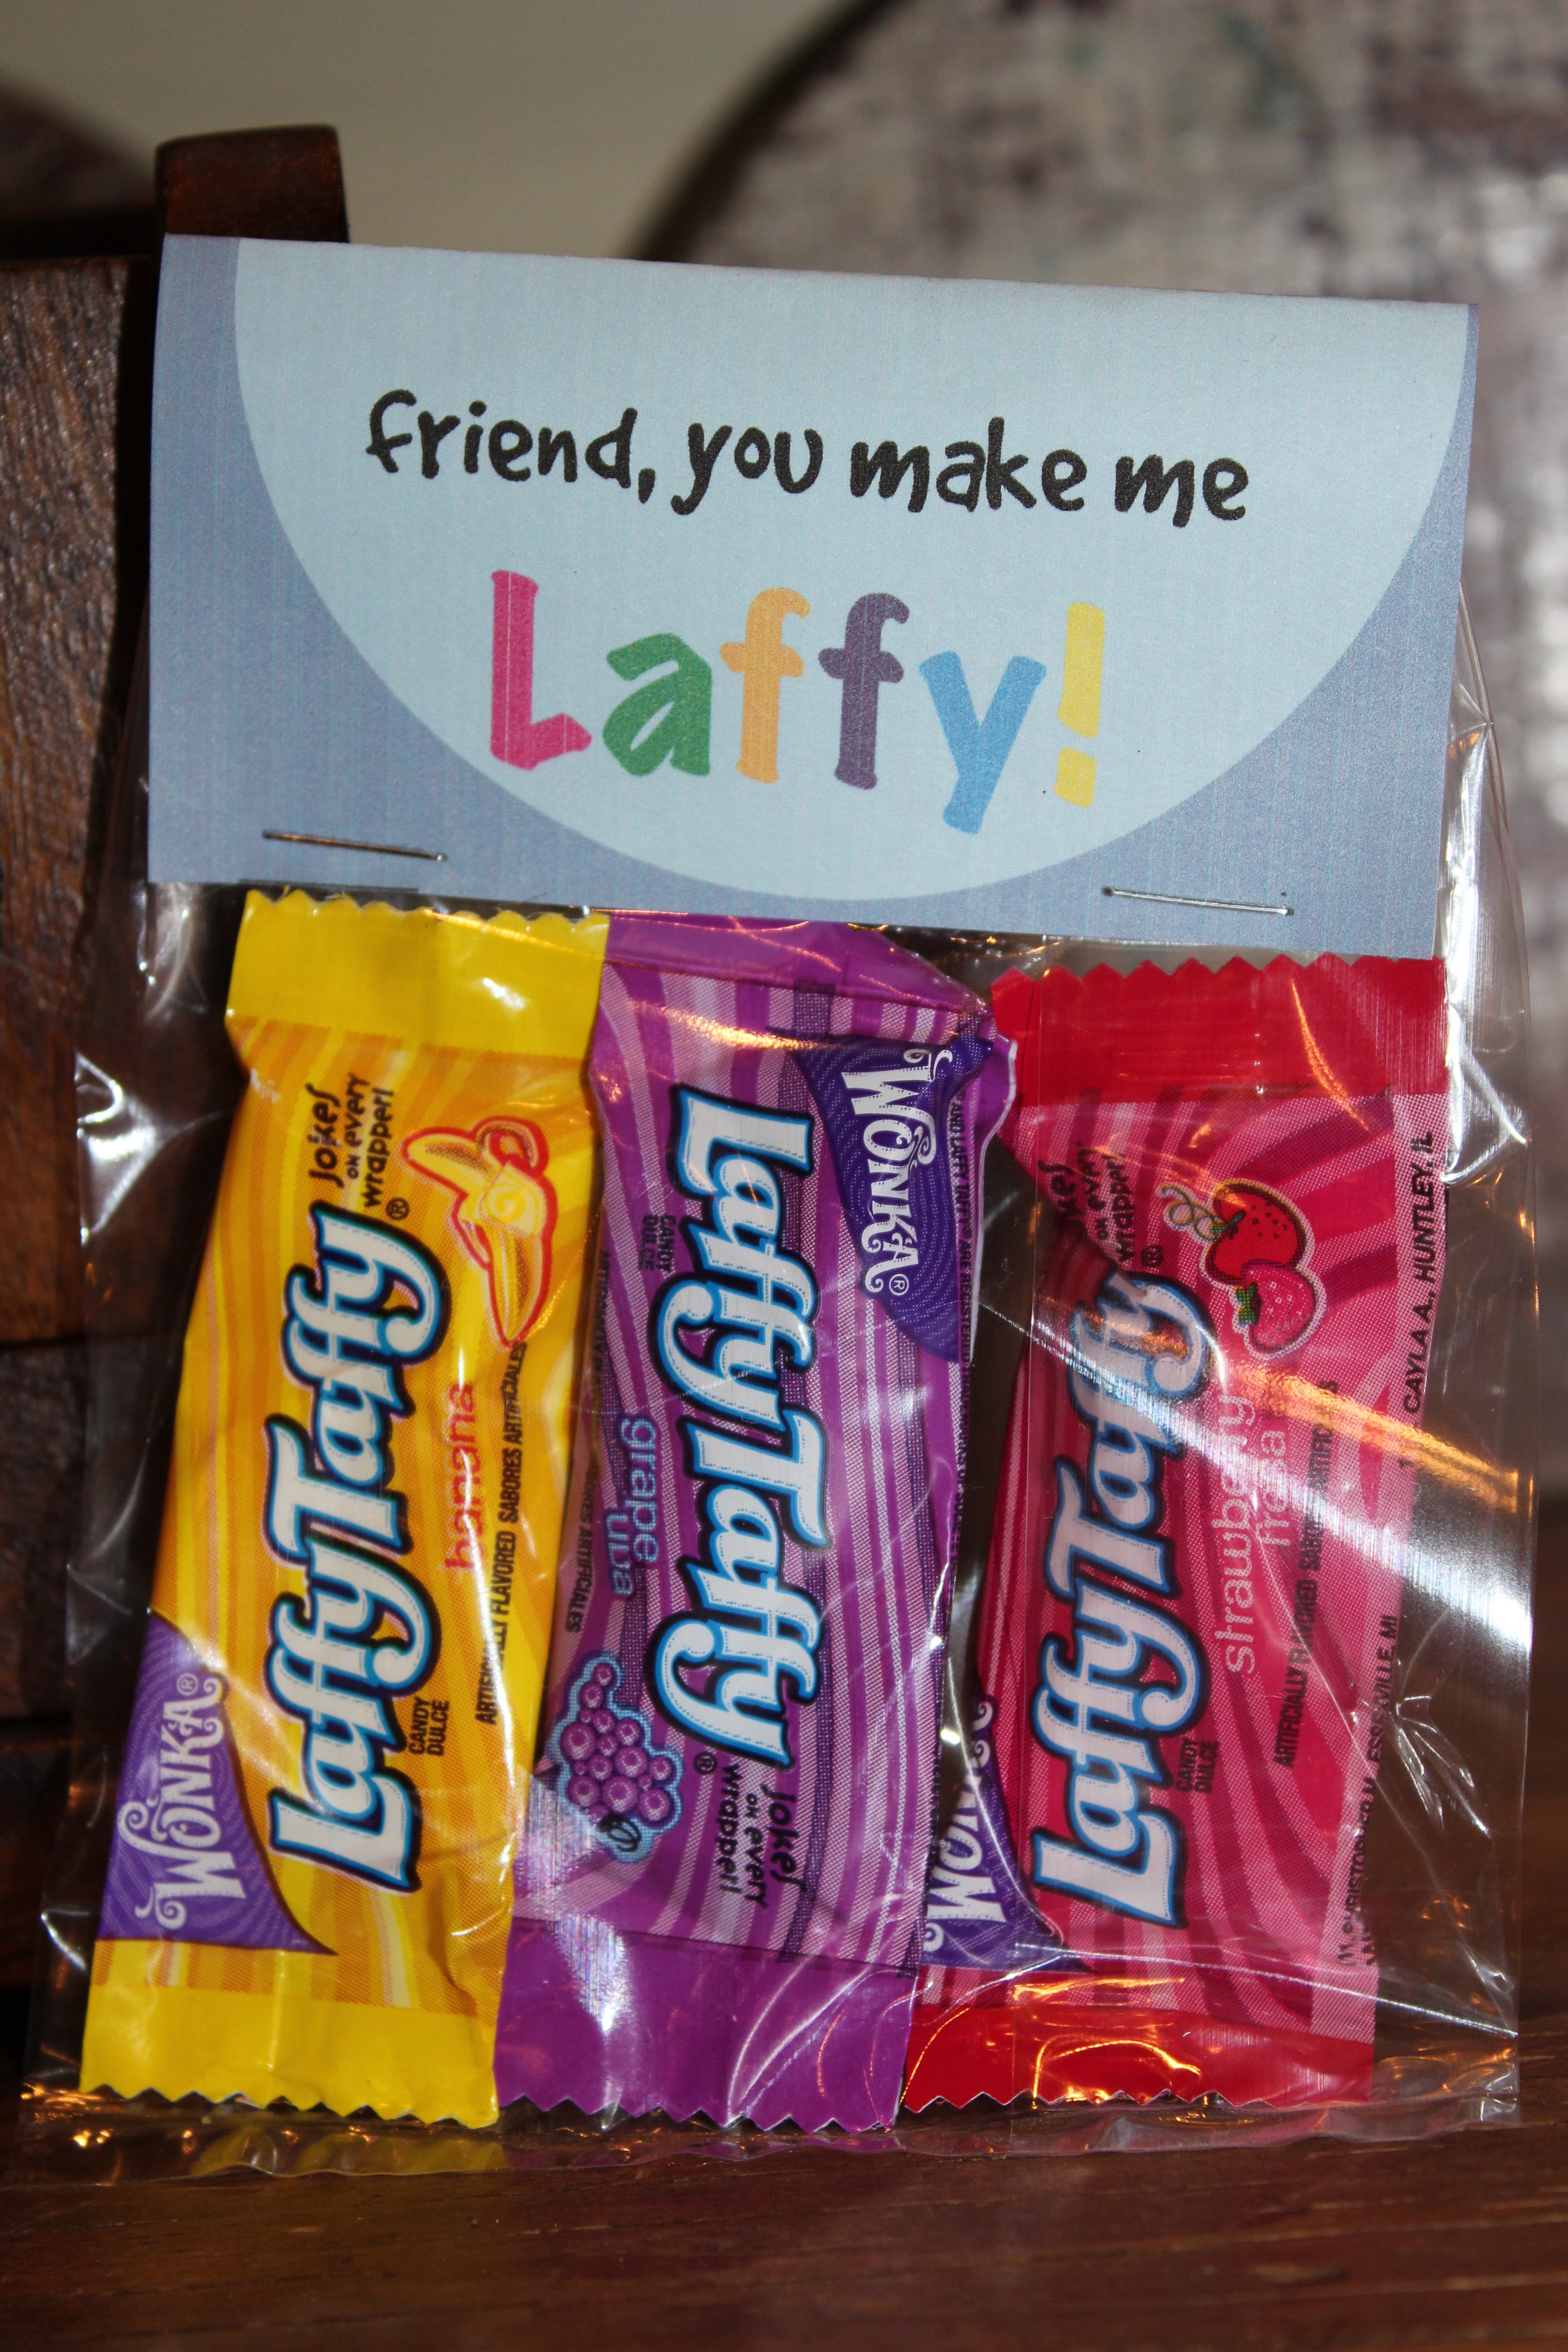
friend, you make me laffy
{fill the bag with laffy taffy for your silly friends, fold the custom tag over the bag and staple closed}

Last year’s fold-over labels {above} were so popular, we revamped them, and we did it with colorful stripes.

If your looking for the original cutie file {the orange bubble}, you can buy it here.
The original laffy taffy file {the blue bubble} is available too.

Tags are 2×4. Purchase them here.