Honeycomb Ball Gift Toppers

white-wrapping-paper-honeycomb-balls-colors-rudolph-elf-hat-north-pole-charlie-brown-christmas-tree-diy

Unless your like our grandma who use to carefully unwrap each and every gift to save the wrapping paper, why spend the time to beautifully wrap a gift when it’s ripped off in less than a second and then thrown in the trash? We’re not exactly sure, but we will say that it’s fun to make pretty things, and just like an invite or an outfit, it’s a reflection of your style and an opporunity to get creative, which we just can’t resist.

This Christmas, we made hand-drawn and traced Christmas DIY wrapping paper, colored with the kids help, and topped with colorful mini honeycomb balls. It’s easy and fun, plus everything is cuter with a mini honeycomb ball.

white-wrapping-paper-honeycomb-balls-colors-rudolph-elf-hat-north-pole-charlie-brown-christmas-tree-diy

Honeycomb Ball Gift Toppers

You’ll Need:

Directions:

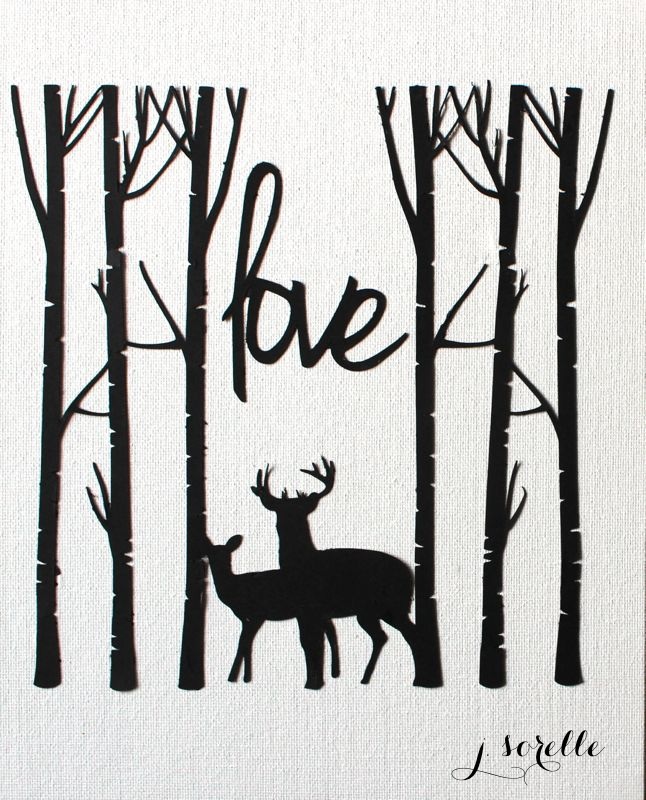
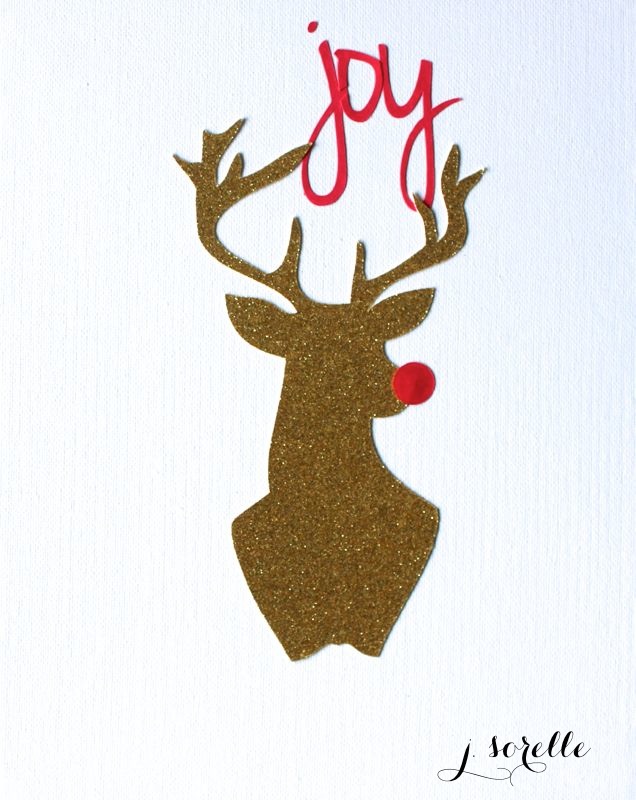
Brainstorm images you want to draw or trace. We went with some of our favorite images we associate with Christmas – an elf hat, a silhouette of a reindeer with a Rudolph nose, the North Pole pole and the droopy Charlie Brown tree. For the Rudolph we cut it from a photo online.

charlie-brown-christmas-tree-diy-christmas-wrapping-paper

diy-elf-hat-wrapping-paper-christmas-diy-honeycomb-ball

diy-rudolph-wrapping-paper-diy-red-honeycomb-ball-white

north-pole-wrapping-paper-diy-christmas-red-honeycomb-ball

Wrap gifts with white paper. If you are going to trace the images on the wrapping paper, simply print the images from the internet, and half wrap your gift, leaving the sides open to insert the paper under the wrapping paper and on top of the gift. Trace the image, then remove from the gift and completely wrap the gift.

Color the images.

white-wrapping-paper-honeycomb-balls-colors-rudolph-elf-hat-north-pole-charlie-brown-christmas-tree-diy

Use double-sided tape on the back of the mini-honeycomb balls, open them half way, and place on the wrapping paper.

charlie-brown-christmas-tree-diy-christmas-wrapping-paper

Add a name tag and place under the tree.

Wishing you happy wrapping times this holiday season.

Day 1: DIY Christmas Art

diy christmas art_jsorelle

On Friday, we announced a BIG DEAL from SilhouetteAmerica.com {promo code SORELLE} happening through Dec. 8. So, today we’re going to show you a little of what a Silhouette Portrait can do.

Today is also the start of j. sorelle’s 12 Days of Christmas. For 12 days, we have fun, creative and festive Christmas DIY projects, holiday party necessities and gift ideas for you!

Without further adieu…

On the first day of Christmas, j. sorelle gave to you…DIY Christmas art.

diy christmas art_jsorelle

We’re dreamy for deer this time of year, and we love the nostalgic, fuzzy feelings we feel when we see a photo of a freshly cut Christmas tree strapped to the top of a red car. Now, we can display our favorite holiday images in our homes with our own Christmas Art. We call our art Deer Date, Merry Merry and Oh Joy

You’ll Need:

How To:
Step 1: Design and cut the art using your Silhouette Studio software and Portrait or CAMEO cutting machine. They have so many beautiful and fun artwork options you can purchase for .99 each. If you don’t have a Silhouette and want one for Christmas, check this out. And, if you don’t have access to a Silhouette, you can trace and use cut outs and pre-cut art.

Step 2: Use a paintbrush to paint Modge Podge on the back of each cut out and place on your blank canvas.

DIY christmas wall art

diy christmas art

Step 3: Once all art is in place, find a place with really good ventilation and spray sealant on your art.

Step 4: Display.

deer date

oh joy

DIY christmas art_jsorelle

christmas wall art

#ColorizeYourParty

{images via j. sorelle}