candy-licious decor

No better accessory than candy to decorate your home for Halloween, right? 

Bring our your inner Martha for these easy DIY candy projects. Stock your pantry with canning jars, black licorice, candy corn, gum drops, gummy worms and jelly beans, and don’t forget a hot glue gun…

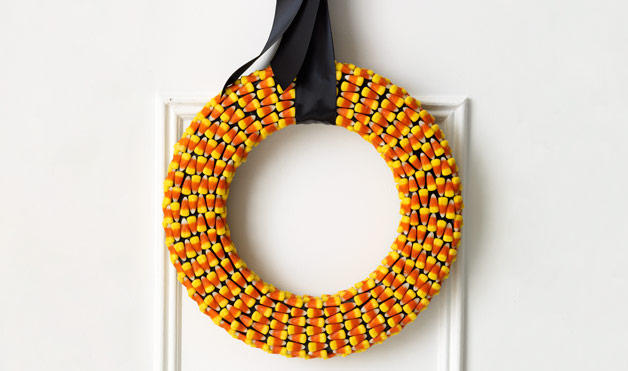
Candy Corn Wreath
For the step-by-step tutorial, visit Woman’s Day.
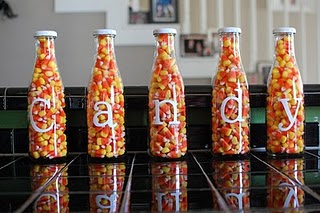
Candy Corn in Bottles
Visit the SUPER mom’s site for more how-to details.
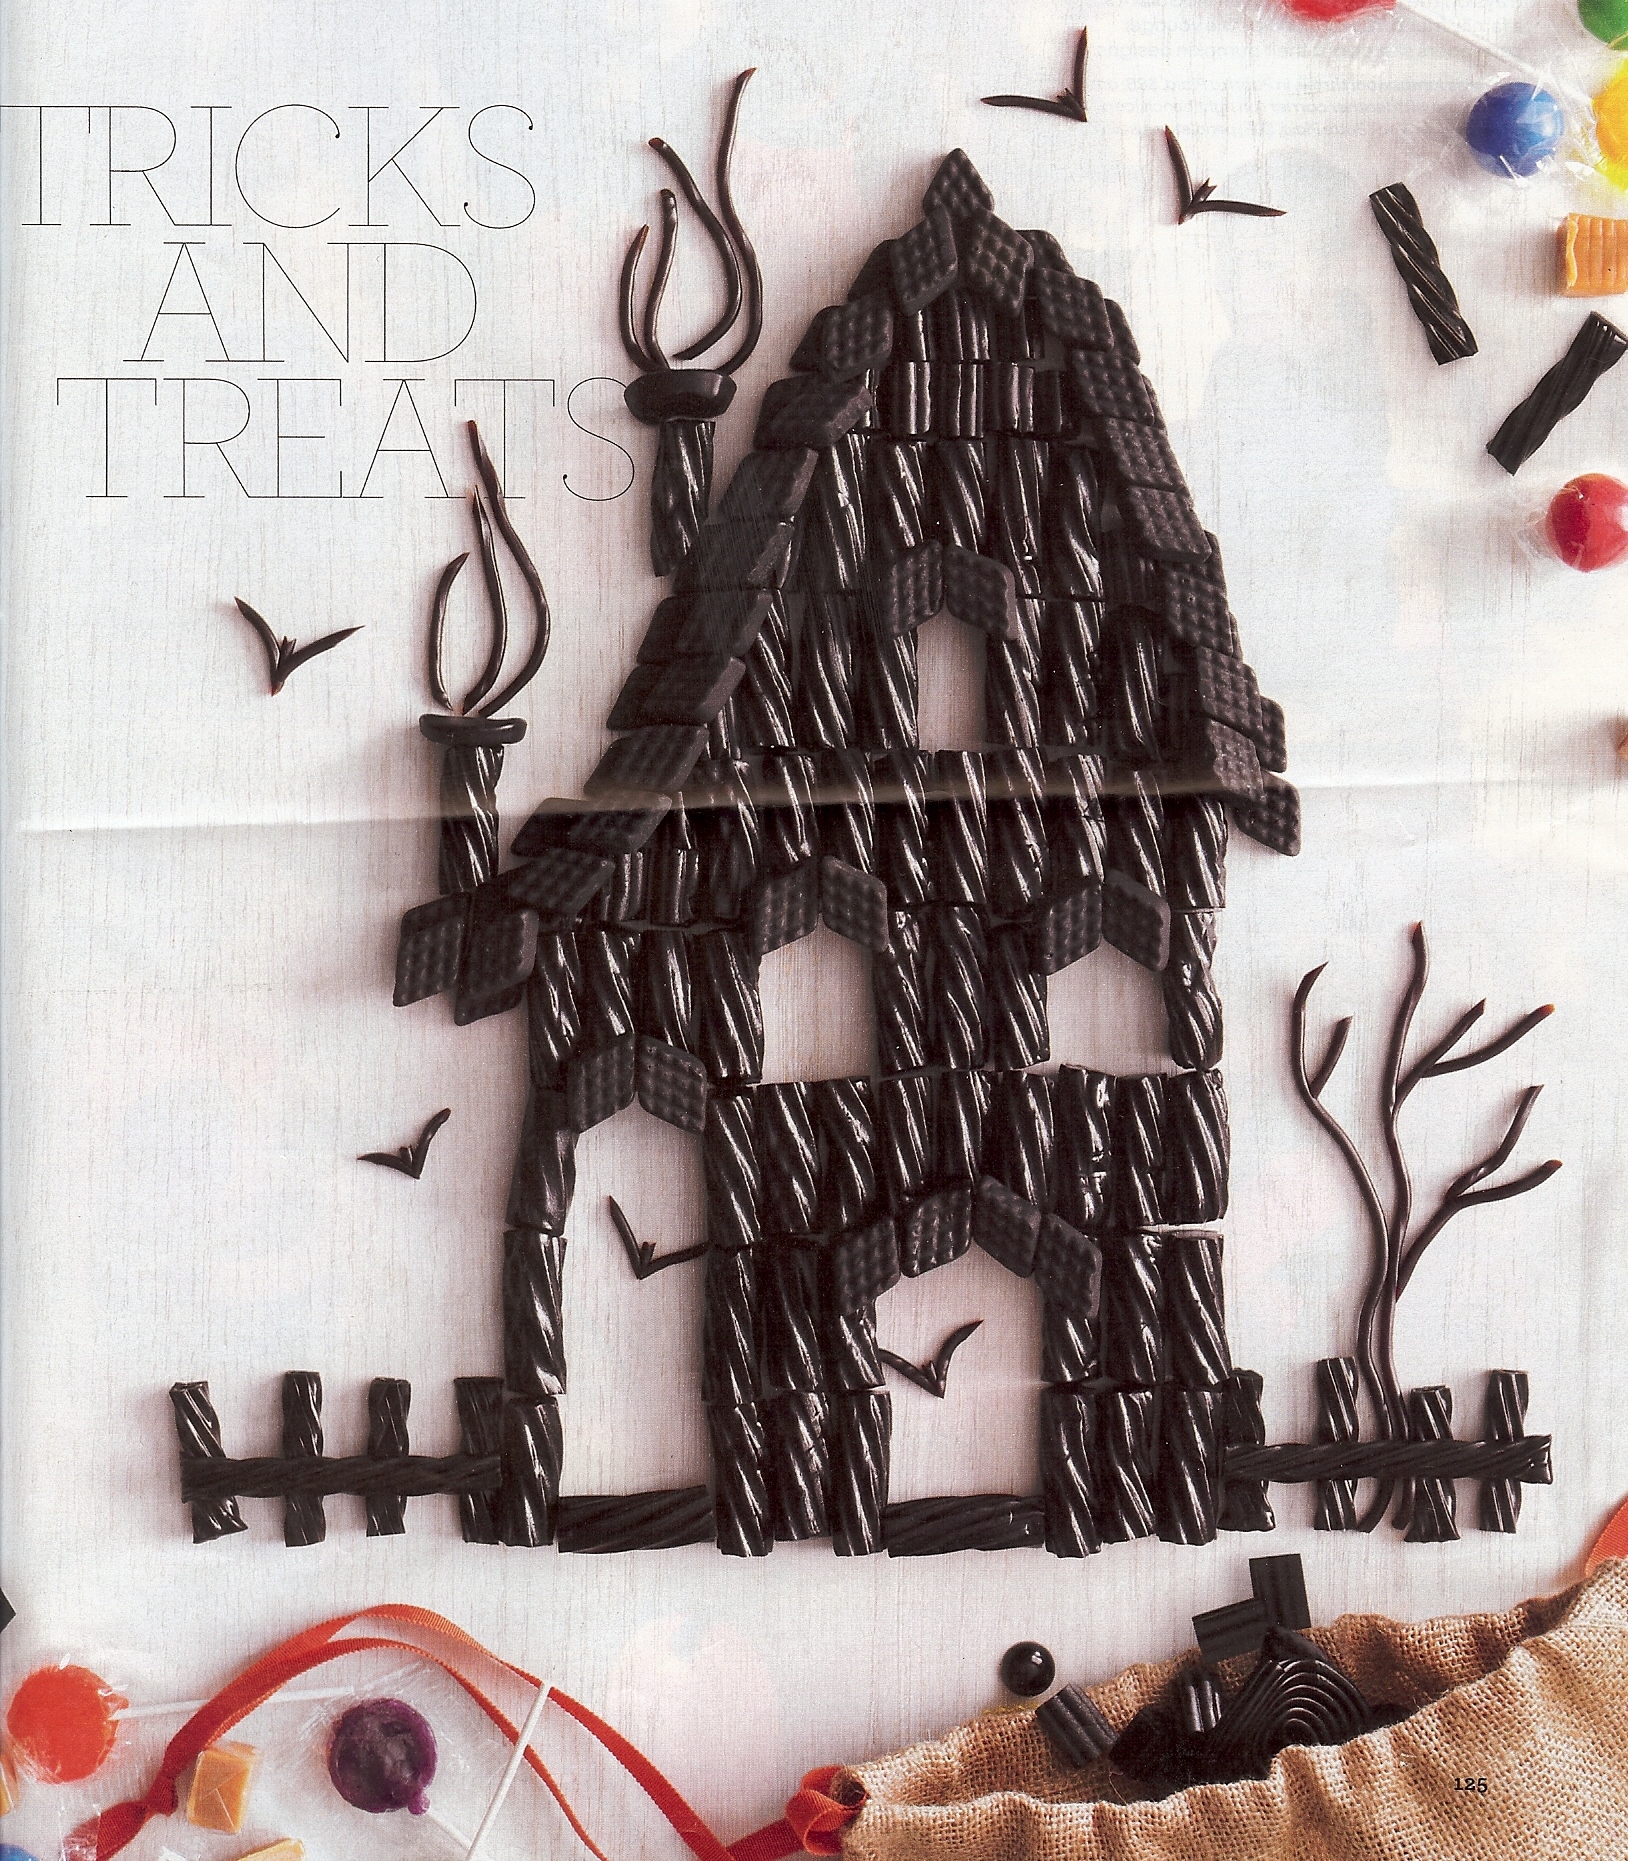
 Haunted Mansion {made of candy}
Gather the kiddos and their friends for this activity. Buy black licorice and any other spook-tacular candy you can find, buy foam core or thin wood slices and cut to a 8×10 size and a lot of glue and/or frosting. Let your imagination fly and use candy to design and decorate a haunted mansion.
Candy Topiary
The Crafty Sisters provide all the fun details and insider tips here.
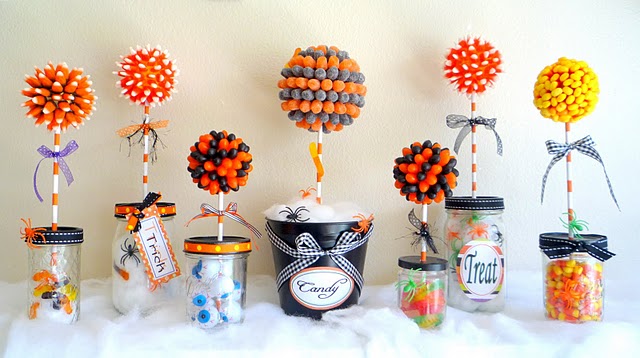
{images via Woman’s Day, Random Thoughts of a Supermom, Martha Stewart and Crafty Sisters}

bugalicious fun

My sweet babies turned 1-year-old and 3-years-old last week. This year’s party theme…bugs. Caterpillars, ants and worms, and ladybugs for our little lady.

I think it’s just the cute decor possibilities that lured me into throwing a bug party because I am the type to scream and panic when I see bugs, and the thought of anything crawling on me gives me the creeps. But, it was a really fun party for the kids. We did it on a budget this year, so although I would’ve liked to do a lot more, the credit card will thank me at the end of this month. 🙂

We served brunch – egg casserole, blueberry coffee cake, fruit skewers, a delicious french toast casserole and a yogurt bar along with a milk and juice {and champagne for mimosa’s for the adults} bar.


We served Potted Chocolate Mint Pudding with gummy worms in 1/2 pint mason jars and “bug candy” for dessert.

I found a frame with wire in the middle, and used it as a prop for photos on the yogurt bar. Jameson, ages 1, 2 and 3 were on display, and for Gabriella, months 1 through 12. I used numbered labels made by Jenna at Fleur de Lis, and used a hot glue gun to adhere them to clothes pins.

I tried the crepe paper weave, and it was super easy and cheap – 2 rolls of crepe paper for 97 cents each. Steal!

Caterpillars, made of balloons, made appearances throughout the inside and outside of the house.

Fleur de Lis designed all the paper products for the party including the adorable invite, water bottle labels, tags and toppers.


 We bought bug catchers from Michaels for each toddler and found bug-catching tools to place inside. Before everyone arrived, we hid candy and big fake bugs {from Walmart} in the backyard, so once we were ready, the kids were off on a bug hunting adventure.

Once they caught all the fake bugs, we released 2,000 live lady bugs {bought from O’Toole’s Garden Center} they caught in their catchers too.

Exciting news about all the cute paper products for this party – you can customize and purchase for your little ones at Fleur de Lis in Denver. If you don’t live in Denver, you can order through our etsy store here. All the stationery for this party is available for purchase. yay!

{images via Tutto Bella}

popsicle treat for those hot summer nights…and days

It’s hot around here and after a long {and fun} day at the pool and park, nothing sounds better to the kids {and me} than a popsicle. Refreshing.

I’m going for the “one for you, one for me,” motto on this one. Below are yummy recipes for the kiddos and for sophisticated adults!

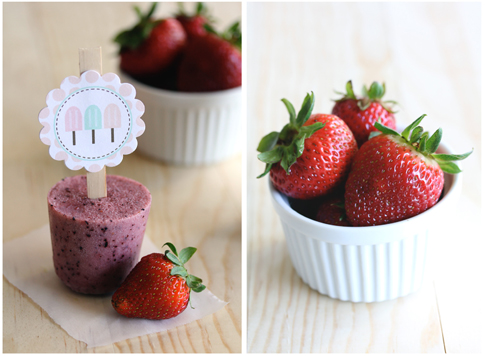
Berry Coconut, recipe via The TomKat Studio

Ingredients
1 cup strawberries
1 cup blueberries
1 can light coconut milk
1 cups water
1 cup apple juice
1/2 cup honey
5 ounce Dixie cups
20-30 Popsicle sticks

How To
Add strawberries, blueberries, coconut milk, water, apple juice and honey in a blender. Carefully pour mixture into your 5 ounce Dixie cups, filling 2/3 of the way.
Place in the freezer for 30 minutes (set your timer), insert your wooden sticks, and continue to freeze until the popsicles are completely frozen, about 6 hours.
When you’re ready to devour, cut and tear the Dixie cups off of the popsicle.

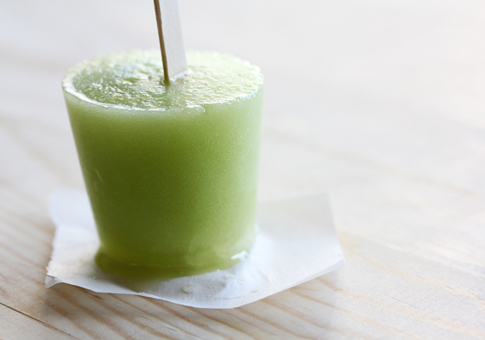
Honeydew Lime Popsicle, The TomKat Studio

For the complete recipe, {created by one of our faves, Lisa, With Style and Grace visit here.}

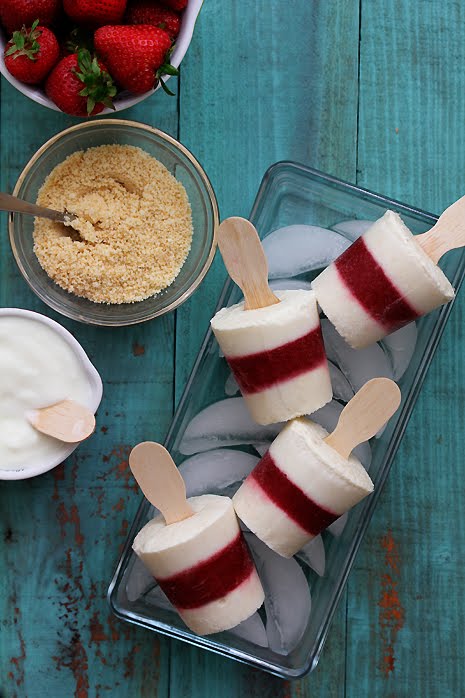
Strawberry Shortcake Popsicle, recipe via Bakers Royale

Ingredients
1 ½ cup puree of strawberries 
½ cup crushed vanilla Oreos
2 cups vanilla yogurt

How To
Puree strawberries
Place Oreos in a food processor and pulse until cookies become fine crumbs {or place Oreos in a Ziploc and use a rolling-pin to crush cookies}.
Add crushed Oreos to the yogurt and mix until combined. 
Layer the yogurt portion first and let freeze for 30 minutes before adding the strawberry layer.
Let the second layer freeze for 30 minutes, and then add the last yogurt layer.

For more notes and tips on this recipe, visit Bakers Royale.

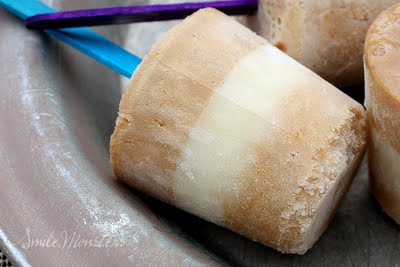
Root Beer Float on a Stick, recipe via Smile Monster

Ingredients
1 12oz. root beer or 1 1/2 cups
1/3 cup whole milk
1 Tablespoon sweetened condensed milk
1/4 teaspoon vanilla

How To
Pour into your cups or molds about 1/3 of the way and freeze for about an hour.
For the cream layer mix together: 1/3 cup whole milk, 1 Tablespoon sweetened condensed milk and 1/4 teaspoon vanilla
Pour the creamy mixture in even amounts into your molds and freeze another hour. Then top off with remaining root beer mixture.
Freeze again but don’t forget to insert your sticks once that top layer has gotten firm.

For more notes and tips on this recipe, visit Smile Monsters.

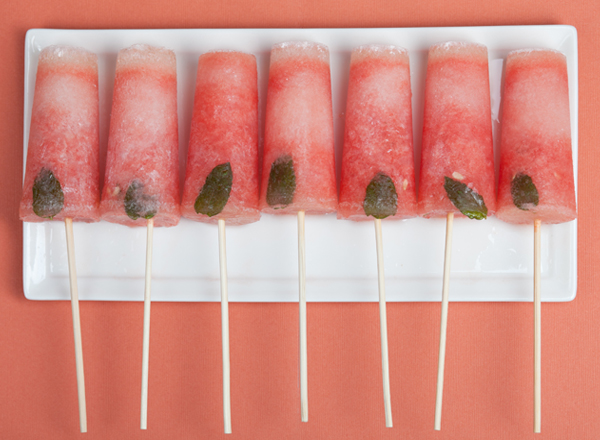
Watermelon Mojito Pops, Sugar and Charm

Find the delicious Watermelon Mojito recipe, visit here.

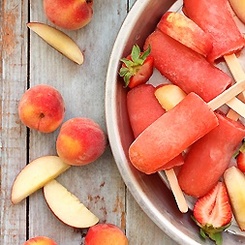
Strawberry Peach Vodka Collins, Endless Simmer 

For the Strawberry Peach Collins recipe, visit here.

{images via Design Sponge, The TomKat Studio, Bakers Royale, Smile Monsters, Sugar and Charm and Endless Simmer}

cat in the hat fun for jacob’s number one

Here’s an adorable Cat in the Hat birthday party for you to see
I took one look and knew I had to share it with not one or two, but at least three

It’s colorful, creative and oh so cute
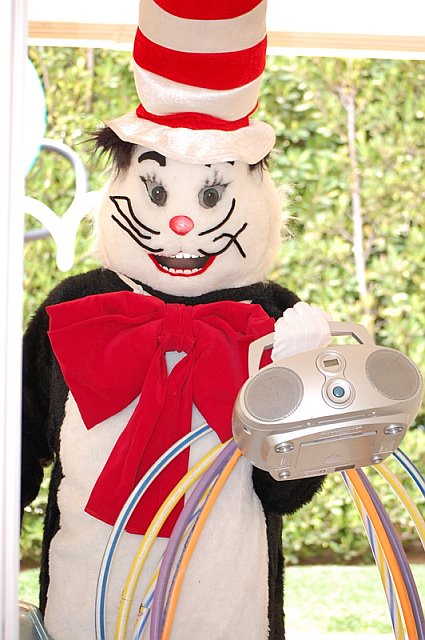
there’s even a special guest in a cat in the hat suit

Not a single detail was missed, yes it’s true
and now its fabulous eye candy for me…and for you too!

family at a cat in the hat party

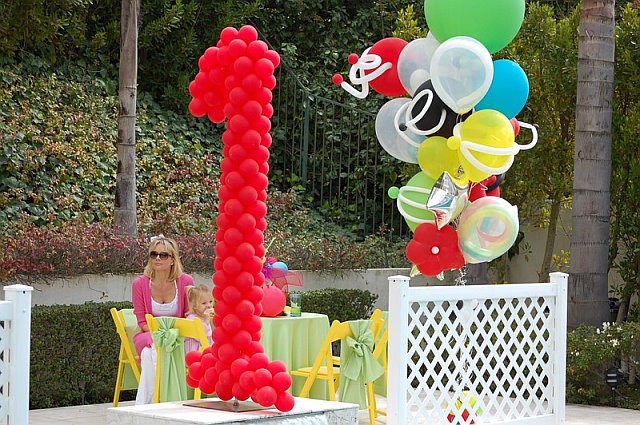
large 1 balloon at cat in the hat party

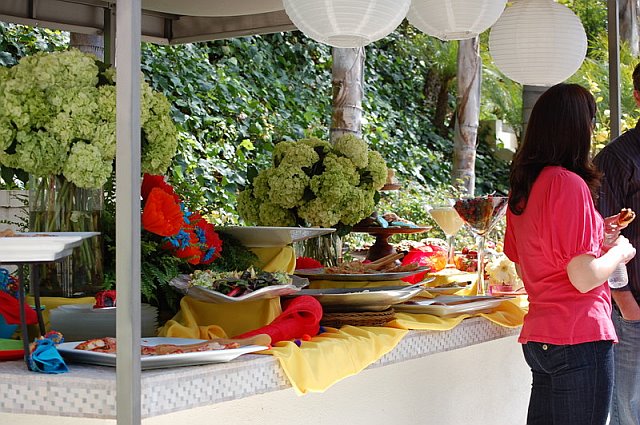
hydrangea centerpiece

cat in the hat special guest

catinthehatcenterpiece

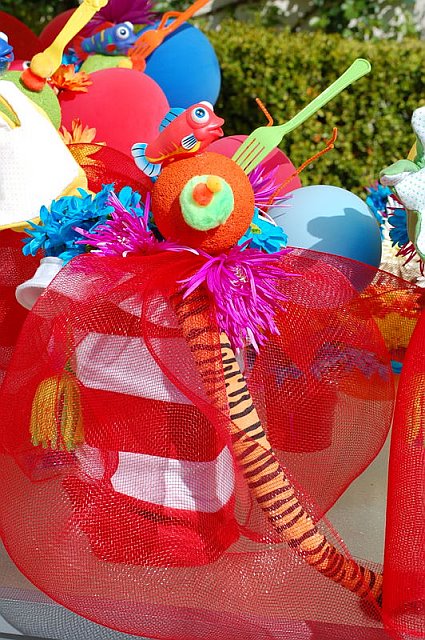
DR SEUSS BALLOONS

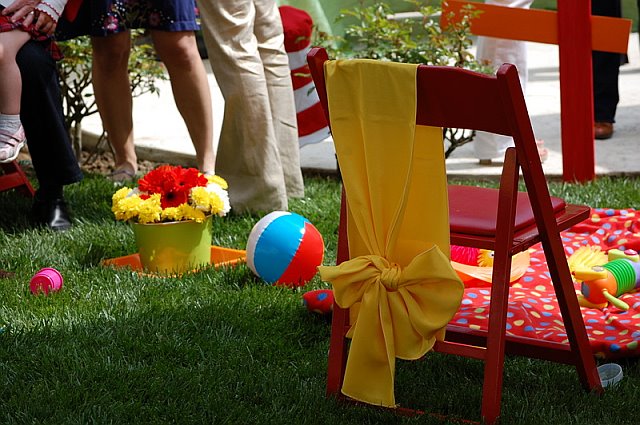
chairtie FOR CAT IN THE HAT PARTY

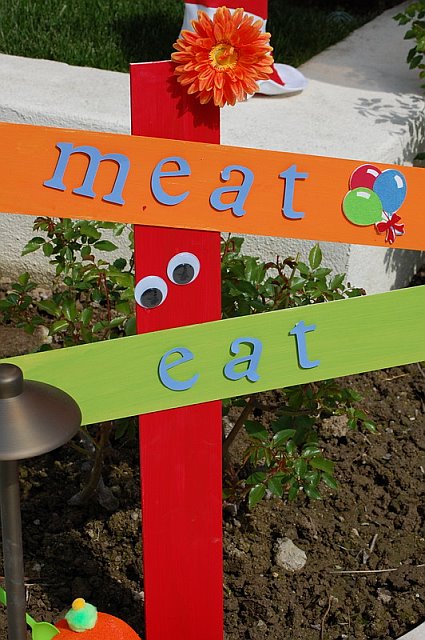
directional signs for dr seuss party

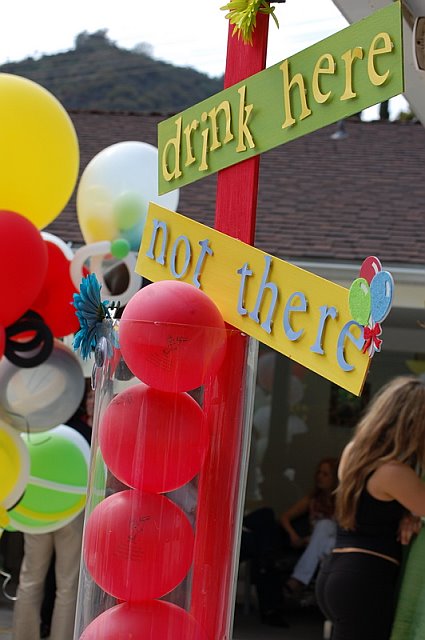
drink here not there sign at cat in the hat party

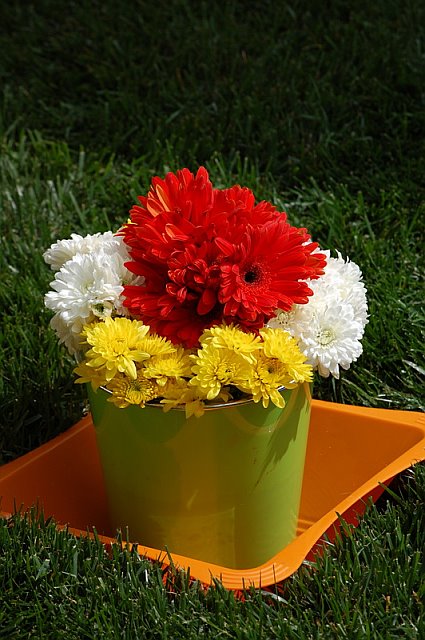
flowers at cat in the hat party

floral centerpiece at cat in the hat party

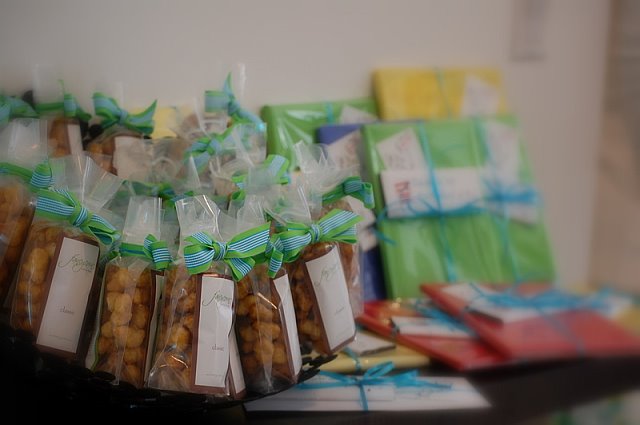
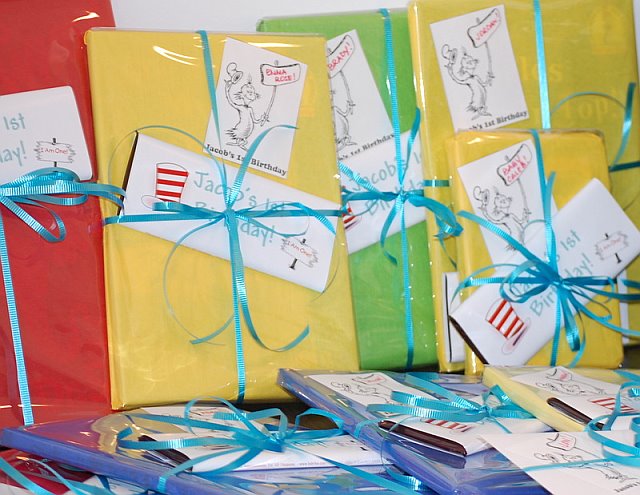
favors at cat in the hat party

books favors

Thank you Amy Feldbaum for sharing pictures of this incredible party you planned for Jacob’s first birthday!

Cookie Monster Party

My kids 3rd and 1st birthdays are quickly approaching, so my mind is churning with ideas for themes, colors, etc. Since I was on the subject of toddler birthdays, I thought I would share my son’s last birthday party.

I was inspired to do a milk and cookies party for my son’s 2nd birthday party after coming across a blog posting by Anne from A. Party Style. My son, Jameson, LOVES cookies; after all, cookie was one of his first words. So, there seemed nothing more appropriate than throwing a cookies and milk party. I liked the brown and white color scheme, but wanted a touch of blue. My son also loves Cookie Monster from the kid-loved Sesame Street, so it seemed perfect…a cookies and milk party with special appearances from Cookie Monster! Once I had the theme, I hit the ground…and Michael’s…running! 

Many of the details are DIY, which I love.

I made the invitations (yes, I cut the cookies and added each chocolate chip with a sharpie in-hand, and the milk bottle). I printed the invites on my computer at home. You can find the paper to do this yourself at Fleur de Lis.

c is for cookie invitation

inside c is for cookie invitation

After “Jameson’s Art to Eating a Cookie” photo session, I had an idea to use an antique window pane I had in the garage for a photo display. I made a frame for all cookie photos using construction paper and double-sided tape.

antique window pane photo display

I couldn’t resist creating a balloon wreath after seeing this birthday wreath at HowDoesShe? It was simple to make and turned out adorable!

diy balloon wreath 

The DIY custom water labels posted on etsy.com from RyCreationShop were just too cute to pass up.  

cookie monster custom water labels

Due to the weather, I had to create a fun game for the toddlers to play inside – what better than a cookie decorating party at a cookie party? I made sugar cookies, and bought icing, a variety of sprinkles, food color pens, etc. The kids had a blast…and had faces covered with chocolate and sprinkles to prove it.

I hung balloons from the arch in the middle of the room, which was a cost-effective way to add color to the party.

balloons

I placed a Pottery Barn lantern with photos of Jameson in the middle of the table. Stay tuned for a DIY tutorial blog post on how to make these lanterns yourself. They are cute, and also serve as a warm ambiance with the candles glowing throughout the evening.  

lantern centerpiece

The party wouldn’t be complete without the birthday boy wearing a cookie monster t-shirt from the ShockNRoll Etsy Shop.

cookie monster shirt

I’m obsessed with striped straws.  The kids loved drinking their milk from them too.

striped straws and shortbread on a stick

The menu of cookie options included homemade chocolate chip cookies, homemade oatmeal cookies, homemade shortbread cookies, oreo cookies, and ingredients to make s’mores by the fire-pit outside.

cookie bar

The kids’ goody bags, with a custom name tag made from cupcake toppers from RyCreationShop, and a custom label printed at home on my computer, contained chalk, bubbles, shortbread cookies and milk with a custom label, “Jameson’s sweet 2% milk.”  

goody bags

shortbread for goody bags

chalk for goody bags

The party was a success, and my little cookie monster loved it!

{images via tutto bella}