mr. and mrs.

his and hers.

Let’s face it, when we get married we become a Mr. or Mrs and things become his and hers. Why not celebrate it with fabulous gifts to give the newly engaged couple, or the newly married couple?

Jonathan Adler ‘Mr. and Mrs.’ Reversible Mug, Nordstrom {$24}

Mr. and Mrs. Cocktail Glass Set, Furbish {$18}

Mr. & Mrs. Burlap Pillows, Simply French Market on Etsy {$58}

His and Hers Pillowcases, Faceplant Dreams
{available for purchase at Fleur de Lis, a paperie}

DIY His and Hers Lampshades, Vintage Revivals
{visit here for how-to instructions}

{images via Furbish, Nordstrom, Vintage Revivals, Simply French Market and Faceplant Dreams}
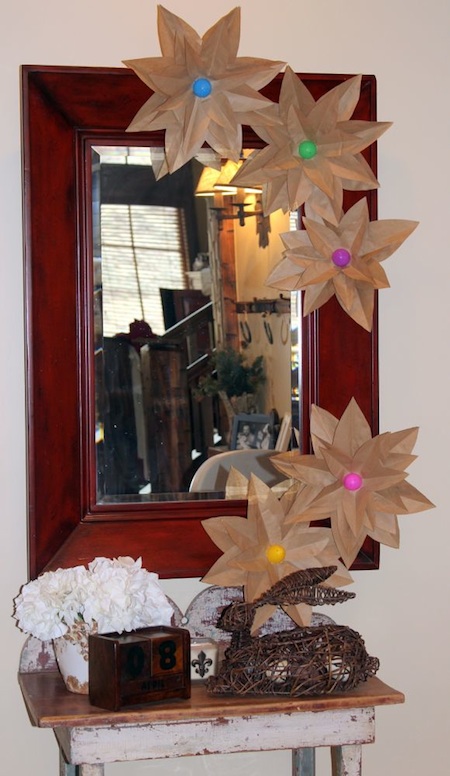
brown paper flowers for easter

What did I do with a couple free hours {nap time}, brown paper bags, easter eggs and inspiration from The Nate Berkus Show?

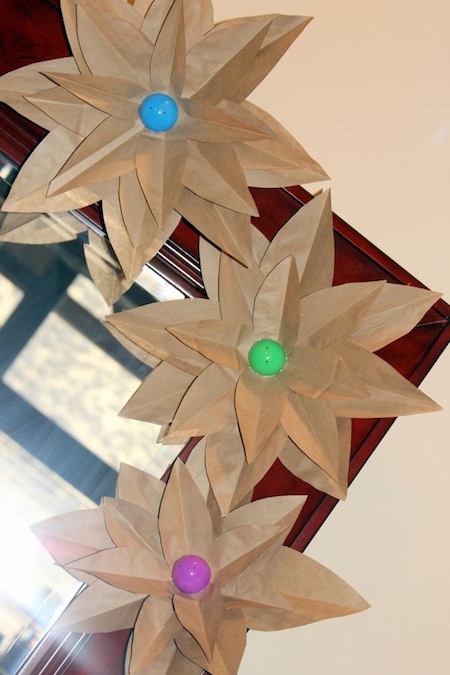
Brown paper flowers for easter, of course.

This might be the cheapest project I’ve ever done – the eggs were .50 cents, and I already had brown paper bags and hot glue. My husband would say the word ‘cheap’ is not in my vocabulary, but after this project I beg to differ.

The creator of this simple and adorable project {that can be used for holidays, or even decor for birthday parties} is Destiny from A Place For Us. She created them for her mantle, and has a wonderful tutorial on how to make the flowers.

I followed her tutorial, then made the flowers Easter-friendly by gluing one side of a plastic easter egg to the center of the flower.

Step 1:
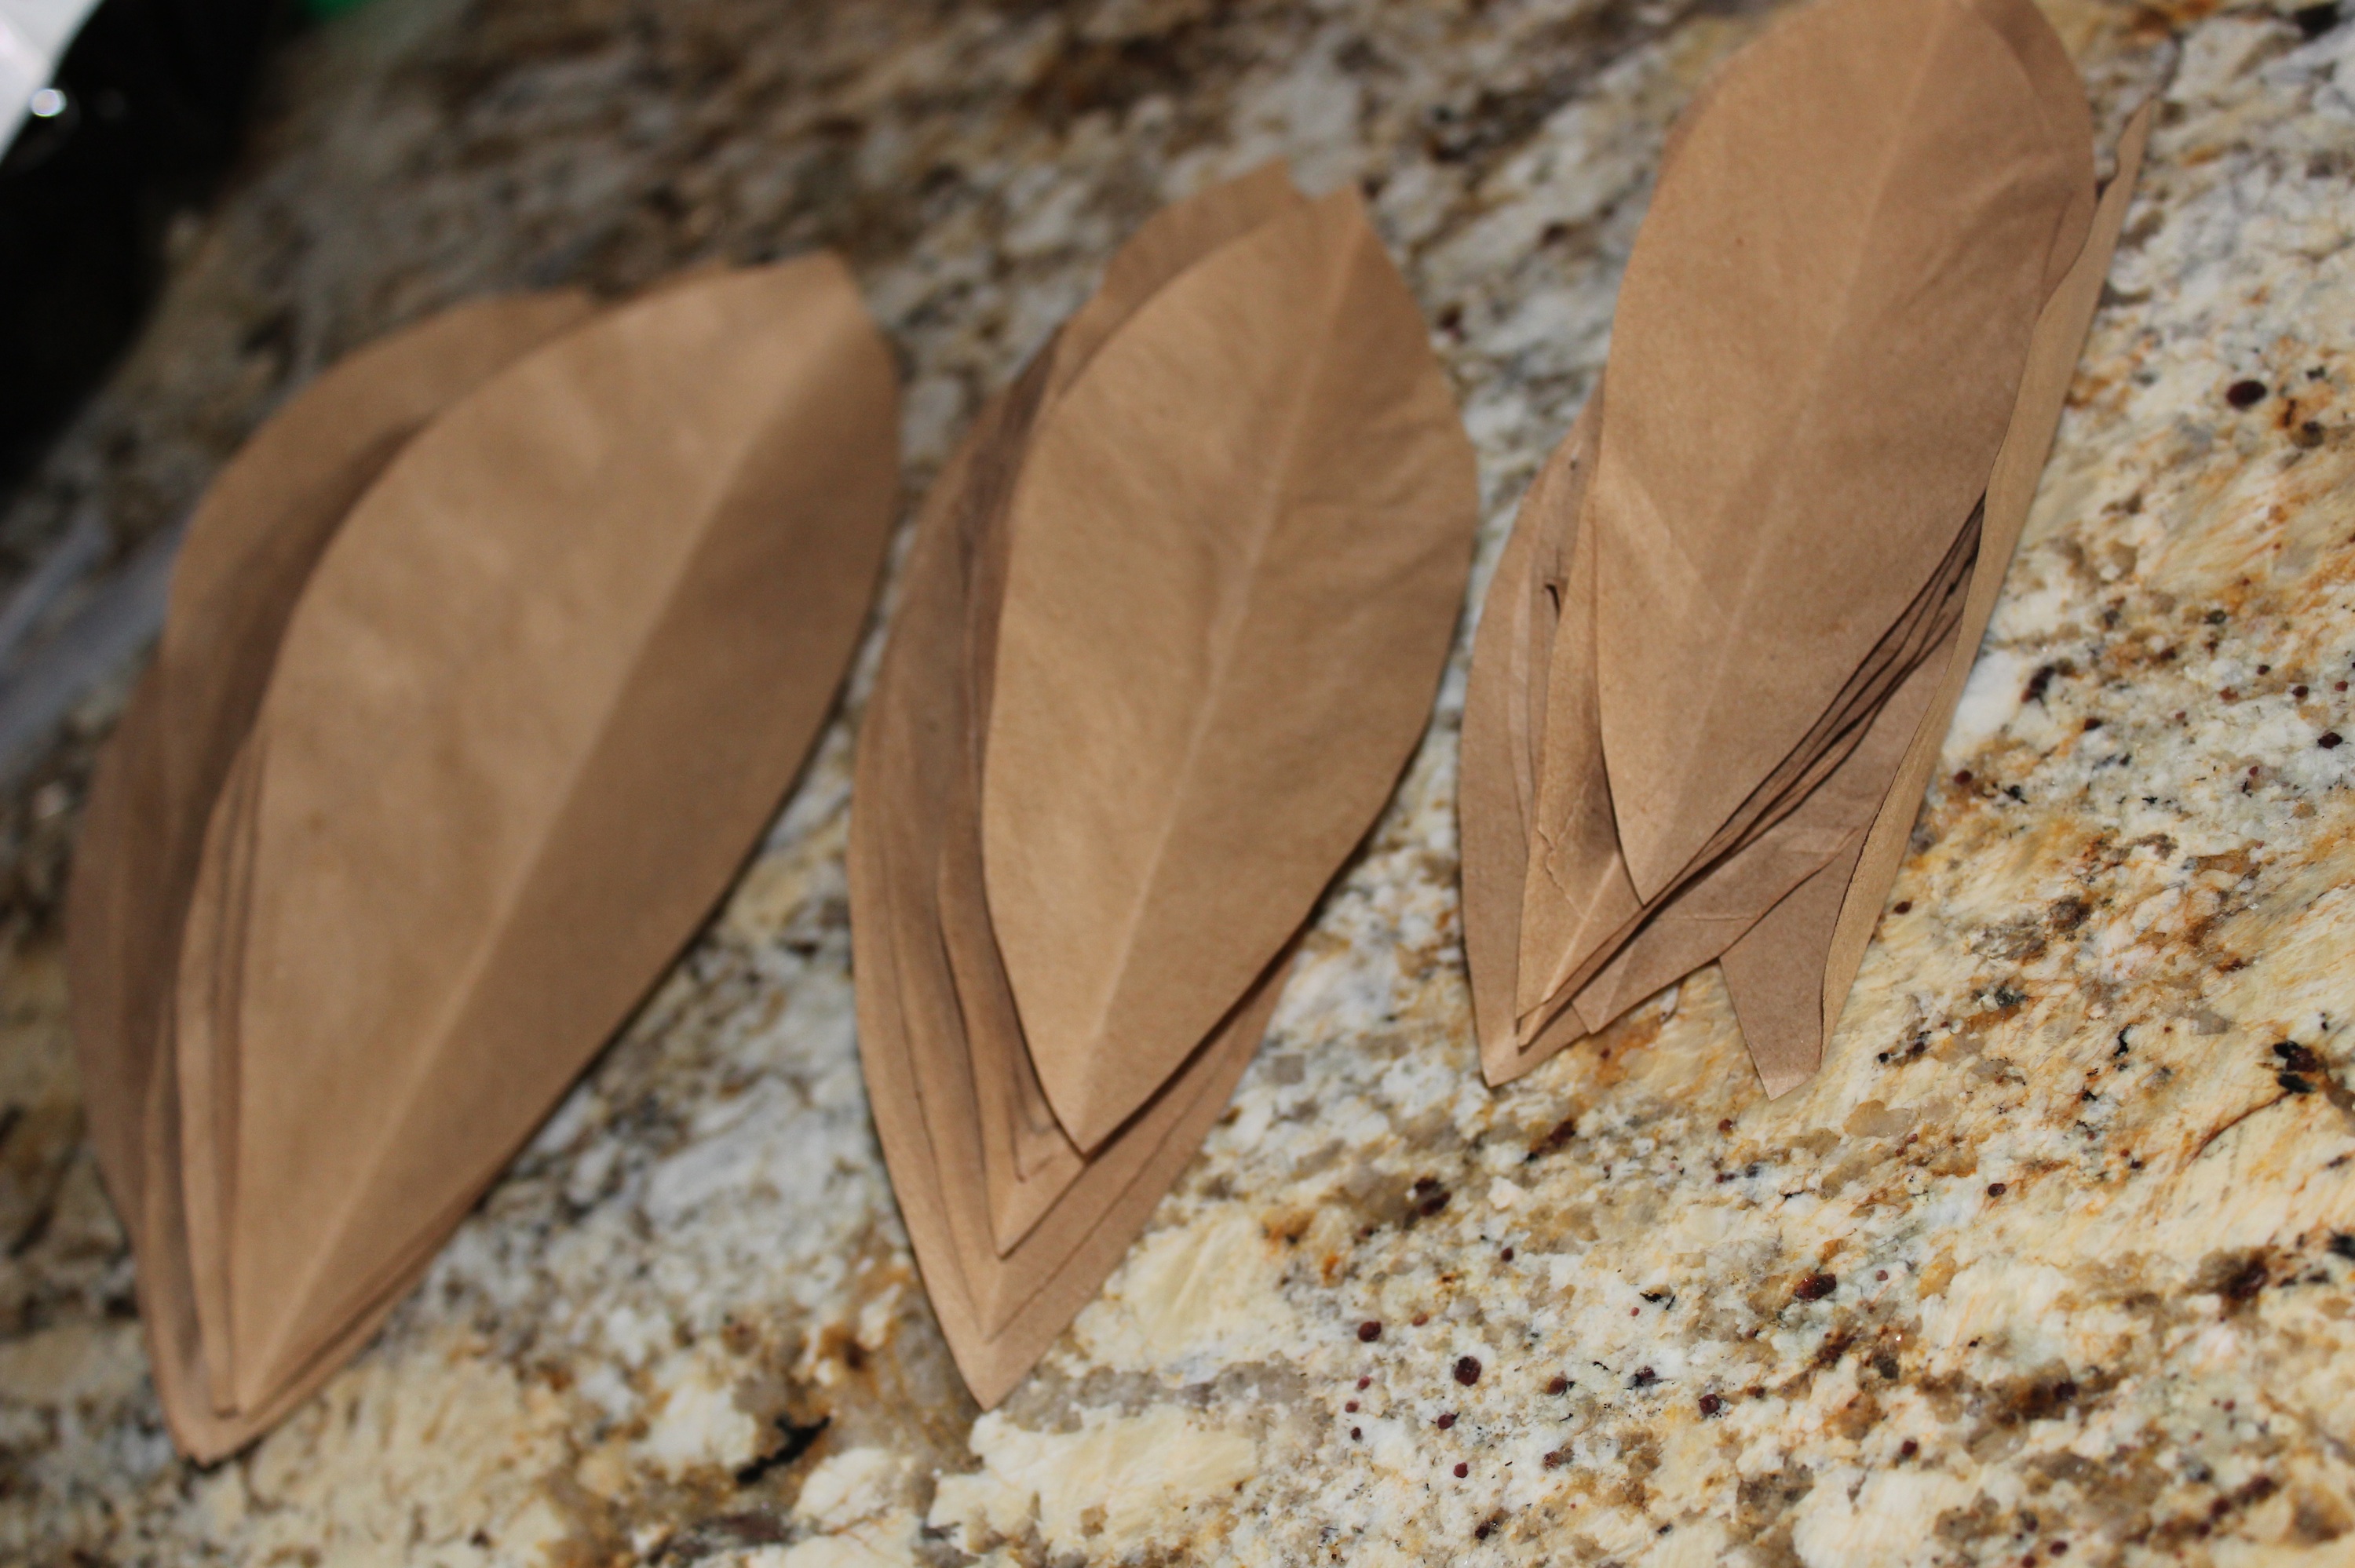
Draw and cut out a leaf template or find one online. I used three different sized leaf templates, small, medium and large.

Step 2:
Trace your leaf template onto brown paper bags. I used about 20 bags for this project.

Step 3:
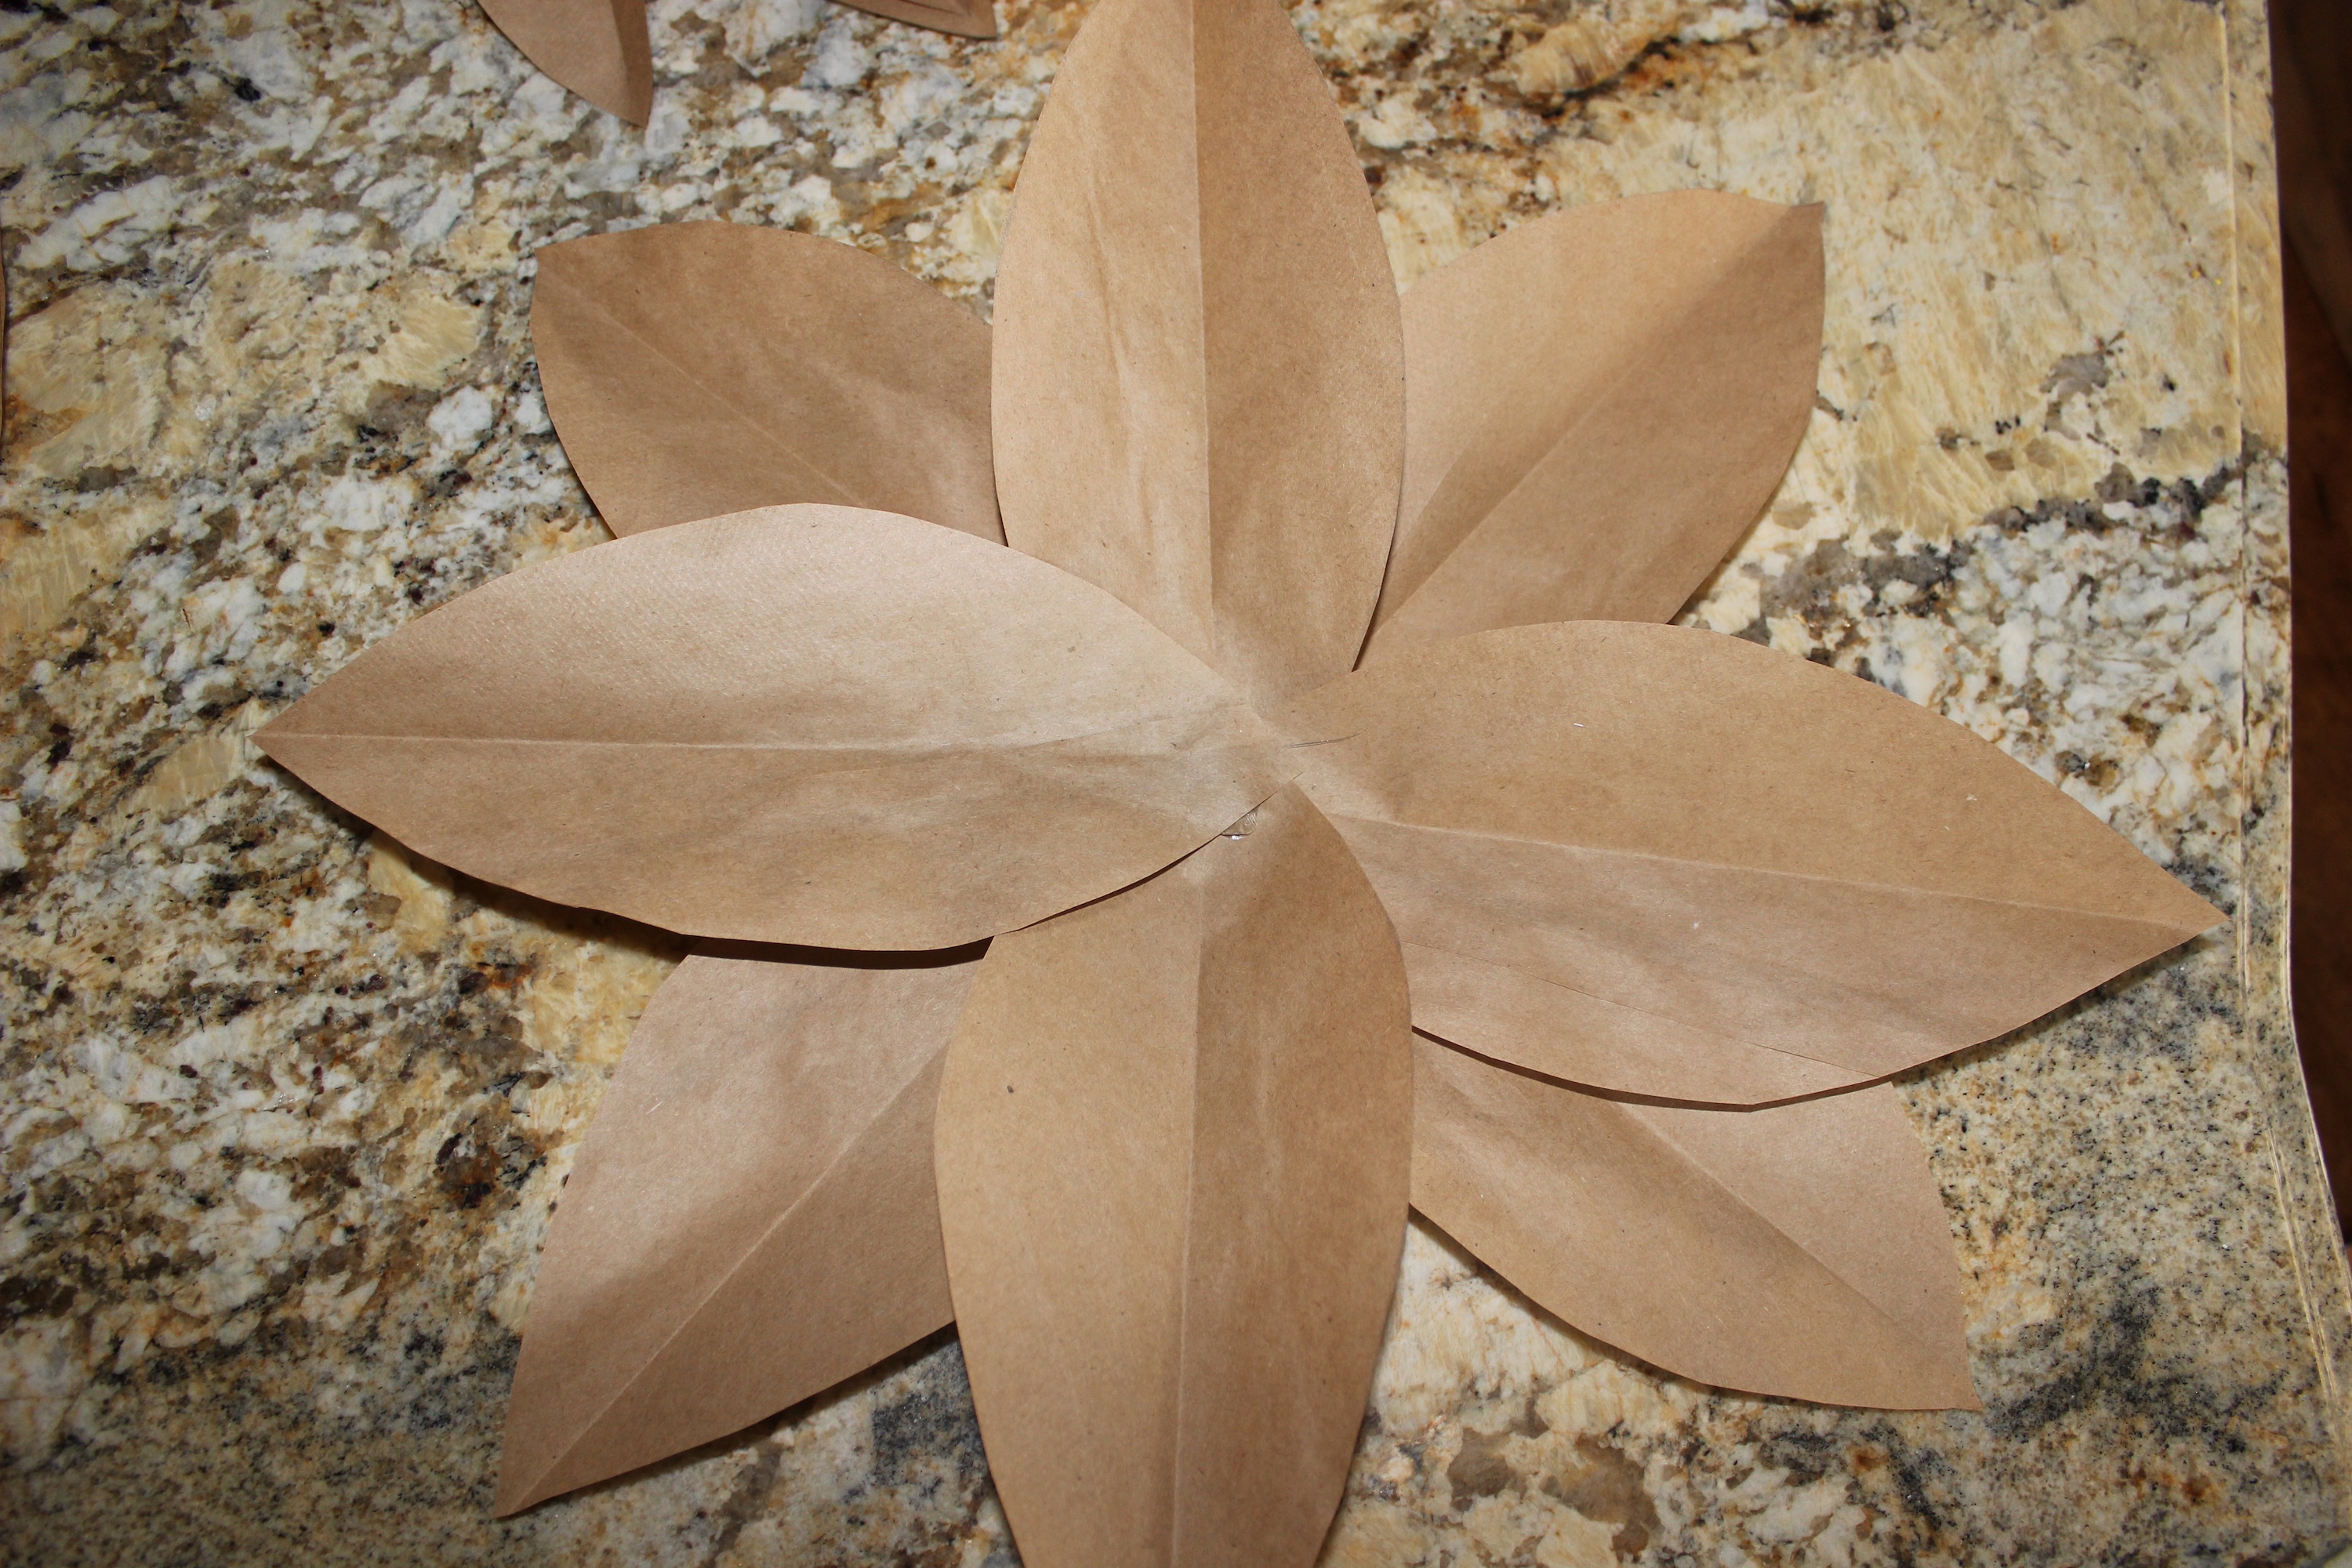
Fold each leaf length-wise so it will help create a multi-dimensional effect when displayed.

Step 4:
Start with the largest size leaf, and begin to glue {I used a hot glue gun} each leaf on top of one another in the same central point. Continue to glue leaves on your flower, layering the large leaves, then the medium-sized leaves, finishing with the small leaves.


Step 5:
Cut one side of a plastic egg and glue to the middle of the flower.

Step 6:
Add tape to the back and find the perfect spot to display in your home.

{images via Tutto Bella}

revived with vintage revivals

I knew I was impressed with Mandi at Vintage Revivals when I saw her Anthropologie-inspired teapot lamp and DIY rug, but after I saw her again on The Nate Berkus Show last week, now I know Mandi is extremely talented and I can’t wait to see what she comes up with next. I want to hire her to come into my house. Her blog and Nate will have to do for now.

Hope you find some inspiration for your own home with these DIY beauties. Click on the links below to read Mandi’s how-to tutorials.

Yarn Ombre Lamp

PVC Pipe Dresser

Mirrored Dresser

{images via Vintage Revivals}

DIY Valentines Projects and Decor

No matter how you choose to tell someone you love them, or how you choose to celebrate LOVE today, from the three of us to all of you, Happy Valentine’s Day. We’re sending our sincere love today and always, and we hope your day is filled with love. Whether it’s the passionate kind, the friendly kind or the much-needed love for yourself……make sure you tell someone you love them today.

Today, we’re in LOVE with the word LOVE {oh, and hearts too}

I am in LOVE with this project. Yes, it’s another Martha Stewart DIY, and you know I love those! It’s a must do for me, and Sasha from Everything Fabulous provides a wonderful tutorial here.

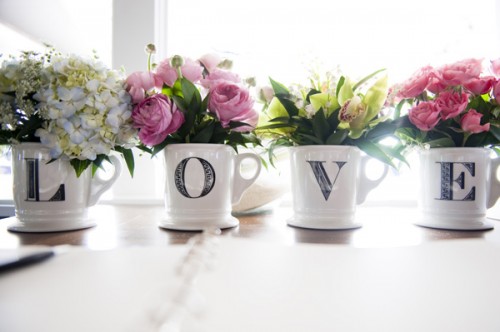
I’ve always loved these Anthropologie Monogrammed Mugs and when are put together to spell the word LOVE, my heart melts and I want to have them on display as a centerpiece in my home with beautiful fresh flowers. Wouldn’t you love to wake up to this everyday?

This Knotted in Love bridal shower, designed by A Subtle Revelry is so darling. Love the theme and the idea of spelling out LOVE all over the room, especially these colorful, DIY LOVE wrapped letters.

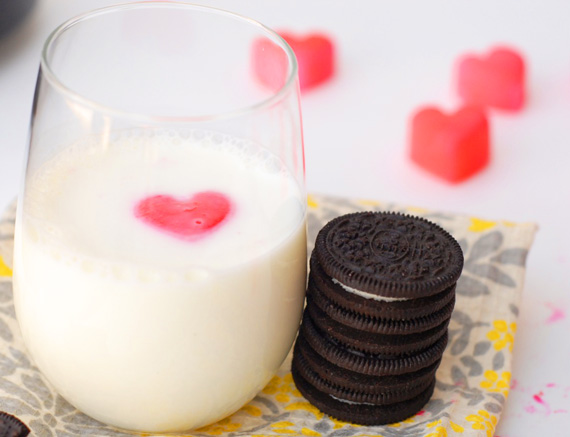
These heart-shaped milk cubes by A Subtle Revelry are so darn cute and easy! Plus, what a sweet surprise in your cup on Valentine’s Day.

{image via Everything Fabulous, Elizabeth Anne Designs, A Subtle Revelry}

my funny valentine

We’ve bought boxed Valentine’s in year’s past, but this year we got creative with our words. Some are healthy and others are not, but they are all adorable, and for Valentine’s Day, that’s all that really matters, right? We have cutesy kid-and-adult-friendly DIY Valentine’s for…all the hot mama’s, the stud{s} in your life, all the cutie’s and for those who make you giggle! You can buy them here for just $3, and they are an instant download.

DIY Adult Valentine’s

you are one hot mama
{fill the bag with hot tamales, fold over the custom tag and staple closed}

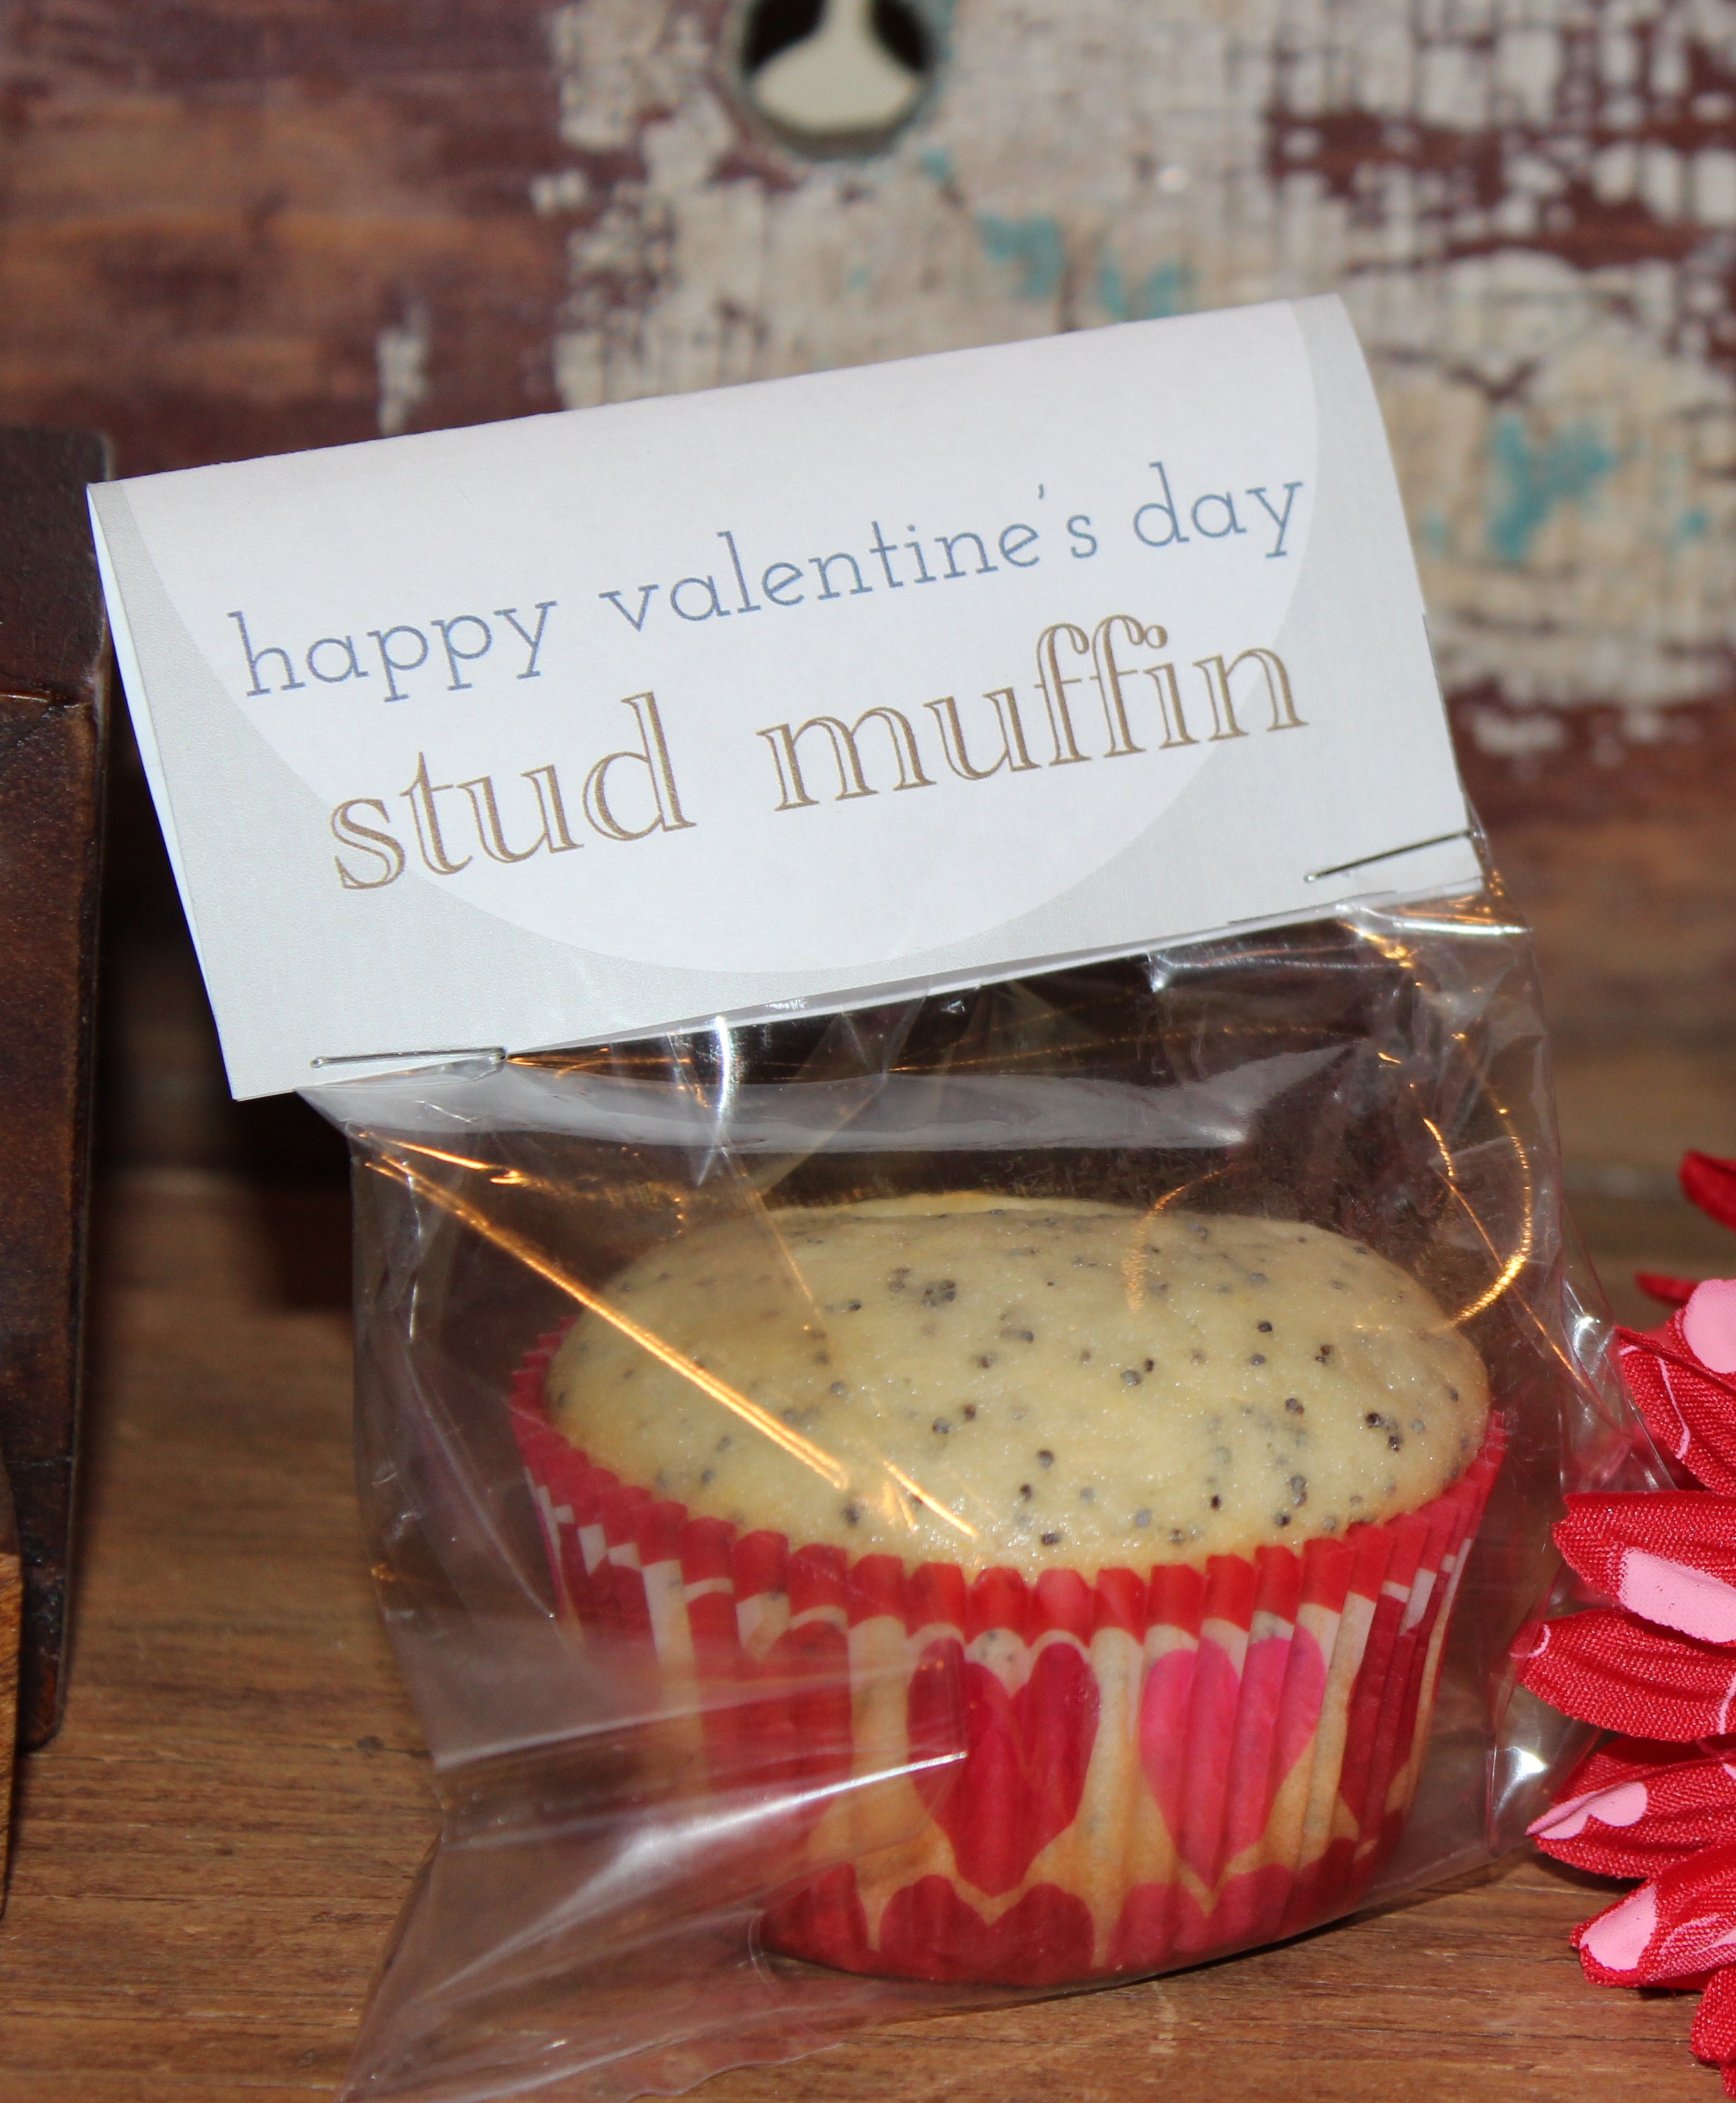
happy valentine’s day stud muffin
{fill the bag with a homemade poppy-seed muffin, fold over the custom tag and staple closed}

Poppy-seed Muffin Recipe
Makes 12 muffins
recipe adapted from our wonderful mom

Add the following ingredients to a large bowl and mix:
2 cups flour
1/8 cup poppy seeds {a used a little more, but less than 1/4 cup}
1/2 tsp salt
1/4 tsp baking soda
1 cup sugar
1/2 cup butter

Add 2 eggs{1 at a time} to the above ingredients and mix well

Add 1 cup plain yogurt and 2 tsp. almond extract and mix into the rest of the mixture.

Put the muffin mixture in baking cups and bake in the oven on 400 degrees for about 15-20 minutes {It took me about 18 minutes}.

DIY Kid Valentine’s

i think you are quite a cutie
{fill a bag with clementines, fold the custom tag over the top of the bag and staple closed}

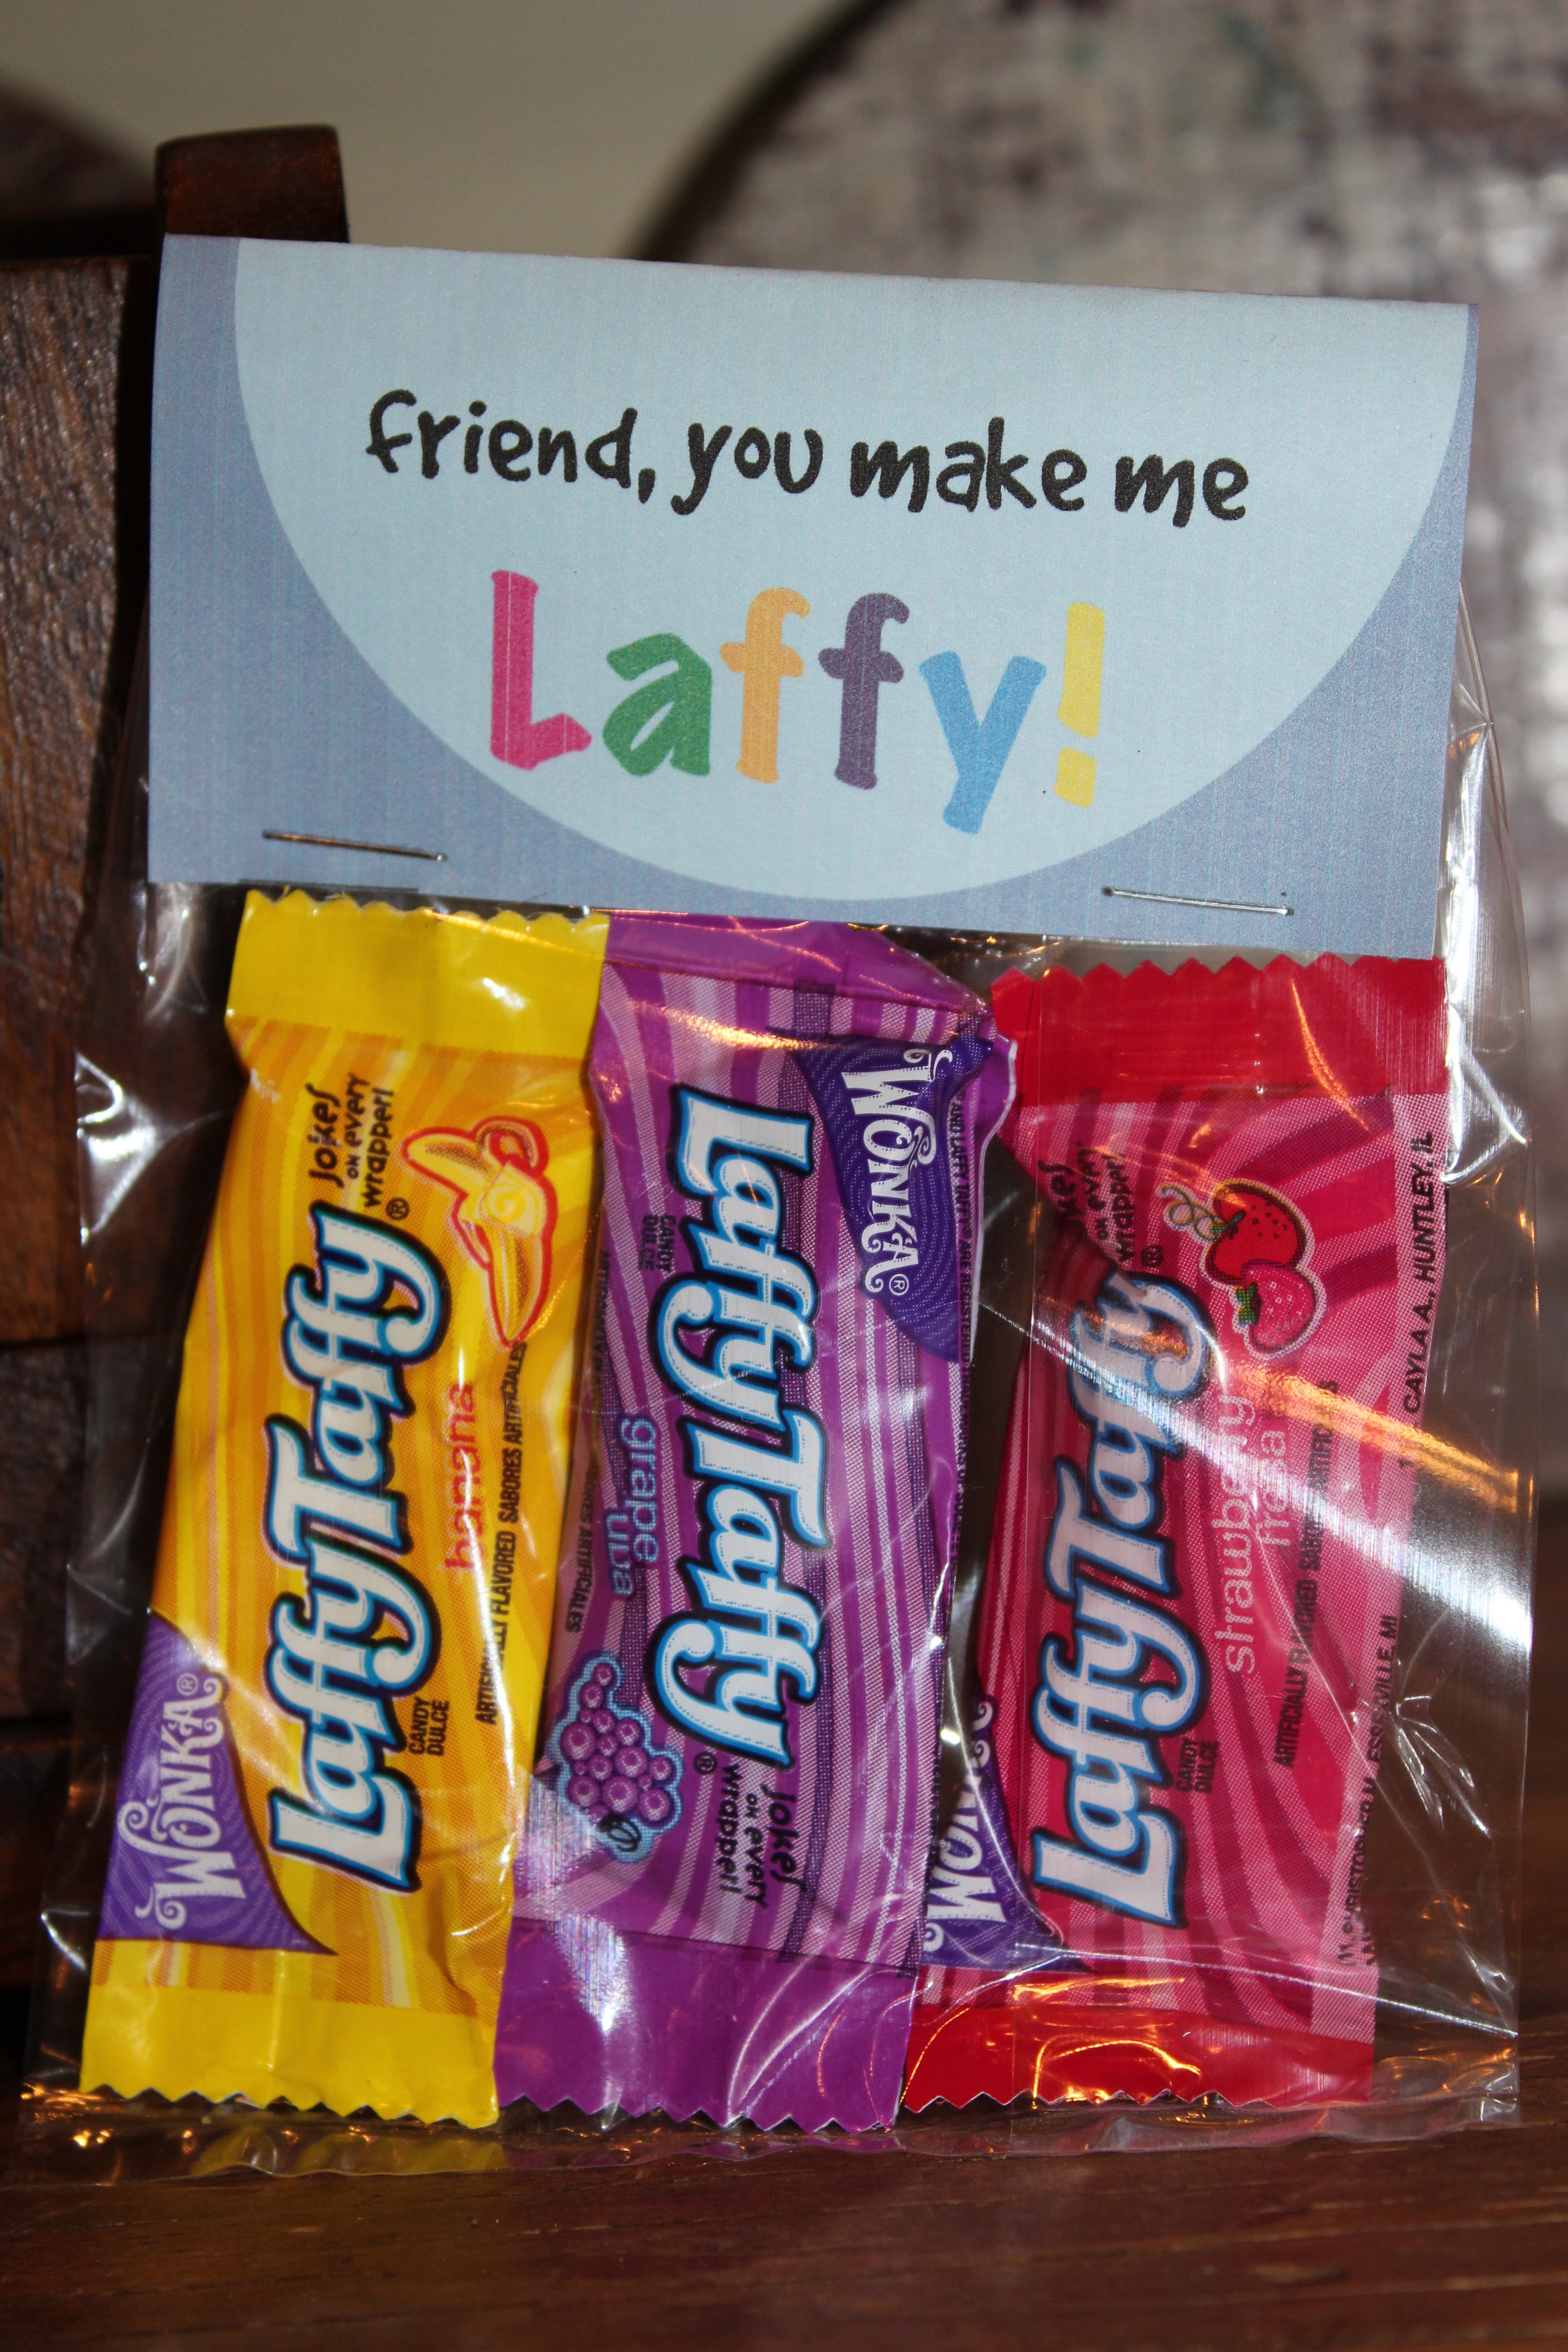
friend, you make me laffy
{fill the bag with laffy taffy for your silly friends, fold the custom tag over the bag and staple closed}

Last year’s fold-over labels {above} were so popular, we revamped them, and we did it with colorful stripes.

If your looking for the original cutie file {the orange bubble}, you can buy it here.
The original laffy taffy file {the blue bubble} is available too.

Tags are 2×4. Purchase them here.