Stock Up On Pool Noodles Now To Make These DIY Giant Flowers

DIY giant pool noodle flower

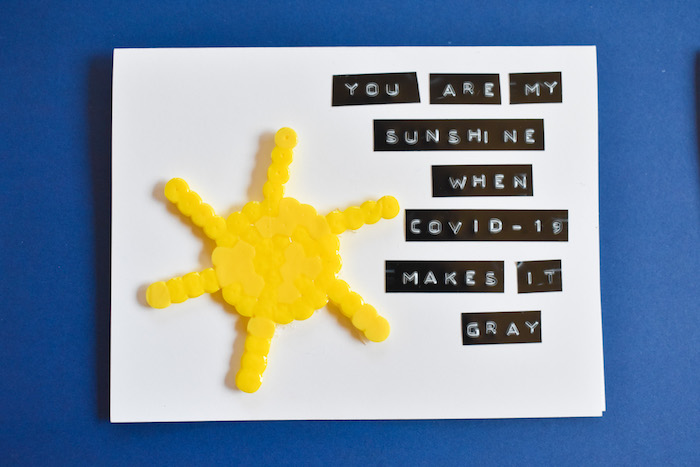
We know school is in limbo, and our world has been rocked with the arrival and contagion of COVID-19. Spring plays were cancelled, graduations were virtual, and birthday parties became drive-by, honking car parades. Although you may not have a large school play or birthday party in the very near future, it will happen again. In fact, small, safer gatherings are happening now. When the time is right (even if it’s next spring) we have the cutest decoration, DIY giant flowers, that costs less than $5 each. We are sharing this spring and summer DIY craft now, so you remember to stock up while they are “in season,” (and store the ones you have) to make these large DIY flowers. It’s easy to do, and adds a dose of sunshine to any space, or party.

Sorry about the ‘non-professional’ photos. This was a quick project in spring 2019, and didn’t think it would be such a hit, so cell phone photos have to do.

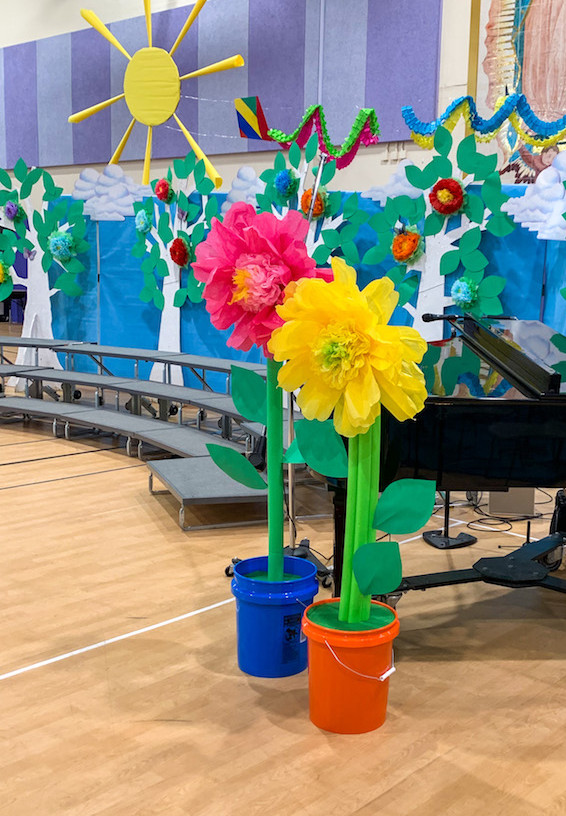
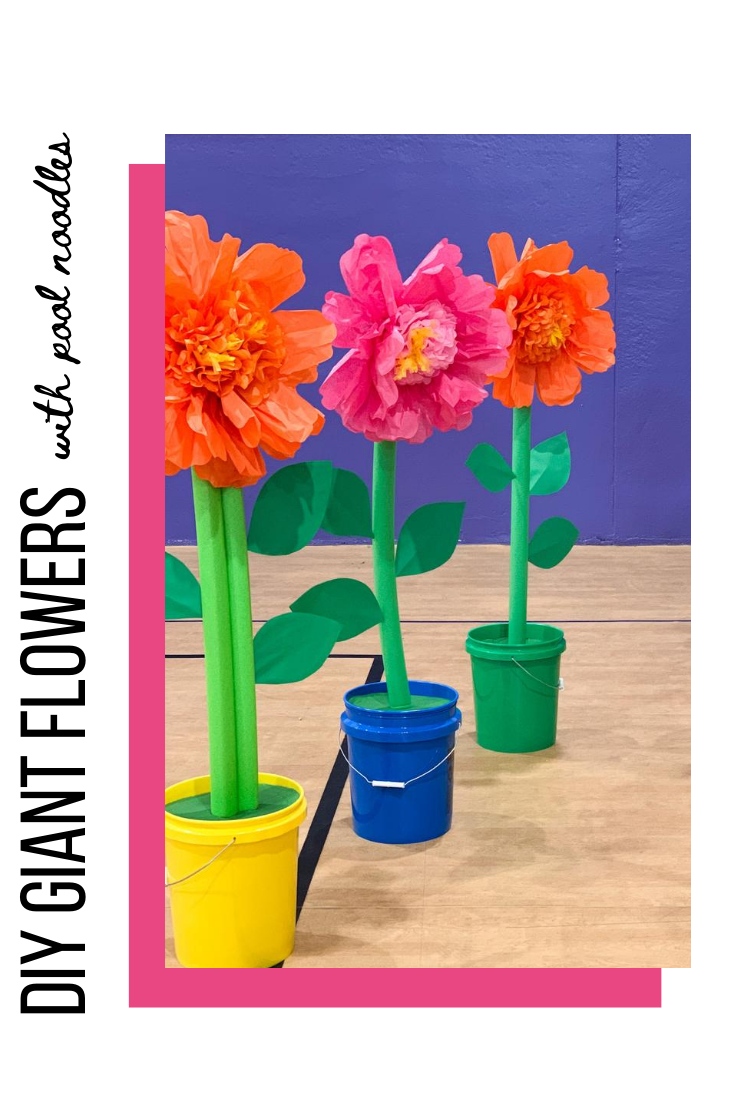
DIY Giant Flowers Made With Pool Noodles

Materials:

  • Giant tissue paper flowers
  • Pool noodles, green
  • Industrial buckets, Walmart (they were about $2.97)
  • Cardboard
  • X-acto knife
  • Acrylic paint, green
  • Rock
  • Card stock, green
  • Wood skewer, thin
  • Glue, glue stick works fine
  • Packaging tape

walmart buckets

walmart pool noodles

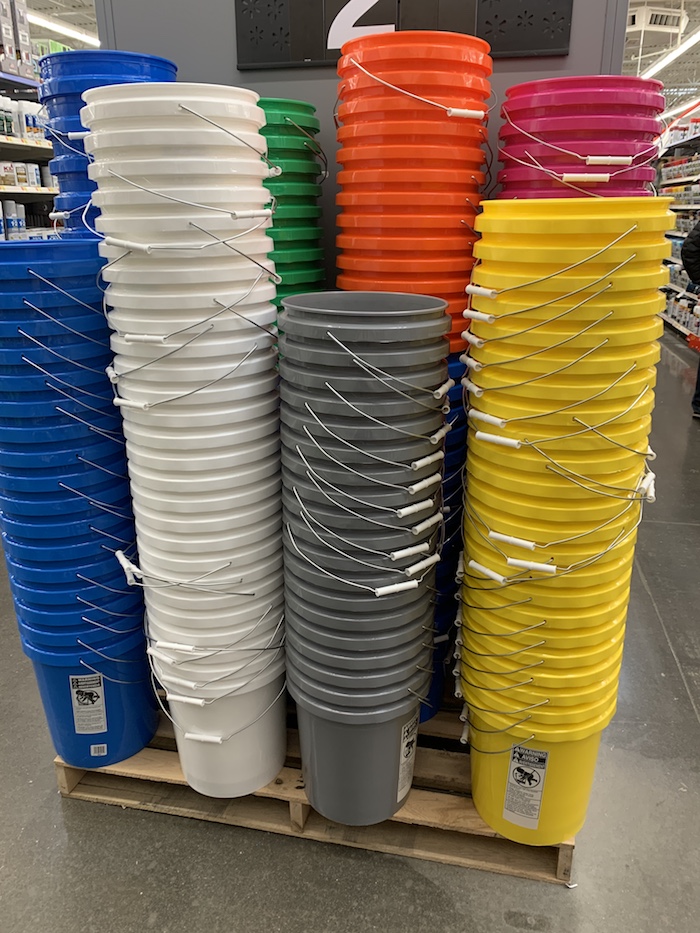
Step 1: Buy stems, or the pool noodles, from Walmart. Also at Walmart, find the colors buckets that will serve as the “pots” or “planter” for the flowers.

cardboard cut out and pool noodle stem

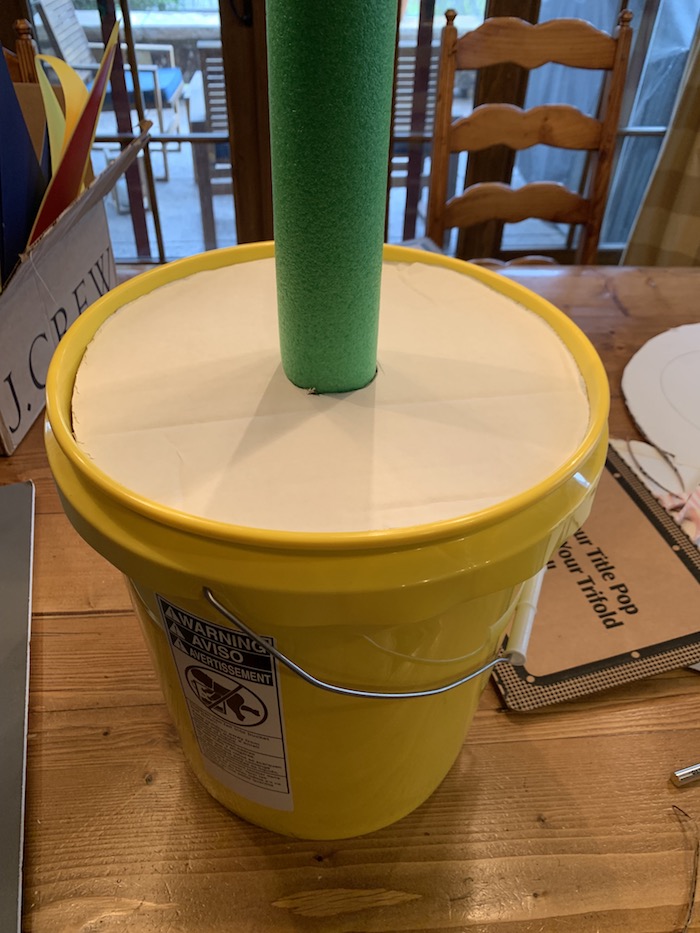
Step 2: Cut left over cardboard packages from all those Amazon packages you’ve been buying. Trace the opening of the bucket on the cardboard, and cut it slightly inside the pencil outline. I find that an X-acto knife works better than scissors when working with cardboard. Also, trace the outline of the noodle in the center of the cardboard circle. This will be where the stems fits inside, so cut it slightly inside the pencil outline as well, so the pool noodle fits nice and snug.

green cardboard cut out

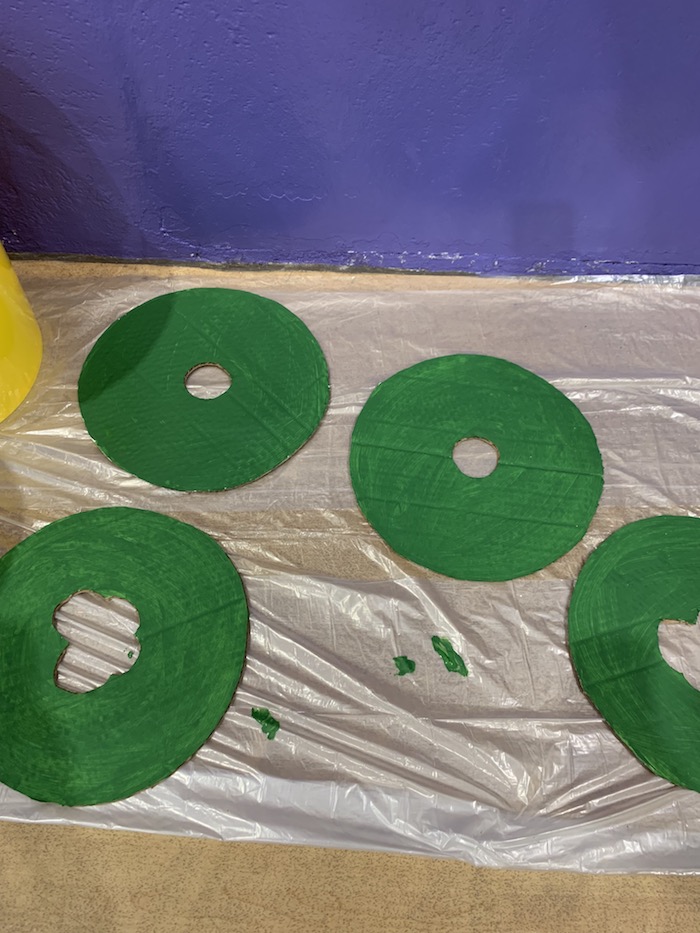
Step 3: Paint the cardboard with acrylic green paint.

diy pool noodle flower

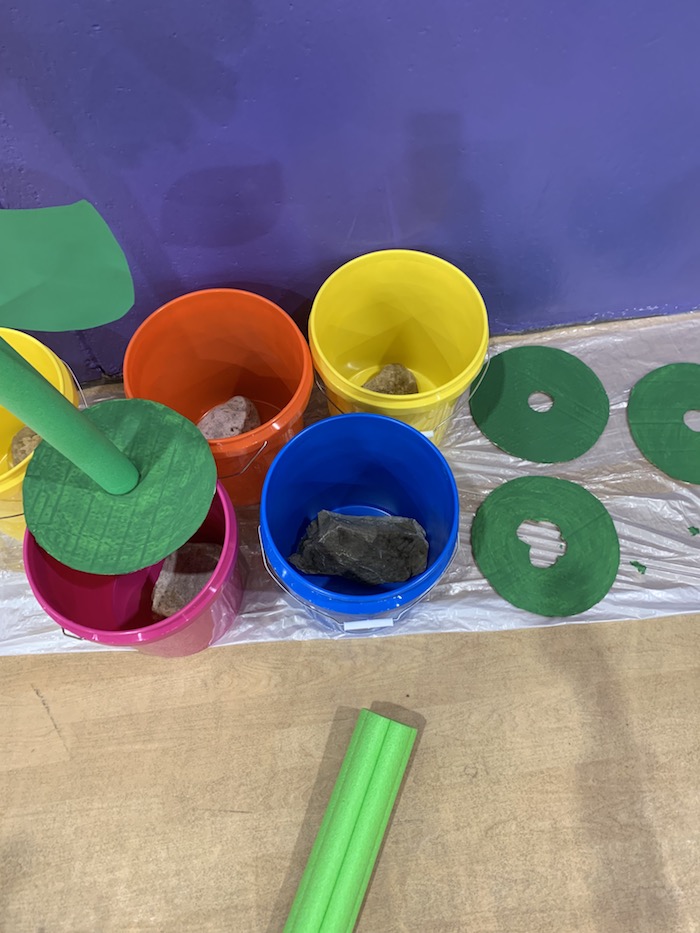
Step 4: Add heavy rocks to the bottom of the buckets. We know it’s just a pool noodle and a tissue flower, but it’s somewhat heavy, so you will need something to stabilize them so they are not top-heavy.

diy pool noodle flowers


giant DIY flower

Step 5: Cut leaves from green paper (we love Astrobrights Paper), and glue two stems with a large thin wood skewer in the middle. This will look like a “leaf vein”, and also makes it easy to just stick inside the noodle so it will stay in place.

diy pool noodle flowers

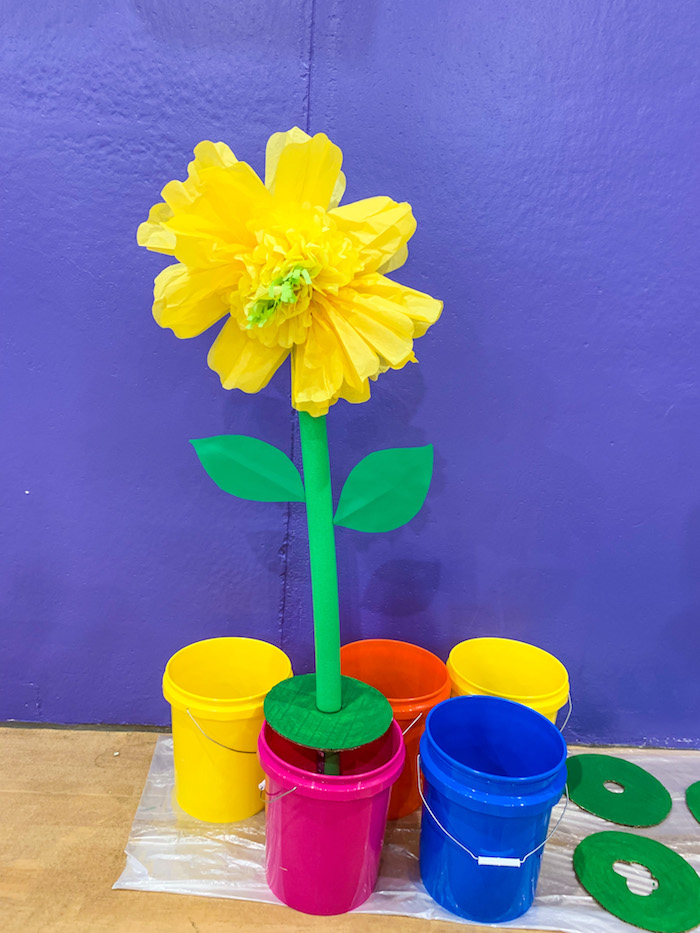
Step 6: Insert the stems inside cardboard cut-outs, and then insert it inside the buckets. They fit nice and snug in the buckets. Fluff some pre-made tissue flowers from Amazon. They come with a string attached, so I wrapped it around the top of the noodle and also secured it with a piece of packaging tape.

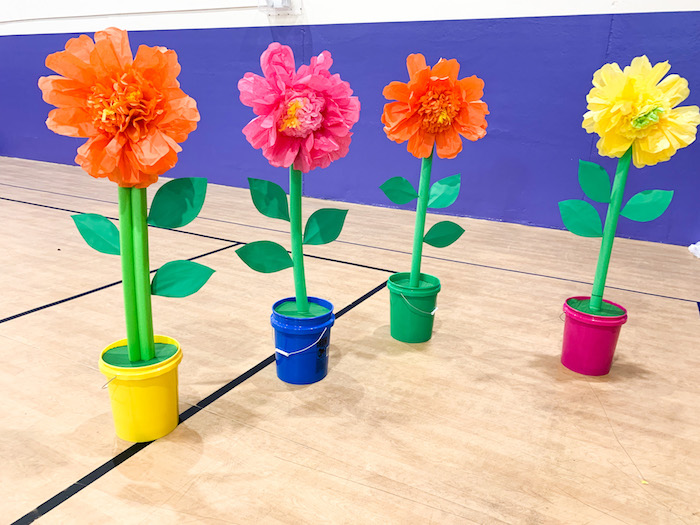
Here are a couple flowers “on set” for a spring singing pageant.
spring school play DIY decor

Kids Boredum Buster: DIY Salad Spinner Art

diy salad spinner art - kids craft

Well, it looks like some of us may or may not be home with the kids again this fall due to COVID-19. So, we need to start pinning and saving art ideas in case we’re the art teacher this year. This DIY salad spinner art is fun for kids of all ages, so we definitely plan to re-visit this art project again this fall and winter. The best part is if you use washable paint, it can entertain the kids for hours, and then you still use it to clean lettuce for dinner. Mom win!

We shared all the details at Momtastic here.

DSC_1655


New Craft We Love – DIY Tie-Dye Coffee Filter Art

diy coffee filter art for kids-tie dye butterfly

Coffee filters don’t just come to the rescue every morning as you make your cup (or two, or three) of coffee. They can be the inspiration for DIY art projects, too. We made beautiful DIY butterflies with tie-dye coffee filters. We all loved this project – literally it was fun for my 7-year-old all to my 30-something self (and all the ages in-between). It’s so therapeutic to color various patterns and squiggles on the filters, and then watch it magically create a tie-dye pattern with water.

We shared all the details with Momtastic. Check it out here.


DIY LaCroix Baby Shower Favors That Sparkle

lacroix cans make the cutest diy baby shower planter

We know you aren’t actually hosting a baby shower in the next month or so during stay-at-home orders, but we do know baby showers are going to happen again when we make it through this historic, difficult time. When COVID-19 does pass, and a baby shower is on the calendar, you will be ready with the cutest baby shower favors ever!! With this DIY favor, the colors pop (so it’s a decor piece as well) , you can drink ALL THE cans of LaCroix to make these DIY planters, and everyone loves a little “baby” succulent they can grow at home, too! It’s a win/win for the host and guest, and also for the mom-to-be because they can be gender-specific or neutral.

All the details are here at Momtastic.


DIY Perler Bead Art & Happy Snail Mail During COVID-19 2020

DIY perler bead art for easter-happy snail mail for kids

Easter is going to be one for the books this year. Due to COVID-19, we may or may not have eggs due to store shortages, we will not be doing an egg hunt with all our families, we won’t be drinking our aunt’s famous bloody mary’s or mimosas as we catch up with our cousins, grandparents, aunts and uncles, and we won’t be at mass with our faith communities. COVID-19 has brought all kinds of emotions, fears and also a personal challenges to be grateful for the simple blessings in life we often take for granted. We are beyond blessed that we can stay-at-home with our little families, and although this Easter will be hard, we pray it also brings hope. Hope in humanity. Hope that things will get better. Hope because He is risen. Hope that good things are on the horizon.

We are doing out best to get creative with the art supplies we have on-hand during these long days at home, and since we miss our family and friends so much, we wanted to send happy snail mail to remind them how much we love them. If you don’t have perler beads, we highly suggest that you buy them from Amazon. After all, we have 4 more weeks (at least) at home. The tiny beads provide hours of fun and creativity. If Easter is not feasible for DIY perler bead art, then do whatever designs you want, and glue them on cards to send through the mail. It will add sunshine to someone’s day, and right now, it’s the small things and acts of kindness that make a BIG difference.

DIY perler bead art for easter-happy snail mail for kids

This is so simple, it doesn’t require official steps. First, buy the beads (or use the beads you already have). Next, design something small that can fit on a card. You can find designs online, or create your own. Follow directions for ironing so the beads fuse together. Lastly, with a hot glue gun, glue it to a blank card, and write a sweet note inside. You can do this DIY perler bead craft year-round. For the words on the front, you can use a label machine, stamps, or write the words.

We hope you find the silver lining during these uncertain times, or something to be hopeful for in the coming months. Happy Easter. We are sending love and hope to everyone right now.

DIY perler bead art for easter-happy snail mail for kids

DIY perler bead art for easter-happy snail mail for kids

DIY perler bead art for easter-happy snail mail for kids

DIY perler bead art for easter-happy snail mail for kids-sunshine during COVID-19

SHOP THE POST:
[show_shopthepost_widget id=”3975152″]