We tend to hoard things we find in the Target Dollar Spot, known as Bullseye’s Playground. Does anyone else have that problem? They are never absolute necessities, but at the time they are must-haves, and at $1 or $3, it’s hard to pass up. This tray was sitting in Jessica’s craft pile for months and months. It was one of those Playground finds. Finally, a lightbulb moment went off. We played with letters, and with just a couple materials we made a unique DIY tray for a loved one this Valentine’s Day. It can be used year-round because the words I (heart) you can, and should, be said year-round.

Materials:
- Recollections small plastic letters, Michaels (black and pink)
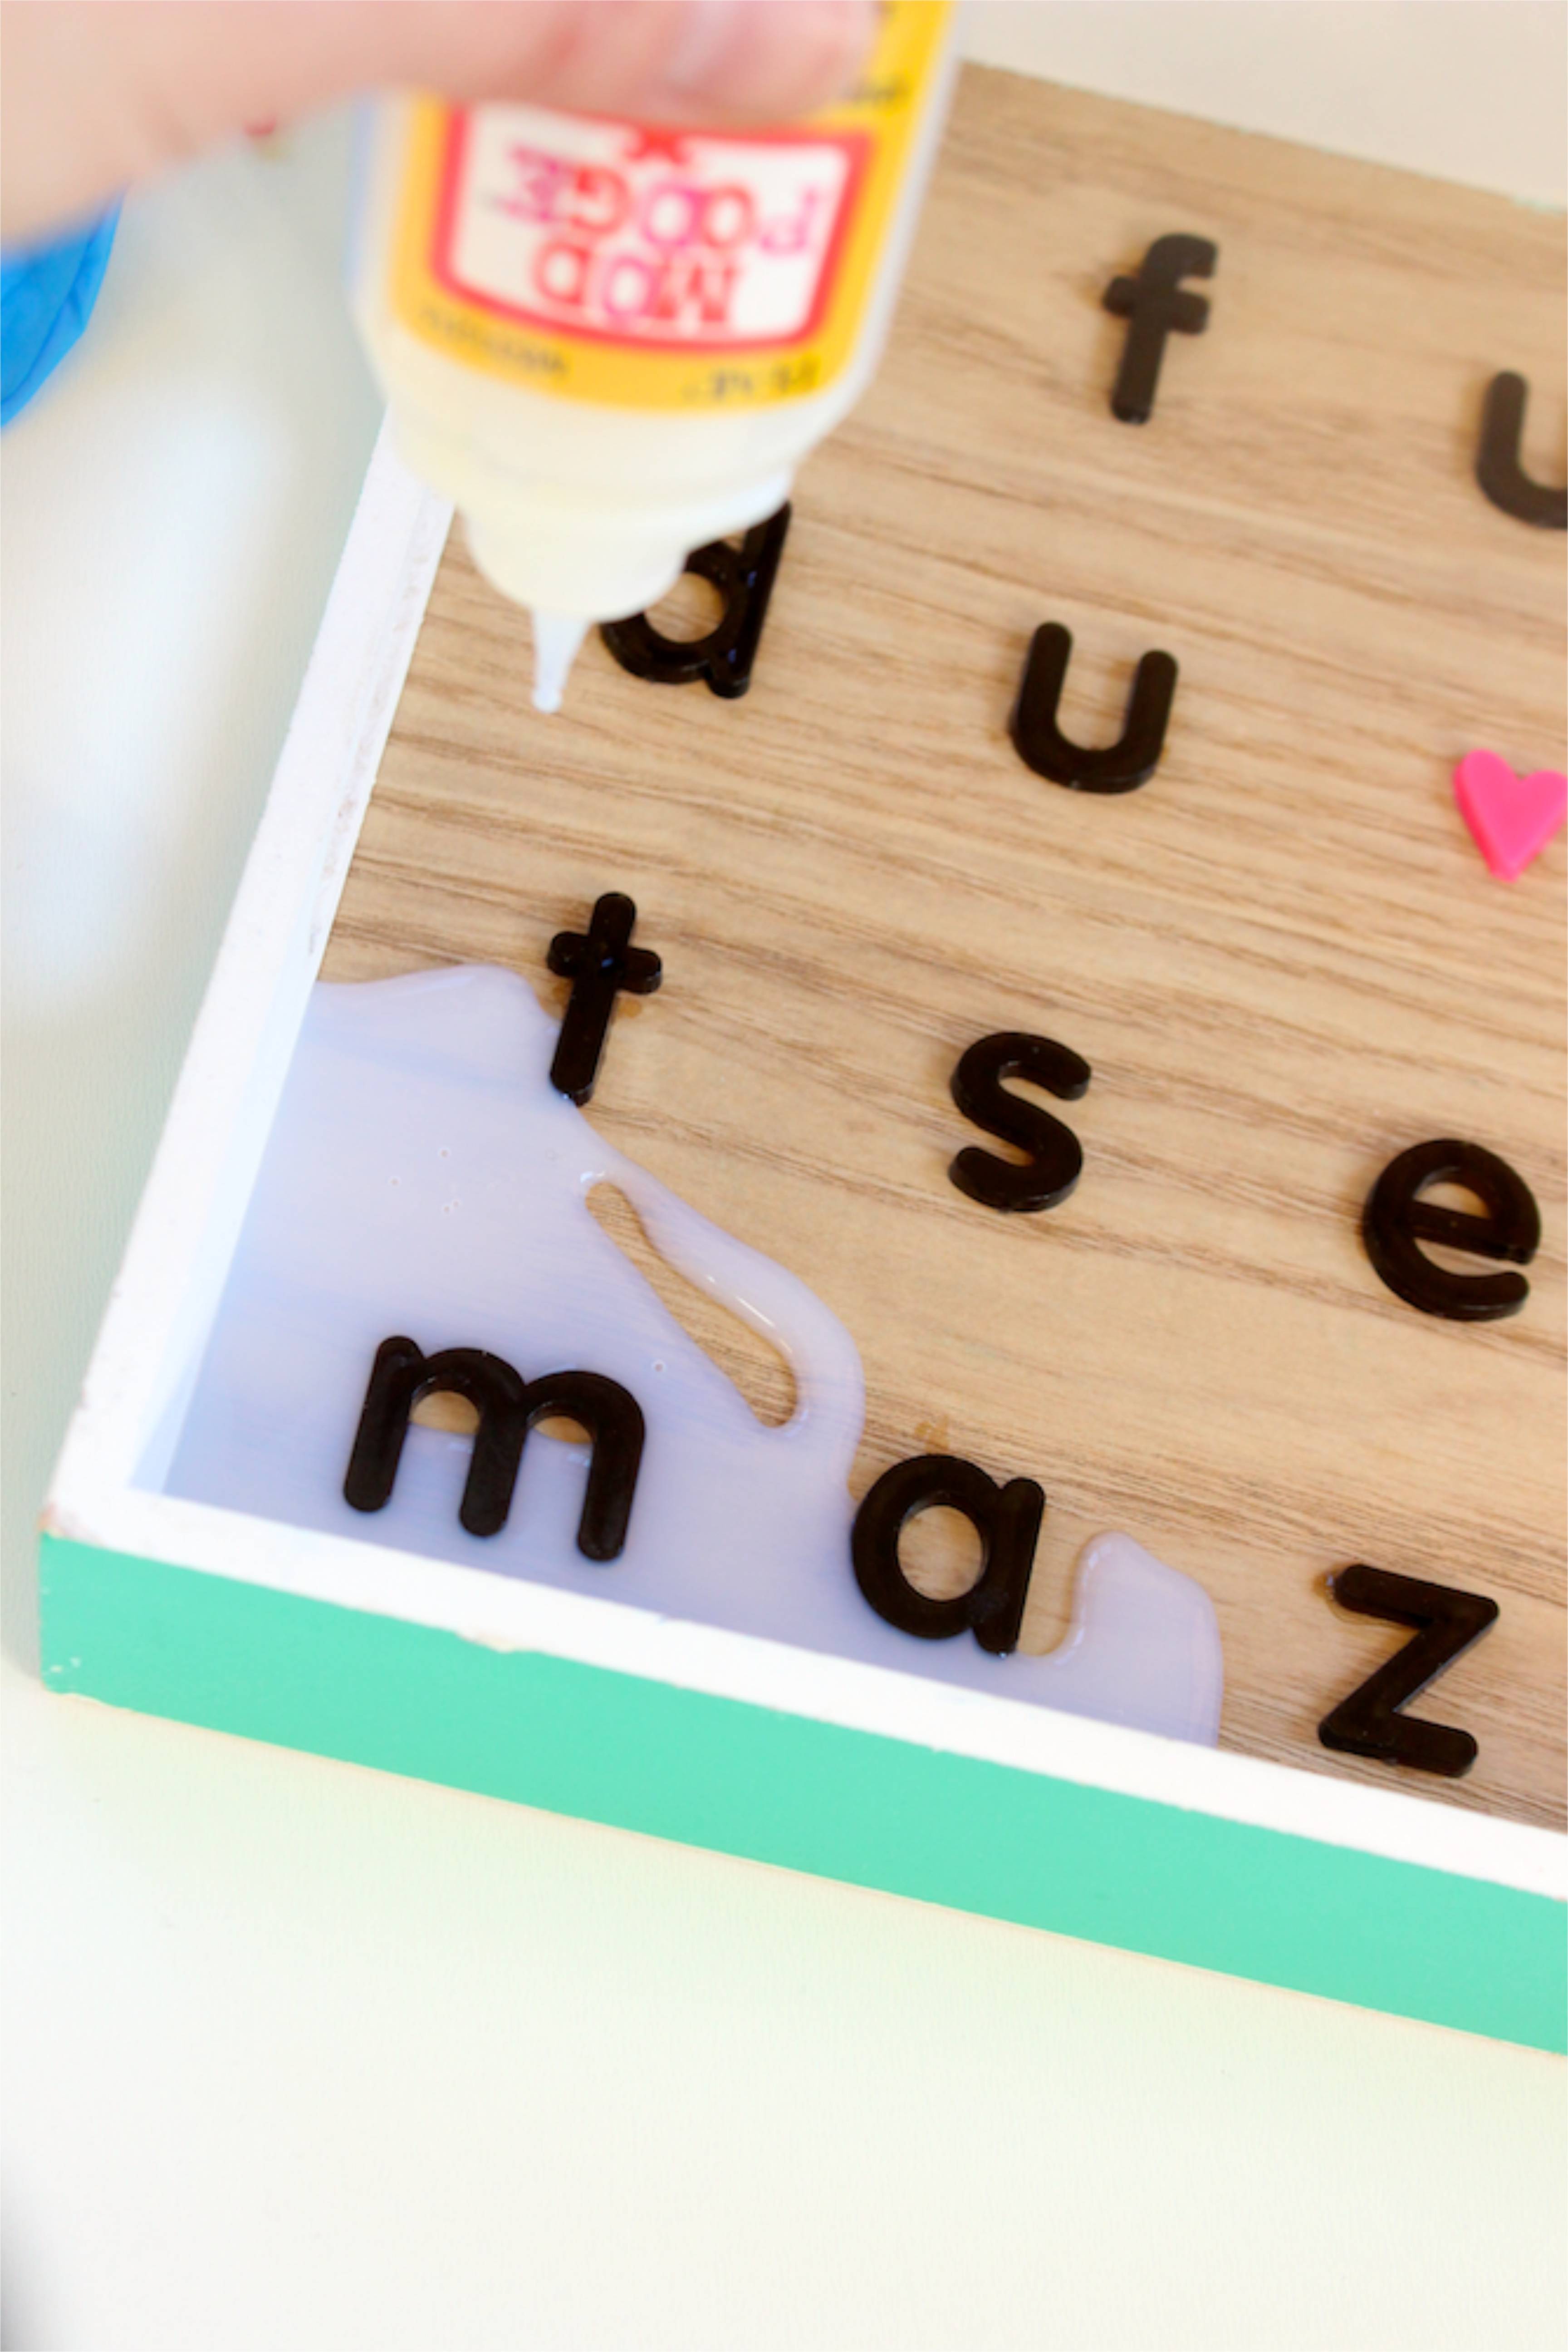
- Mod Podge Dimensional Magic (4)
- Tray, Target Bullseye’s Playground
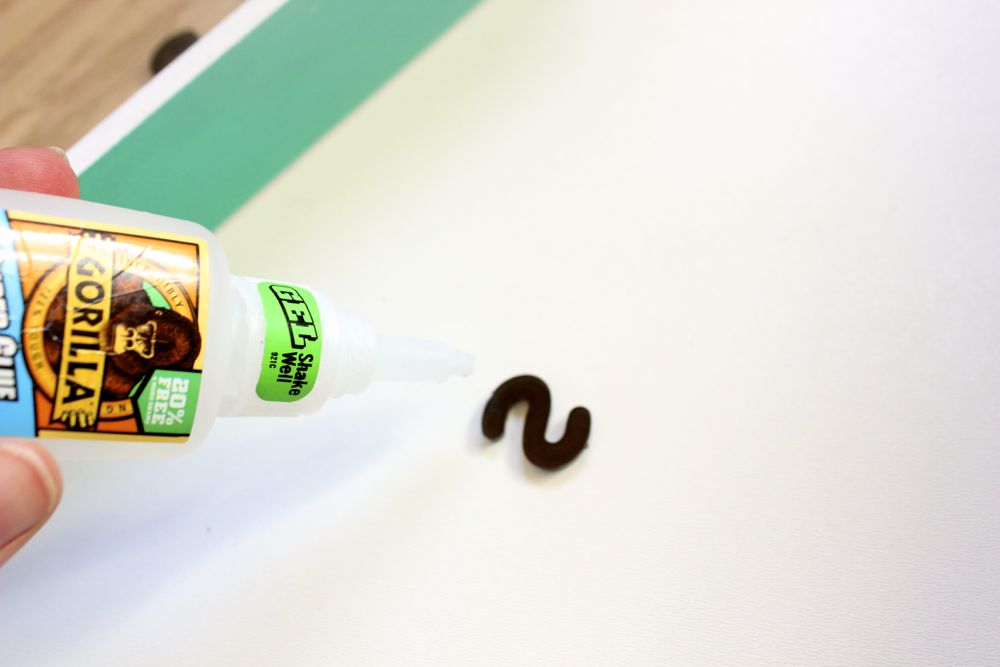
- Gorilla Super Glue
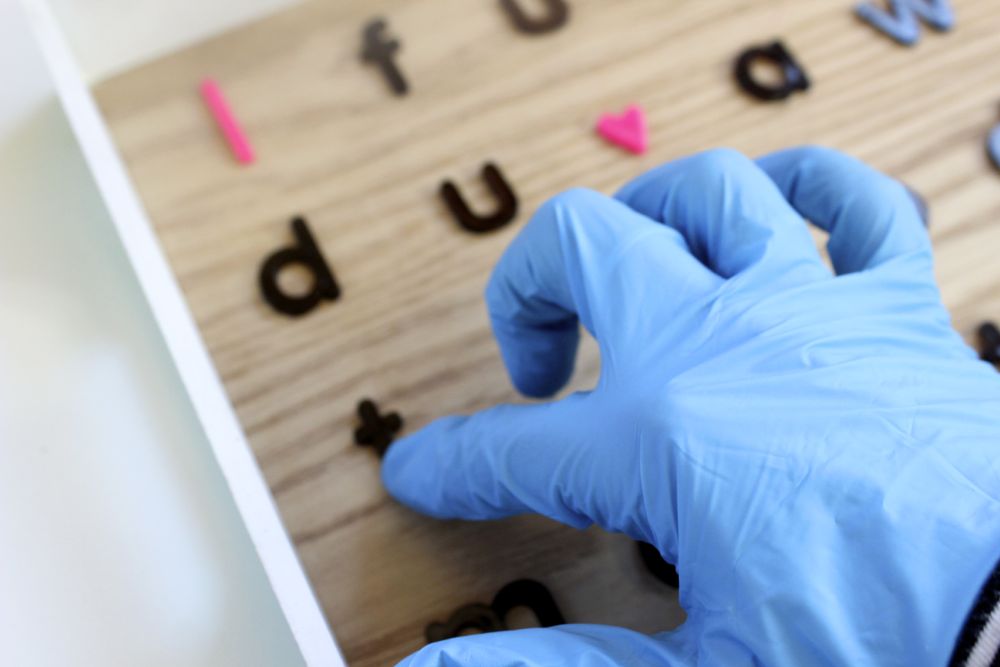
- Gloves
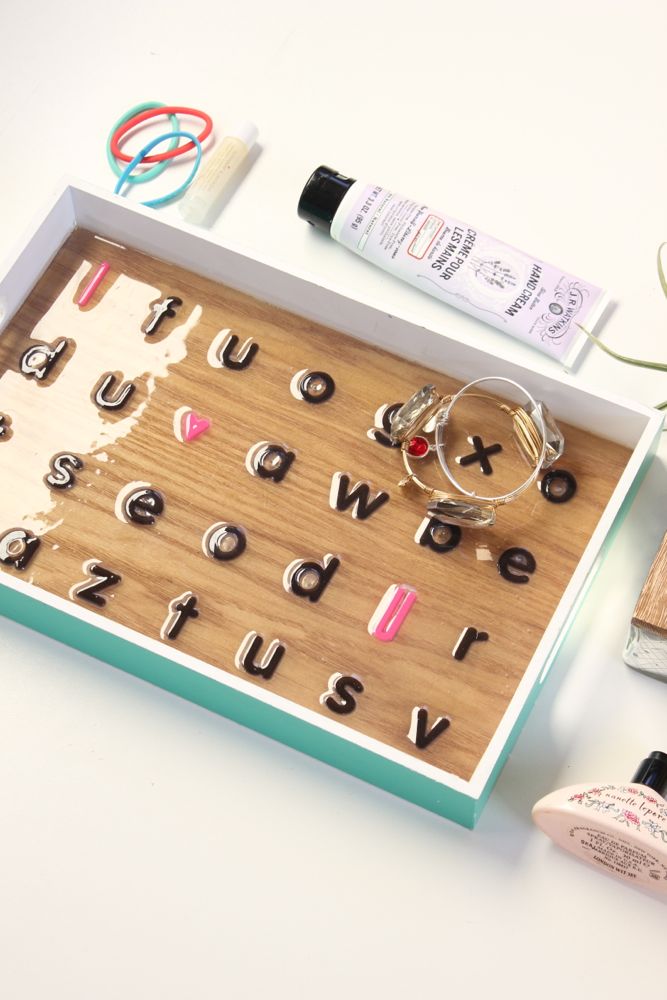
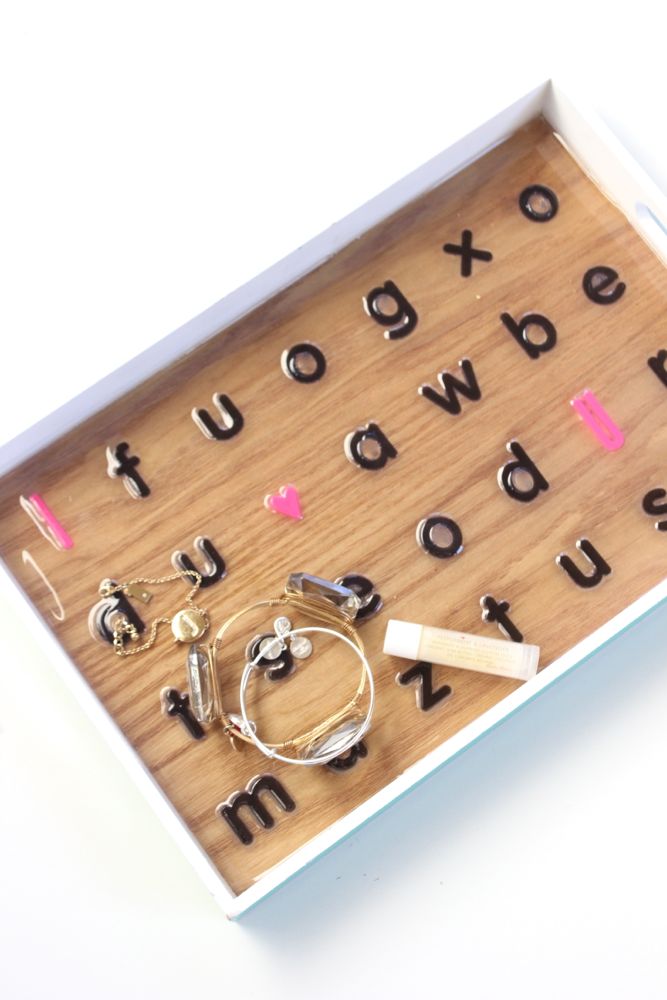
Step 1: Lay the letters out on the tray the way you want them to look. Spread out the I, heart and you among the black letters so the message stands out. If you want to use a different object other than letters, such as matches, beads, etc you can, just make sure they are thin. The thinner they are, the less Dimensional Magic needed to cover them.


Step 2: Super glue the back of each letter, and lay it back down where you want it. Wear gloves for this step – you don’t want letters stuck to your skin!
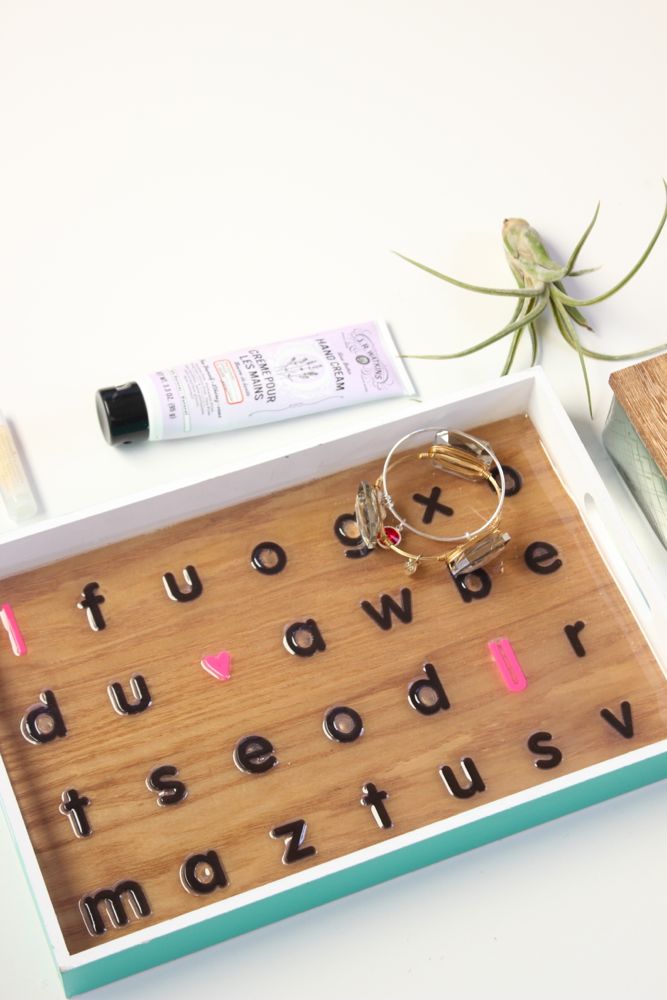
Step 3: Once all the letters are glued, start to pour the Dimensional Magic. We suggest smaller trays for this project. We needed four packages of Dimensional Magic, which wasn’t too expensive at $5 each, but the smaller the tray, the less product you need to buy.
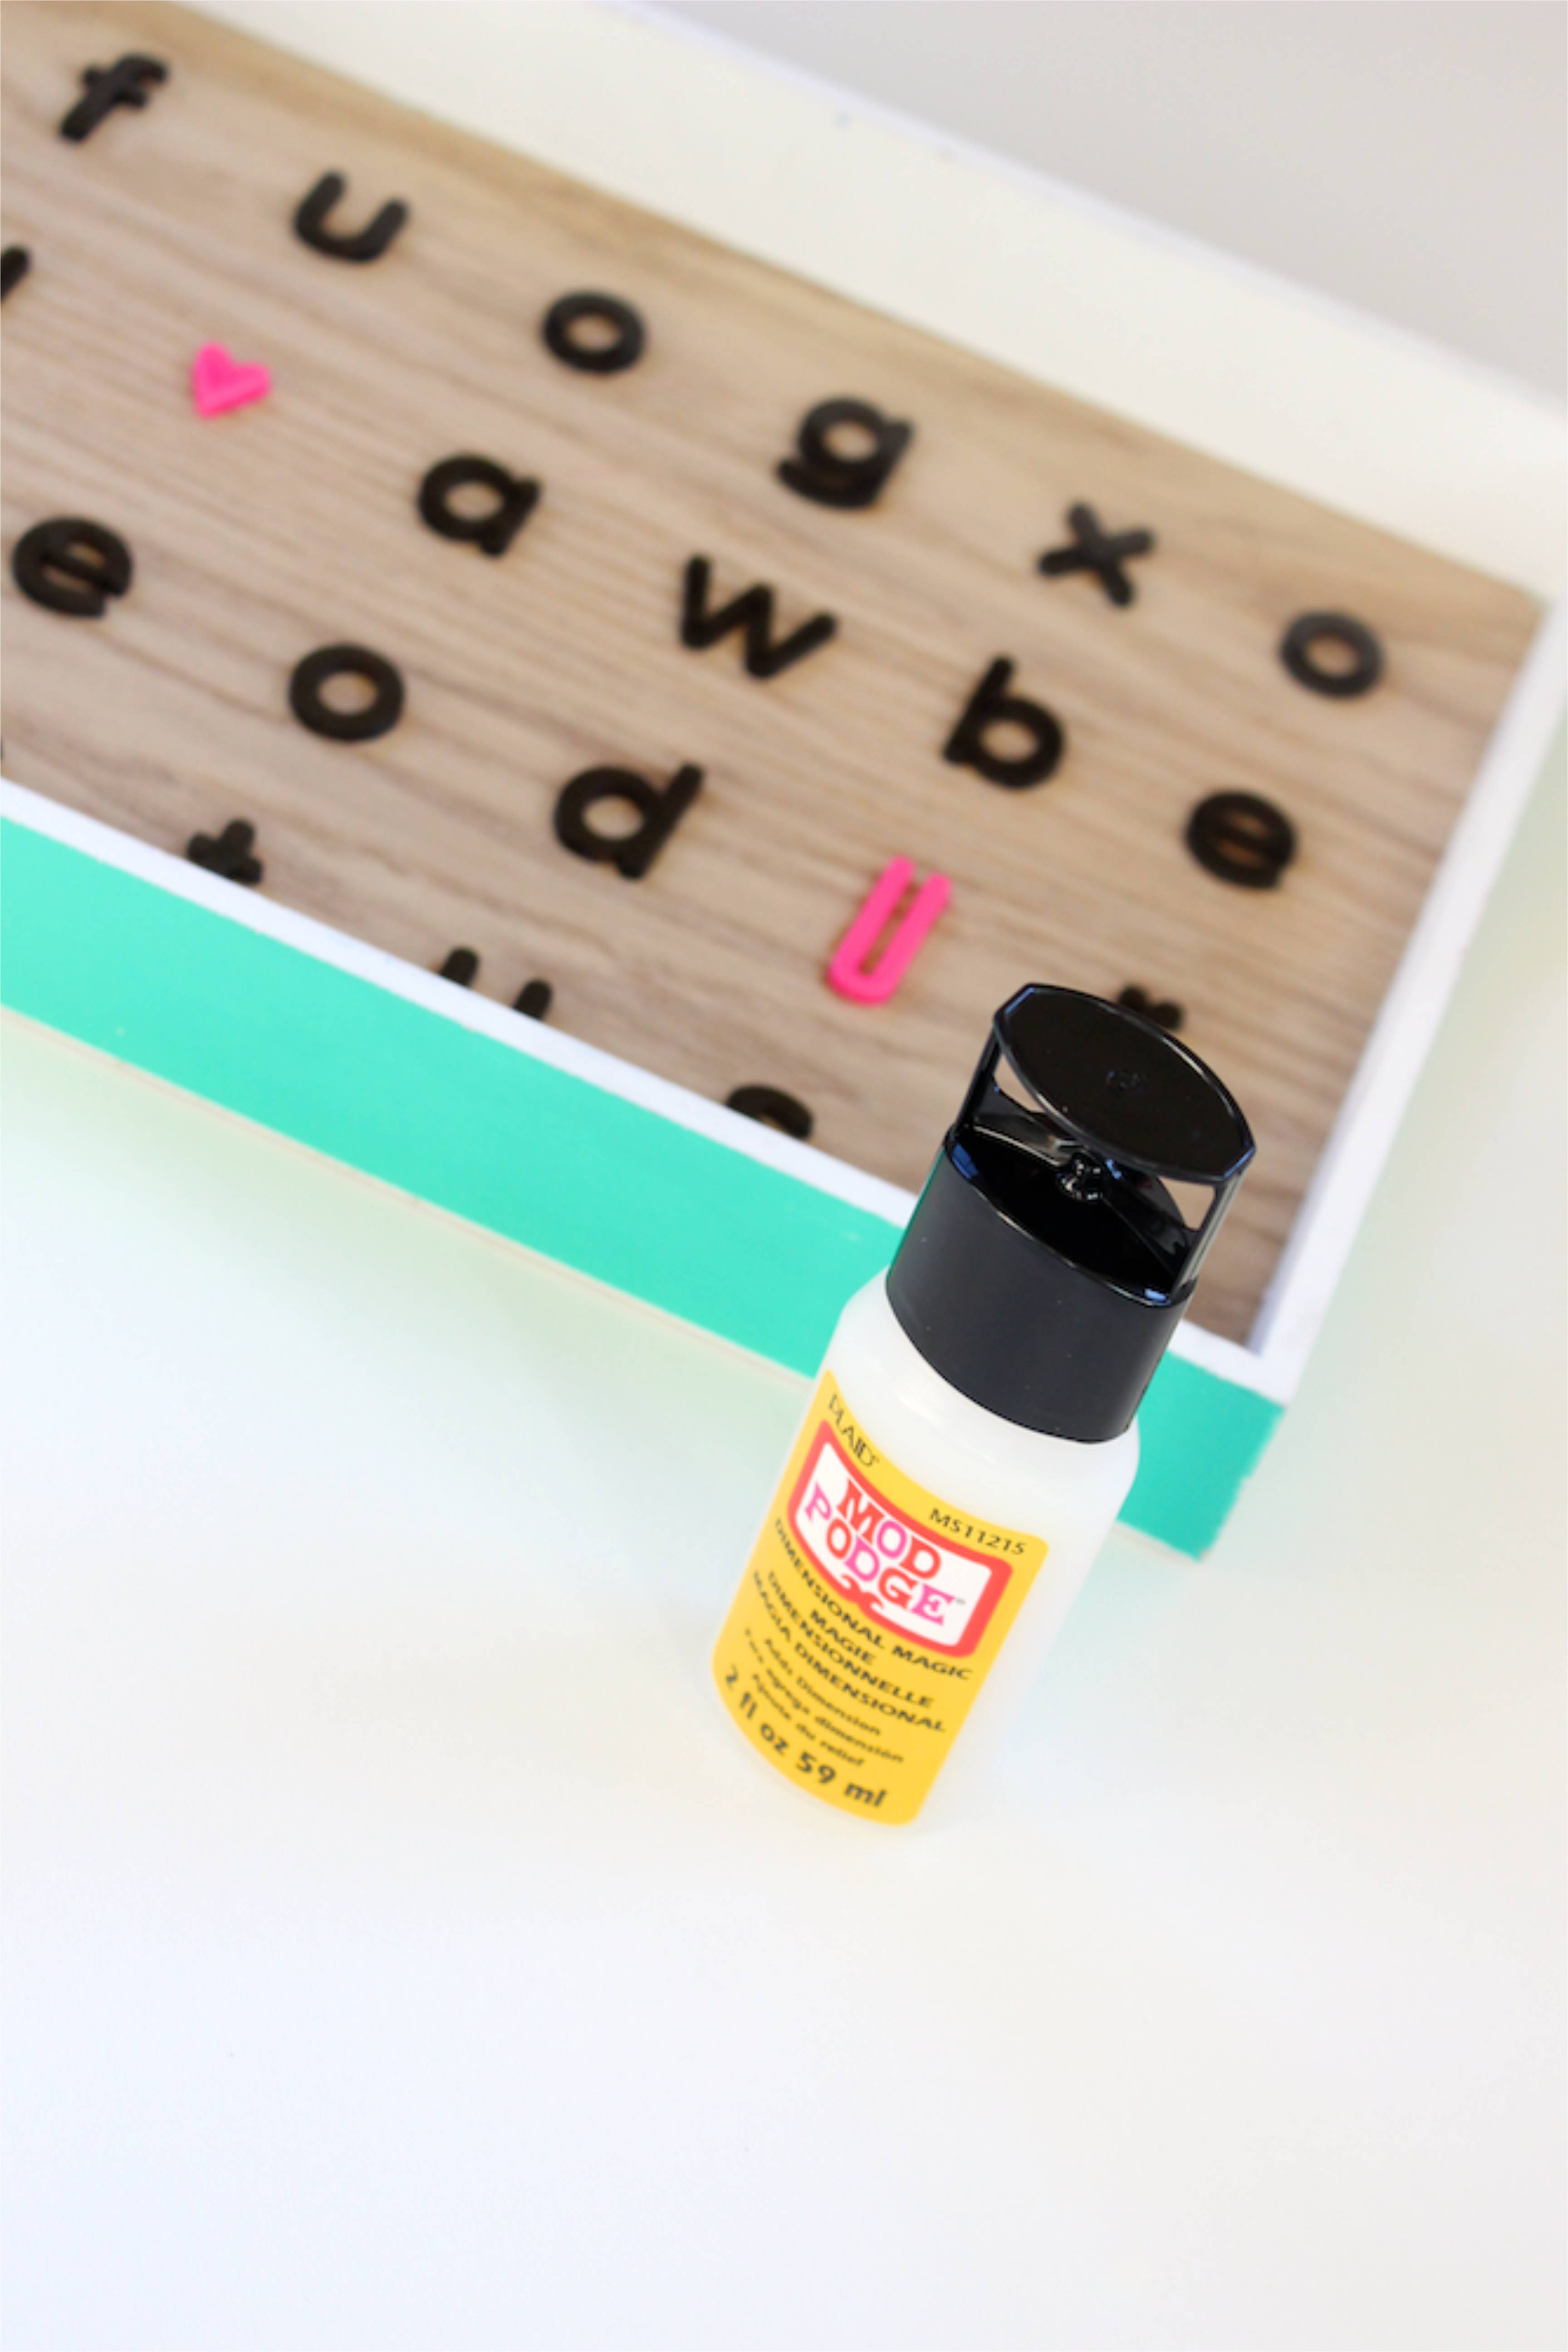
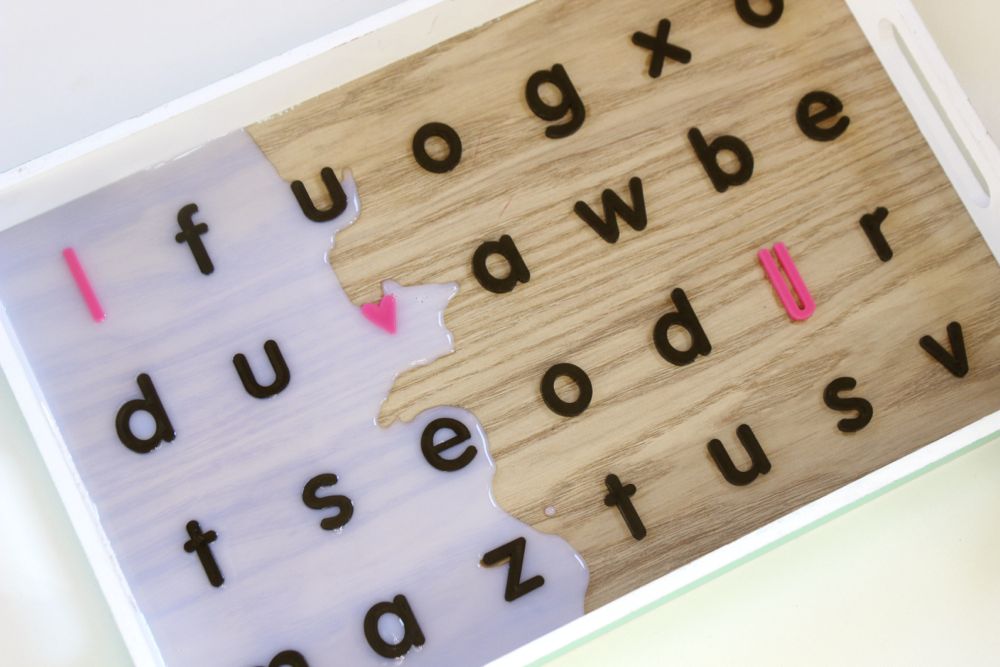

Step 4: Let the Dimensional Magic dry for at least 8 hours. The color will be clear, and not cloudy once it’s fully dry.