DIY Essential Oil Roll-Ons

DIY essential-oil-rolls-ons-amber-bottles

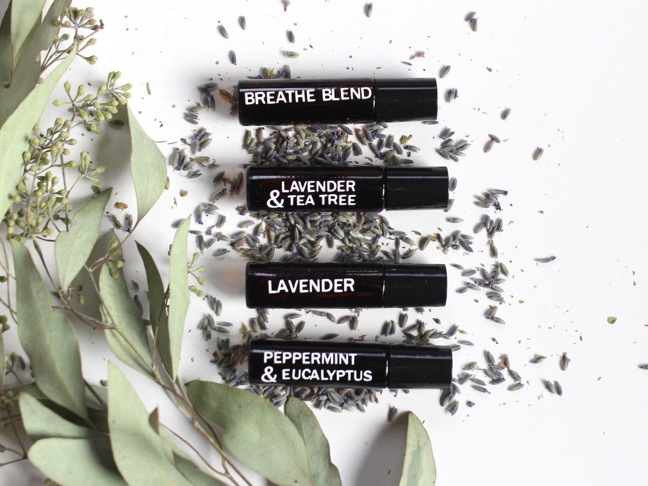
We are obsessed with our doTERRA essential oils. It’s an everyday necessity in our homes. Jenna’s rubs Lavender on her boys before bed. Jodi’s rolls Lavender on her temples all day, and Peppermint when her headaches just won’t quit. Jessica can’t sleep without her lavender-filled diffuser, and when her family has that pesky winter cough, she rolls Breathe blend on their chests. We can’t neglect to mention our love for On-Guard, and that amazing Deep Blue Rub.

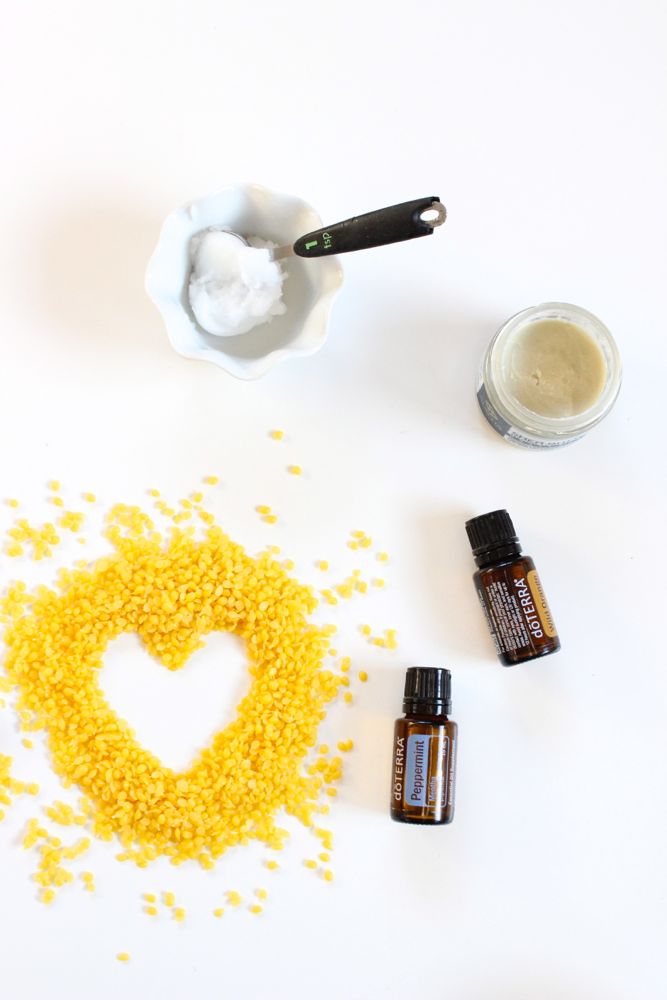
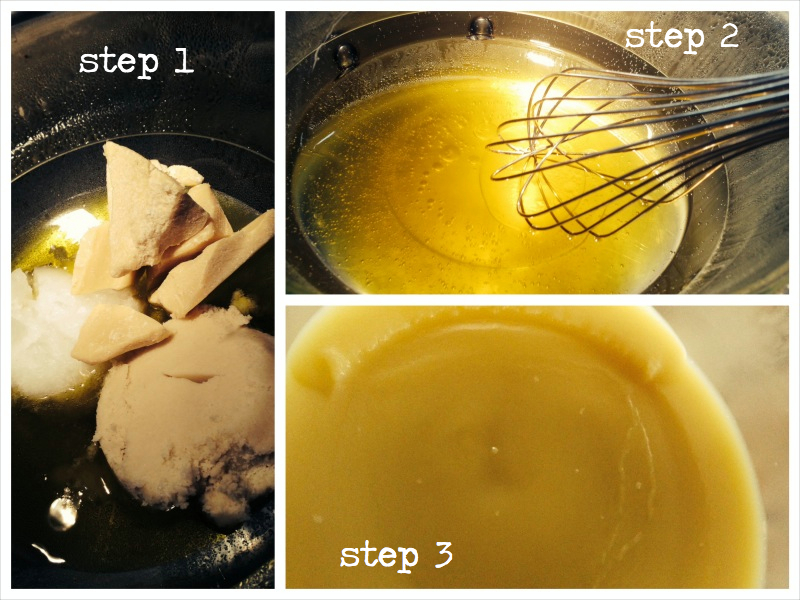
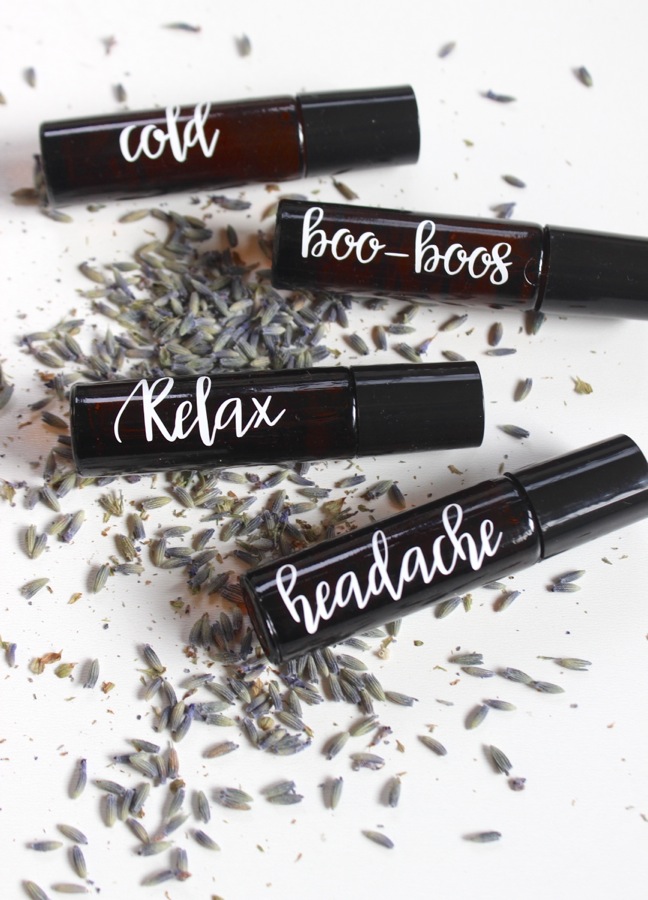
We’re so happy we made DIY essential roll-ons for Momtastic because we realized how easy it is, and now it’s a new favorite hobby. Get your roll on with us, won’t you? Read the full tutorial at Momtastic.

Interested in learning more about the oils we love? Email us at hello@jsorelle.com or check them out here.

IMG_1975


Pucker Up: DIY Lip Balm with Essential Oils Just in Time for Valentine’s Day

DIY-essential-oils-lipbalm-peppermint-beeswax-pellets-yellow
We have a drawer full of essential oils. The more we learn about the uses of the oils, the more we love. The more we love, the more we want to make. The more we make, the more we want to share.

This post was inspired by Gabriella’s (Jessica’s daughter) lip-making kit she got for Christmas (if a 6-year-old can make DIY lip balm with the help of a kit, we could surely make it, too), as well as Valentine’s Day. We made DIY lip balms with essential oils that not only smell amazing, but feel soft and smooth on lips too! These make awesome gifts for girlfriends and loved ones. It was so easy, and so fun.

DIY-essential-oils-lipbalm-peppermint-beeswax-pellets-yellow

DIY Lip Balm with Essential Oils
makes 6 lip balm tubes

Ingredients:

Directions:

Step 1: Add 2 inches of water to a saucepan on the stove. Put on high for boiling water.

Step 2: Add shea butter, beeswax pellets and coconut butter to a glass measuring cup.

diy-lip-balm-ingredients-beeswax-pellets-essential-oils-coconut-oil

Step 3: Place the glass measuring cup in the pan on the stove, and occasionally stir the mixture with a wood popsicle stick until all pellets are melted. Once they are melted, remove the cup from the stove, wait about 30 seconds, then add the essential oils. The combinations we chose are:
Peppermint: 30 drops
Peppermint and Lavender: 15 drops Peppermint and 10 drops Lavender
Peppermint and Wild Orange: 15 drops of each
Lemon and Wild Orange: 15 drops of each

Step 4: Stir the essentials oils in the oil. Quickly pour into the lip balm tubes before it hardens.

Step 5: Print labels. We made our labels for our lip balms using Avery labels. Free PDF file here. The Avery label you need to purchase is 5195. There are 60 labels per sheet.

Step 6: Once the lip balm is set (about 3 hours), stick the labels on.

diy-lip-balm

diy-lavender-and-peppermint-wild-orange-lip-balms

Share the lip balm love, and give to friends! Baci, Baci (kisses, kisses).

diy-lip-balm-with-yellow-beeswax-pellets


DIY Homemade Lavender Body Butter Recipe and Planter Gift for Teacher

thank you for helping me grow teacher gift

I’ve been loving lavender lately. Can’t seem to get enough, so it was my inspiration for the kids teachers, ‘end-of-year, thank you for everything’ gift. This week the kids happily handed their teachers a lavender plant with its roots planted in a DIY decorated terra-cotta pot with the phrase, ‘thank you for helping me grow,’ along with homemade lavender body butter. Teachers need to relax, so hopefully lavender body butter in a mason jar {who doesn’t love a Mason jar} they can rub on their hands at feet at the end of a long day does the trick.

For the Lavender Plant
You’ll Need

terra-cotta pot
Sharpie oil-based paint markers from Home Depot
lavender plant
dirt

How To
Find a free printable or ‘art’ inspiration for your quote. I used this as an inspiration from Somewhat Simple.
Free hand your art on the terra-cotta pot or you can cut shapes and trace {you can lightly use a pencil or chalk first, and then trace with the Sharpie markers, which I loved}.
I re-traced the words and shapes 2-3 times so the Sharpie colors were darker/brighter…just wait until the first coat dries, which is about 15 minutes or less.
Have your child sign his/her name in the back of the pot.
Then, plant the lavender plant.

DIY teacher gift

DIY teacher gift

DIY teacher gift

DIY teacher gift

For the Body Butter
You’ll Need
mason jar with a wide lid
1/2 cup shea butter, raw and organic {from Amazon}
1/2 cocoa butter, raw and organic from Amazon}
1/2 cup olive oil, organic
1/2 cup coconut oil, organic and unprocessed
40 drops lavender essential oil {doTERRA brand} or whatever combination of oils you enjoy

How To
Add the oil ingredients into a double broiler, or add a glass bowl onto a pot with boiling water in it.
Mix with a whisk until completely melted.
Remove the bowl from the pan, remove whisk and let cool for a couple of minutes, then place in the refrigerator until it is chilled {hard on top}, which took 1.5-2 hours.
Remove from the refrigerator and begin to blend with a hand mixer for a whipped texture. Add your essential oils. Whip until you have a nice texture and then place in mason jars.

note: I am not a body butter expert, but I read that the butter can lose its whipped texture and harden slightly, but it’s still good. And, it will last for several months. It will likely melt in hot temps above 70, so keep it around room temperature. I’m only a week into trying it and I think its lovely. I use coconut oil daily as a lotion, so I’m use to the oil texture on my body, but your dry skin will thank you.

steps to homemade body butter

homemade body butter

homemade body butter

DIY lavender teacher gifts

{images via j. sorelle}

susan + michael

We love this wedding for it’s pretty simplicity, but also its DIY touches, lovely lace, vintage accessories and the most stunning floral bouquets and arrangements! Tables were set with burlap runners lined with lace borders. Such a pretty combo.  Centerpieces by one of our faves, Cori Cook, were a mix of old wooden planter boxes with beautiful arrangements of juliet garden roses, succulents, roses, veronica, cafe au lait dahlias, scabiosa pods, astible, sweet pea, lavender and seeded eucalyptus. The details and the setting made for a beautiful garden wedding.

Thanks for Harper Point for sharing the amazing photos with us. Ya’ll are good!

VENDOR LOVE
Photography: Harper Point Photography
Flowers: Cori Cook Floral Design
Paperware: Paper + Ink
Rentals/Vintage Props: A Vintage Affair Rentals
Venue: The Tapestry House

{images via Harper Point Photography}