chalkboard fun

I am fabulous
I am fabulous
I am fabulous

Much better than the notes we use to write on the chalkboard during detention after misbehaving in school

I will not pass love notes during class

…don’t you agree?

Now that you’re out of school and not getting into classroom trouble, have some chalkboard fun!

You can find Chalkboard paint in a bucket or in a spray can at your local home improvement store, such as Home Depot, and don’t feel limited to use just black. Hudson Paint offers a rainbow of chalk paint colors. And, get even fancier and more creative with must-have chalk ink {colorful chalk in a pen form}.

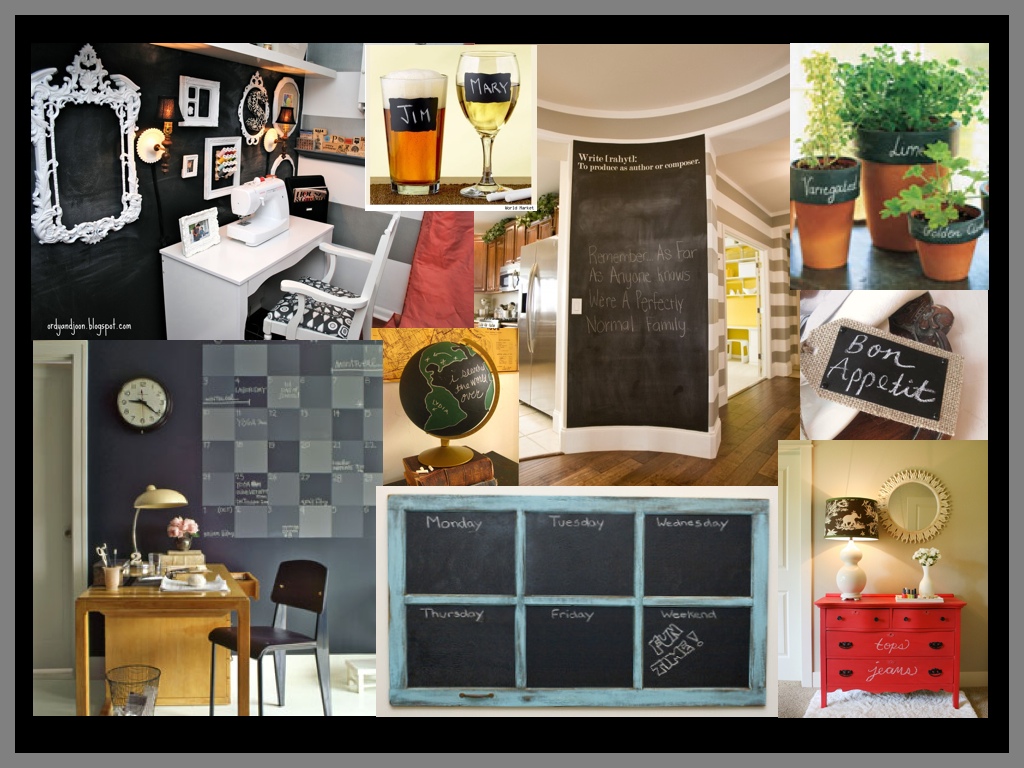
Chalkboard Wall with Frames: I love this office space designed by The Adventure of Ordy and Joon.

Chalkboard Label Glasses: Label your drinks with your own chalkboard stickers or purchase these glasses from Pier1

 Chalkboard Wall: Three Men and a Lady created a perfect place to jot down notes for the whole family to see in her entry with a chalkboard wall.

Chalkboard Pots: Remember what herbs you planted with this easy-to-do chalkboard potted label by Martha Stewart Living.

Chalk Wall Calendar: Stay organized with this calendar from The Martha Stewart Show.

Chalkboard Globe: Mark all the places you’ve visited or let your children learn their geography with this great globe idea from Design Sponge.

Chalkboard Window Pane: Repurpose an old window pane with chalkboard paint with these tips by Sweet Home.

Chalkboard Place Cards: Make sure your guests know their seat with these adorable place cards at Blue Pearls etsy shop.

Chalkboard Dresser: Remember which drawer your pants, socks and underwear are in with this cute idea from HGTV.

OK, two more adorable projects I just have to share…

Chris at Celebrations at Home has an easy DIY chalk project you can do for a fabulous backdrop at a party.

Finally, chalkboard chargers. You can always customize with guest names and kids will love it too. Tatertots and Jello has the how-to you can follow here.

{images via The Adventures of Ordy and Joon, Martha Stewart, Design Sponge, Blue Pearls, Sweet Home, Three Men and a Lady, Celebrations at Home, HGTV and Pizzazzerie}
white out

Happy Fashion Friday!

In honor of my annual “Party on the Porch” I am hosting tonight with my dear friends (white attire requested, benefitting the Crohn’s and Colitis Foundation of America) … today’s fashion Friday is about fabulous white summer outfits (rocked by men and women)!

I admit, I could not wait until memorial day weekend so that I could go out and wear more white! I know that I am not alone when I see fashionable women everyday wear their white jeans with great summer tops and great nude summer pumps. I just love wearing white – it looks so clean, so put together and so fresh. Either splash your outfit with white by wearing a  fashionable fedora hat, pumps, or clutch purse … or rock a white dress or white jeans with a white top for a full white outfit. If you rock an all-white outfit, I highly recommend a bright colorful clutch or pumps – so cute!

white outfits

white outfits

white jeans

white jeans

white fedora hat

To shop for affordable outfits, I’ve seen really cute white dresses at J. Crew, white tops at Nordstrom, and cute white jeans at Urban Outfitters and Gap. Great, more expensive designer brands for bags, shoes and accessories would be Louis Vuitton, Marc Jacobs, Coach and L.A.M.B.

If you would like to donate to The Crohn’s and Colitis Foundation of America, please contact Jenna at Fleur de Lis or go to www.ccfa.org. Thank you for all the people coming out to support the foundation by attending our annual Party on the Porch tonight!

party on the porch invite

{invitation designed by Fleur de Lis, using Envelopments paper}

{images via www.dailymail.com, www.emilyjanesimkins.wordpress.com, www.fashionindie.com, www.flairvoyant.com, www.tenthousandswallows. blogspot.com}

going clean

My fabulous cousin and aunt have been doing this cleanse called “Clean” since April. They can’t say enough things about it – they look great, they feel wonderful and they’ve each lost 30 pounds! Since my wedding is coming up in a few months, I wanted to hop on-board, too! Now, I’m not one who goes on diets to lose weight (the gluten-free diet is difficult enough!), but I thought that doing a cleanse might help be lost that difficult ten pounds just before my wedding. Plus, my cousin and aunt were continuing the Clean lifestyle and my mom was going to start with me. I had my own personal support team to help me 🙂

About a month ago, I picked up Clean by Alejandro Junger, MD from Barnes & Noble and immediately stuck my nose in. I was absolutely fascinated by this book! It is truly disturbing when you stop and think about how many toxins are inside our body from the air we breathe, the place we live, the cosmetics we use and the food we eat. There are a lot of unnecessary toxins that we feed into our body that harm us. When it comes to food, we can certainly control those toxins.

In the book, Alejandro describes exactly how Clean works. Although there is a lot to it, the #1 rule is to follow this simple formula: Eat two liquid meals and one solid meal per day (the solid meal to be eaten at lunchtime). Snacks in between are allowed, but you must keep a 12-hour window from your last meal until your breakfast the next morning in order for your body to cleanse.

After completing Clean, I feel healthier, my skin is brighter and I’ve lost weight! No more stomach aches, bloating, fatigue or headaches. Clean is a cleanse that makes perfect sense and is easy to do. Only 21 days and you’re clean!

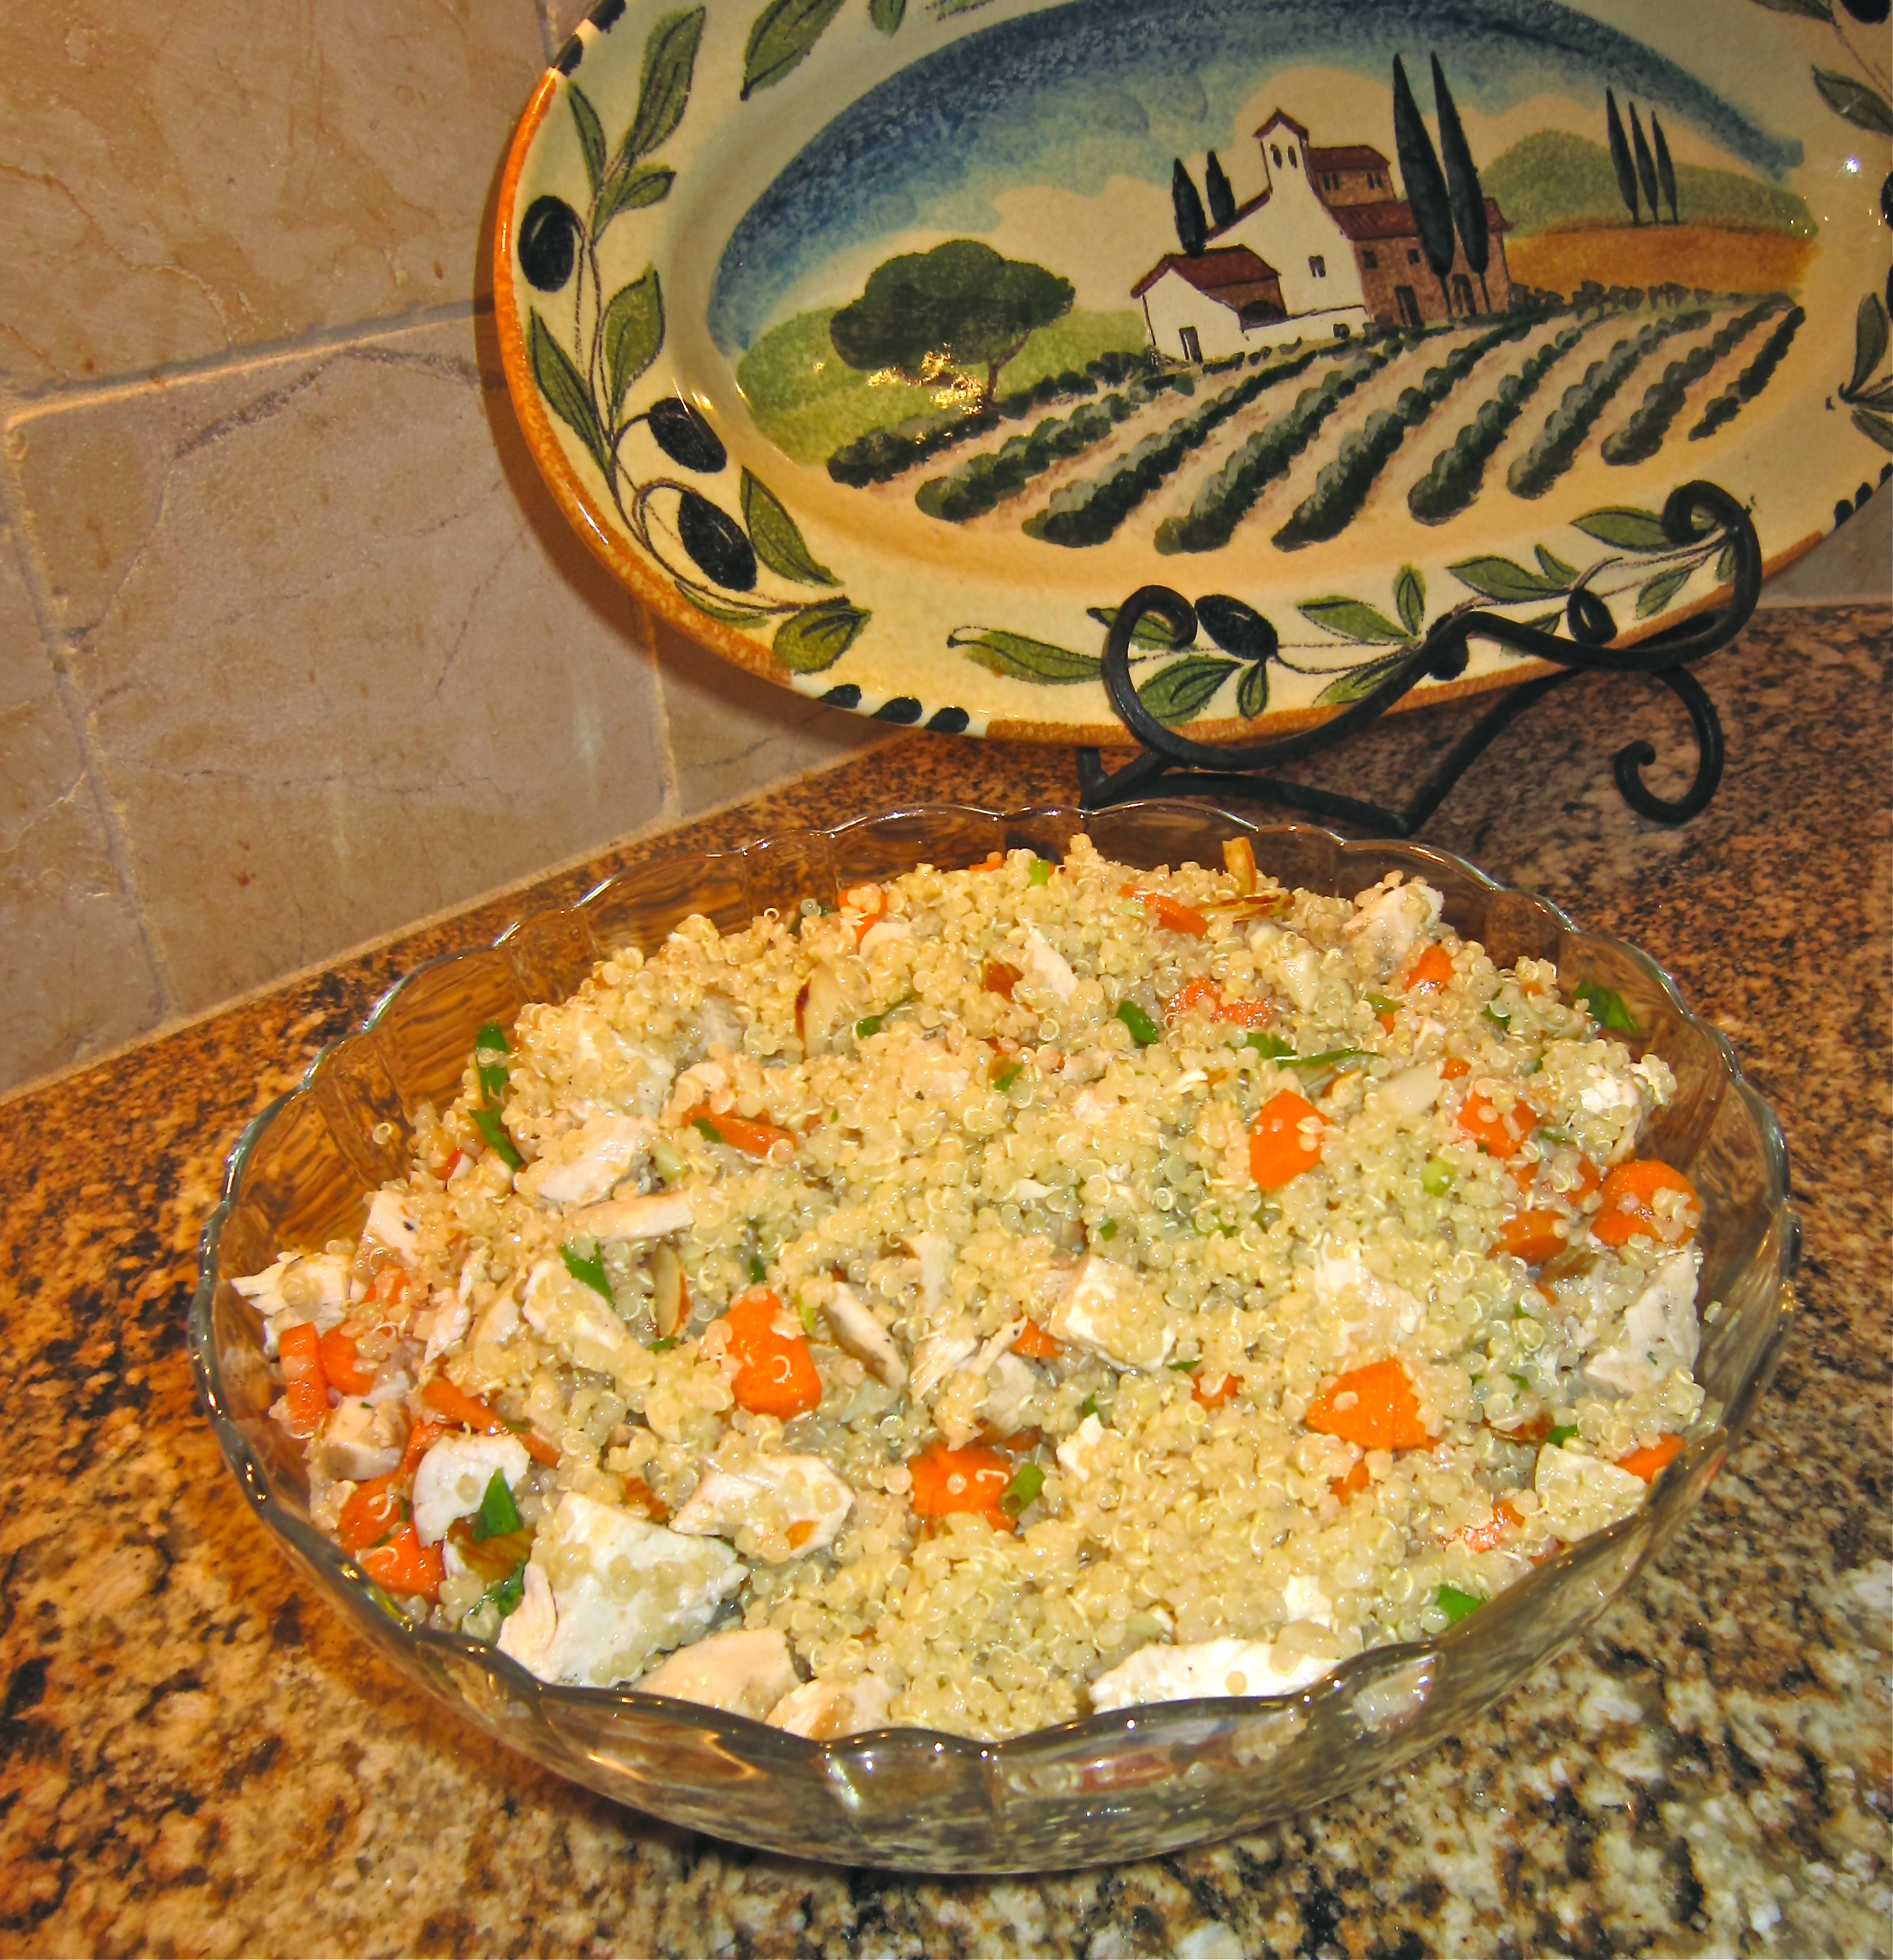
I wanted to share my all-time favorite recipe from Clean: Quinoa Salad with chicken and Mixed Greens (p.254 in Clean). It’s refreshing, delicious, healthy, and super easy to make. Double the recipe and eat it for your lunch all week! You’re going to love it 🙂

Ingredients:

2 cups cooked and cooled quinoa

4 (4-ounce chicken breasts, grilled or steamed and thinly sliced)

1 tablespoon chopped parsley

1/4 cup currants

1/4 chopped raw almonds

1/2 cup diced carrots

1/4 cup chopped mint

1/4 cup scallions, cut thinly diagonally

1/4 cup chopped parsley

1/4 cup lime

1 teaspoon agave nectar

1/4 teaspoon ground cumin

1 teaspoon sea salt

1/2 cup olive oil

4 cups salad greens tossed with 2 tablespoons olive oil

Instructions:

1. Steam chicken breast.

2. Put all ingredients except chicken and salad greens in a bowl. Toss together with quinoa. Adjust seasoning to taste.

3. Mound half quinoa salad on each plate

4. Make a bed of salad greens next to quinoa and place the sliced chicken on top.

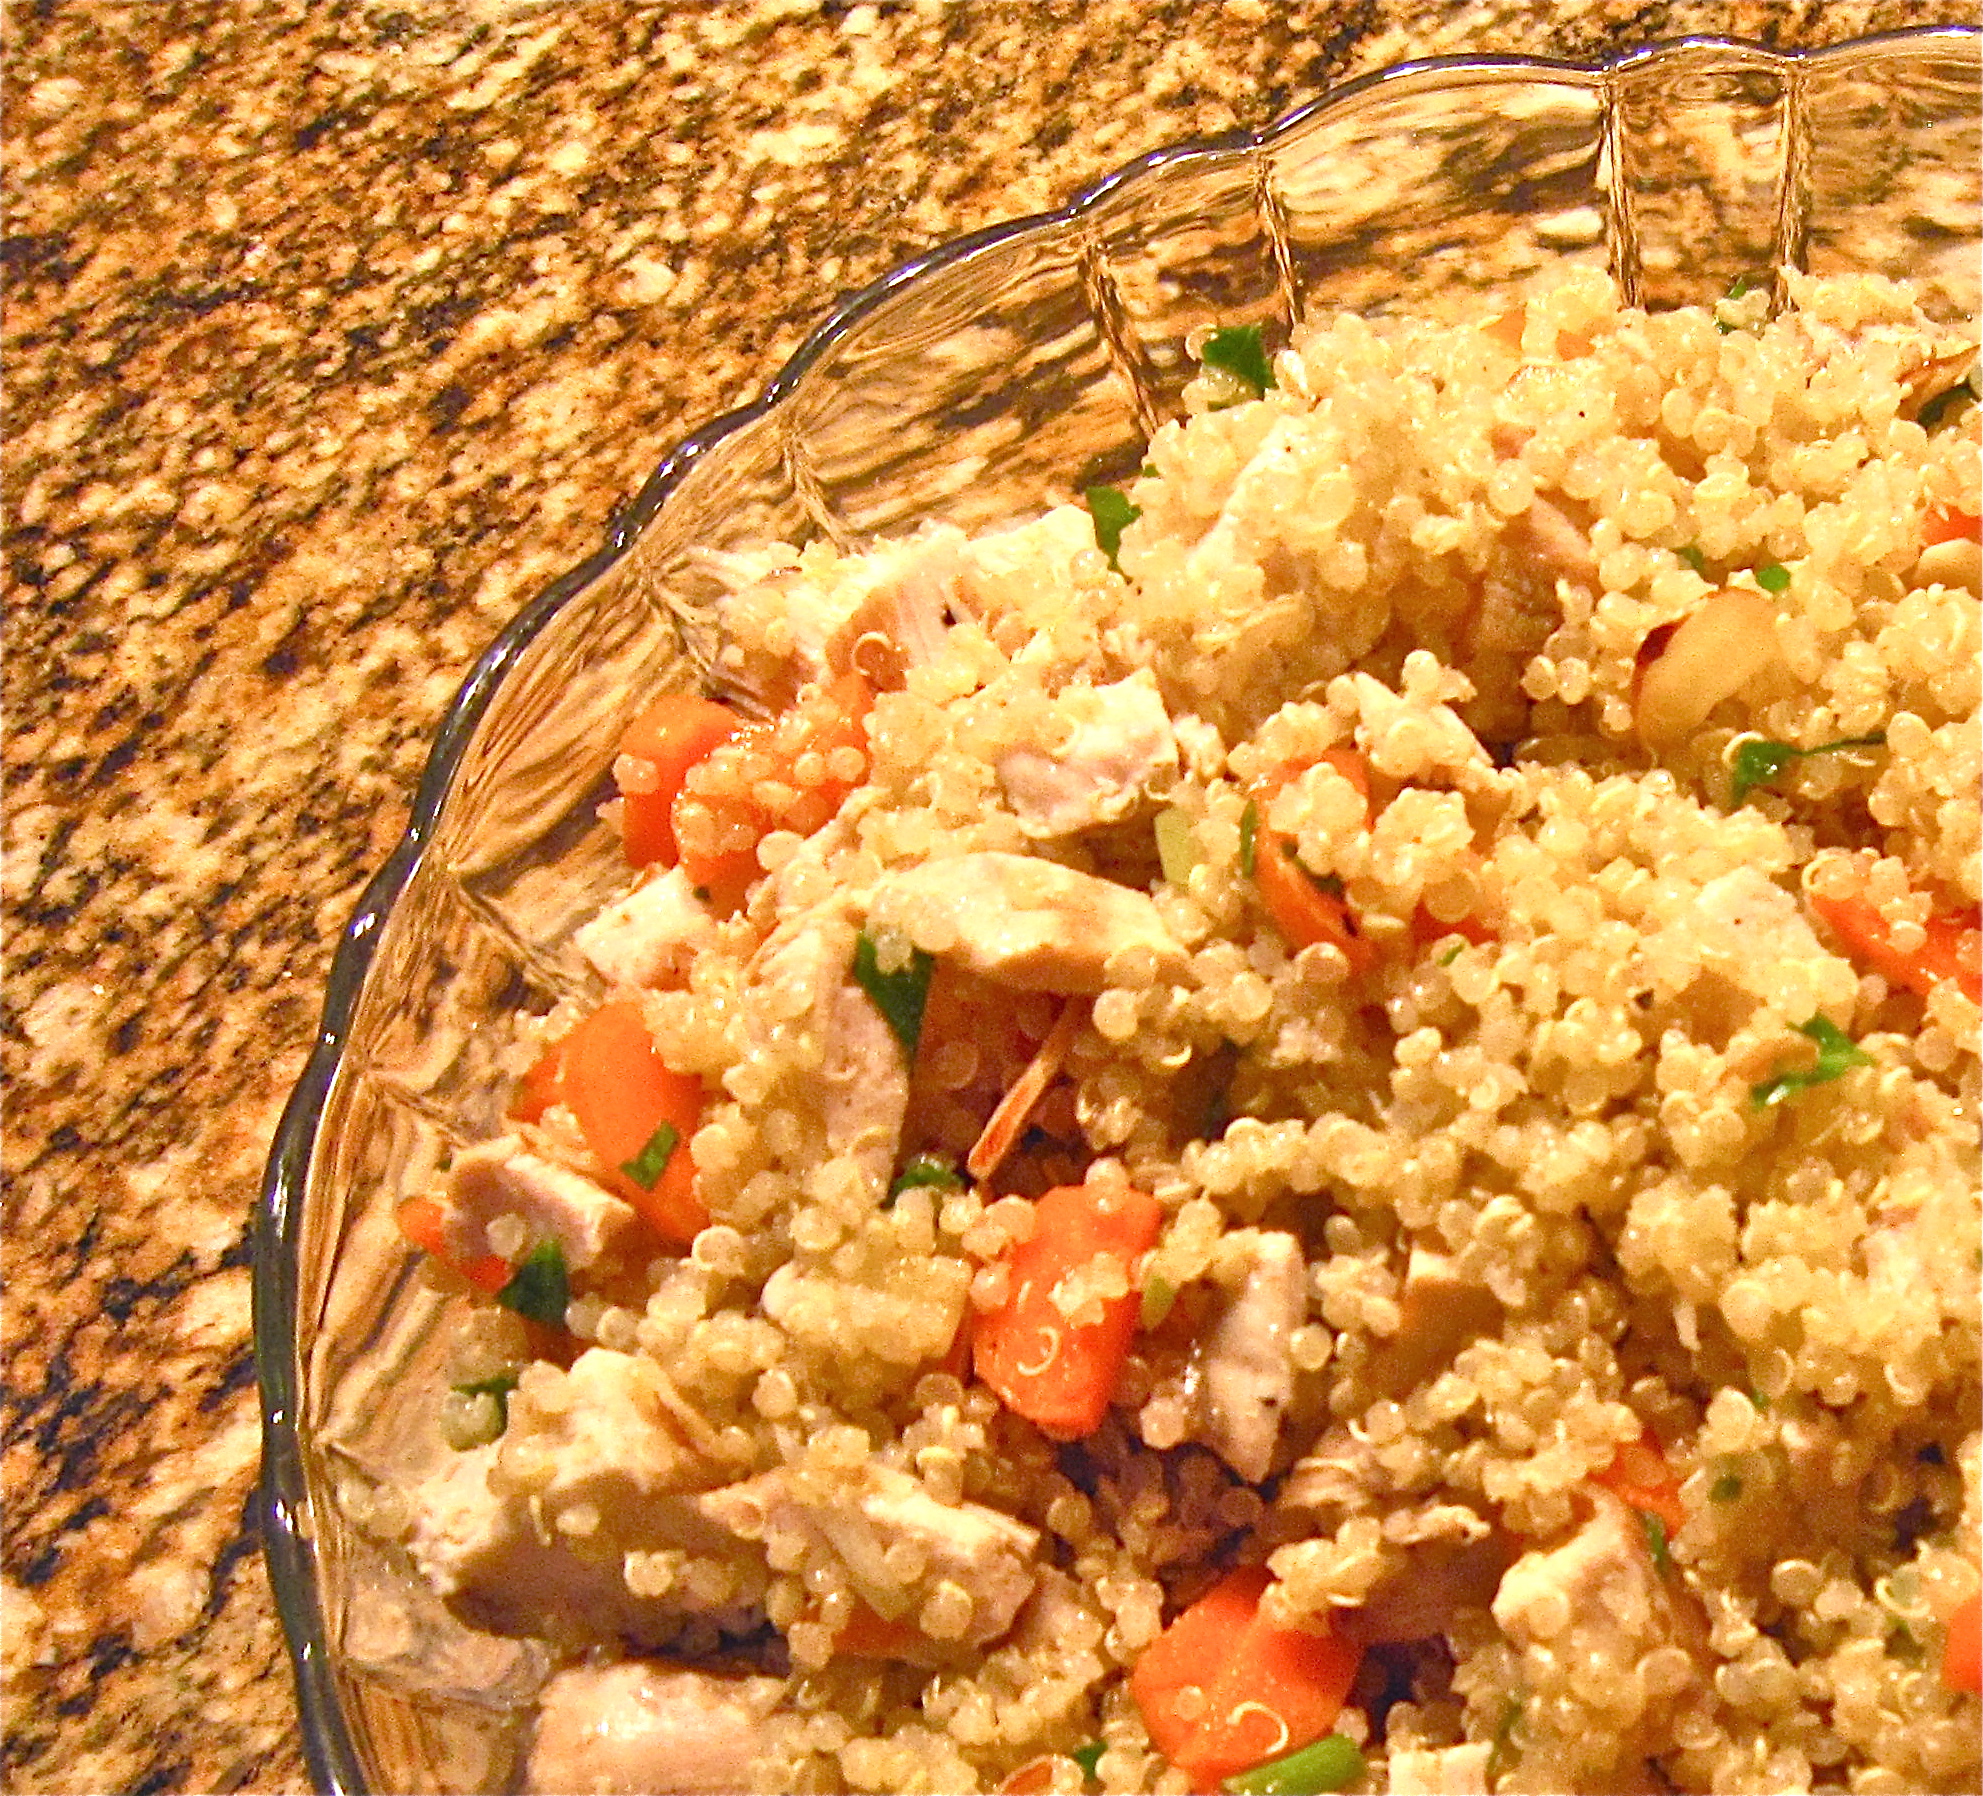
mmmm… delicious!

{currants not photographed}

Recommendations:

Make it your own. I love currants, so I use about 3/4 cup currants in the mix (even though I was in the middle of making it last night and realized that I was out of currants!) Add a few more almonds if you enjoy a ‘crunch’. I suggest using less than 1/2 cup olive oil – I don’t think 1/2 cup is necessary because the mix will get soggy. Personally, I enjoy Quioa Salad without the chicken or salad greens because I love the taste of quinoa so much. Be creative!

If you’re looking to cleanse your body from toxins, lose a few pounds and feel healthy and energized, try going Clean! Visit their site and check out all of the resources that they provide (grocery list, elimination diet foods, daily routines, ect). Happy cooking and Cleaning!

I think this Alejandro guy is a genius 🙂

{imges via tutto bella}

DIY pearl necklace

We love the look of a chunky pearl necklace, but we don’t always love the price tag associated with it. Erica at P.S. I Made This put together a step-by-step tutorial on how to make one yourself. You can find relatively inexpensive pearl necklaces, and I love the idea of using an antique brooch for a little sparkle.

Inspiration Board

DIY Version


For the how-to video, visit fashionista.com.

 {images via P.S. I Made This}

adorable diy cake stands

When I first saw these DIY cake stands, I just knew I had to make them. There was a warning from the creative inventor, Jennie from A Well Crafted Party, that whoever tries to make one will be addicted and just have to make more. She was right. I admit, I’m addicted. Now you can be too. Thanks, Jennie.

DIY Cake Stand Tutorial, featured at Bump Smitten.

Materials:
1 plate— 4-inch plates make great cupcake stands
1 candle stick, goblet or sundae glass
Epoxy
1 heavy book
1 can of spray paint
1 can of acrylic sealant {I skipped this step due to time}

Instructions:
1. Spray paint your candle stick, goblet or sundae cup the color you wish the base of your cake stand to be.
2. Find your plate—any plate will work {square or round} but I recommend using one that has the color or image you would like as this will not be painted to keep the cake stand food friendly.
3. Affix the plate to a candle stick, goblet or sundae cup {the larger the base, the more sturdy the cake stand} using a glue made for ceramics and glass.
4. Place a heavy book on top of the stand and let the epoxy set according to directions. After the epoxy has set you should be able to pick up the stand with no movement from the candlestick or plate.
5. Before use, wash the top of the plate with dish soap and water. The stand is not dishwasher safe but is food-friendly as long as food is not touching the painted surfaces.

Read more detailed instructions from the original tutorial on Bump Smitten here.

P.S. I’ve used these stands for cupcakes, food displays and votives. Let your creativity fly.

{images via Bump Smitten}