How to Create DIY Ice Votives for Winter Ambiance

DIY ICE VOTIVES_jsorelle

As I made pasta sauce last week, I was about the throw away the cans of tomato paste and whole, peeled tomatoes, when I thought about their potential for my next project. They lived up to my expectation as the perfect prop to make DIY ice votives. I learned as I went along, and hopefully simplified it for you below so you can warm up the outside of your home this winter. I loved the results, and with the romantic snow falling outside, I wish I had more cans to make more votives! Try it before the snow melts and add it to next year’s winter to-do! Here’s how you can do it flawlessly.

DIY Ice Votives
NOTE: materials below makes 2 ice votives at a time, so multiply materials accordingly, or work on this project over the course of several nights, freezing two votives per day.

You’ll Need:

Water

Rocks

2 28 oz cans, emptied and rinsed

2 14 oz cans, emptied and rinsed

Cold temperature outside, or a freezer

How To:

Fill the large can less than halfway with water.

Fill the small 14 oz cans with rocks.

Place the small can inside the large can – the water should not overflow in the small can, so adjust the water accordingly. The top of the water should be about an inch from the top of the small can.

Move the small can so it’s in the middle of the larger can, with even spaces all around it.

Place the can carefully outside or in the freezer.

In the morning, the water should be frozen.

When It’s Time to Reveal Your Ice Votive

The ice takes about an hour to melt if you want to just let it sit, but who has that kind of time. I don’t, so I just held the cans of frozen water and rocks under the faucet and ran hot water over it for a minute or two. Fill the small can of rocks with hot water so it loosens and ‘releases’ from the ice. Run it across the top of both and you will see it melt.

Once the ice has melted enough to loosen the cans, remove the small can from the large can, and slowly and gingerly tip the large can over slightly so you can gently catch the ice votive.

Find a spot outside on your table, place them on a tray, line them up for a grand entry or make a spot in the snow for your ice votives.

You can fill with either real votive candles {I used real votives}, but it may be better to use flameless candles so the ice doesn’t melt too fast. On a cold week, mine lasted the entire week.

diy ice votives_jsorelle

diy ice votives_jsorelle

winter warmth ice votives

winter diy_ice votives_jsorelle

{images via J. Sorelle}
Rainbow Fruit Sugar Cookies

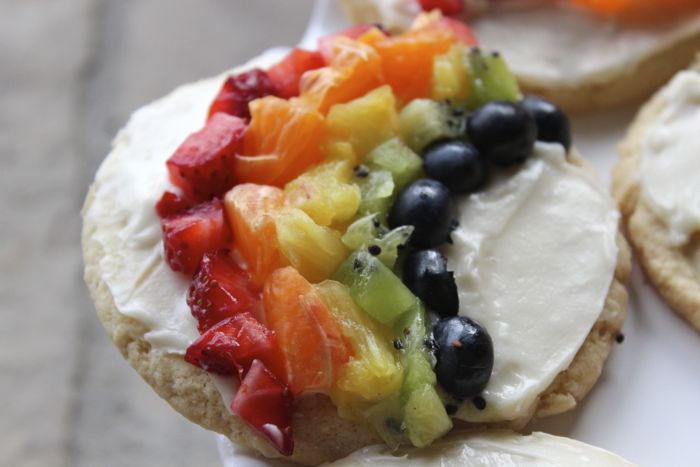
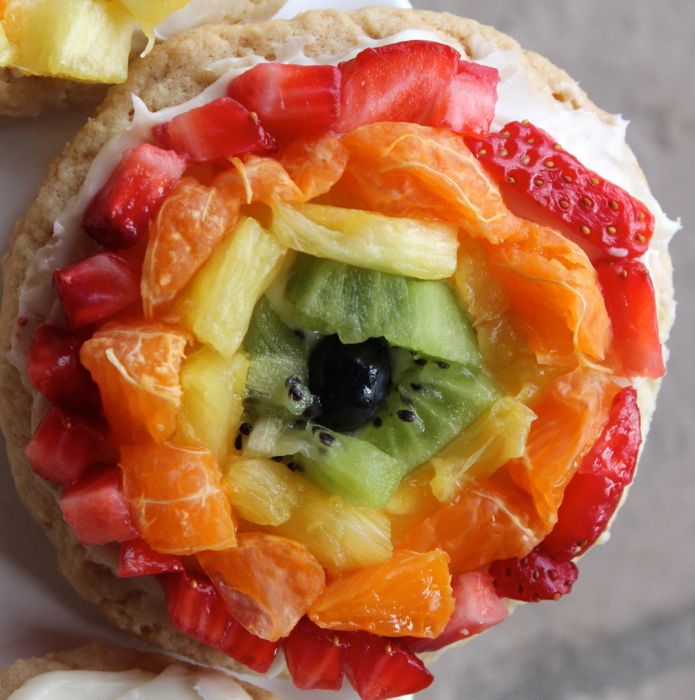
rainbow-sugar-cookie-with-fruit

The colors of the rainbow are so pretty in the sky…and they are so pretty on a cookie too.

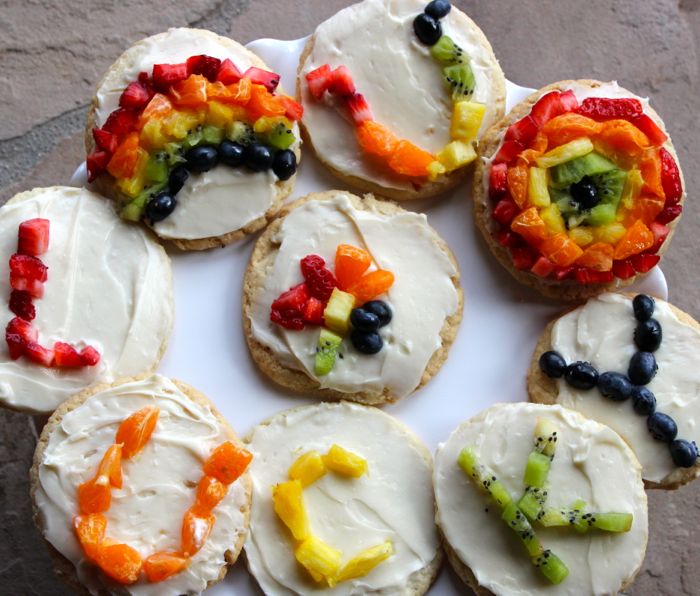
Instead of a giant sugar cookie covered in fruit like my mom use to make; this St. Patty’s Day, the kids and I made mini sugar cookies and decorated with rainbows and all things Irish. They are so yummy – anything with a cream cheese frosting is delicious in my book – and an adorable treat to celebrate the Irish in all of us.

Taste the Rainbow Sugar Cookies
family recipe
makes 12-13 cookies

Ingredients
Strawberries, 2 to 3
Blueberries, 5 to 10
Clementines aka Cuties, 1 to 2
Pineapple, not even half of one
Kiwi, 1
Pillsbury Sugar Cookie Dough or homemade recipe or make them gluten-free with this recipe.

Cream Cheese Frosting
1 tsp. vanilla
½ cup sugar
8 oz. bar of cream cheese, softened

How To:
Bake cookies according to package instructions. Allow them to cool.
Add all frosting ingredients in a bowl and blend with a mixer.
Slice all fruit into small pieces.
Use a knife to smooth frosting on the cookie, and then decorate.

rainbow-sugar-cookie-with-fruit

IMG_4212

{images via Tutto Bella}

Mini Bailey’s Irish Cream Cheesecakes Recipe

Tutto Bella is getting a makeover. Kind of like the kind all us ladies need…A new pair of heels, an afternoon at the nail salon, a new wardrobe and a visit to the stylist, just to name a few. So, please excuse us while we add a little pizzazz, more organization and even more fabulousness here at Tutto Bella.

WARNING: Colors, and design of site will change during this time.

Really exciting things to come, but while we do some behind the scenes work, we have some great posts that we just couldn’t help sharing.
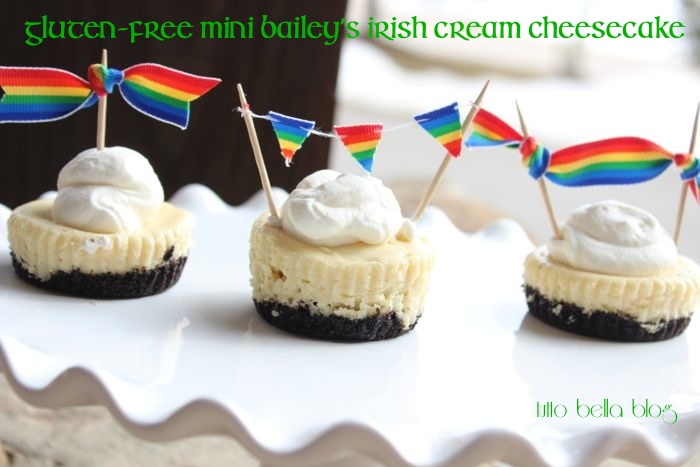
With St. Patty’s day approaching, we have some rainbow and Irish love this week…and first up is Mini GF Bailey’s Cheesecakes.
We love Bailey’s Irish Cream. Love it in coffee, chilled over ice at the end of a long day and now in our cheesecakes. For all you gluten-free folk, this is a treat you can enjoy too, because we made it gluten-free. This is easy and so yummy. Make it for your friends and family as you celebrate the Irish in you on St. Patty’s Day, or just make it for yourself.
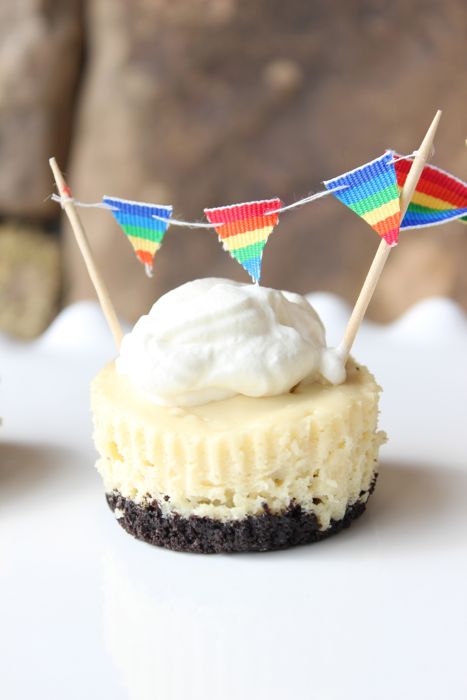
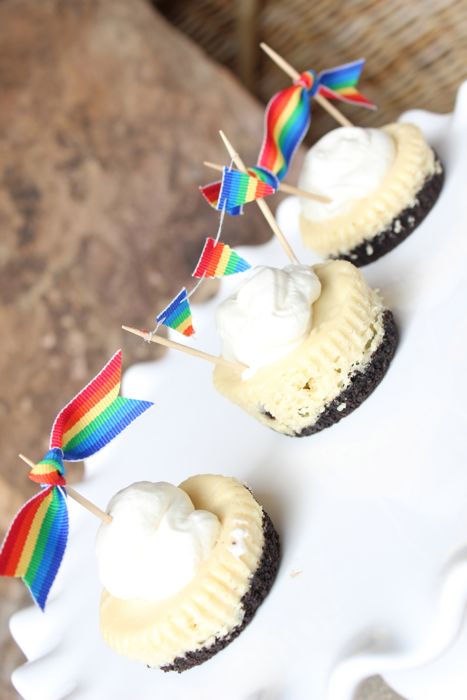
gf mini cheesecakes_tuttobellablog
gf baileys cheesecake_tuttobellablog
gf mini baileys irish cream cheesecakes_tuttobellablog
Gluten Free Mini Bailey’s Irish Cream Cheesecakes
serves 12

Crust
1.5 cups Glutino chocolate and vanilla crème oreo-style cookies
3 tablespoons melted butter

Filling
12 oz cream cheese, softened
½ cup sugar
½ tsp vanilla
1/8 tsp salt
2 tablespoons Bailey’s Irish Cream
1 egg

Topping
Preheat oven to 350 degrees. Fill muffin tin with cupcake liners.
Mix crust ingredients together in a food processor or blender. Add a full spoonful to each liner and then press down to create a packed bottom layer. Cook for 5 minutes.
In a medium bowl, beat together the cream cheese, vanilla and sugar until fully mixed. Add salt, Bailey’s, and an egg until the batter is smooth.
Add less than a ¼ cup to each cavity for an even layer of cheesecake on top of the cookie crust. Bake for 15-17 minutes. Once cool, place in refrigerator and chill for at least 4 hours or overnight.

Once you are ready to serve, or a couple of hours before you serve, it’s time to make the whipping cream. In a medium bowl, add the topping ingredients for whipped cream, blend until soft peaks form.

Take out of fridge before you serve, be generous with the whipping cream topping and serve! .

Devour!!

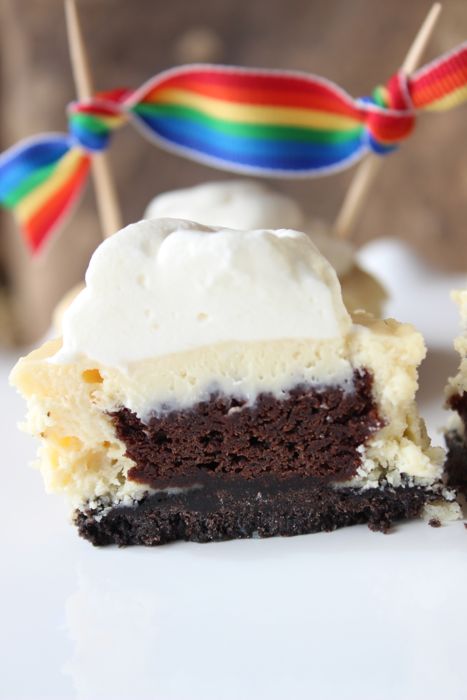
If your a chocolate lover like me, you’ll want to add an Udi’s Gluten Free Brownie in the middle. Follow all directions above, except add a tiny brownie {they are made and you can find in your local grocery store} on top of the cooked crust, and add cheesecake mixture around/on top of it. Cook for the same time, closer to just 15 minutes. It was also a delicious treat.
gf bailey's cheesecake with brownie_tuttobellabloggf baileys cheesecakes_tuttobellablog{images via Tutto Bella Blog}

DIY Twig Cupid’s Arrow on Valentine’s Day

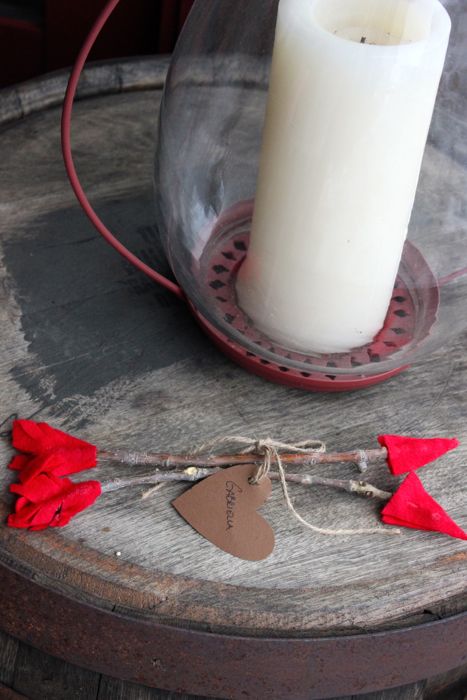
twig cupids arrow
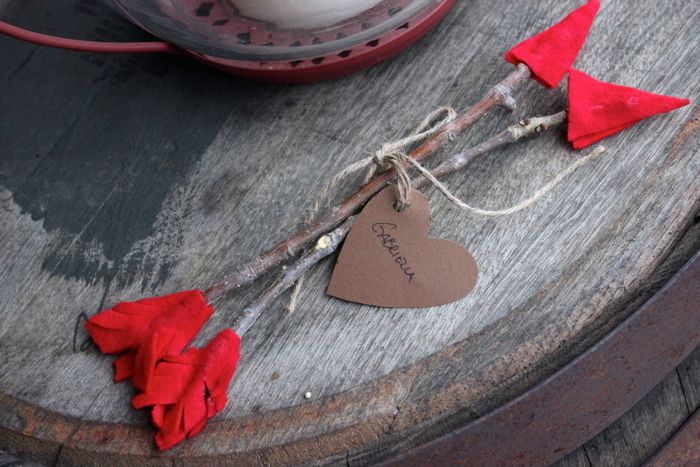
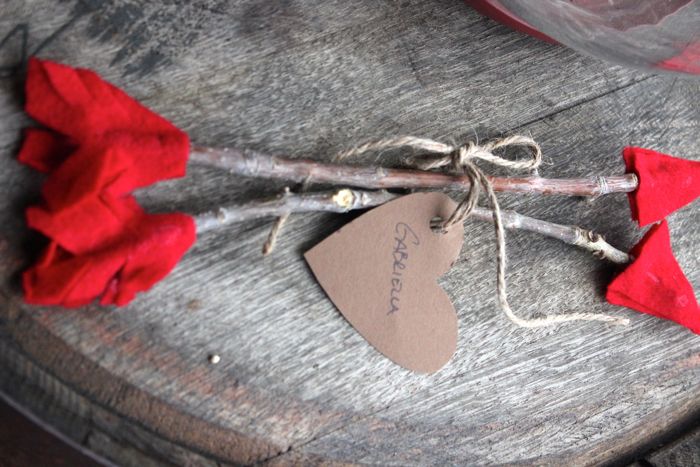
I just couldn’t help myself with this post today – this project was too darn cute not to share. Today, my kids shared their Valentine’s with friends at school and I LOVED what their wonderful, amazing teacher created – twig arrow’s {she also attached pencils to the twigs for each of the kids}. So, I know it’s last-minute with Valentine’s Day being 2 days away, but it’s TOTALLY doable and adorable. Your kids will love to make and their friends will love to receive. Hope you, or someone you love, gets hit by Cupid’s {DIY} arrow this Valentine’s Day.

Thanks, Dee Dee!
diy cupids arrow

All You Need Is:
twigs {free from outside}
felt scraps
scissors
craft glue or hot glue
twine or ribbon to hang a tag

Cut the felt into two triangles for the tip of the arrow. Cut the other felt pieces in the shape of the feathers.
For the tip, place one piece of felt on the bottom, add the twig in the middle of the felt and add some glue around the twig. Press down on the top piece of felt, so it adheres to the bottom piece of felt and keeps the twig tightly in between.
Repeat for the ‘feathers’.
Once the feathers are glued, use a pair of scissors to cut diagonal lines to create the ‘feather’ effect.

diy cupids arrow made by twigs

{project done by Dee Dee, photos via Tutto Bella}

DIY Valentine’s Day S’more Printable and Favor Bags

free s'more printable for valentines day_tutto bella blog

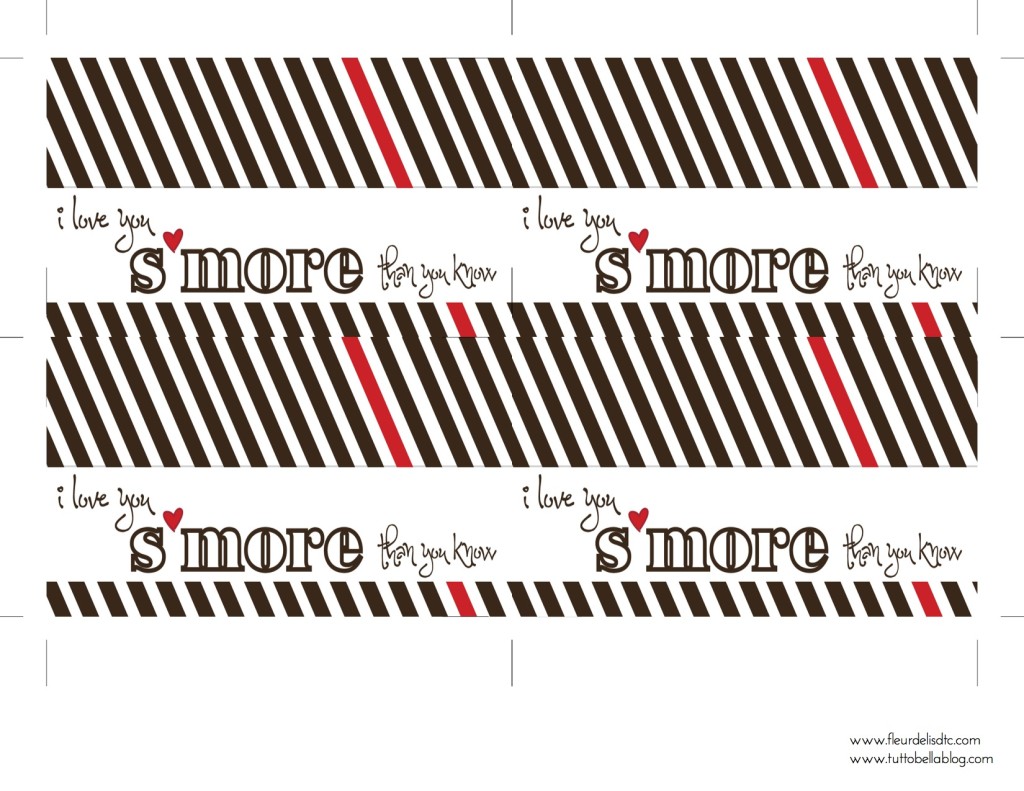
Valentine’s Day is less than a week away. Before you run to the store for boxed Valentine’s, we have adorable free printables today from Jenna at Fleur de Lis. And, they are for FREE. E-mail us for the file – trejsorelle@gmail.com

i love you s'more than you know free printable

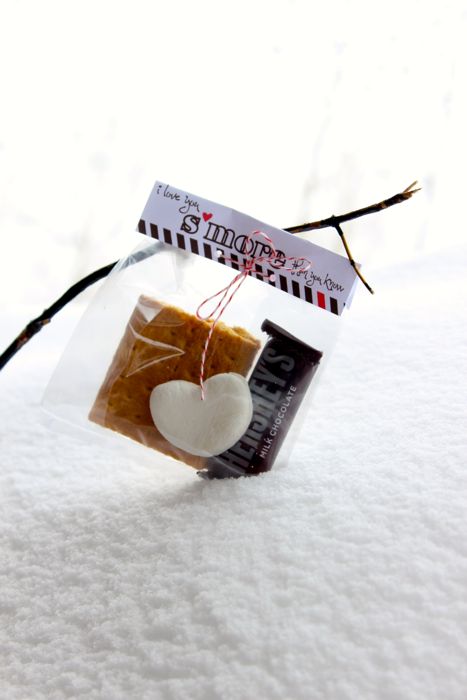
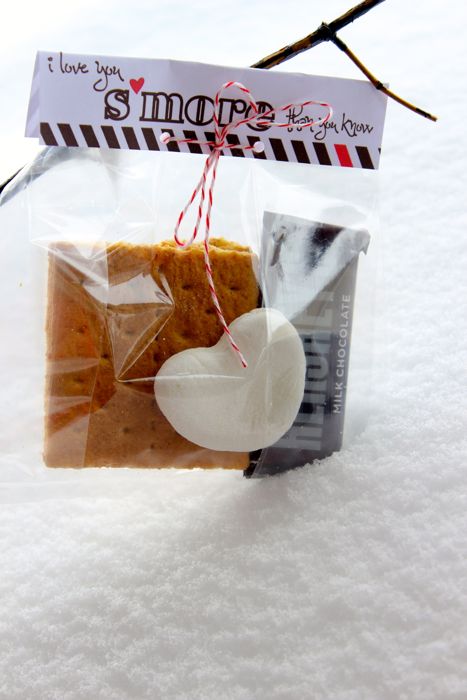
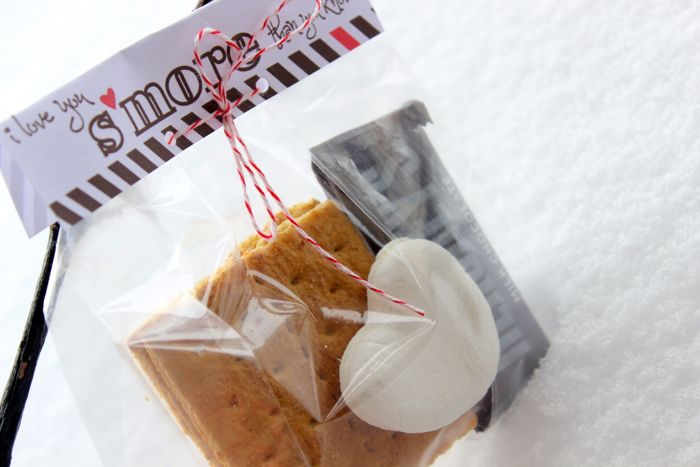
We printed the printables on card stock at home. As far as the cutest marshmallow we’ve ever seen – the heart-shaped one – we used a heart-shaped cookie cutter to cut a JetPuffed StackerMallow. Then, add the other s’more accessories, the graham cracker and chocolate, in the cellophane bag. Seal the bag and label with a stapler or punch two small holes through the bag and label, and tie red and white striped twine through, then make a bow. Friends and family are sure to love the classic treat.

s'more valentines day printables

We love you s’more than you know for following us! Happy {early} Valentine’s Day.

i love you s'more than you know free printable

{images via Tutto Bella}