Poke the Rainbow Activity for Kids on St. Patrick’s Day

rainbow-st-pattys-day-pot-of-gold-clouds-kids

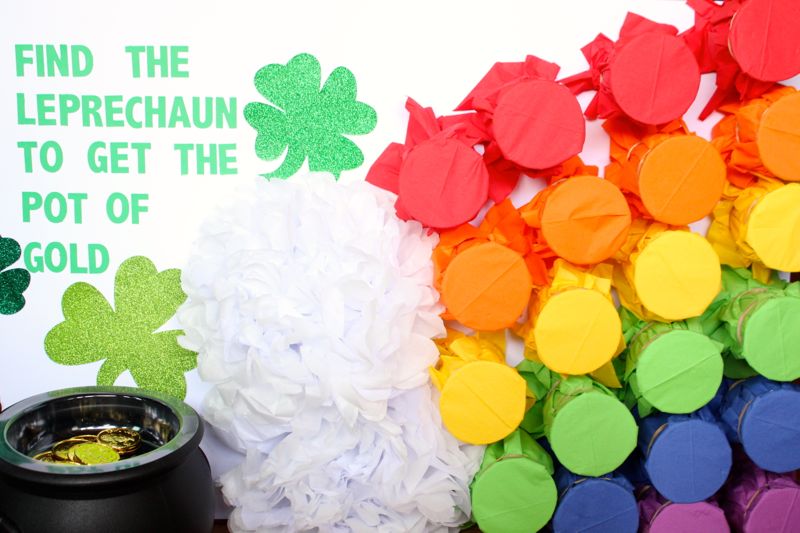
St. Patrick’s Day is a favorite among adults to raise a glass with Guinness or Jameson in hand. For kids, it’s all about the leprechaun, a colorful rainbow, wearing green and the gold. We made an easy, fun and non-candy Poke-the-Rainbow activity for kids on St. Patrick’s Day.

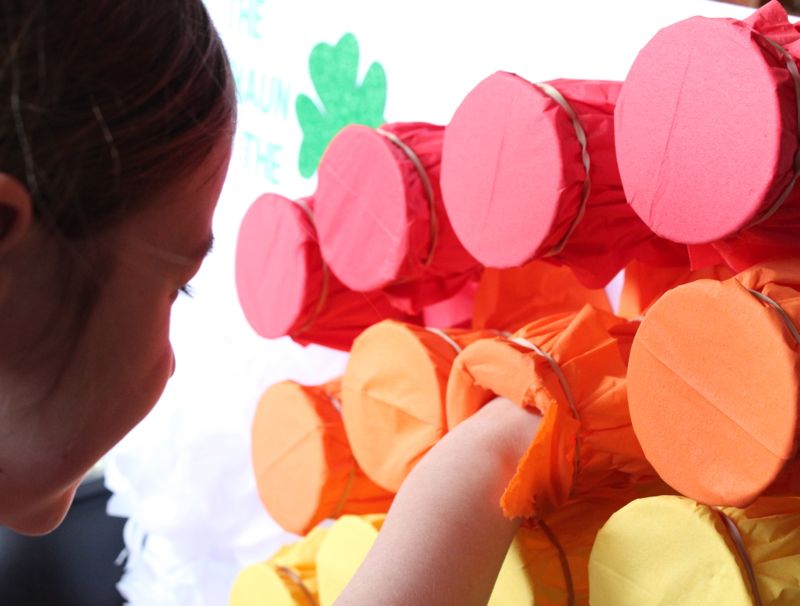
The rules of the game are simple. Each child takes a turn to pick one cup to poke through. Once the leprechaun is found, everyone can reach for the gold. The best part…everyone walks away with a treat. Who will be the first to poke the cup with the leprechaun?

Important side note: this game could be really fun and adult-friendly with each cup filled with a mini shot of Irish liquor. Cheers!

Materials:

  • plastic cups {white}
  • napkins in every color of the rainbow
  • pot and gold coins
  • white tissue paper
  • mini leprechaun or photo of leprechaun
  • non-candy gifts such as bead necklaces, buttons, bracelets
  • rubber bands
  • foam core board, white
  • hot glue gun and glue
  • stickers, shamrock cut-outs

Directions:

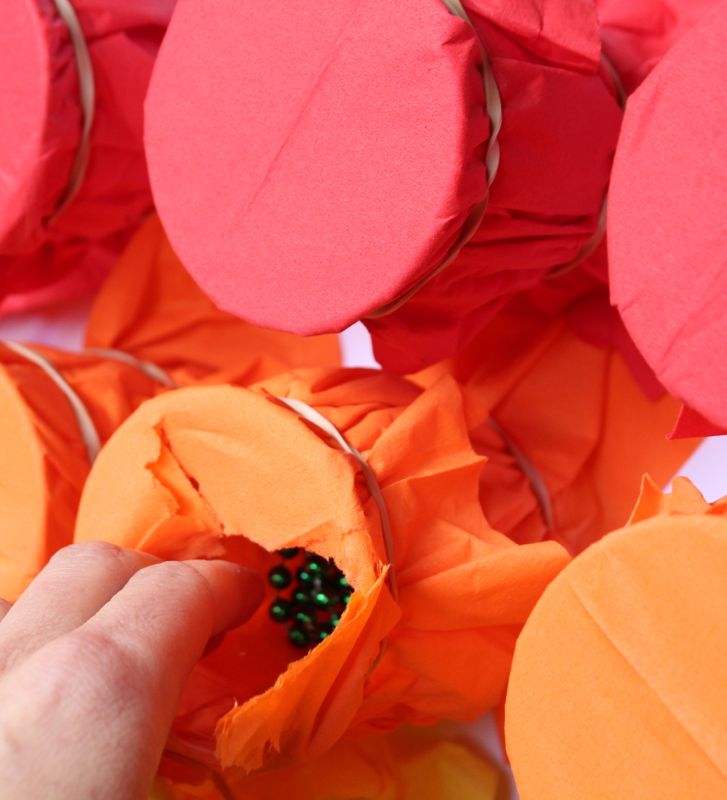
Randomly place the non-candy items in the cups. Pick one special cups for the leprechaun.

st-pattys-day-beads-cups-treats

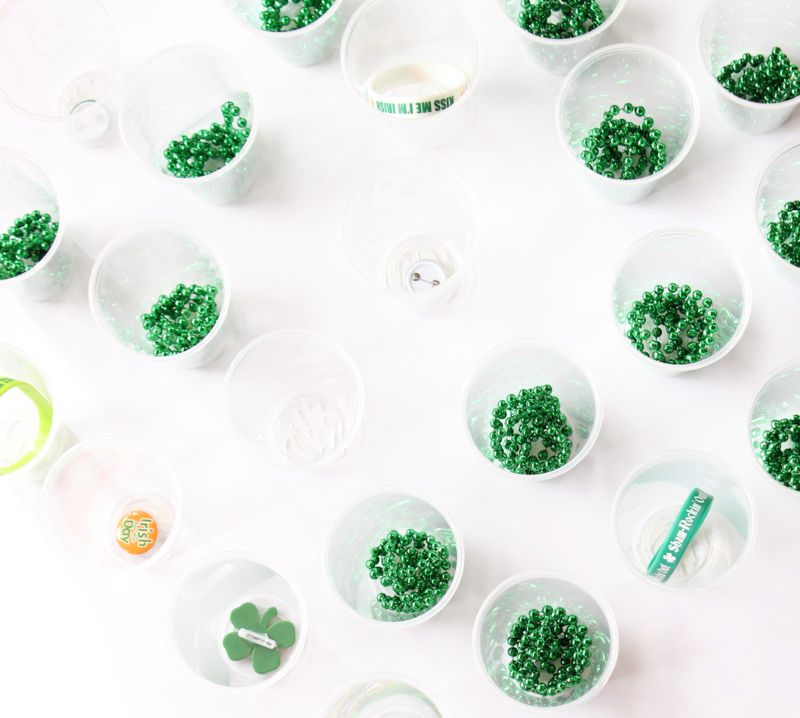
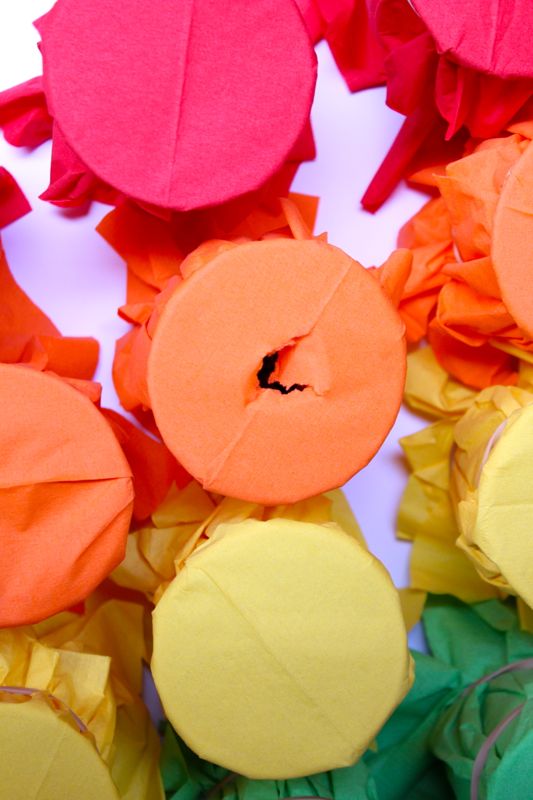
Cover each cup with a napkin, and wrap a rubber band around the top.

rainbow-red-orange-yellow-green-blue-purple-napkins

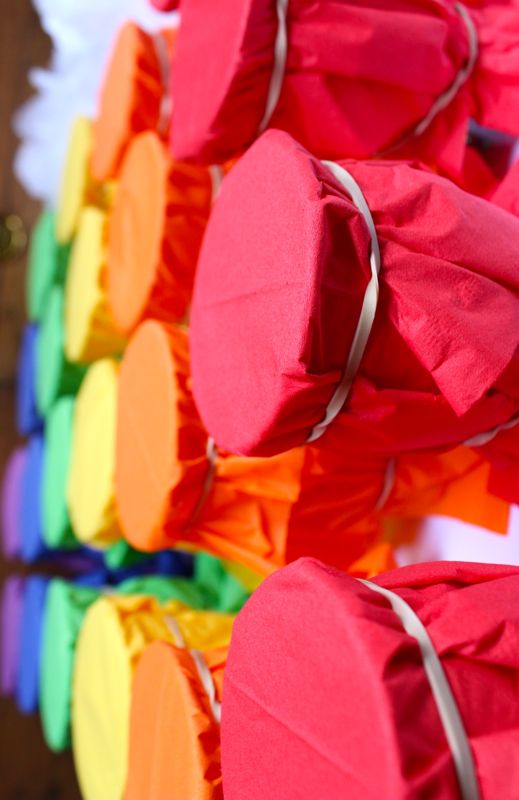
Once all the cups have colors, arrange in a rainbow-like pattern on a foam core board, and glue all of them in place. Glue the bottom of the cups so the top of the cup is facing outward.

rainbow-red-orange-yellow-green-blue-purple-cups-napkins-clouds-poms

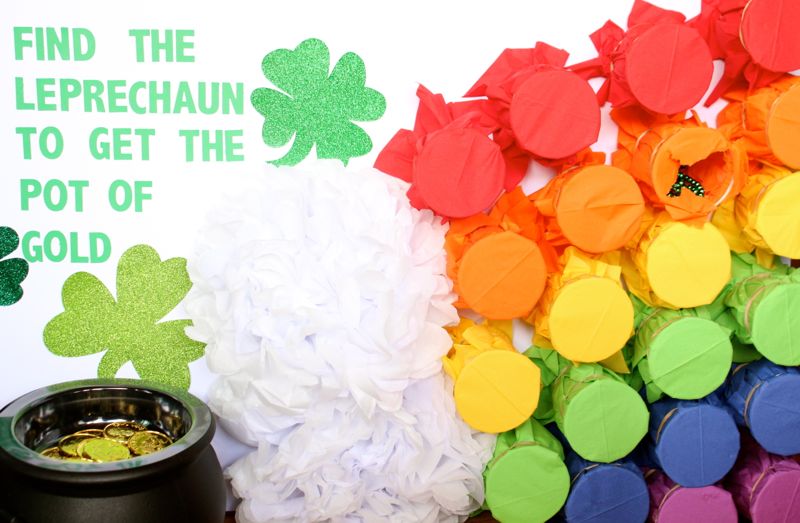
Make white tissue paper clouds, and glue them on the end{s} of the rainbow.

rainbow-st-pattys-day-pot-of-gold-clouds-kids

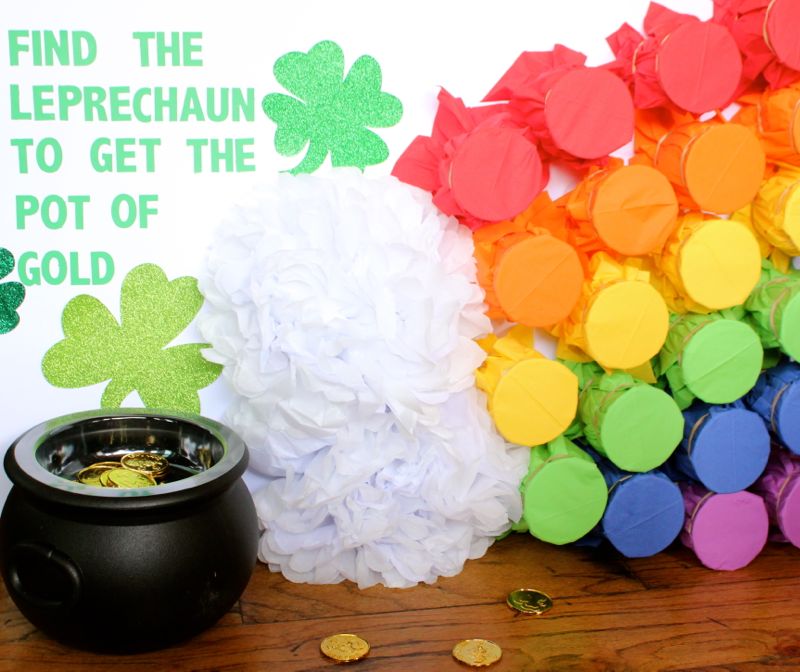
Write, stencil, glue or stick letters on the foam board for simple directions.

rainbow-st-pattys-day-pot-of-gold-clouds-kids-leprechaun

Set up in the classroom {this will be a hit if you’re in charge of this year’s classroom party} , or at your St. Patrick’s Day celebration, and make sure the pot of gold is under the rainbow.

pot-of-gold-st-pattys-day

rainbow-st-pattys-day-pot-of-gold-clouds-kids

rainbow-st-pattys-day-pot-of-gold-clouds-kids

rainbow-st-pattys-day-pot-of-gold-clouds-kids

rainbow-st-pattys-day-pot-of-gold-clouds-kids

DIY Pegboard Art

diy-peg-board-art-paint-colors-vanishing-point-quote

Pegboard is the source of so many amazing art projects and organizational walls. We’ve seen them accessorized with hooks, baskets, jars, letters, ribbon and photos. But one specific pegboard in an art classroom really caught our eye. The colorful, bright DIY pegboard with an inspirational quote was made by one creative and talented art teacher, Sam Mizwicki. The quote by Roald Dahl says, “If you have good thoughts, they will shine out of your face like sunbeams and you will always look lovely.”

Well, this colorful piece of DIY pegboard art radiates like a sunbeam, which gives us good thoughts…and we’re hoping it makes us look lovely.

Sam is sharing all her tips in a how-to tutorial below. Thanks, Sam!

diy-peg-board-art-paint-colors-vanishing-point-quote

Materials:

  • Peg board
  • Pencil
  • Yard stick or ruler
  • Acrylic paint
  • Painter’s tape

Directions:

  • Step 1: Purchase the pegboard in a big sheet from Home Depot. It was quite inexpensive for the size of the piece. You can also find some in white, but I liked the brown look.
  • Step 2: Use a table saw to cut pegboard down to desired size, or ask the nice employees of Home Depot to cut it for you.
  • Step 3: I used the concept of perspective here, where every line goes back to the vanishing point. Find the center of the pegboard and make a little dot. All lines will end at that point (the vanishing point).
  • Step 4: Start at the perimeter of the pegboard and divide up into sections of whatever size you prefer. You can measure it out to make it exact or just wing-it! I measured mine out to be a bit more precise. I used a pencil to make a little dot to mark each section.
  • Step 5: Use a yard stick or ruler to draw a line from the outer perimeter dot to the inside vanishing point dot. Continue this until you have filled in the whole space. Press lightly with your pencil because it makes it easier to erase.
  • Step 6: Next comes the fun part, painting! I used acrylics. Since I am an Art teacher, I have quite a collection of all different types of acrylics. A more heavy bodied acrylic will need less coats of paint, and can add a bit of texture. You can always water them down a bit. I used different sized brushes to get into the small spaces. Painters tape or masking tape can you keep straight lines, and avoid bleeding into another section. Just be careful when you pull off the tape, because the paint may come with it. If you stick the tape to your pant leg before applying it to the board, it will make it a little less sticky, which may help avoid the dried paint being pulled off.
  • Step 7: Fill in all sections with paint. Get creative with the colors. I used rainbow colors, but you could try different values in the same color family or black and white.

diy-peg-board-art-paint-colors-vanishing-point-quote

  • Step 8: Sketch a paper template of the banner with a quote. Trace your sketch onto the pegboard, and recruit a friend to cut it with a jigsaw. Sharp curves can be tricky with a jigsaw, so keep that in mind when designing the shape of your banner.
  • Step 9: Paint a white acrylic coat on the banner. Gesso will work here too.
  • Step 10: Find a quote that you like, keeping the space of the banner in mind.
  • Step 11: Freehand the letters, or print them out in a Word document to do a transfer. It is often easier to start with the words in the middle and work your way out, so you don’t have too much or not enough space left. To transfer letters, use graphite paper or just a pencil. Run your pencil on the back of the printout. Press hard. Then lay the letters down where you want on the banner. Use a sharp pencil to press hard on the outline of the letters on the front. This will make a transfer of the letters that appear on the banner. It is like making homemade graphite transfer paper. The letters might be faint,  but you can always trace over it.
  • Step 12: Use a paint pen or sharpie to trace over your lettering.
  • Step 13: Hang the banner from the painting. I used a ball chain to hang the banner. You can find this at any craft store for a few dollars.

diy-peg-board-art-paint-colors-vanishing-point-banner-quote

diy-peg-board-art-paint-colors-vanishing-point-quote