As much as we tried to keep summer around as long as we could, it came and went. There’s no denying it’s fall. With some recent snowfall, it feels a lot like winter. When the air gets cold, and the leaves change color, we throw on the scarves, bust out the pumpkins and drink a lot more tea.
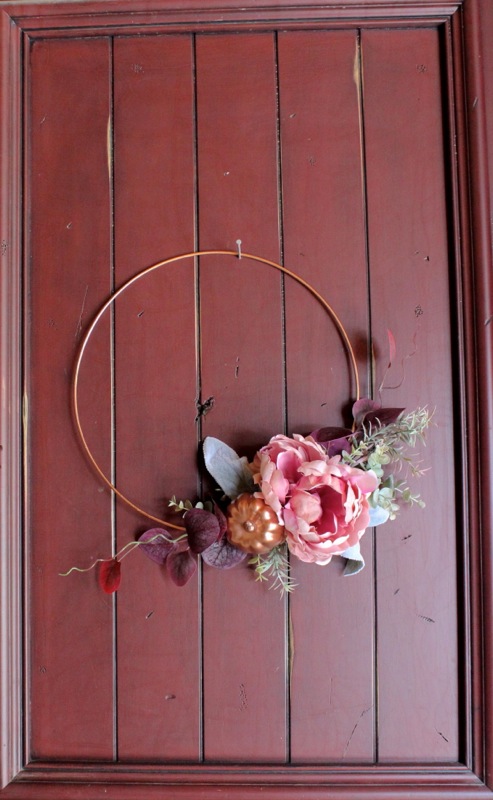
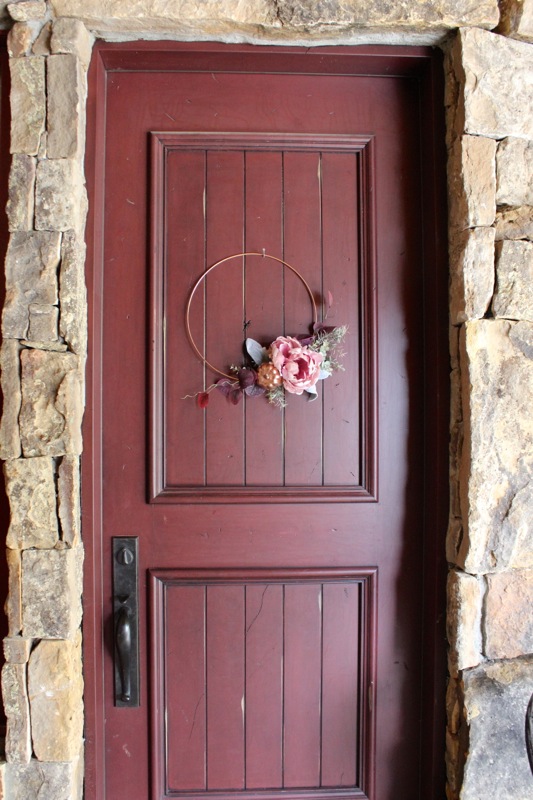
After a recent trip to Michael’s, Jessica was inspired to make a DIY fall wreath for her front door. It’s outside the traditional “orange fall” box for her. Though we love orange, there is no orange color on this wreath. It’s modern, and pretty. Here’s how she did it in less than 30 minutes (once the paint on the ring dried).
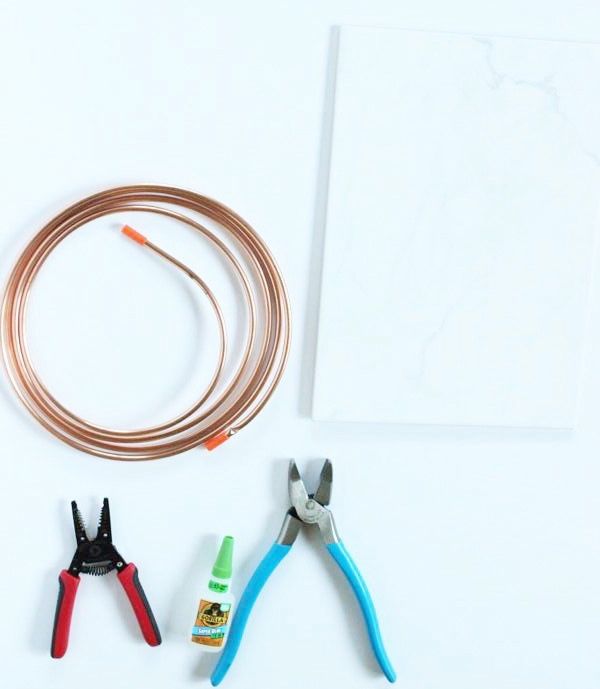
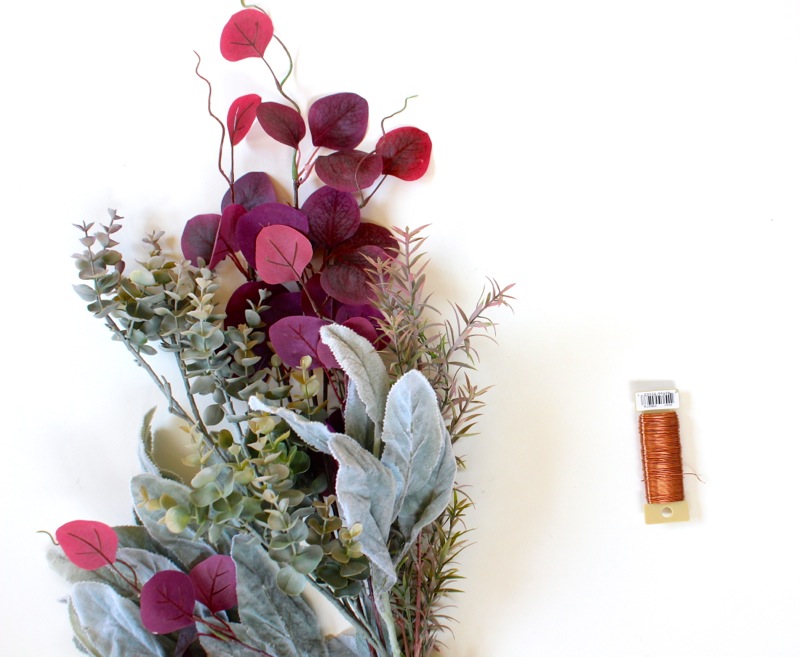
Materials:
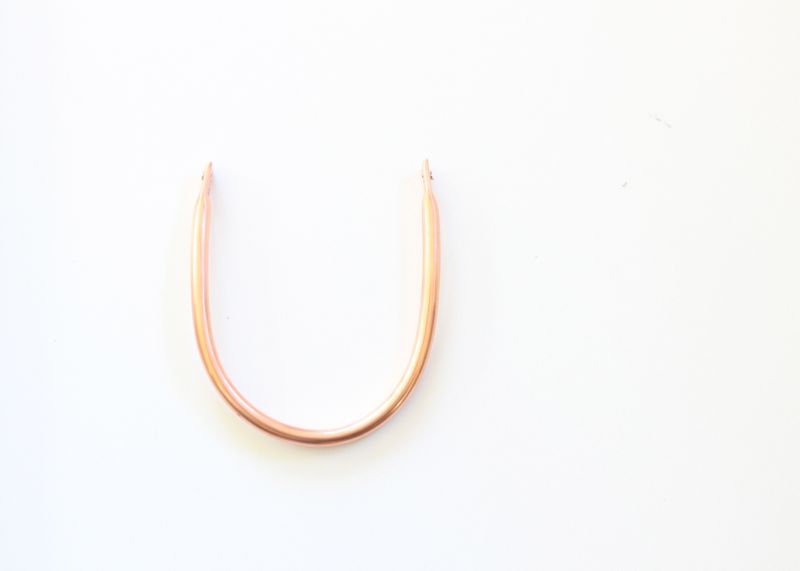
- Wire ring, 18″
- Copper spray paint
- Faux greenery, including lamb’s ear, eucalyptus, a fall-tone peony and burgundy leaves
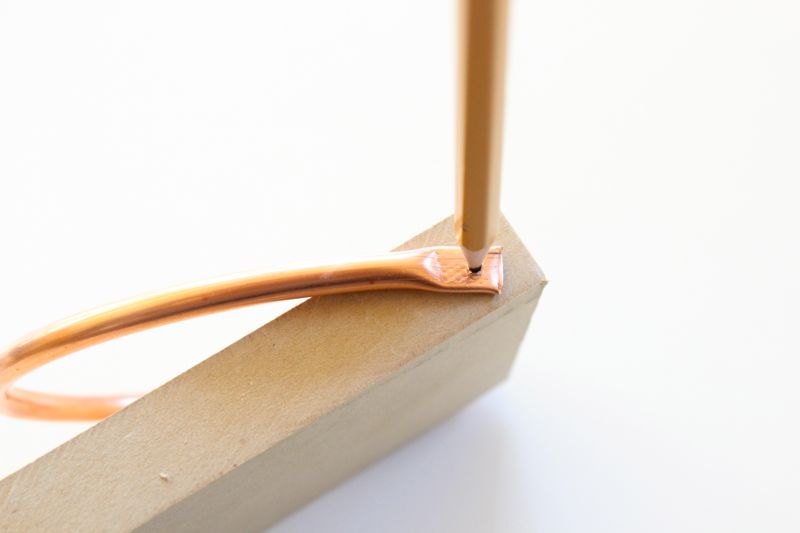
- Mini pumpkins, Pier 1
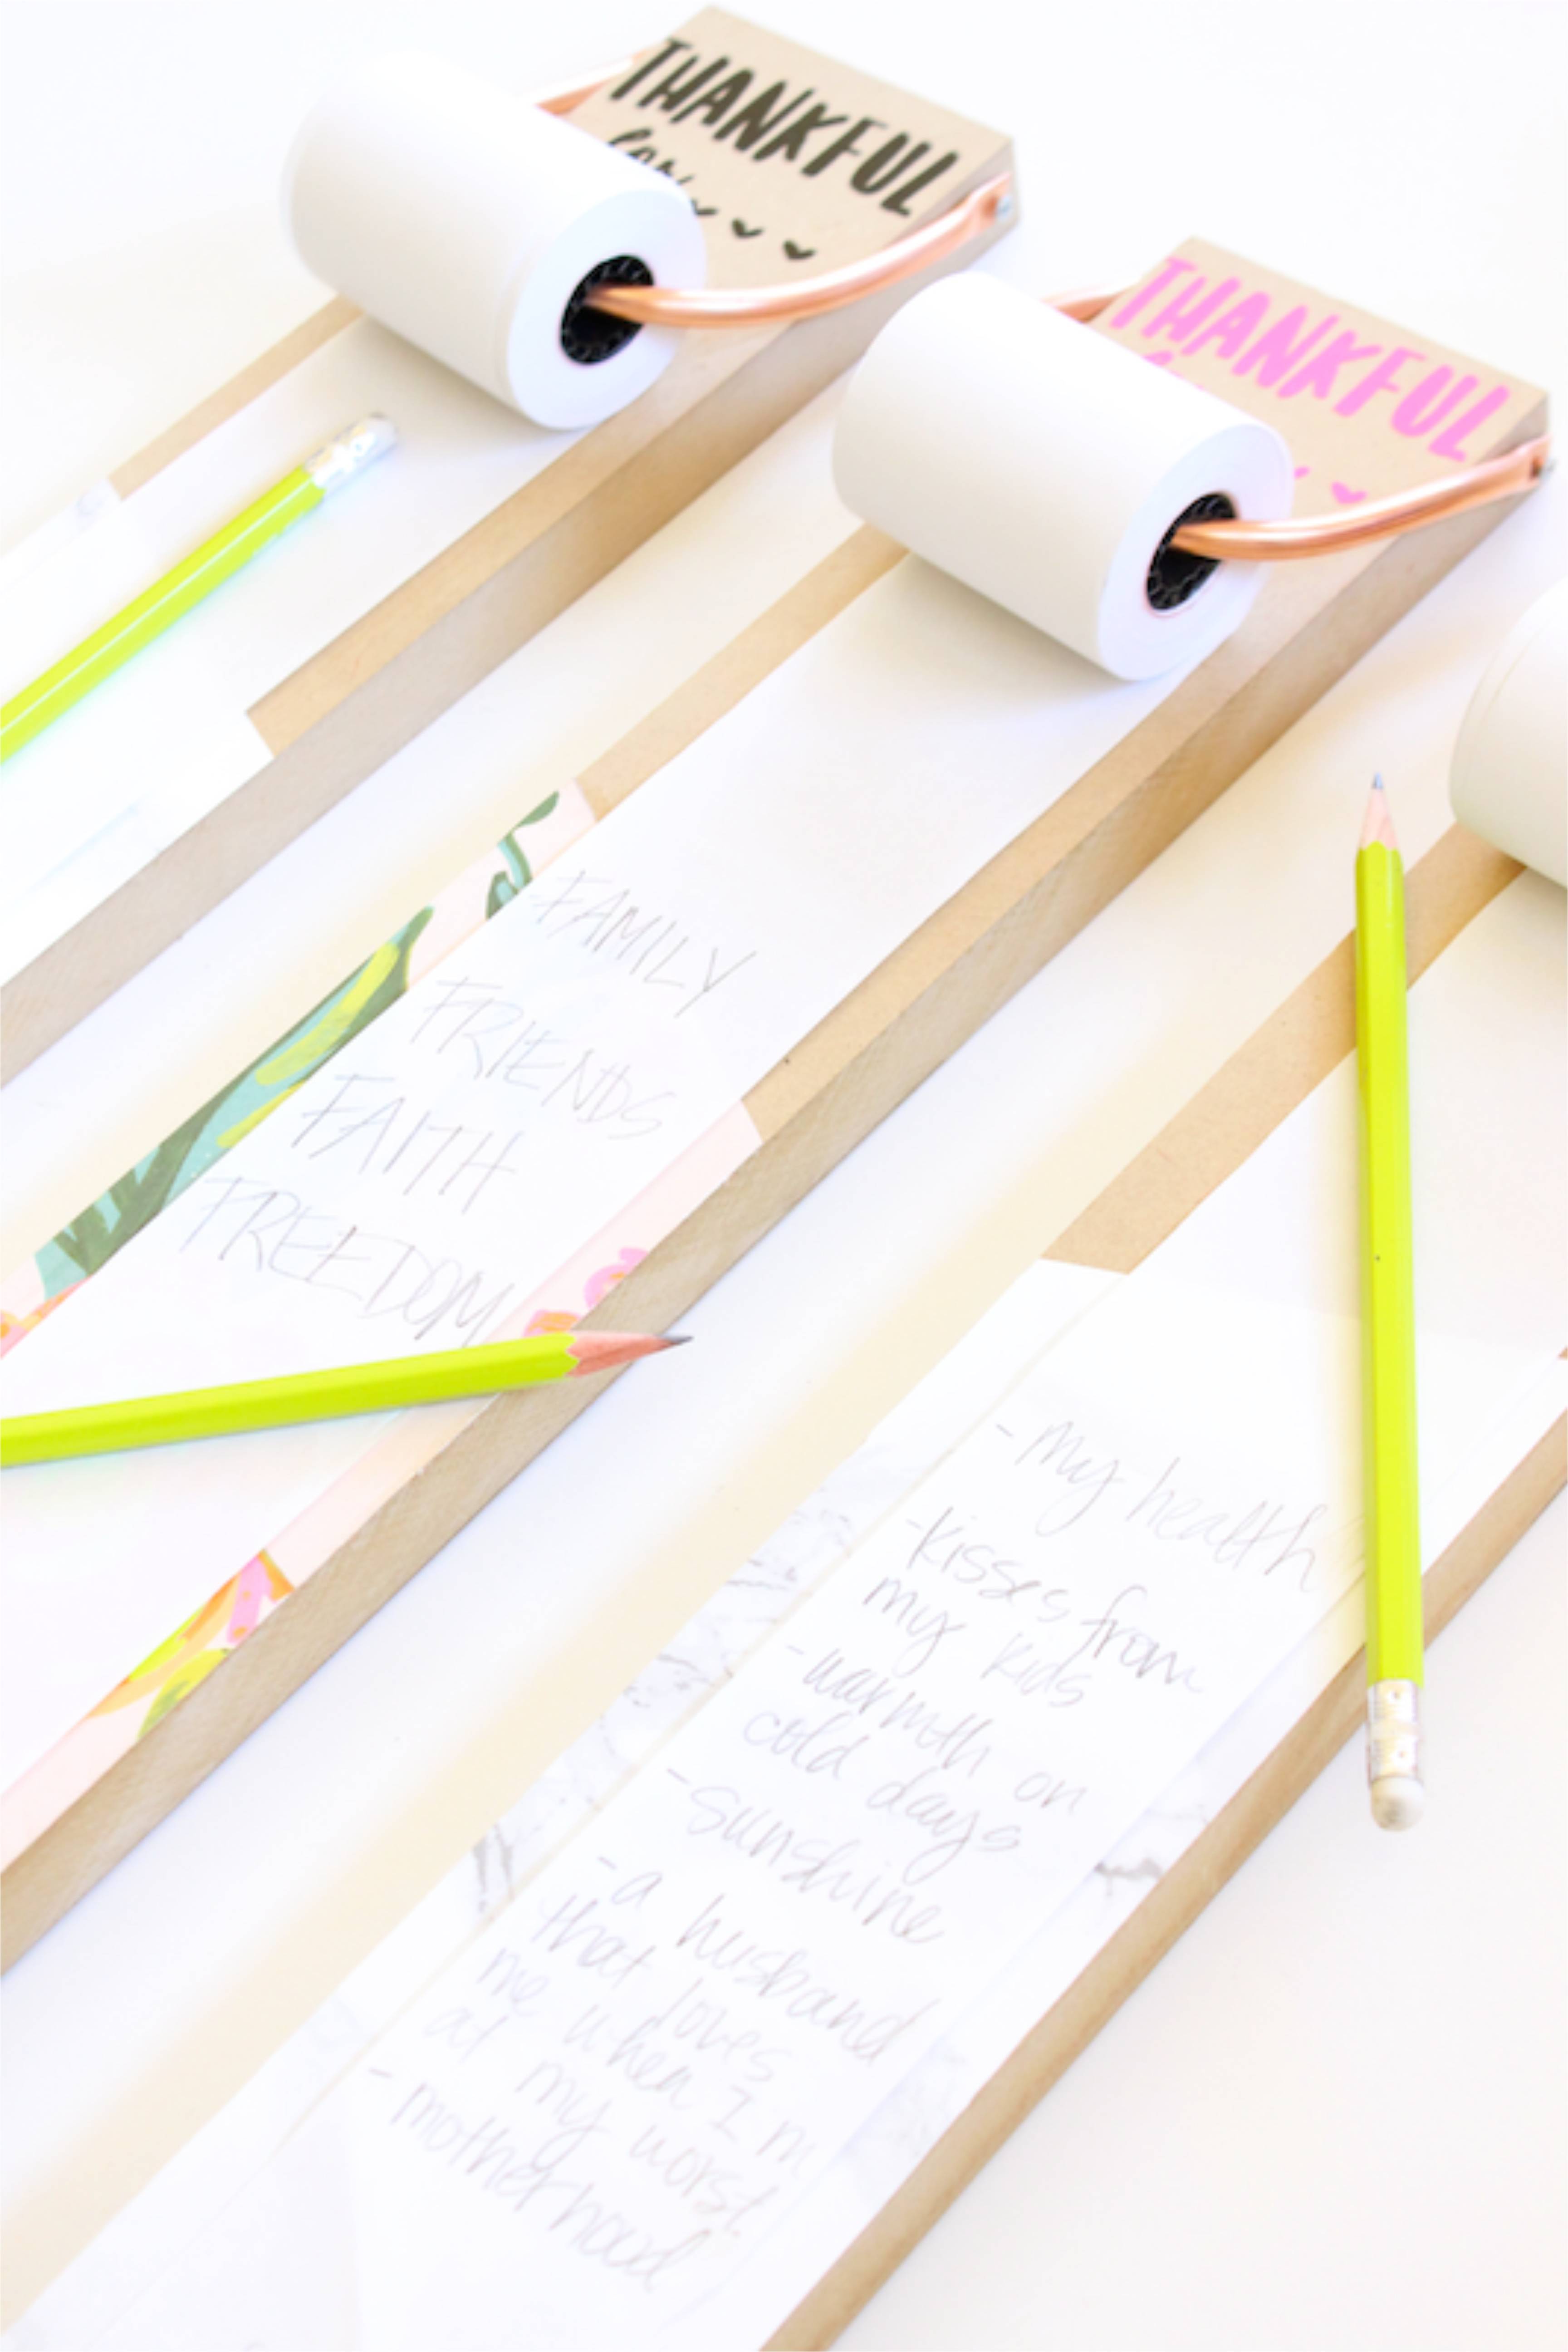
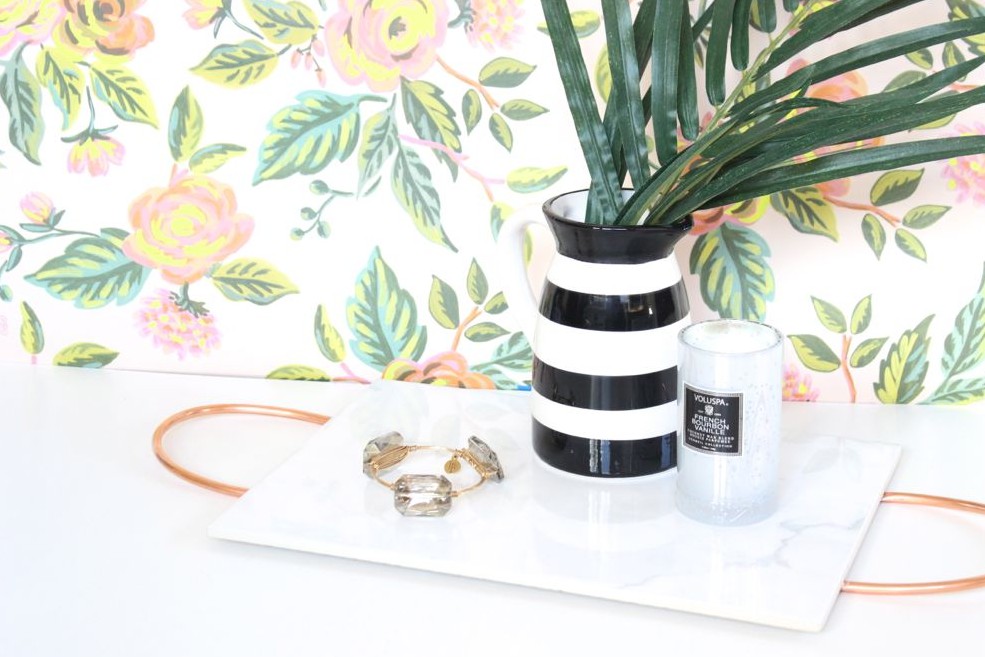
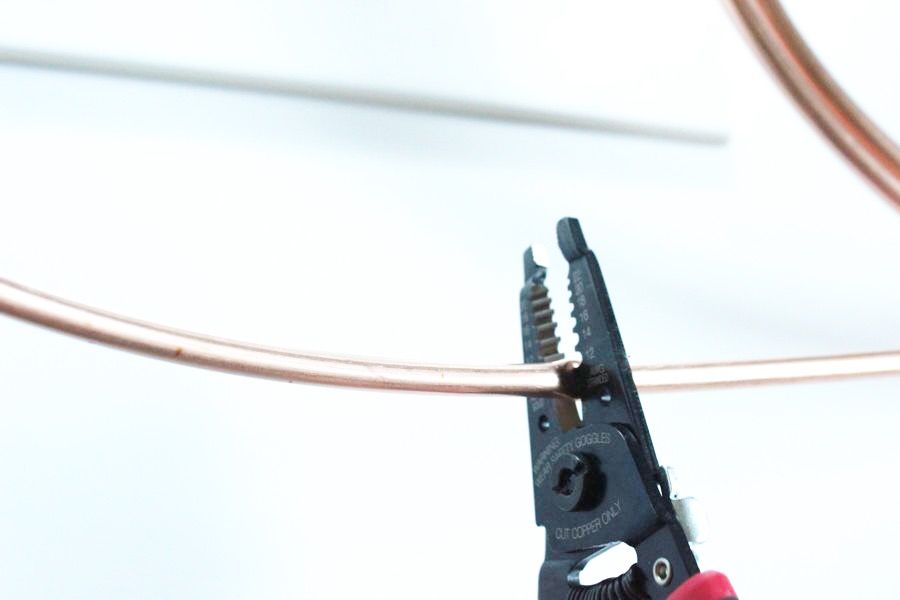
- Copper floral wire
- Hot glue gun and hot glue
Directions:
Step 1: Spray paint the ring copper.
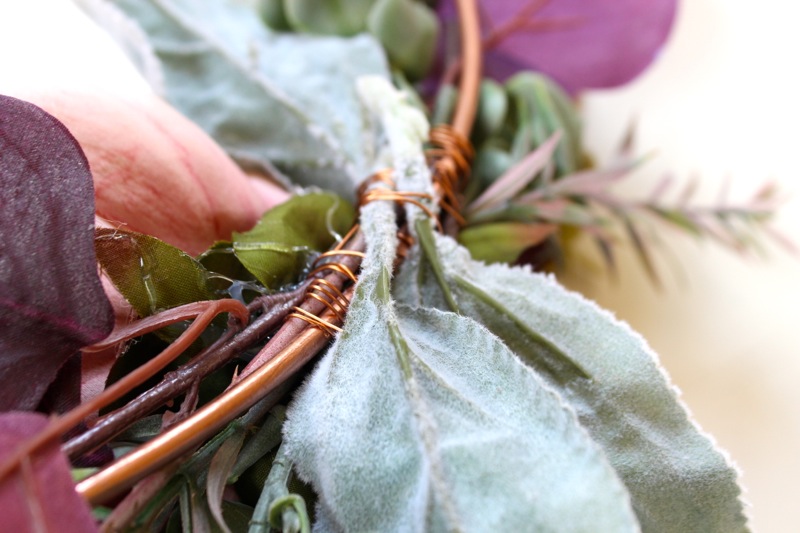
Step 2: Cut stems from the faux greenery, and once the ring is dry begin to lay out the greenery along the ring. I wanted everything slightly off-center on the lower right corner.
Step 3: Hold stems on the ring and wrap with a 3-4 inch long piece of copper wire. Wrap it until it’s tight on the ring wreath. As you add stems, try to cover the copper wire.
Step 4: Leave a small space in the center for the flower and pumpkin. Use hot glue to glue the flower.


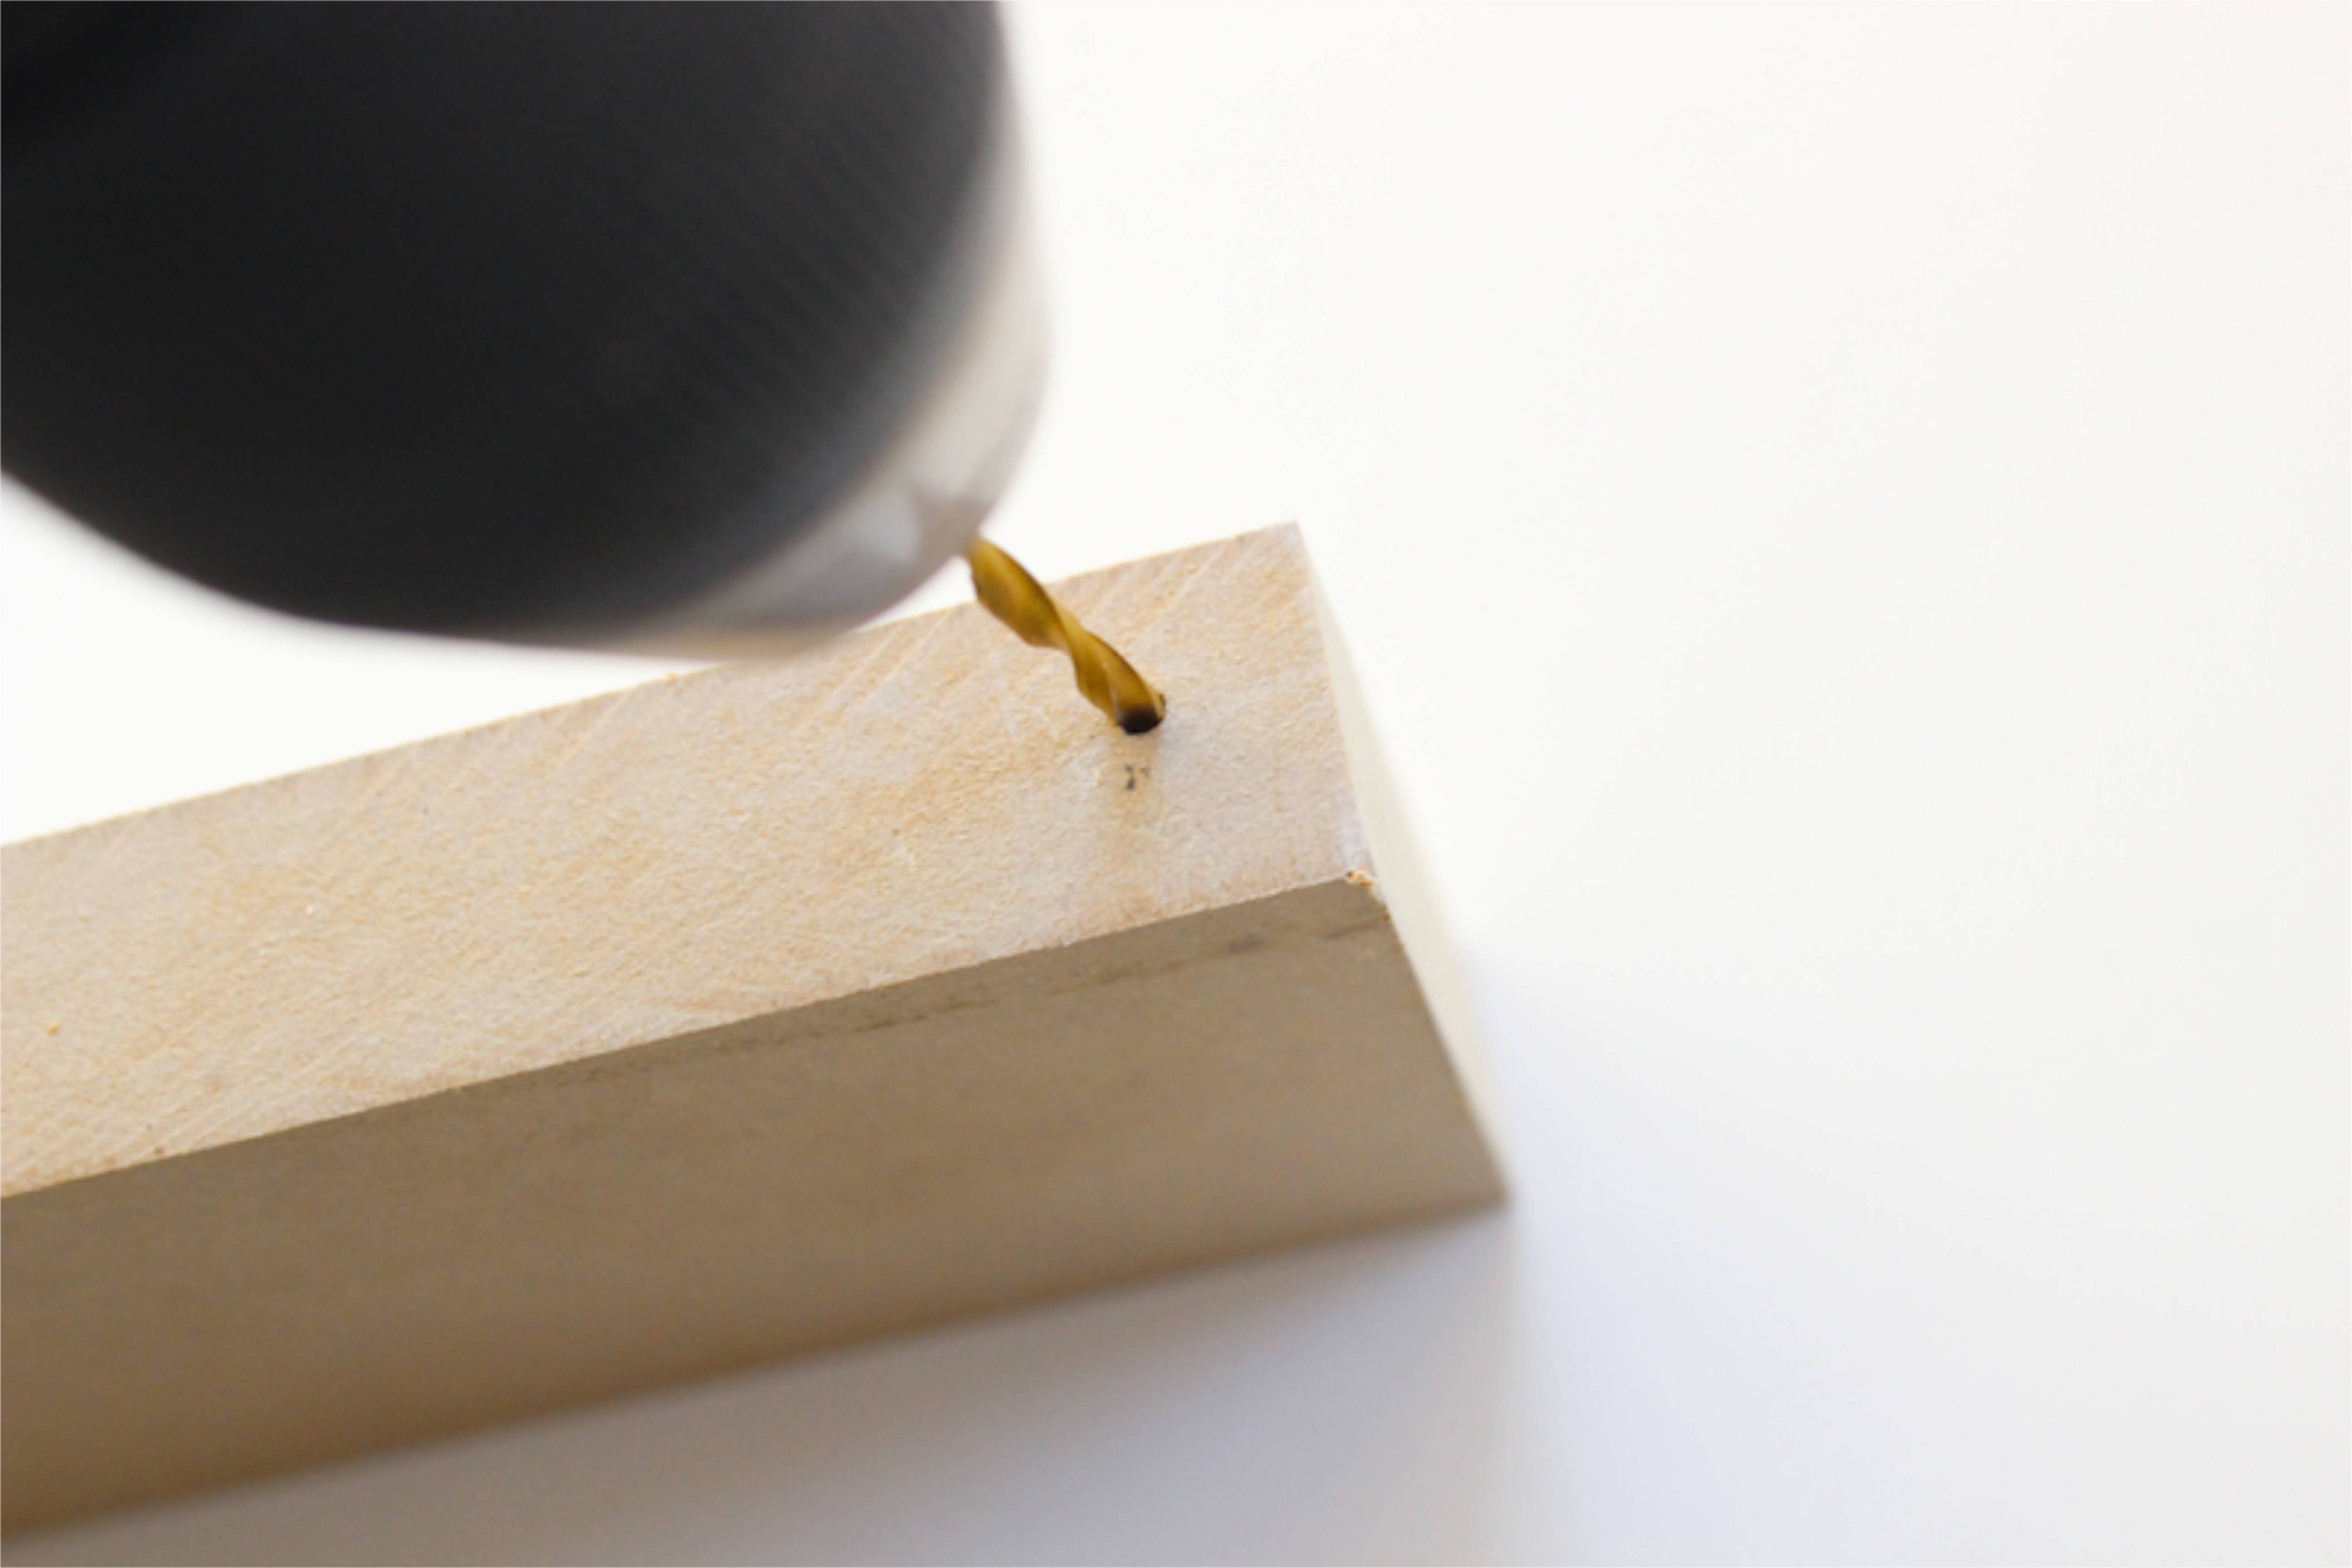
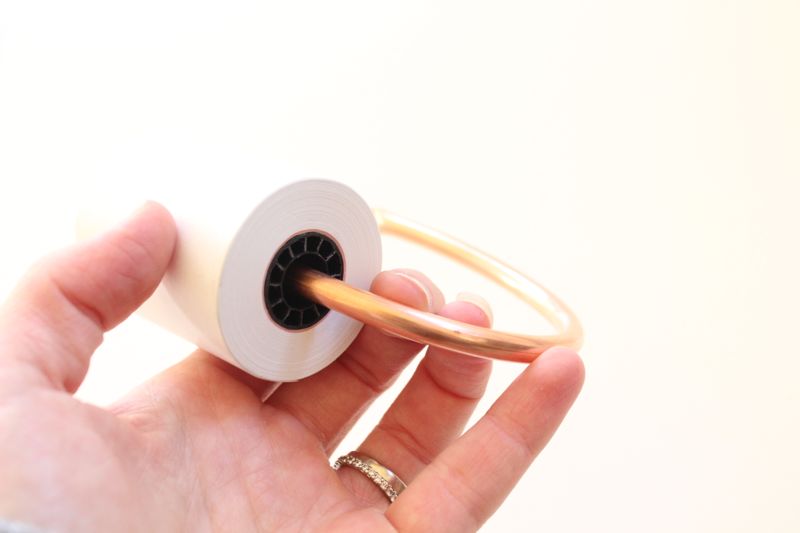
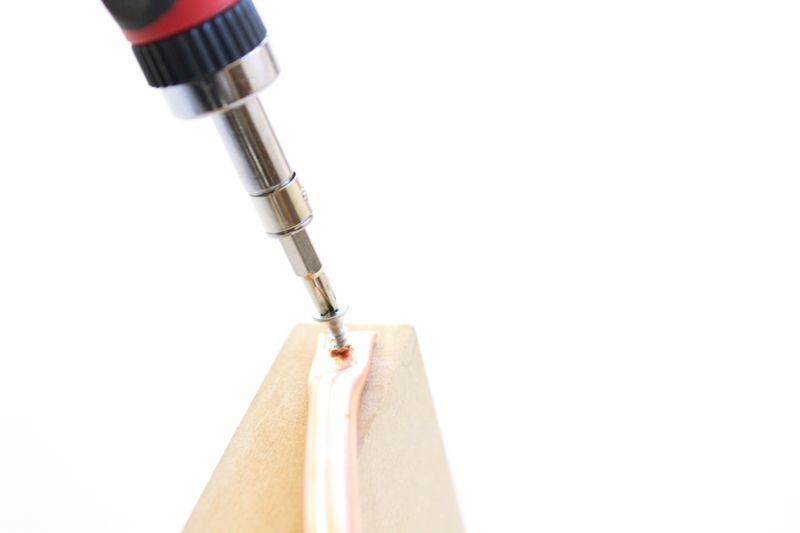
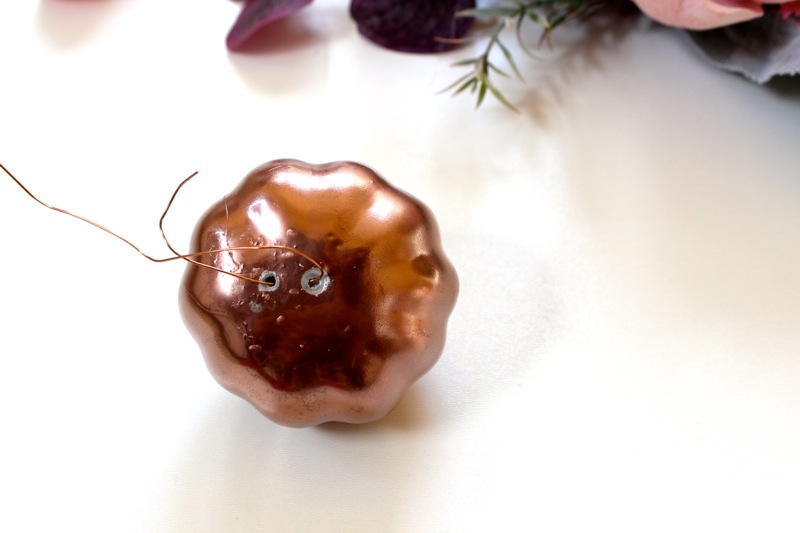
Step 5: Drill two small holes on the bottom of the pumpkin at an angle where you can insert the copper wire through one hole, and push it out through the other hole. Once the wire is in, set on the copper wreath and wrap the wire around the wreath.


Step 6: If you need to hide the copper wire, glue leaves and stems here and there. Then, just hang.