St. Patrick’s Day Lucky Charm Printable

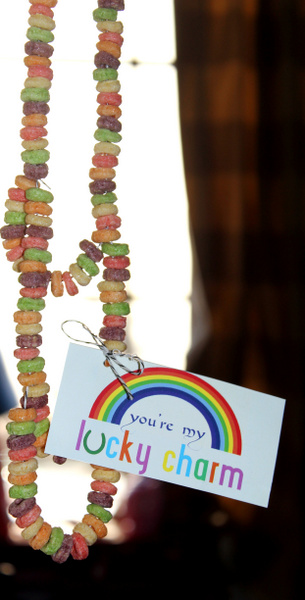
Happy Friday. In honor of our Irish heritage {it’s small, but it’s there…and now its even greater since we married Irish men}, we have a Free Lucky Charms Printable for you today.

We used the printable, created by Fleur de Lis, a paperie, to create Fruity Cheerios necklaces for our kids and their friends.

BTW, this is a great activity to do with the kids. All you need is scissors, string {I used twine}, the labels and a box of Fruity Cheerios. Your kids can practice their fine motor skills and even color/pattern skills while creating sweet necklaces for their friends. Win, win if you ask me. 

These labels would work on a small box of Lucky Charms too!

We hope you follow our inspiration for St. Patty’s Day and more on Pinterest.

Click here to download the free Lucky Charms printable.

Side Note: Since we’re on the topic of breakfast…if you haven’t tried Agave Nectar in your coffee in the morning in place of sugar and the flavored, bad-for-you creams, you are MISSING OUT. I love the Hazelnut flavor – it’s my fave – however since I am celebrating all things Irish this month and I can’t have actual Bailey’s Irish Cream in my coffee every morning, this has been the perfect fix. Really, this line of Agave Nectar has transformed my mornings and cup of joe. Try it…and if you don’t like flavor in your coffee, but you like a little sweetness, try Organic Blue Agave. It’s sweet like sugar…but healthier than sugar. Cheers!

{images via Tutto Bella}
happy birthday dr. seuss

Friday, March 1 is Dr. Seuss’ birthday. So, in honor of Dr. Seuss, the importance of reading, and believing in children’s dreams and individuality, we made an 8×10 inspirational quote print…and you can have it for FREE through March 3.

To receive the free printable, follow us on Pinterest using the Rafflecopter link below.

a Rafflecopter giveaway

After, March 3, the printable can be found and bought in our Etsy store here.

{images via Tutto Bella}

DIY Crayon Valentine for Kids

Last year we created cute labels {see here}, and this year we’re channeling our inner Picasso. Crayon art was all over Pinterest in 2012, so for our kids Valentine’s this year, we took our inspiration from the popular, child-friendly melted Crayon art.

We’ve taken that simple idea, and made it a fun, doable and unique Valentine’s Day card for our kids and their friends this year.

The poem, available for purchase can be found here at Fleur de Lis, a paperie on Etsy.

you make my heart melt, valentine
this crayon art is a gift from me to you,
on this valentine’s day, 
it’s the perfect project to do.

find your mom and dad before you start,
this beautiful, wonderful piece of art.

grab a blow dryer and hold close to crayons to apply hot heat
turn on low, and within minutes the melted art will be so neat.

put in your room or on display,
and think of me at the beginning or end of each day.

Here’s How You Can Do It Too…

Directions:
Use a pencil and ruler to measure the size of each valentine ‘favor’ {we decided to use 7 crayons for each child, which was about 4×8}.
Use the blade to cut along your lines {I also tried to use scissors, but the cut was not as clean due to the thickness of the board, so for a clean, more precise cut, use a razor blade}.
Get the kids help in picking 7 colors per friend.
Use a hot glue gun to glue 7 crayons {or as many crayons as you need to cover the width of your foam board} next to each other on the board.
Place in a cellophane bag, wrap with twine.
Cut the You Melt My Heart, Valentine labels, punch two holes in the top about an inch apart from one another, then loop the twine through and tie a bow.

This year, your kids’ friends will have a fun art project to do when they get home, and a Crayola masterpiece to cherish.

{images via Tutto Bella}

valentine’s day printables

We have cutesy kid-and-adult-friendly DIY Valentine’s for…all the hot mama’s, the stud{s} in your life, all the cutie’s and for those who make you giggle! Some are healthy and others are not, but they are all adorable, and for Valentine’s Day, that’s all that really matters, right?

The original and new files {revamped with stripes} are available for a $3 purchase here.

DIY Adult Valentine’s

you are one hot mama
{fill the bag with hot tamales, fold over the custom tag and staple closed}

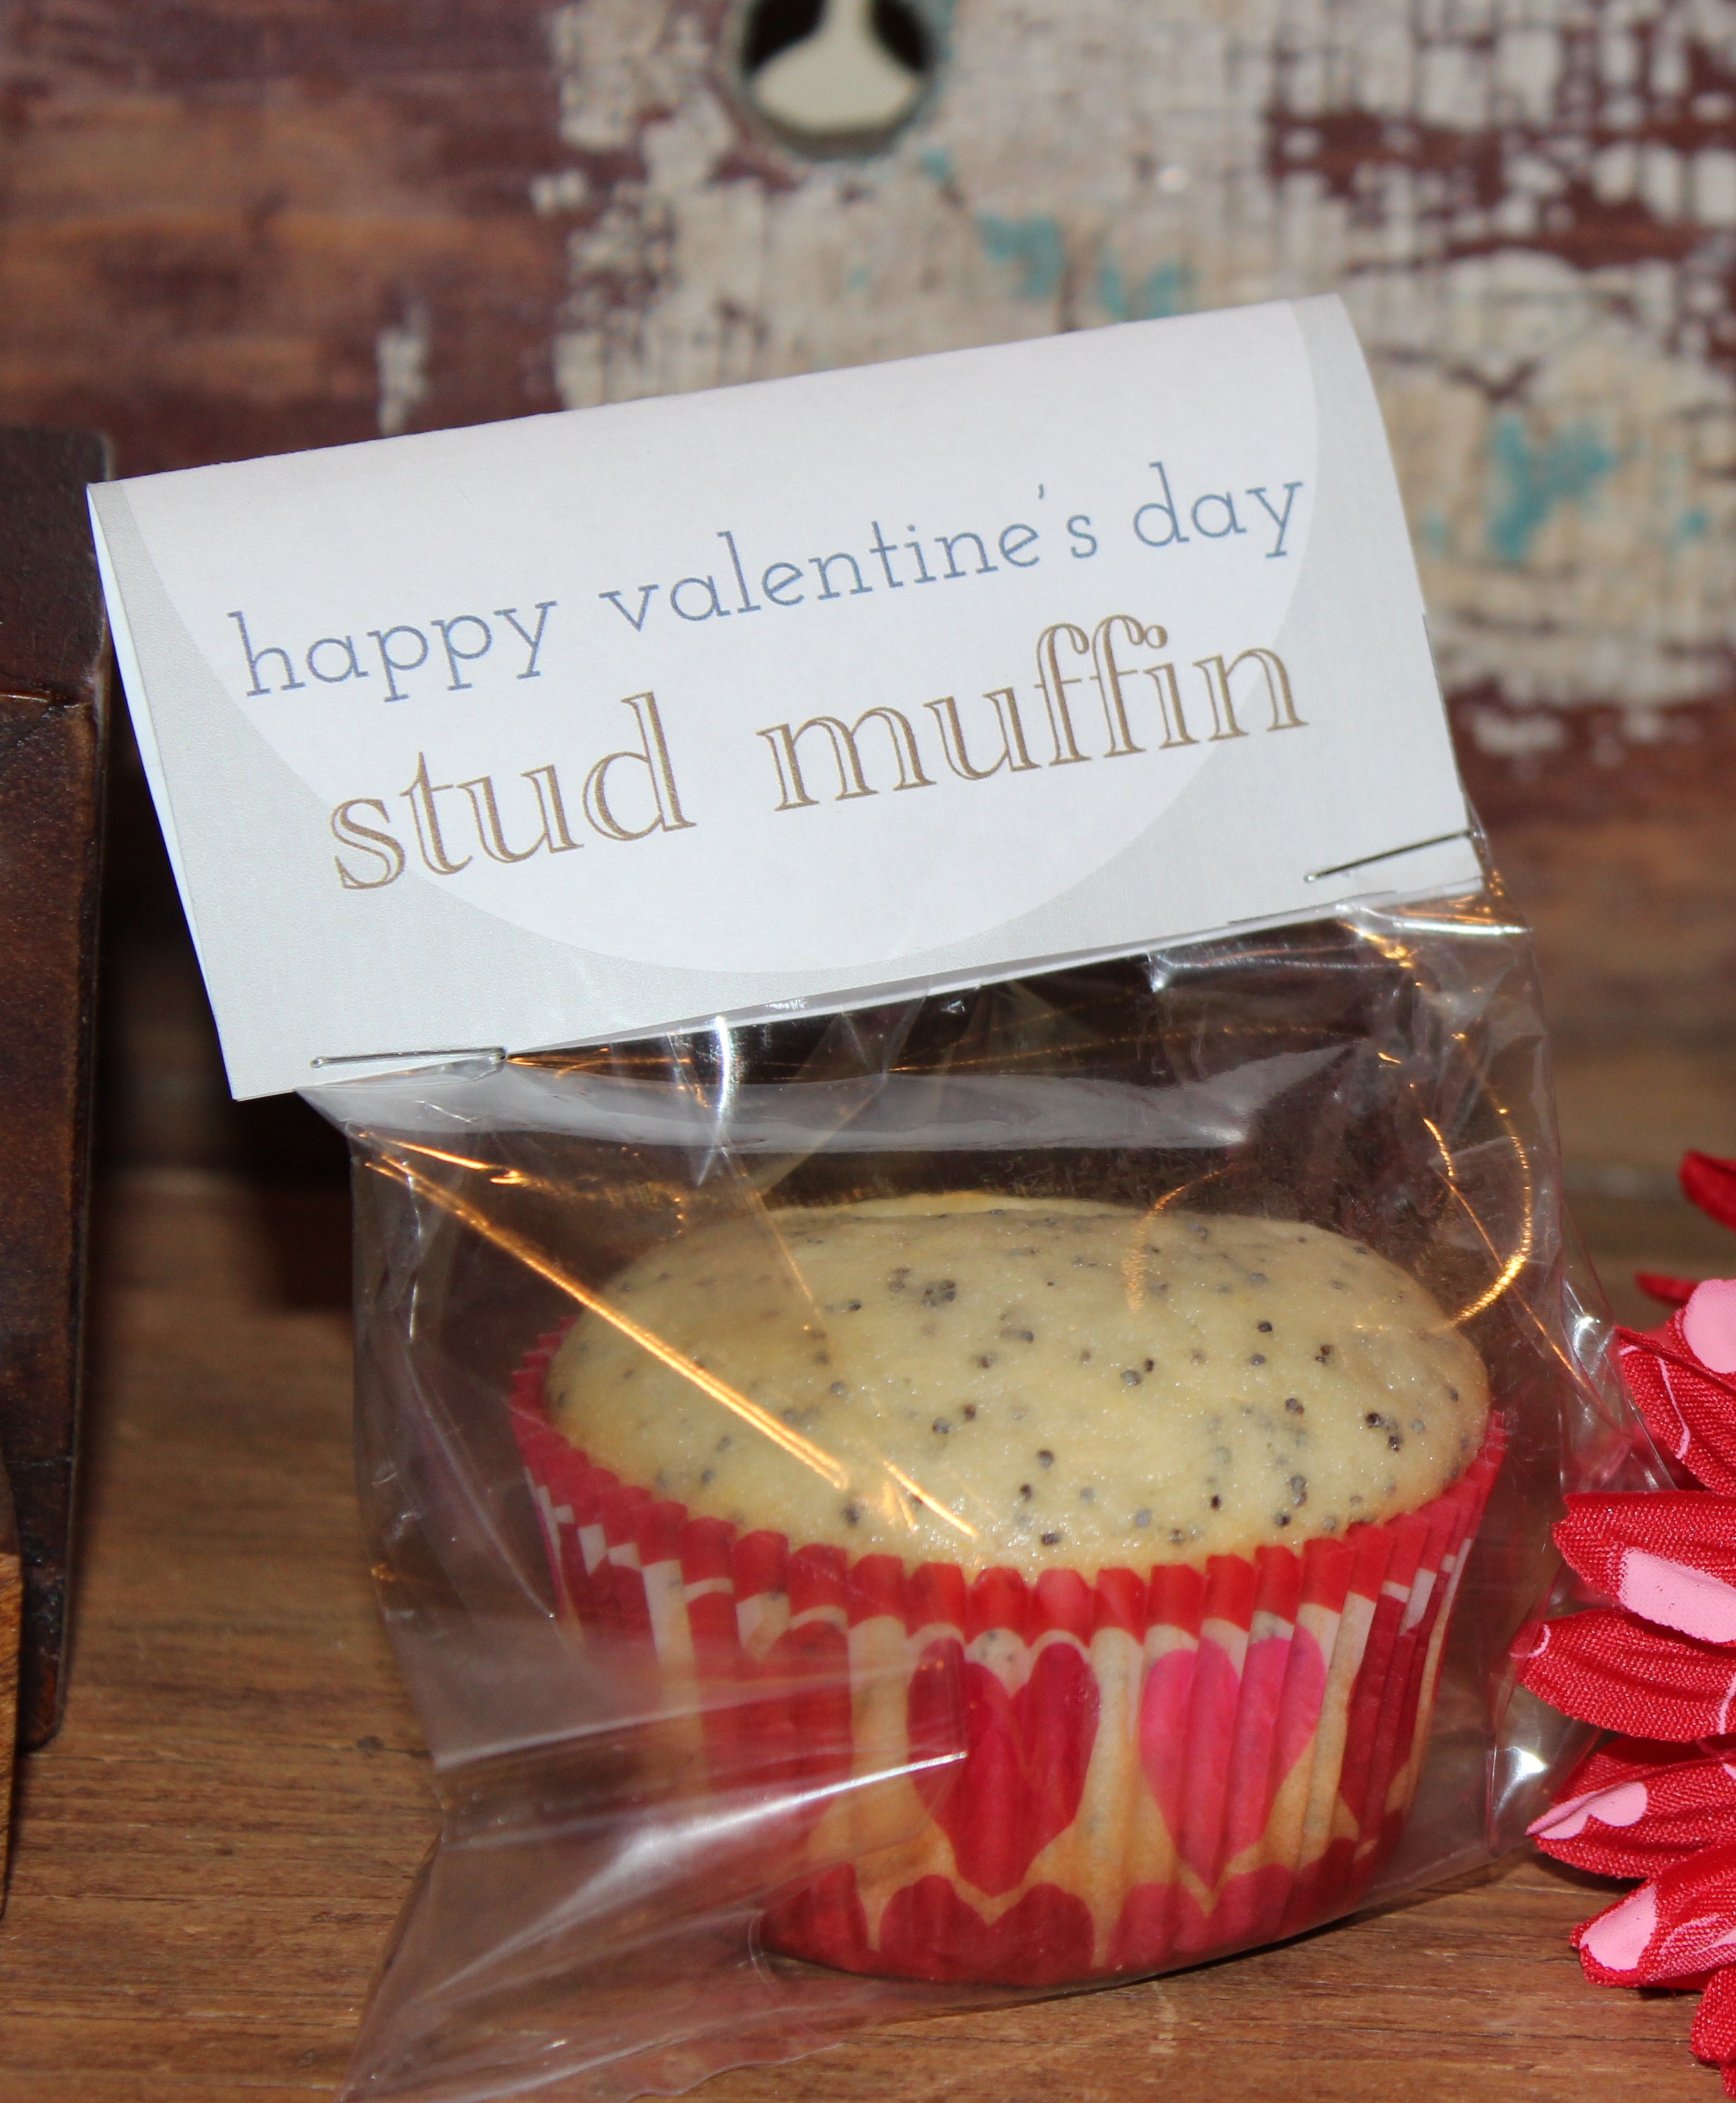
happy valentine’s day stud muffin
{fill the bag with a homemade poppy-seed muffin, fold over the custom tag and staple closed}

Poppy-seed Muffin Recipe
Makes 12 muffins
recipe adapted from our wonderful mom

Add the following ingredients to a large bowl and mix:
2 cups flour
1/8 cup poppy seeds {a used a little more, but less than 1/4 cup}
1/2 tsp salt
1/4 tsp baking soda
1 cup sugar
1/2 cup butter

Add 2 eggs{1 at a time} to the above ingredients and mix well

Add 1 cup plain yogurt and 2 tsp. almond extract and mix into the rest of the mixture.

Put the muffin mixture in baking cups and bake in the oven on 400 degrees for about 15-20 minutes {It took me about 18 minutes}.

DIY Kid Valentine’s

i think you are quite a cutie
{fill a bag with clementines, fold the custom tag over the top of the bag and staple closed}

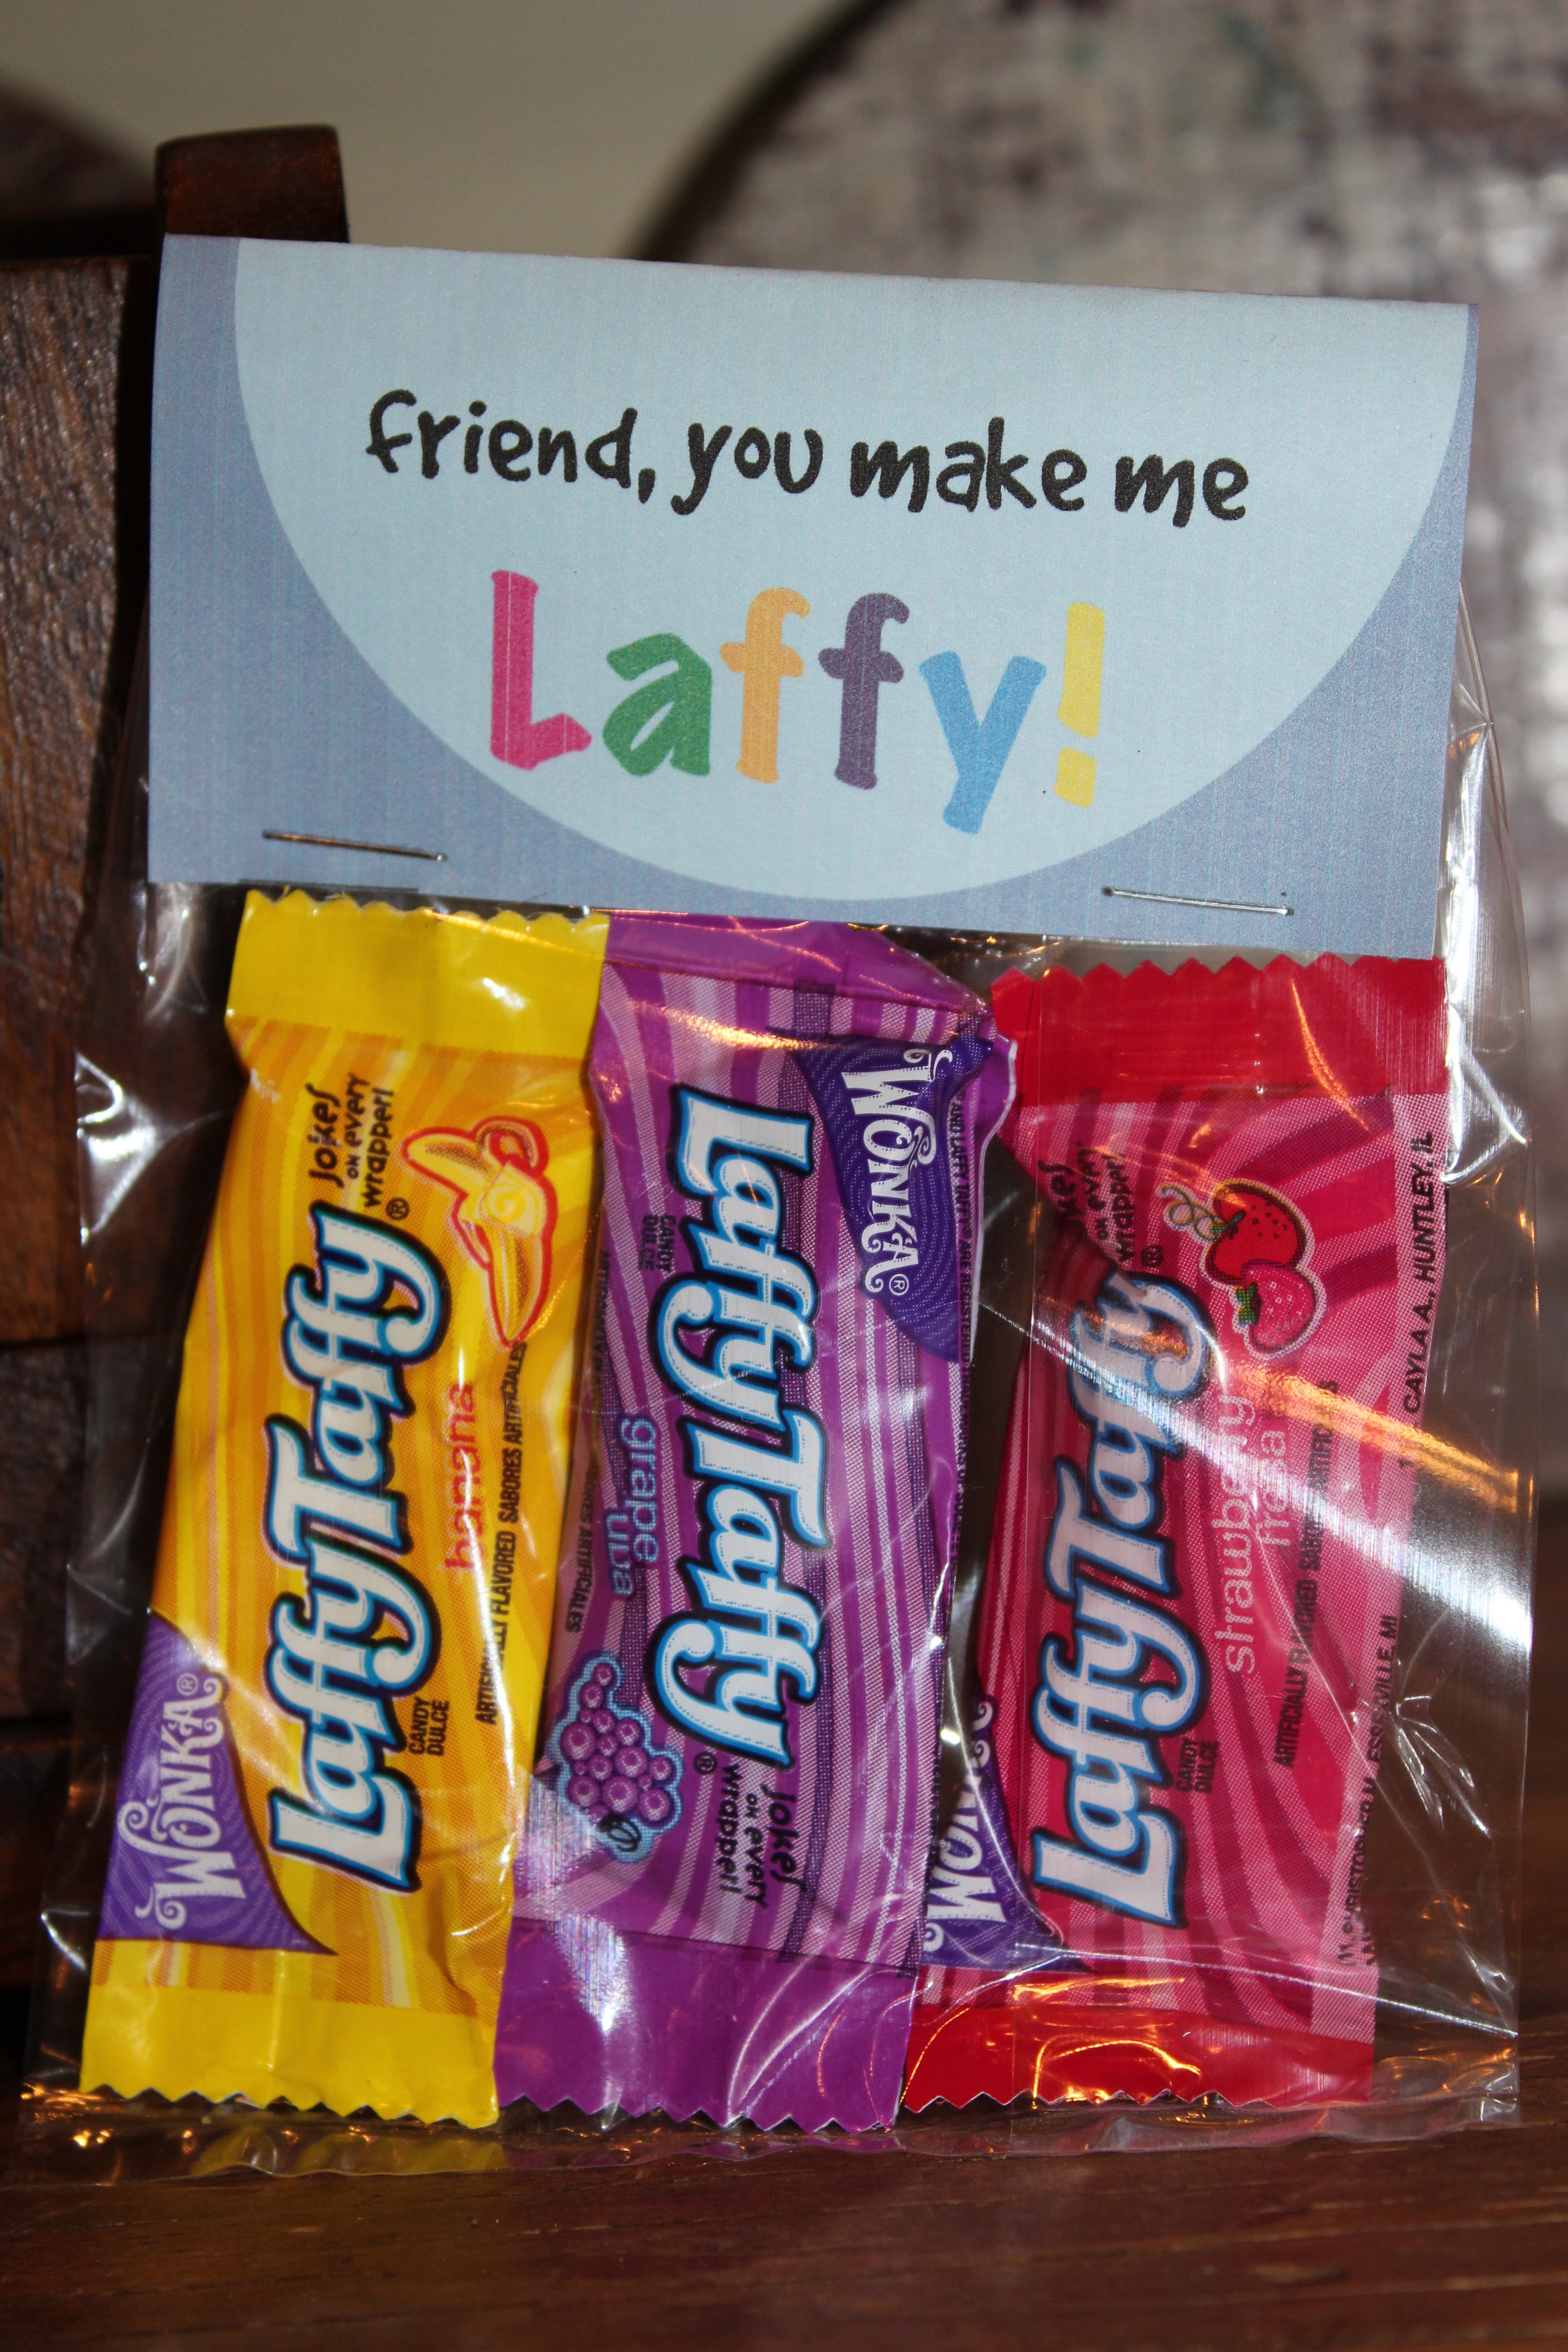
friend, you make me laffy
{fill the bag with laffy taffy for your silly friends, fold the custom tag over the bag and staple closed}

The original cutie file {the orange bubble}, can be bought here.
The original laffy taffy file {the blue bubble} is available too.

{images via j. sorelle}

Chocolate Mouse Recipe

I love all things chocolate. I’m totally addicted. So, last week, while perusing my cookbook filled with family and friends recipes {given to me at my bridal shower}, I was happy to find a chocolate mousse recipe by one of my fabulous BFF’s, Kimi Hansen. It sounded like the perfect ‘fix’ and let me just say, OMG…SO GOOD. I love it. I tried it on my sister-in-law and the kids {virgin recipe} and they, too, were WOWed! For you gluten-free folks, it’s totally doable too.

To share with guests at your upcoming Halloween parties, just serve it in shooter glasses, top it off with homemade whipping cream and then decorate it with orange sprinkles.

Chocolate Mousse
{Recipe by Kimi Hansen}

Ingredients
1 cup chocolate chips {I used Nestle and it was delish, but Kimi tells me it’s even better with Ghiradelli or a ‘higher quality’ chocolate}
1 cup whipping cream
1 egg yolk
1 tsp vanilla
1 tsp Kahlua or Dark Creme de Cocoa {for the kiddos, exclude this ingredient, and I promise, it’s still so yummy}

How To
Add chocolate chips, Creme de Cacao, vanilla extract and egg yolk to a blender
Heat cream to a boil on the stove and then slowly add the cream to the other ingredients in blender
Pulse ingredients together
Pour into serving glasses and refrigerate for at least 3 hours
Top with raspberries, or another fruit or whipping cream and sprinkles

{images via Tutto Bella}