This holiday season brings about so many emotions. Gratitude for all the silver livings this year has bestowed upon us. A good perspective on our lives and what really matters as we near the end of this disastrous year. Worry that the year is not yet over and well, anything can still happen. Angst about school, jobs and our health. Embarrassed by the fact that we cannot give the extravagant gifts we want due to the economic turmoil this pandemic has caused. Fear that we may get sick. Concern that people are more alone that ever this holiday season. Pleasure in the cozy loungewear we get to wear more often. The list goes on and on. But, through it all we must remain steadfast in hope, joy and love. Whether its from others, or tiny moments throughout the day, it’s there…it’s just harder to find this year.
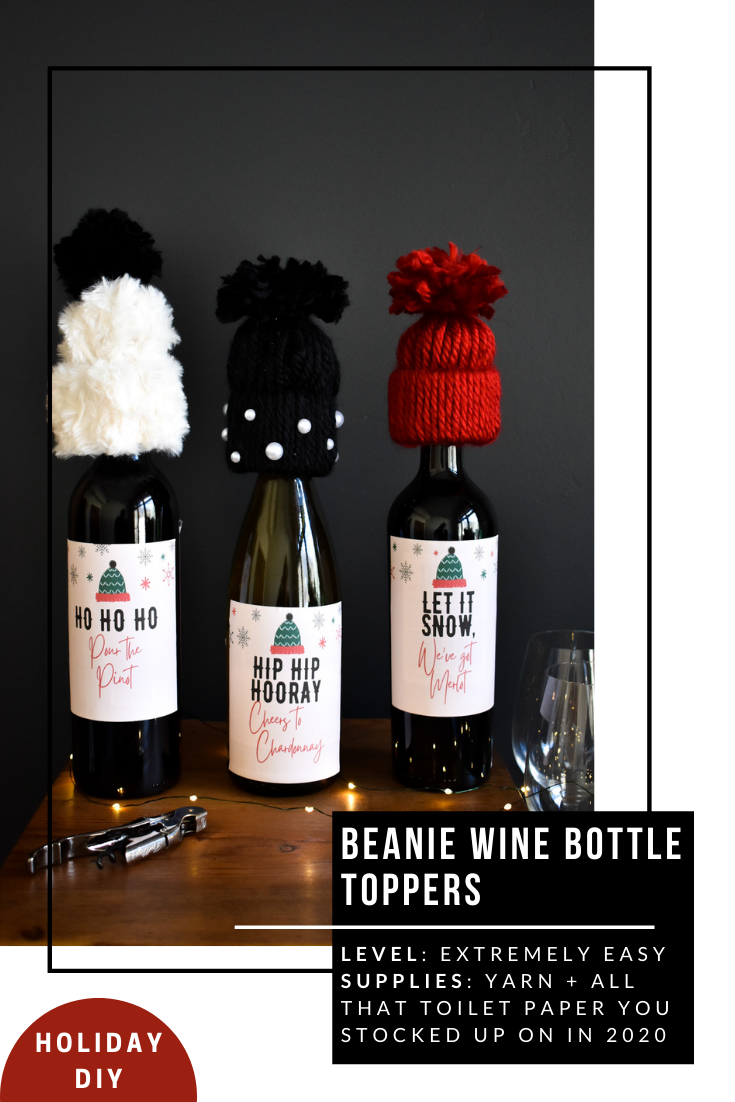
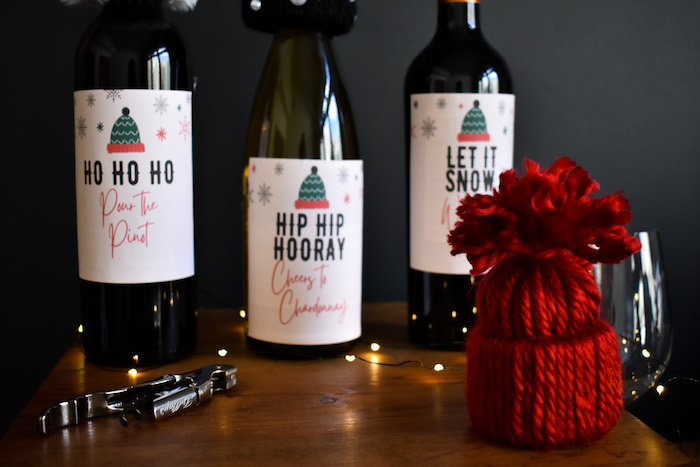
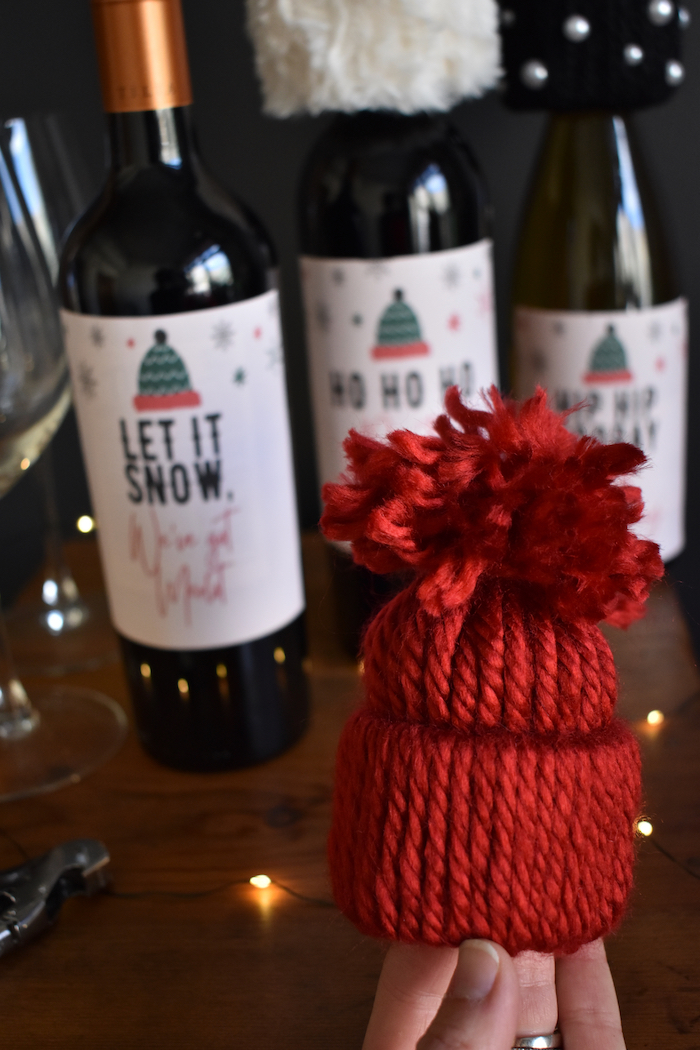
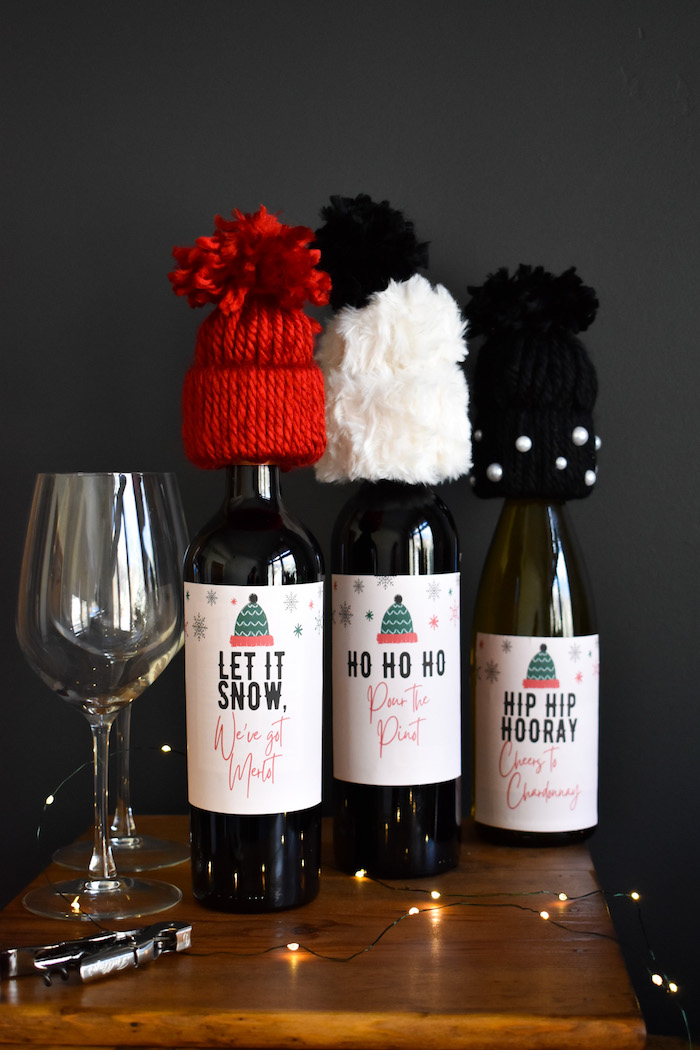
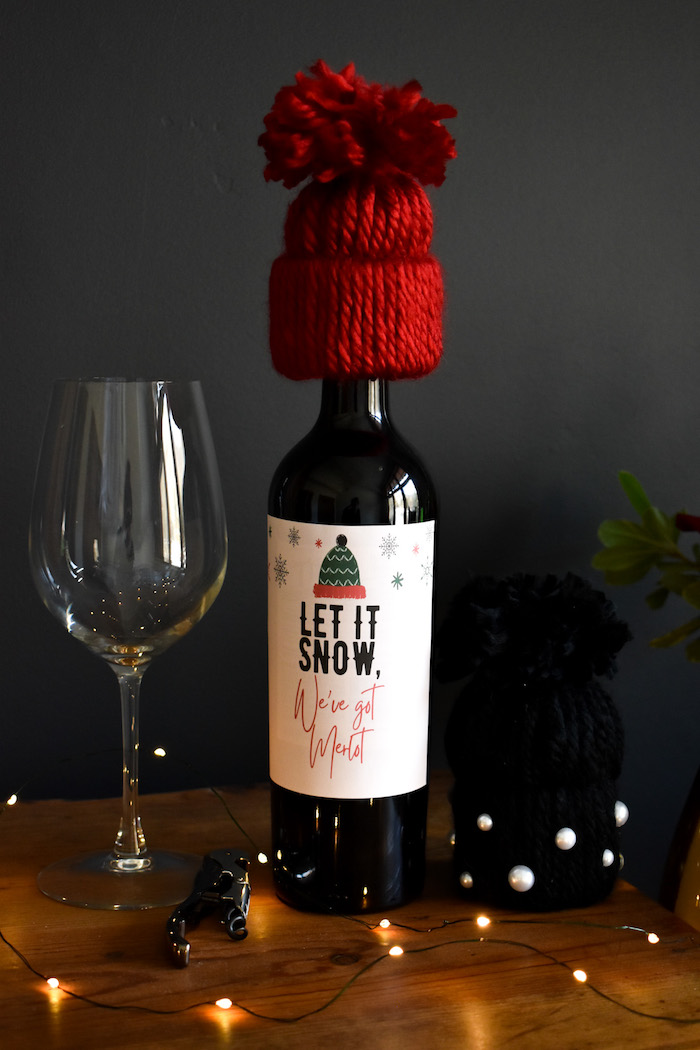
One thing is for certain this holiday season – we will be sipping wine as we toast the good memories, bid farewell to the bad, and laugh about all the ridiculous ones in between. If we can’t dress up and go to all the parties we usually do, we can at least dress up our wine bottles! We made DIY wine topper beanies, and our wine bottles have never looked so cozy and cute!
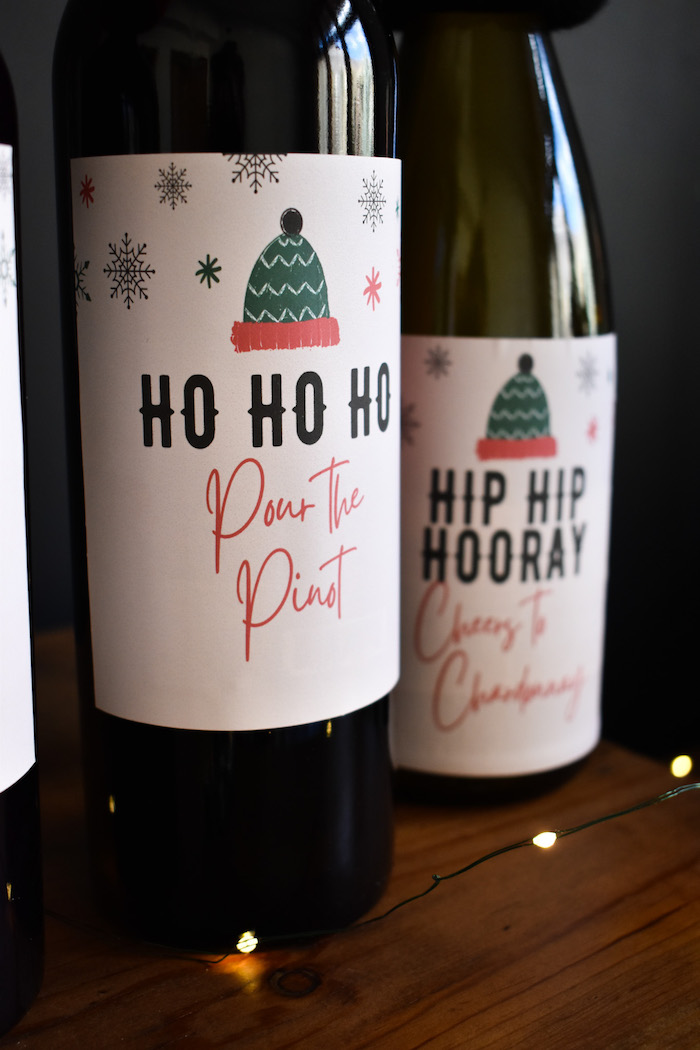
These are so insanely easy to make, and you have more time than ever at home, so get to it. There is no sewing, crocheting or knitting skills necessary. Make them for your own wine bottles at home, or gift them to friends with a bottle of wine this holiday season. You can give an expensive bottle, or a cheap $7 Malbec from Kirkland/Costco (don’t knock it till you try it – I have some in my wine bar now). Cover up the label with the cute labels we made (FREE printable here), and no one will ever know if it’s a $100 bottle, $30 bottle, or $10 bottle of wine. You’re welcome!
Let’s get this wine and beanie party started…
DIY Beanie Wine Toppers
Materials:
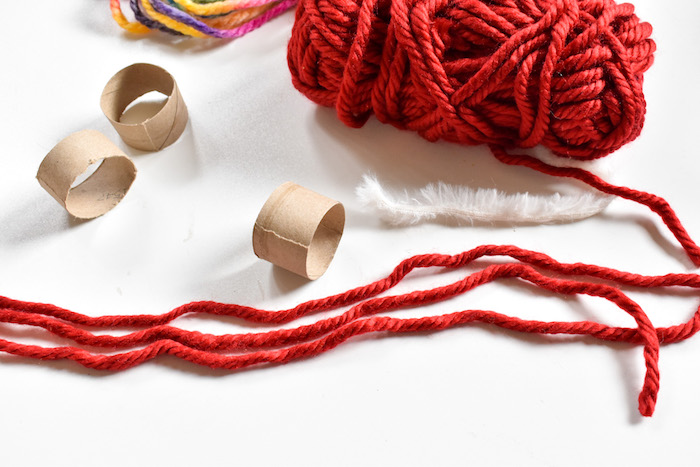
- Wine
- Yarn (we found the thick yarn works best, and is less work)
- Toilet paper squares (for the stuffing)
- Poster board or thick card stock (cut in strips)
- Scissors
- X-acto knife
- White flat back pearls for embellishment*
- Astrobrights Sticker Paper (for labels)*
Directions:
Step 1: Cut poster about 1-2 inches thick and approximately 8.5-9.5 inches long. You can wrap it around the neck of your wine bottle to see how you want it to sit and the right length for you. Important note: the short the neck of your wine bottle, the better. It looks better, and it fits better. If the neck is too long, it looks odd, and you can’t pull it down. Use a hot glue gun to glue the poster board together so it makes a circle.
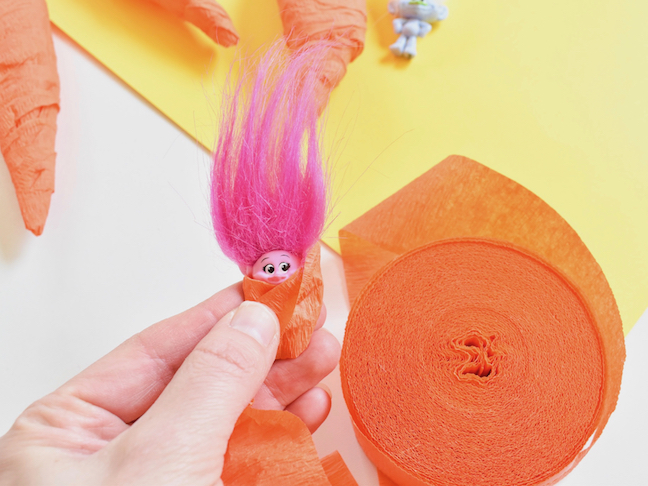
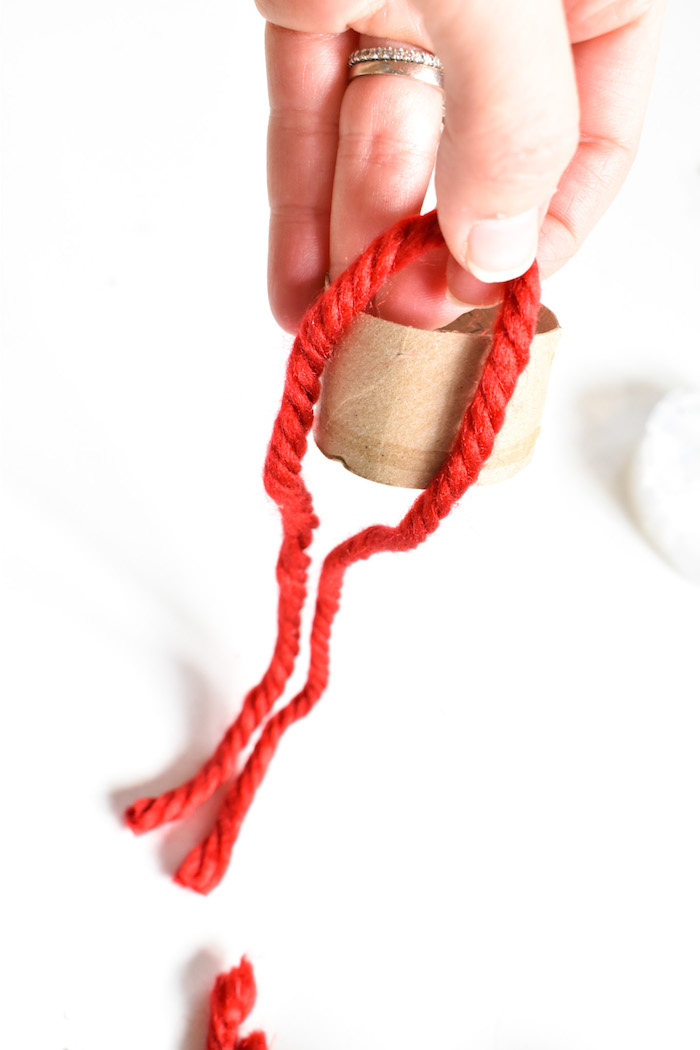
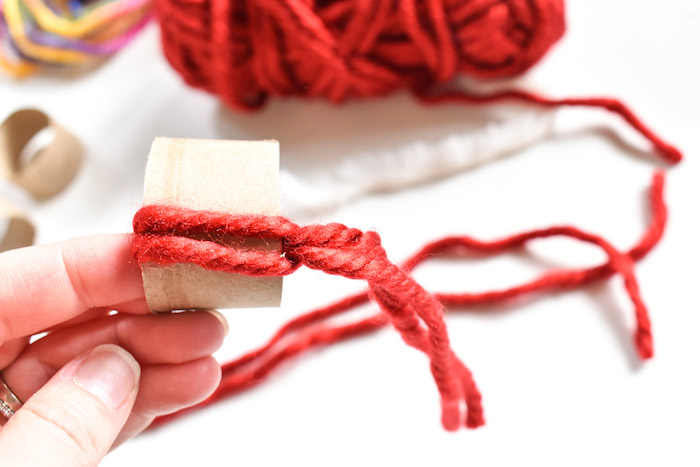
NOTE: in the photos below, I used toilet paper rolls and different colored yarn for another similar craft you should check out – DIY beanie ornaments. For the wine toppers, you will need something larger than toilet paper rolls, such as the poster board. The method of making them is the same, so don’t pay attention to the colors, just the method.
Step 2: Cut strips of yarn about 2 feet long.
Step 3: Fold the yarn in half so there are two strands of equal length.
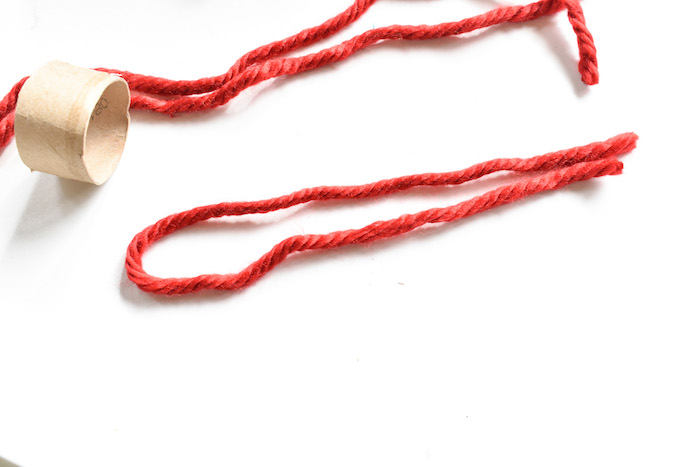
Step 4: Pull the ends of the yarn through the ‘circle’ and then back through the yarn loop. Now you should have a ‘knot’ on the bottom of the circle base. Keep doing this until the entire circle is covered. When you are done it almost resembles an octopus or squid with tentacles hanging. Tighten all the knots by pulling the string, and pushing up on the knot at the same time.

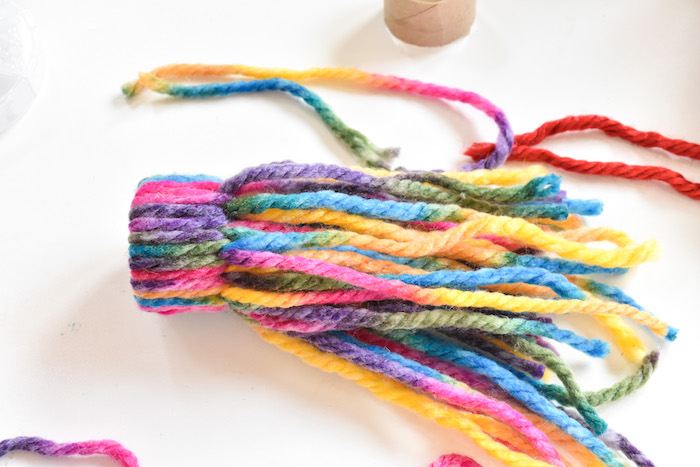
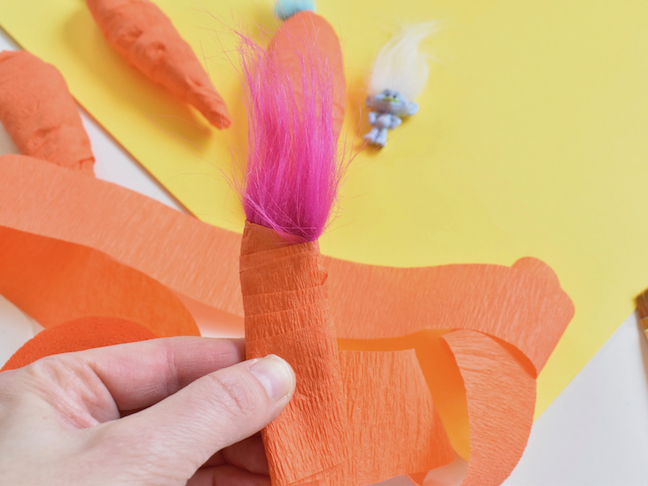
Step 5: Grab and then push all the strings back through the center hole so they hang from the other side. We did this with small groups of yarn each time, and it worked great.

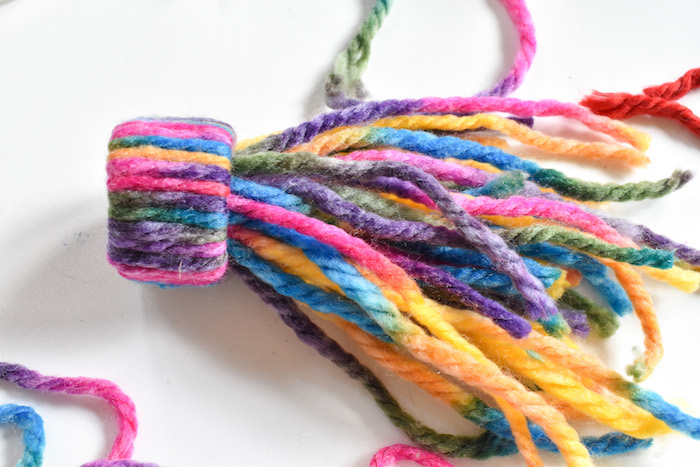
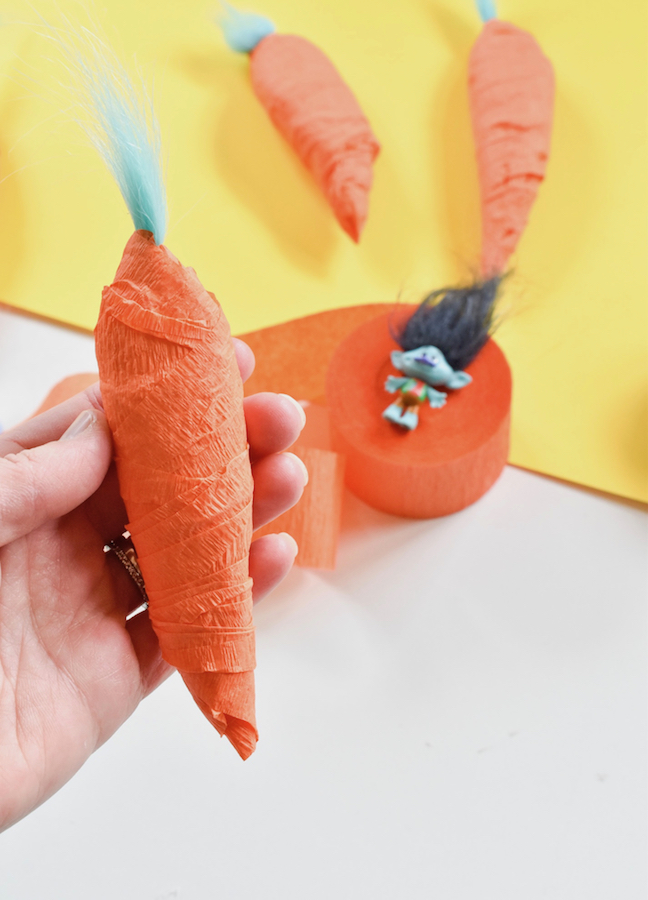
Step 6: Now grab the strands and tie a tight knot with a thread of yard about 1/4 way up. This will create the head part of the beanie, so it can be a bit shorter or taller, to your liking. Now, it’s time to cut the pom pom on top. Cut all the loose ends above the knot, and the extra string at the end of the knot. I love big pom poms on top of beanies, so it can stay big, or you can make it a smaller pom pom.
Step 7: Stuff the DIY beanie with some squares of toilet paper. You should have plenty if you’re like the rest of Americans who freaked out and over-bought toilet paper. Or maybe you already went through your stash, and can’t find any (kinda like our current situation). If you want to decorate your beanie to look fancy, or just extra cute, use a hot glue gun to glue glitter or pearls like we did.
Step 8: Top your wine bottle with the coziest DIY beanie wine topper ever!! Tell your friends to use year after year, or re-gift. If you want the labels we made for extra flair, click here. Just print them on Astrobrights Sticker Paper, cut and you’re done.

*Affiliate Link: We may make a commission on these links; however, there is no charge to you on any of the items. Thanks for supporting our family blog.