Gnome For the Holidays

diy gnome wine toppers

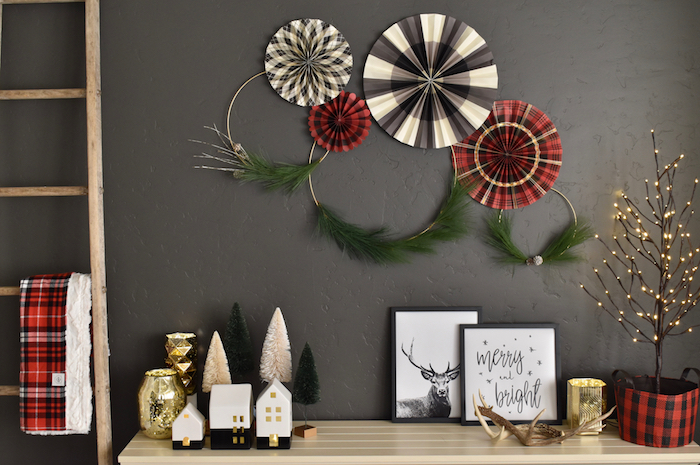
We love our wine, and a glass of wine is better when shared with a friend, that’s for sure. Give wine to friends and family this holiday season, or have friends over and make sure wine is ready at the bar, with these adorable DIY gnome wine bottle toppers. They add that extra touch of homemade love and cuteness to an ordinary bottle of wine, and they are so easy to make. No sewing required.

Momtastic has all the details here.

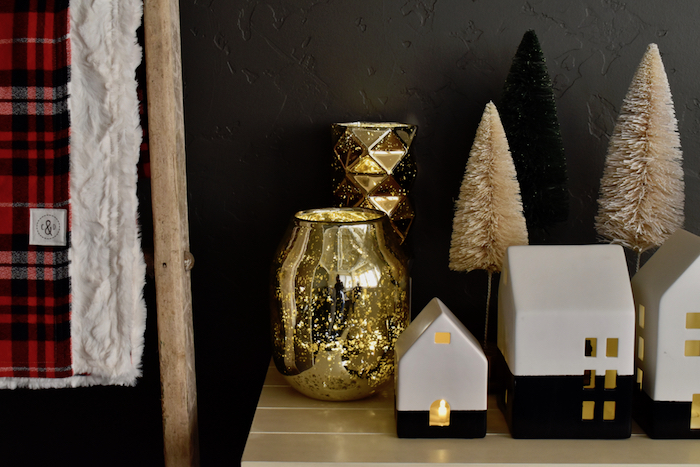
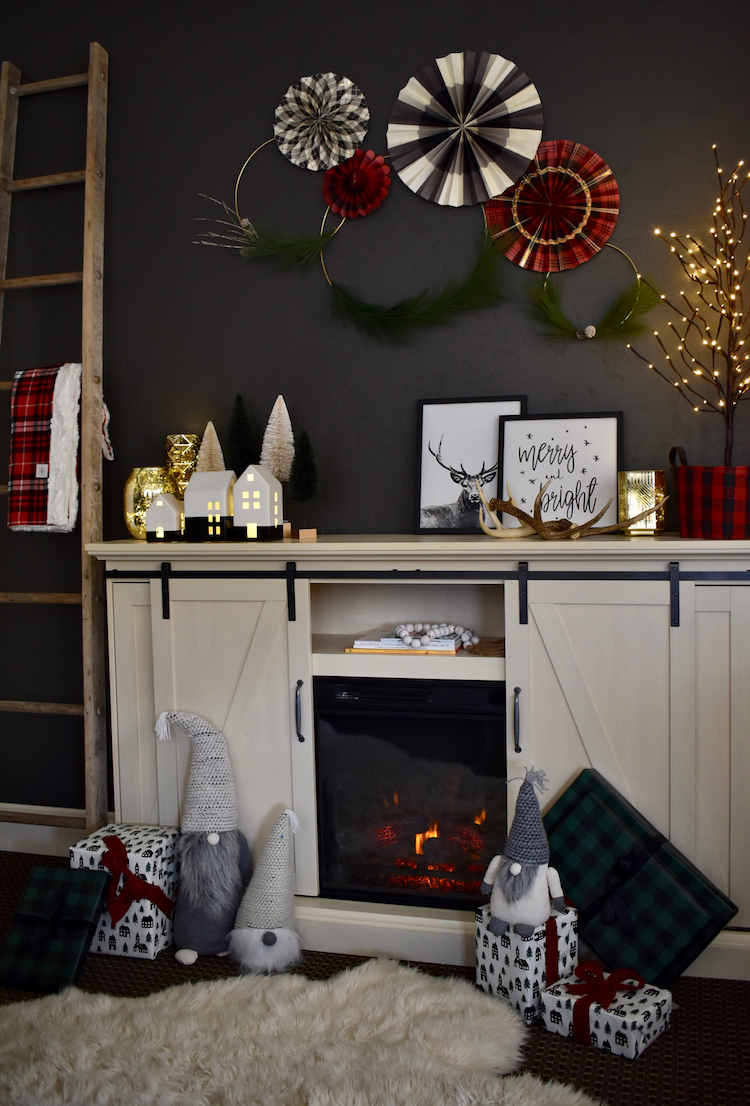
Thanks to Cole and Dainer  for sharing some of the fluffy faux fur from her amazing blankets for the gnome beards. The fur on her blankets is like heaven on my family’s skin when we have snuggle sessions.

Cheers to a happy holiday!

It’s Beginning To Look A Lot Like Christmas

modern-and-plaid-christmas-decorations-in-a-small-space

I (Jessica) shared tips on how to make a small space feel like home for Christmas on Real Simple, and not only was it a dream to write for Real Simple (pinch me), it was an added bonus to keep the holiday decor I bought and made for the post. I’ve been in the Christmas mode since October – I like to think of it as just extending the joyful season!

Part of this photo shoot was homemade, and the other half store-bought, just the way I like it. I always love a homemade touch, but life was simplified by buying the rest. One of my favorite parts of this shoot was the small businesses in the Vail Valley I got to work with, such as the Cole and Dainer (blanket) and the LA Antler Co antlers. Jenna made the cute Merry and Bright printable (available in our Etsy shop  here for $5, as well as two others).  I made the wreaths, color-blocked the white houses from Target with black paint, and I’m just mad for those plaid paper fans on top. The cozy fireplace from Home Depot has been keeping us warm, too.

modern-and-plaid-christmas-decorations-in-a-small-space

Thanks to all the amazing people and vendors whose products made it feel so festive! Check out their stuff below – they make excellent Christmas gifts, birthday gifts, housewarming gifts, etc.

Chestnut Hill 68” Electric Fireplace with Sliding Barn Door: Home Depot
Blanket: Cole & Dainer
Antlers: LA Antler Co
Artwork: Merry and Bright and Deer Print
Gnomes: Rubyjane | Valleygirl
Metallic Candles/: West Elm Deco Mercury Candleholders and Organic Shaped Mercury Candleholder
Plaid Paper Fans: Parties That Pop

modern-and-plaid-christmas-decorations-in-a-small-space

See more from the photo shoot, and all the holiday space-saving ideas here.

* This post contains affiliate links 

SHOP THE POST:


Walk On The Wild Side With A DIY Zebra Rug

diy-zebra-rug-inspired-home-decor-pop-of-orange

Do you walk on the wild side sometimes? When Jessica was in High School, she got on a wild streak with her room decor. Her room was bold with tiger and cheetah prints! No, it was not manageable splashes of the animal print – it was an entire comforter, large pillows, bath towels and a rug. We all go through periods in our lives, and sometimes look back and say, “What in the world was I thinking?” This is one of those periods.

We hope this isn’t one of those moments, but after seeing many expensive zebra rugs online, we decided to walk on the wild side once again and make an affordable version of the zebra rug. We like the way it turned out, and happy we paid less than half the prices online.

To see the full tutorial, visit a site we love, Momtastic.

DIY Modern Fall Wreath

diy-fall-wreath-with-copper-ring-and-peony

As much as we tried to keep summer around as long as we could, it came and went. There’s no denying it’s fall. With some recent snowfall, it feels a lot like winter. When the air gets cold, and the leaves change color, we throw on the scarves, bust out the pumpkins and drink a lot more tea.

After a recent trip to Michael’s, Jessica was inspired to make a DIY fall wreath for her front door. It’s outside the traditional “orange fall” box for her. Though we love orange, there is no orange color on this wreath. It’s modern, and pretty. Here’s how she did it in less than 30 minutes (once the paint on the ring dried).

Materials:

  • Wire ring, 18″
  • Copper spray paint
  • Faux greenery, including lamb’s ear, eucalyptus, a fall-tone peony and burgundy leaves
  • Mini pumpkins, Pier 1
  • Copper floral wire
  • Hot glue gun and hot glue

Directions:

Step 1: Spray paint the ring copper.

Step 2: Cut stems from the faux greenery, and once the ring is dry begin to lay out the greenery along the ring. I wanted everything slightly off-center on the lower right corner.

faux-greenery-and-copper-wire-with-burgundy-leaves

Step 3: Hold stems on the ring and wrap with a 3-4 inch long piece of copper wire. Wrap it until it’s tight on the ring wreath. As you add stems, try to cover the copper wire.

copper-wire-for-a-faux-greenery-wreath

Step 4: Leave a small space in the center for the flower and pumpkin. Use hot glue to glue the flower.

faux-greenery-and-blush-peony

diy-fall-wreath-with-copper-ring-and-peony-on-a-copper-modern-wreath

Step 5: Drill two small holes on the bottom of the pumpkin at an angle where you can insert the copper wire through one hole, and push it out through the other hole. Once the wire is in, set on the copper wreath and wrap the wire around the wreath.

copper-pumpkin-with-two-small-holes-and-a-copper-wire

diy-modern-fall-wreath-with-copper-ring-and-peony

diy-modern-fall-wreath-with-copper-ring-and-peony

Step 6: If you need to hide the copper wire, glue leaves and stems here and there. Then, just hang.

diy-modern-fall-wreath-with-copper-ring-and-peony

diy-modern-fall-wreath-with-copper-ring-and-peony

diy-modern-fall-wreath-with-copper-ring-and-peony

DIY Pumpkin Succulent Planter

pumpkin-succulent-planters

Our love for succulents has never faded. We love them, year-round! So, recently when we took a trip to find pumpkins at a garden center and saw pumpkin planters with succulents, we were head-over-heels in love. We made our own versions of the pumpkin planter {we bought the one with the skeleton}. This no-carve Halloween arrangement can be made for friends and family this Halloween and Thanksgiving season, and when pumpkin season is over, transfer the arrangement to a more festive winter holiday base.

halloween-fall-pumpkin-succulent-planter

Materials:

  • Mini pumpkins, faux or real
  • Succulents, mini
  • Hot glue
  • Skulls and other fairy-size decorations
  • Moss, Spanish Moss
  • Glitter hairspray

Directions:

Step 1: Gather supplies.

pumpkin-plants-succulent-moss

Step 2: Glue a handful Spanish Moss to the top of the pumpkin.

pumpkin-glue

pumpkin-planter-with-moss

Step 3: Insert the small succulents into the moss. Use a little hot glue if you have to keep them in place.

pumpkin-planter-succulent

Step 4: Add any other types of moss and mini stems to the top of the pumpkin. Finally, glue a skull or fairy-garden accessory on top.

succulent-planter-skull-pumpkin

Step 5: Spray hair glitter on the arrangement. This can be wiped off later, but the sparkle is so cute!

glitter-spray-pumpkin

You’re done. To keep the succulents alive, spray them with water.

succulent-planters-pumpkin-arrangements-skull

pumpkin-succulent-planter-halloween

succulent-pumpkin-planter

pumpkin-succulent-planter

succulent-planter-pumpkin-halloween-centerpiece-diy