Mother’s Day Gift Ideas

go ask your father mug-target

Mother’s Day is coming up, May 9. We know how much work, worry and love goes into raising our own children, so we appreciate all the amazing mothers out there. We learned from the best; our mom was wonder woman. We owe our mother so many thanks, especially for giving us the greatest gift of all, unconditional love! Take the time to call your mom, stop by, send flowers or buy her something special.

We’ve rounded up some fabulous ideas below that you still have time to order!

Happy Mother’s Day!

mothers day gifts

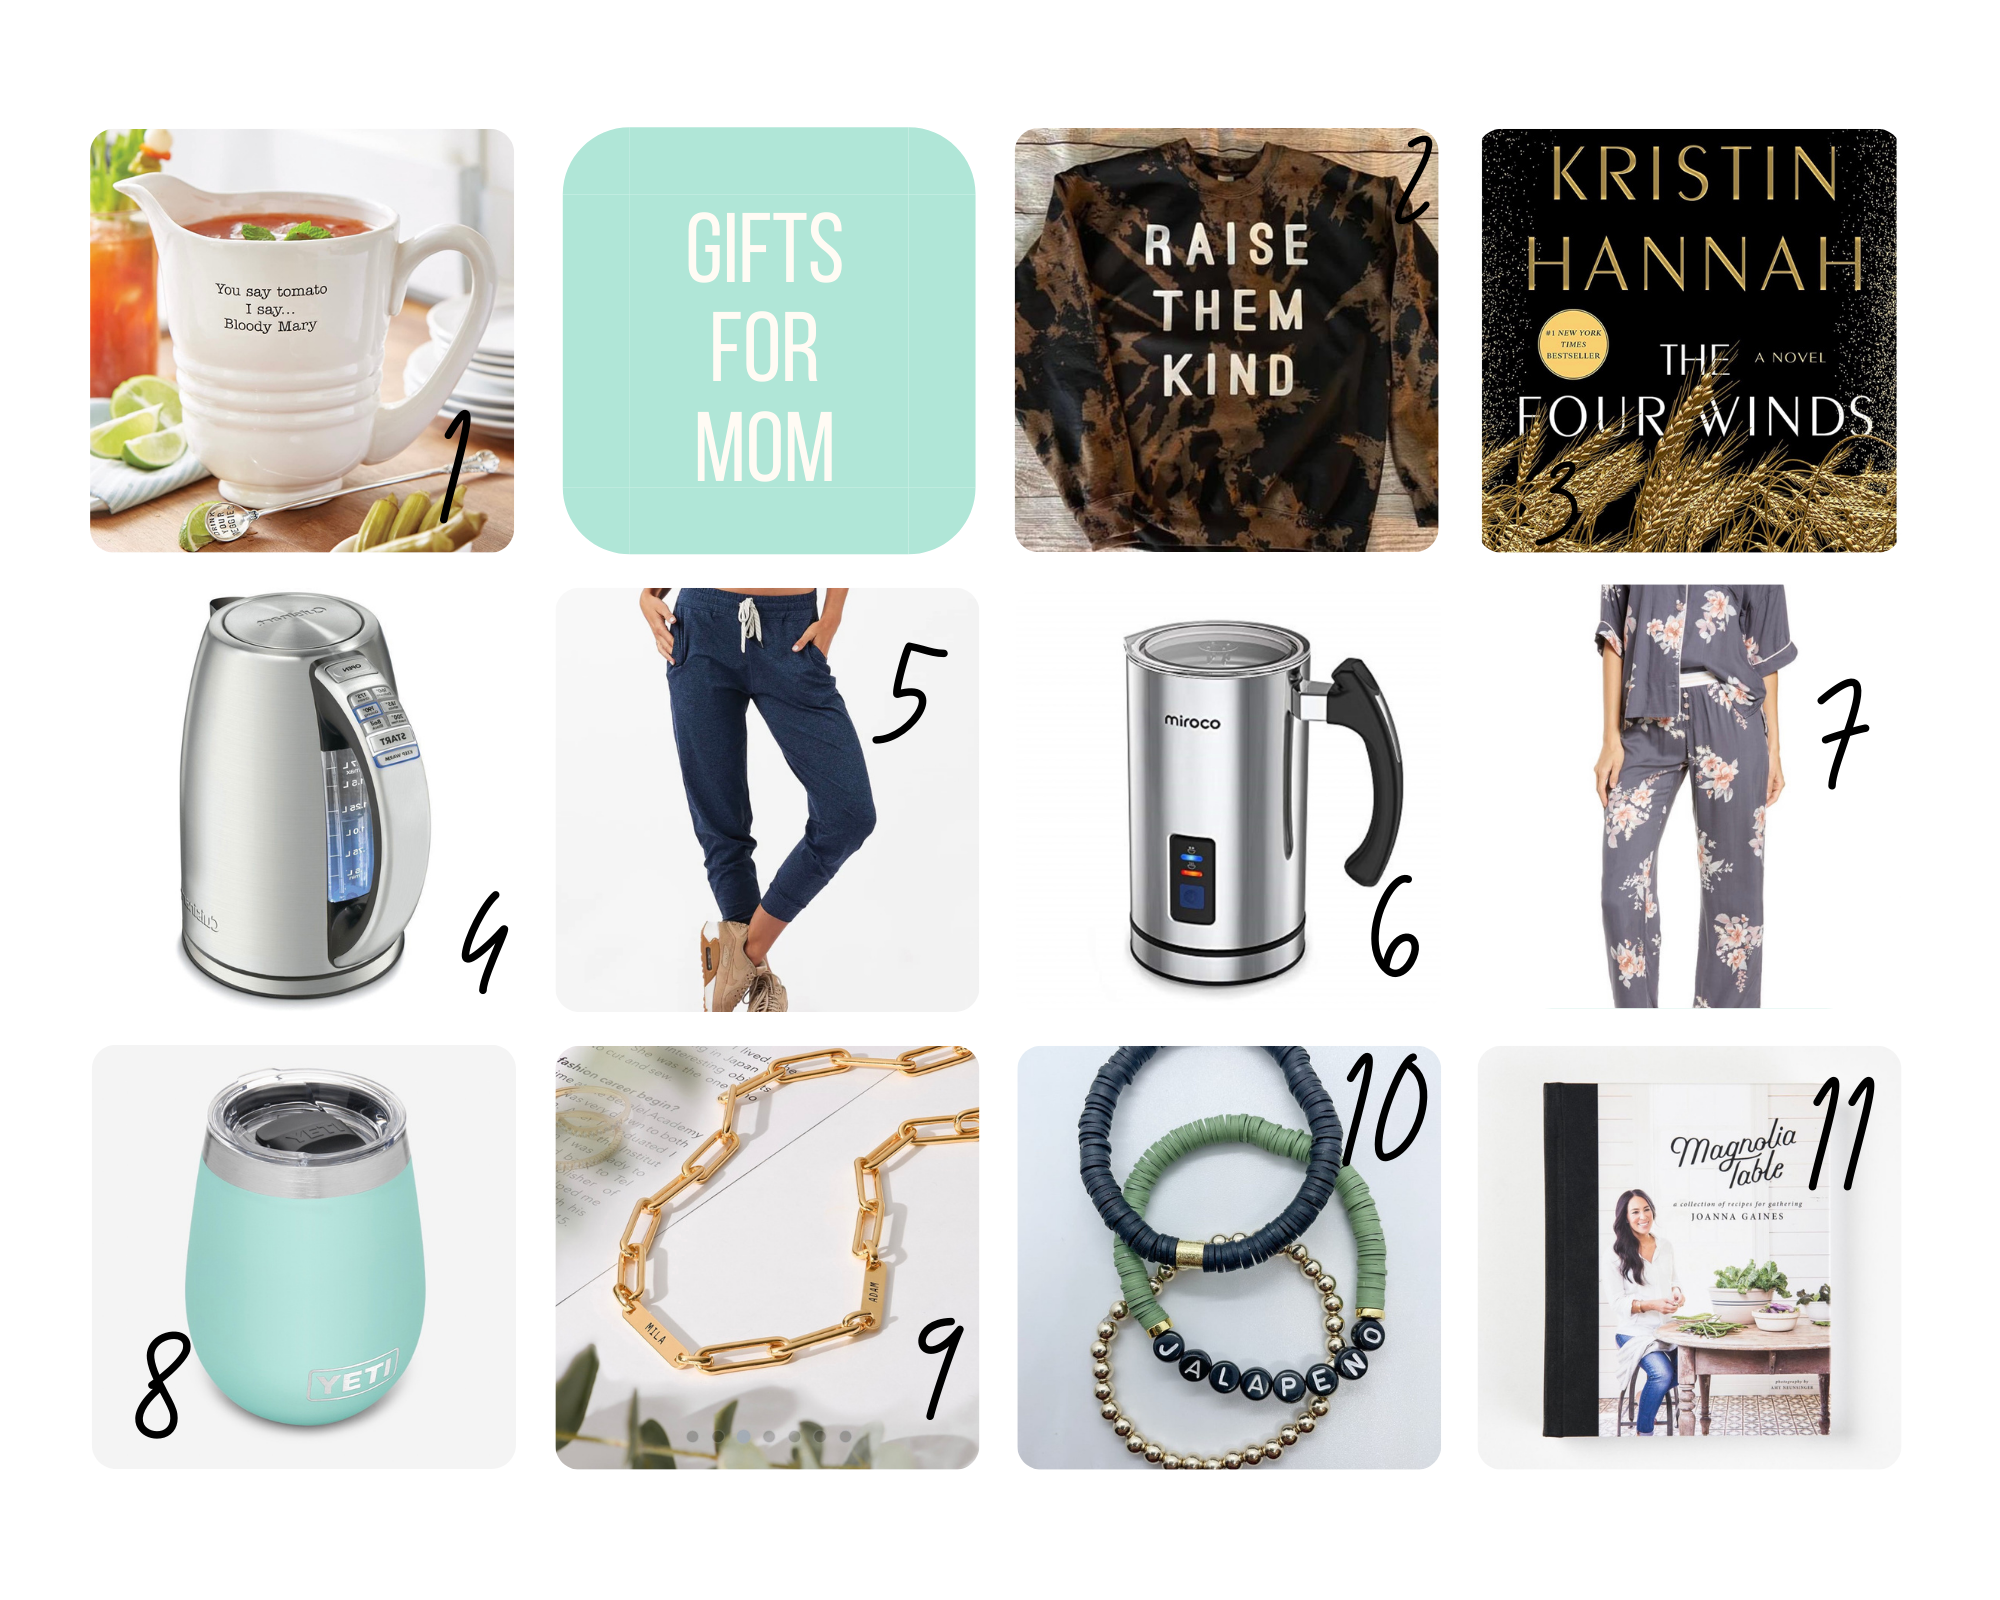
  1. Bloody Mary Pitcher with the BEST bloody mix everThe Real Dill (If you live in Colorado, you can get this at grocery stores and liquor stores): We LOVE, LOVE this Bloody Mary mix. It’s the best. And, this pitcher is the perfect match for it.
  2. Raise them kind sweatshirt: This is so cute, but also a good reminder about the importance of raising kind kids. It’s easy to get wrapped up in the competitive things such as grades, sports, making sure our kids have the best of the best, but it’s important to remember to teach them to be kind.
  3. A good book, The Four Winds by Kristin Hannah: We love Kristin Hannah books. This is on our reading list. We haven’t read it yet, but we hear it’s good.
  4. Cuisinart Electric Kettle: We use our electric kettle everyday, at least 3x a day. This is a MUST for every home, and every mother or woman who makes coffee or tea. Gift this kettle with a bag of coffee, or your moms favorite tea.
  5. Vuori joggers: Gift mom with the best joggers ever!! We love these, and recommend them to everyone.
  6. Miroco Frother: Yay to homemade frothy espresso drinks at home! This is a fun kitchen gadget that froths happiness in a cup every morning.
  7. PJ Salvage pajamas: Give mom the gift of really comfy pajamas. She will look forward to bed, and feel like the queen she is in these pajamas. PJ Salvage is one of our favorite pajamas brand.
  8. Yeti wine rambler: Give mom a to-go cup for her wine. It’s dishwasher friendly (YAY), and will keep her wine chilled as she sips!
  9. Oak and Luna Name Chain Link Necklace: Chain necklaces are a favorite for us these days, so how great is this chain necklace that you can customize with names!? We would be thrilled to open this on Mother’s Day.
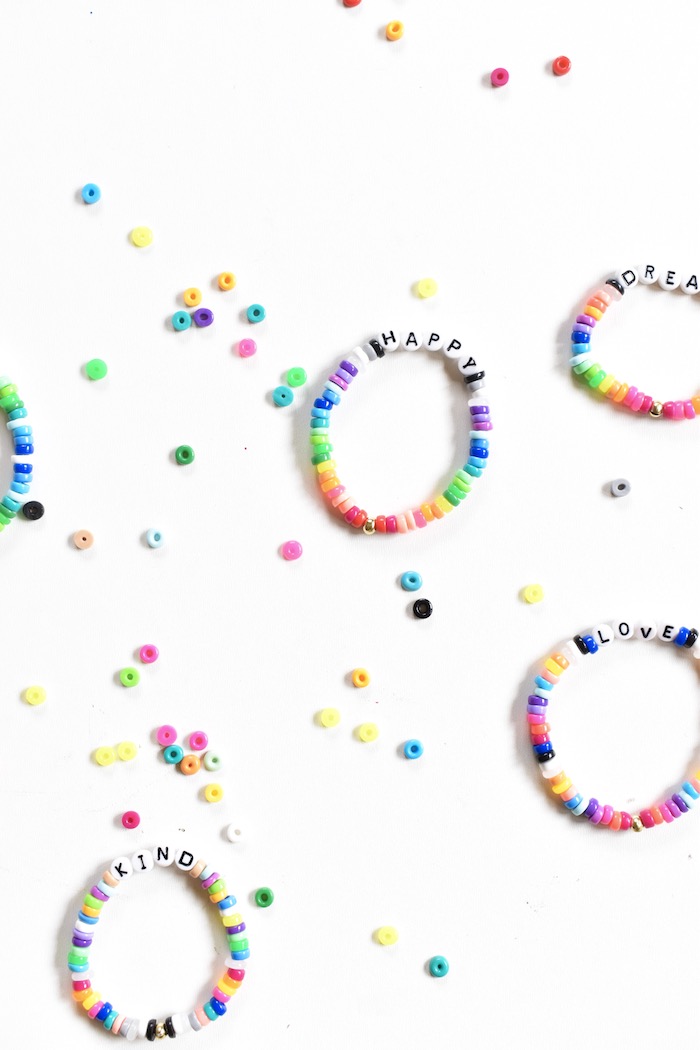
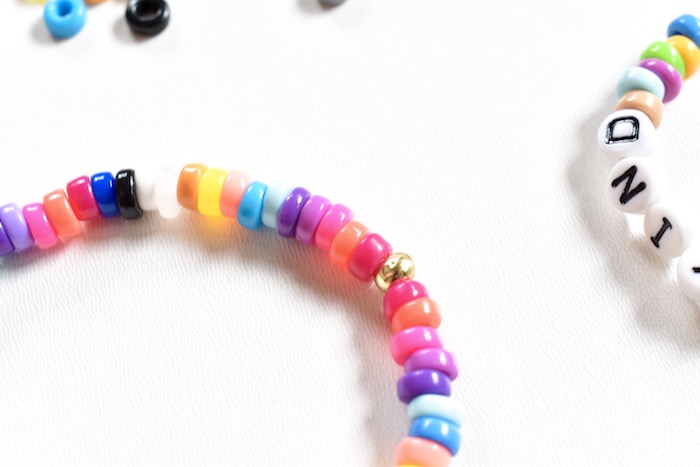
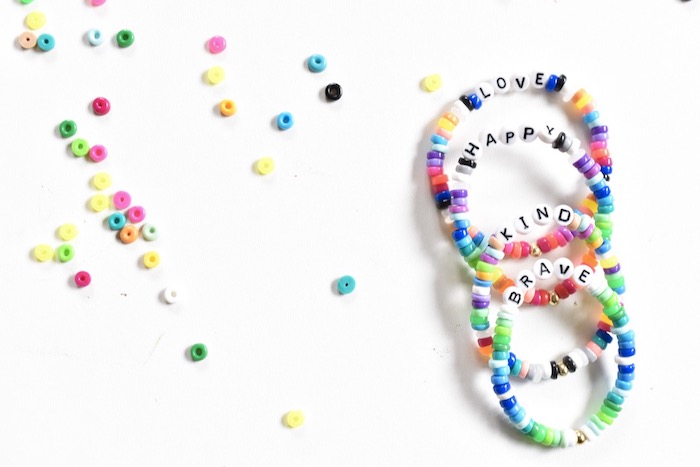
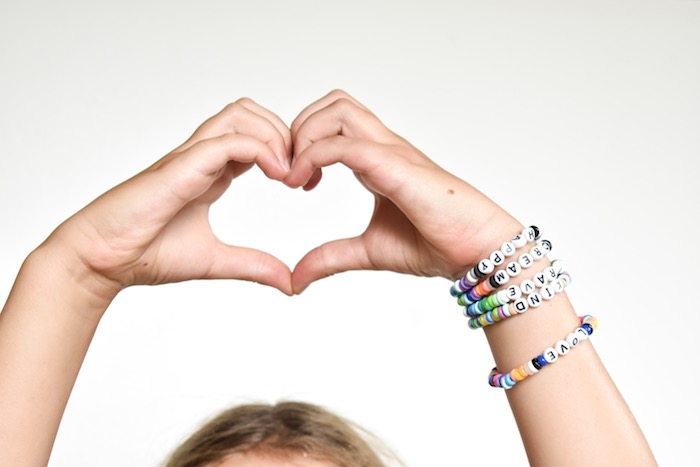
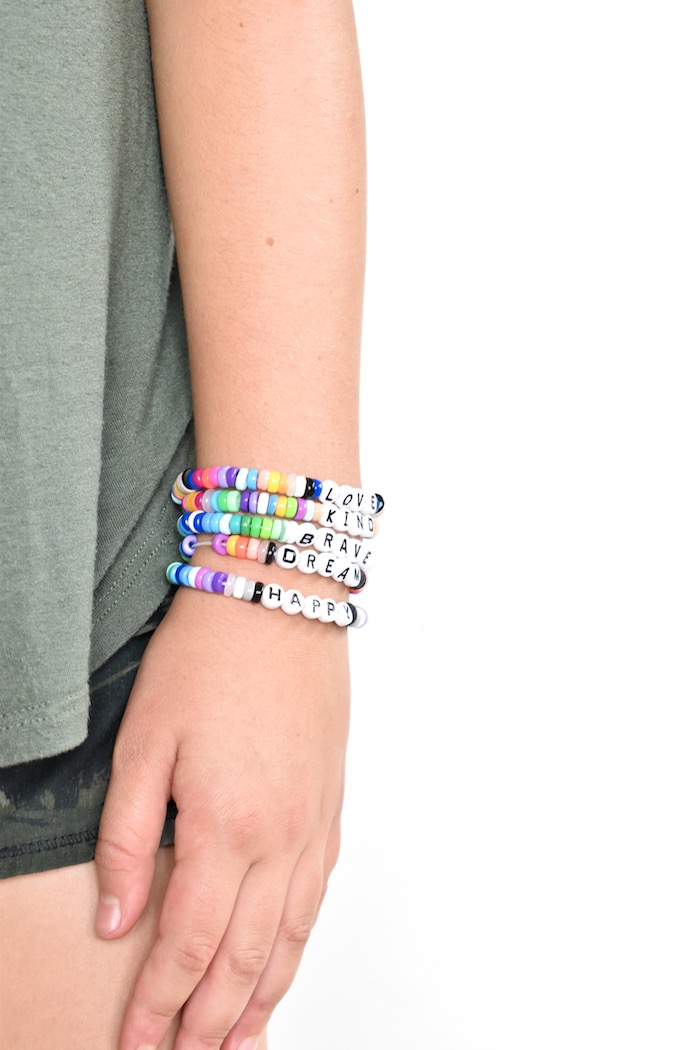
  10. Custom Name Bead Bracelet: We have similar bead bracelets, and we wear them everyday. It’s a great affordable gift for moms and grandmothers.
  11. Magnolia Table Cookbook or Half Baked Harvest Cookbook: We love the recipes from these two women. Some are simple, and some push us outside our kitchen comfort zone, but they are all so yummy.


* This post affiliate links. Thanks for supporting our blog.

DIY Word Bead Bracelet


diy perler bead bracelets (1)

Word bead bracelets are so trendy right now. The best part about them is anyone can make them, and you can customize them with whatever words you want for whoever you want. The ideas are endless; mama, friend, good vibes, hope, fearless, star, stay strong, bestie, rad, happy, etc. Make them all, and stack them! Kids will love to make them for their friends. In fact, Jessica’s daughter can’t get enough of the colorful, inspirational bracelets, and spend hours crafting them for friends.

We made them with perler beads that we melted. You can buy beads, or melt them like we did for flatter beads. Instructions below.

diy word bead bracelet

If you don’t want to make them, there are affordable options for gifts you can buy like this and this.

Materials:

Directions:

melted perler beads for diy word bead bracelets

Step 1: Shrink, or flatten, the beads in the oven. Cook them on parchment paper on 400 for 2-3 minutes. Every bead need to be upright when you put them in the oven, and then they will flatten like tiny round donuts. Keep an eye on them. You want them flat, but not so flat the hole is melted.

diy word bead bracelet - melted perler beads

Step 2: Once they are cool, you can begin to create. Tie a knot at the end of the string, and tape that end to a table. Slide the beads onto the string. When it’s complete, tie a double or triple knot. Cut the excess string. Add a dab of super glue on the knot and wait for it to dry (hold the beads separated from the knot with you hands while it dries). With pliers, tighten a gold crimp bead around the triple knot and glue (so it’s hidden).

diy perler bead bracelet

diy word bead bracelet

diy word bead bracelet


* this post contains affiliate links

DIY Perler Bead Earrings You’re Girls Will Love

DIY enchanting fairy garden

We’ve made animals, geometric shapes, flowers and rainbows from the tiny, amazing Perler beads in the past, but this week’s craft was a first for us. We made DIY Perler bead earrings. The colorful and affordable DIY jewelry is so versatile because the color combos are endless, plus so many pairs can be made in a day. Our daughters made some for themselves, and then pairs for friends. We customized with vinyl shapes and letters, but also made multi-color earrings with large and small Perler beads. It was fun!

Here’s how we did it. We can’t take full credit for this idea. The super talented Kimberly of A Girl and A Glue Gun originally posted about this craft idea. Thanks for always sharing such amazing idea, Kim.

Materials: 

Directions:

Step 1: Place a piece of parchment paper on a baking sheet, and then set perler beads on top of it. If you want the circular multi-color ones, you need to put two small perler beads inside the big beads. If you want one solid color, you just need to melt one perler bead.

DIY perler bead earrings

DIY perler bead earrings

Step 2: Melt them at 350 degrees for about 38 minutes. Let them cool. You can see the difference in size once the big and littler perler beads are melted.

DIY perler bead earrings

DIY perler bead earrings

Step 3: Add vinyl shapes or letters to the front of the earrings.

DIY perler bead earrings  DIY perler bead earrings

Step 4: Use a dab of E-6000 on the back on the earring pin post, and then push onto the back of the perler bead (the flat side). Let dry for at least 24 hours.

DIY perler bead earrings


DIY perler bead earrings

Step 5: Make DIY cards to gift to people from cardstock, or add the colorful cuteness to your ears.

DIY perler bead earrings

DIY perler bead earrings


*THIS POST CONTAINS AFFILIATE LINKS

Sparkly Holiday Vibes With These DIY Embellished Shoes

diy embellished shoes for a glam holiday party

We have a little sparkle in our step this holiday season…and it makes us so happy. We have absolutely no idea why we haven’t made DIY embellished shoes before! This was such an easy, and fun DIY project, and the result is sparkly goodness just in time for all those holiday parties. Momtastic has all the details here on how we created these totally affordable DIY embellished shoes.

Remember ladies…leave a little sparkle wherever you go, whether it’s in flats or heels.

diy embellished shoes for a glam holiday party

SHOP THE POST:

DIY Earrings As Sweet As A Pineapple

IMG_9806

We find inspiration for our blog from everything around us – magazines, colorful patterns, Pinterest, blogs, people, nature and fashion. Sometimes an idea for a future project and party comes to us late at night when we can’t sleep. Other times, we are brainstorming out loud. The idea for these adorable DIY pineapple earrings came to us while perusing the aisles of Pier 1 Imports (one of our fave home stores). We stood in front of a tropical themed tablescape looking at tiny pineapple table confetti. Instead of seeing it for what it was, we saw the tiny fruit die-cuts as DIY earrings. We call it our confetti hack.

We love pineapples, we crave piña coladas on the beach (our favorite vacation drink growing up was virgin piña colada’s and strawberry daiquiri’s) and we love a good DIY. So, this was a really fun pineapple project to work on.

These DIY earrings would make for lovely gifts for girlfriends and mom (Mother’s Day is coming up, y’all).

So bring me two piña coladas (or pineapples)
One for each ear. 

diy-pineapple-earrings-pink-yellow-tassels

Materials:

Directions:

Use the pliers to open two earring jump rings. One will go in the middle largest opening in the top of the pineapple, and the other will attach to the first ring and the earring wire hoops. Use the pliers to close the rings. The pineapples are thin, so be gentle with them.

jewelry-pliers-green-pineapple-gold-plated-earring-supplies

diy-pineapple-earrings-pink-yellow-green

diy-pineapple-earrings-yellow-tassel

If you want to present them in a cute way, use a small hole punch to punch two holes in a card stock tag. Insert the earrings through the holes and add the safety backs. A tassel makes everything cuter, so we attached a colorful tassel. Finally, add a custom touch with a hello beautiful pineapple stamp. We made the stamp with our Silhouette Mint, which is so easy and fun to use. We can a little stamp happy each time we use it.

card-stock-with-black-pineapple-stamp-and-yellow-tassel

diy-pineapple-earrings-pink-yellow-tassels-green-pineapple

diy-pineapple-earrings-pink-yellow-tassels

diy-pineapple-earrings-pink-yellow-tassels

When you make/wear the earrings, carry these pineapple vibes…

be like a pineapple
stand tall,
wear a crown,
& be sweet on the inside


SHOP THE POST