This DIY nursery project is made with ABC blocks, and honestly, it’s as easy as 123.
ABC
Easy as
One, two, three
Or simple as
Do re mi
ABC, one, two, three, baby, you and me girl!
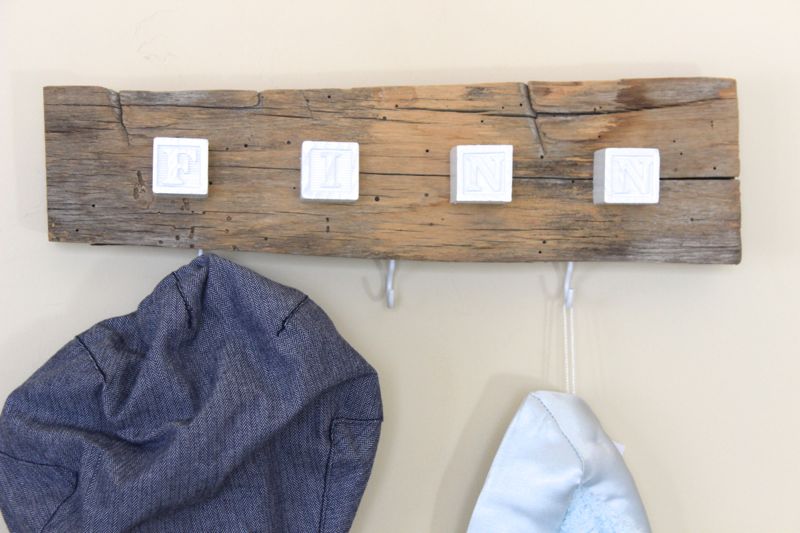
ABC blocks are a favorite among moms, and our kids love to play with them, so we used them for our custom, DIY baby name hook rack. A special and beautiful little man named Finnegan {Finn} was born in December, so we wanted to make a custom DIY piece for his nursery. Armed with spray paint, gloves, a drill and an open garage, we went to work.
Materials
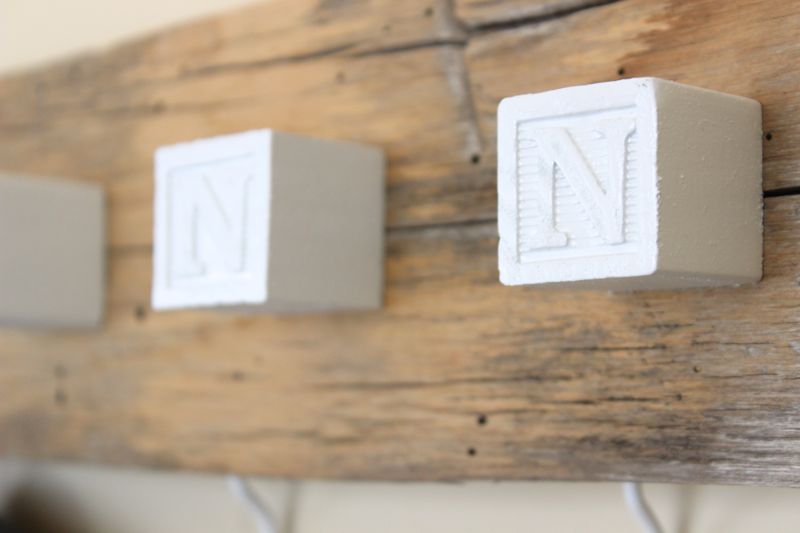
- Baby blocks – antique blocks from antique shows, Amazon, Toys ‘R’ Us and in our case, Target
- Piece of wood – a new piece from Home Depot, or salvaged wood like we used, the length of the baby’s name
- Spray paint {primer + paint}, Home Depot
- Wood glue
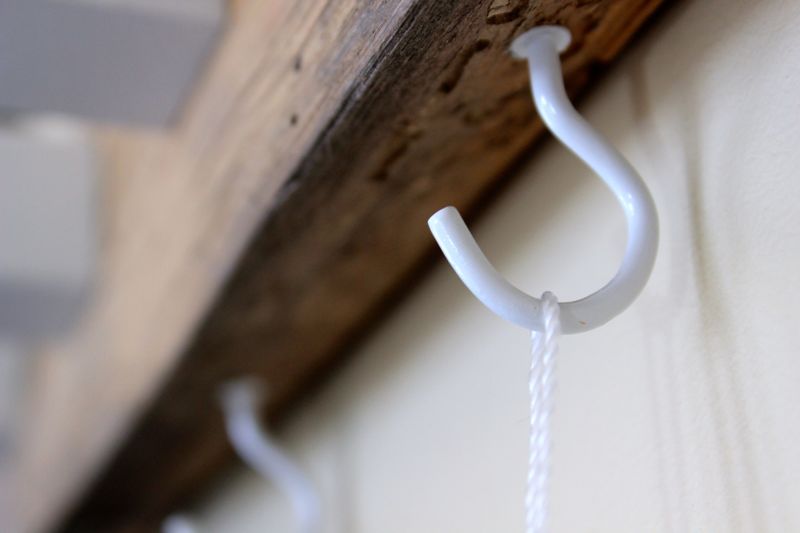
- Hooks
- Drill
Directions
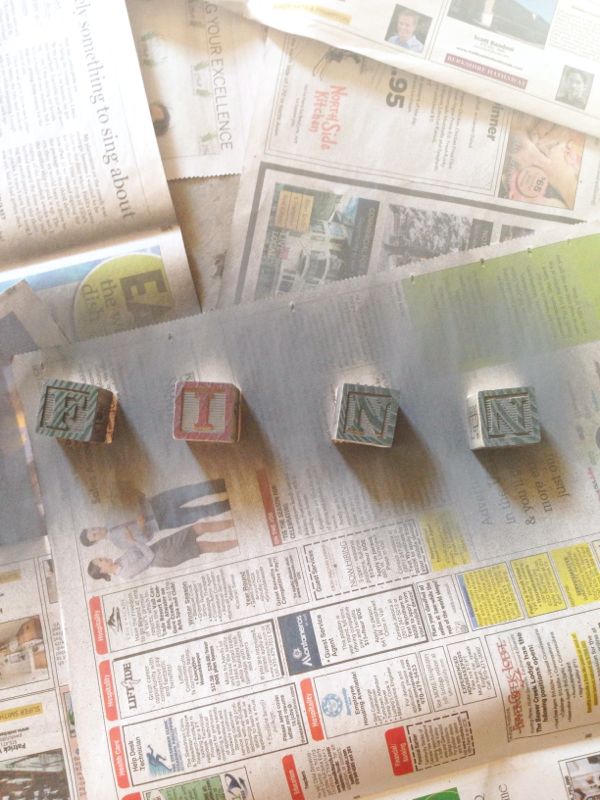
Spray paint the baby blocks. It took about 3-4 coats to cover the blocks, with a light coat of primer {our half-empty primer can ran out and a trip to Home Depot felt impossible with the kids at the time, so an all-in-one paint and primer was our go-to on this project}. Let them dry for 12-24 hours.

Measure and drill 3 holes {about ¼ the size of the length of the hook} into the bottom of the wood. Twist the hook into the hole and continue to turn until its tight.
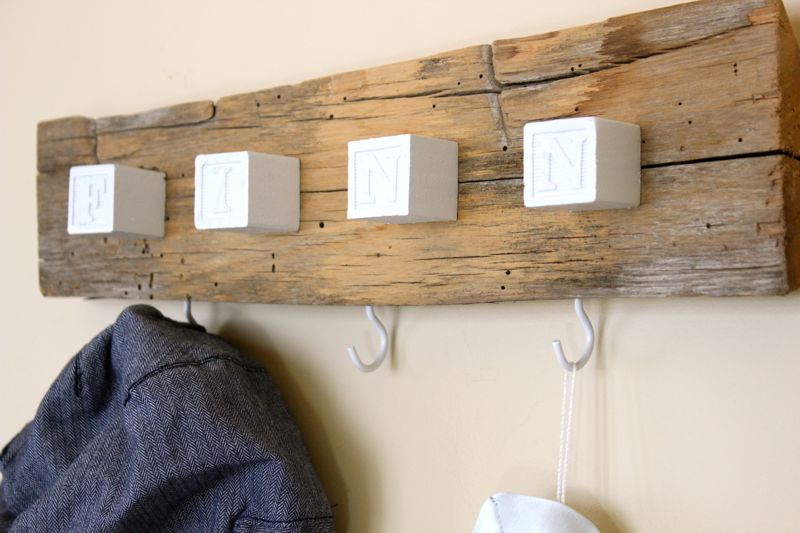
Apply wood glue to the back of each letter block and glue to the wood. Apply a clamp, or in our case, stack heavy books on top. Let it dry for 12 hours.
Find a couple little gifts/items to hang from the DIY custom hook, wrap it with extra love, and then send it to the bundle of joy.