Snowman Soup Recipe and Gift made with Hot Chocolate and Marshmallows

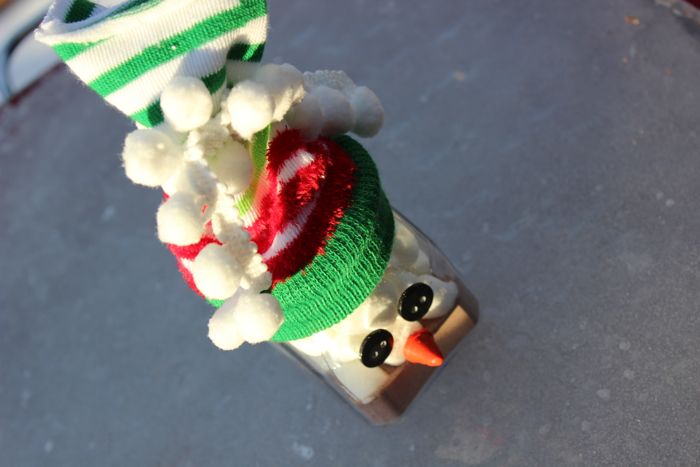
With the snow falling and cold temps, it’s the time of year for snowmen and hot chocolate – and this DIY gift is the best combination of both. Call them ‘marshmallow snowmen’ or ‘snowman soup’ – either one works. This makes for such an adorable gift or party favor for friends, family or teachers this time of year.

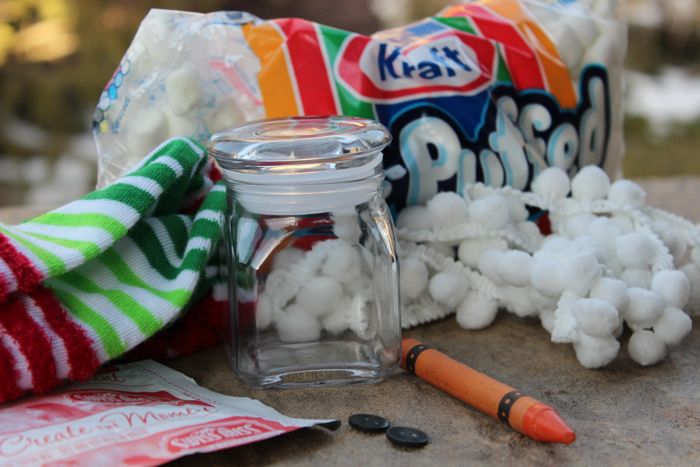
You’ll Need:
small glass jars with lids
festive holiday socks
hot chocolate {individual packets}
bag of mashmallows
buttons for the eyes
orange crayons for the nose
hot glue gun
pom ribbon

How To:
Glue two buttons on the jar {where you want the eyes to be}.
Use a sharp knife to cut the tip off the orange crayon.
Hot glue the crayon in the center of the jar {where you want the nose to be}.
Fill the jar with one packet of hot chocolate mix.
Fill the remainder of the jar with marshmallows until it’s completely full.
Add the jar’s lid.
Add the sock {the top of the sock – where the elastic is}. If your sock is long like mine, just cut it to the length you want.
Use a piece of ribbon to tie around the middle of the sock, so the snowman’s hat is complete.
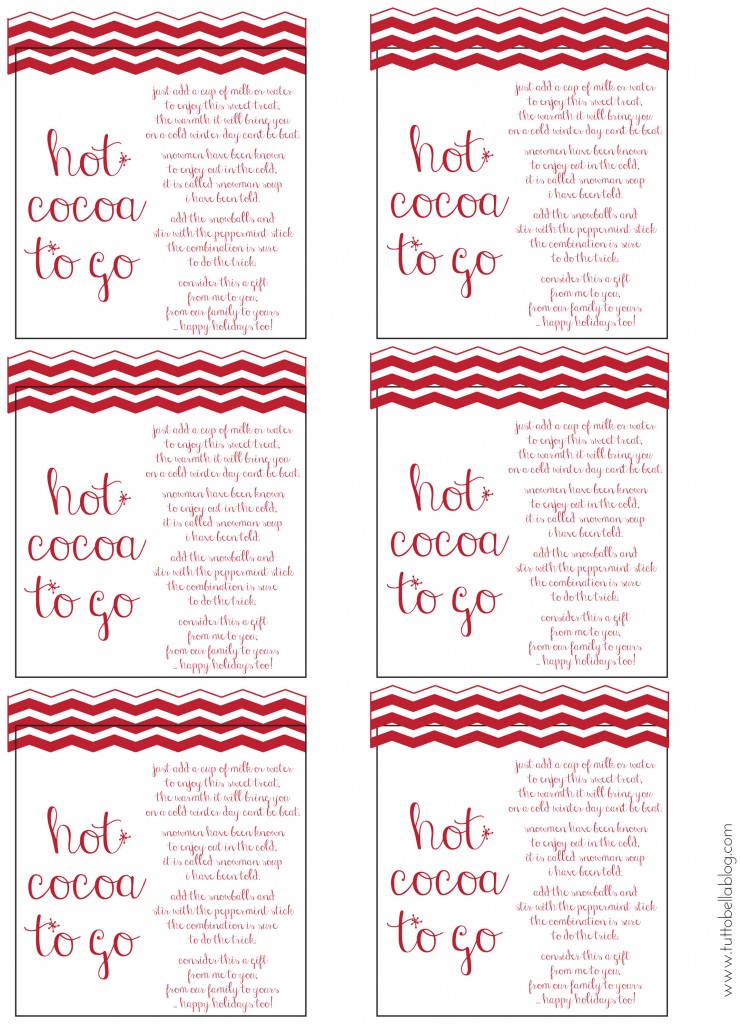
Print these tags, printed by Fleur de Lis, attach…and give away with a smile on your face! Seriously, you have to download the tags – the poem is so, so adorable!

{images via Tutto Bella}

holiday craft party ideas

Nothing sounds more fun to me than getting together with the ladies, sipping on some vino or bubbly, grubbing on a cheese plate and doing crafts! Seriously, my kind of party. Some talented bloggers recently hosted some fun parties we’re going to share with you today. Make a date, buy the supplies {don’t forget the wine} and have some DIY fun.

Mary Costa Photography, Mix & a-Mingle Holiday Craft Party by Studio DIY

Melanie, a really talented blogger behind You Are My Fave {from Colorado like us}, let us share her Martha Stewart Holiday Craft Party idea with us. So cute, and looks like a great time. For a full tutorial, please visit You Are My Fave. Photos by Nicole Coleman.

Gather some old books, visit a library $1 book sale and host a DIY party to create a Book Pages Tree like Organized Clutter did.

Sugar and Cloth made an adorable Color Block Ornament Garland at their holiday party. See how here.

Paper {whites} hosted a lovely Holiday Craft party for her book club and the festivities included a cookie exchange, champagne sipping and gift tag creativity. Look at the goody bags below {I want} and look at more details here.

{images via Mary Costa Photography, Organized Clutter, Sugar and Cloth, You are My Fave/Nicole Coleman, Paper {Whites}}

Holiday Paint Chip Ideas

Paint chips are more than just samples to bring home to see what looks good on the wall next to your kitchen…they are the source of fabulous DIY, colorful projects! While I love so many day-to-day paint chip DIY’s, we love these particular projects for the upcoming holidays.

Paint Chip Table Runner, Eclectically Vintage
Impress your Thanksgiving or Christmas friends and family with a colorful, maybe even ombre table runner, made of paint chips.

Owl Paint Chip Wall Art, The Homes I Have Made
Owls are so relevant this time of year, and personally, I think they are hoot-rific. This framed Owl Paint Chip Art would look great for a fall entry.

Now that you have Owl art for Thanksgiving, you will need a framed piece of art for Christmas. This one is perfect by The Red Thread Blog

Paint Chip Trees, Hubby Made Me
Omg, we just LOVE these trees for gift tags! Cinnamon stick trunks – oh, what cuteness!

Paint Chip Gift box, How About Orange
Wrap your small gifts this year in a handmade, paint chip box.

Paint Chip Snowmen Bookmarks, Bam Crafty Mammas
These adorable snowmen are sold out, but you can totally re-create yourself! And, instead of ornaments, make them into bookmarks! It would be a great craft to do with kids on a snowy day. 

Paint Chip Banner, Rebekah Gough via A Bit of Sunshine When Skies Are Grey
This DIY would make for a lovely Merry Christmas sign, JOY banner, etc for the holidays
 

{images via Eclectically Vintage, The Home I Have Made, The Red Thread Blog, Hubby Made Me,  How About Orange, Etsy via Bam Crafty MammasRebekah Gough}

last minute

…it’s my style. No matter how much I try to prepare, I am always doing things at the last-minute. So Halloween is no different this year for me. Here’s some last-minute Halloween ideas that you can easily do, and still impress your guests, or kids. Some can even lengthen the ‘fall’ holidays {Halloween and Thanksgiving}, because the idea may be relevant for both occasions.

Pumpkin Punch, Honestly Yum

Fang Napkin Holders, Food Network

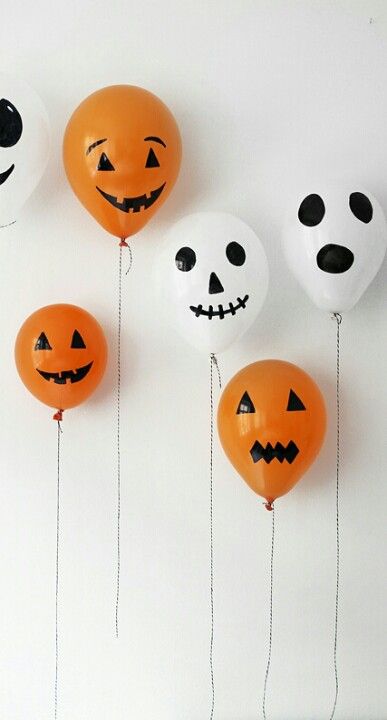
Pumpkin and Ghost Sharpie Balloons, Pinterest

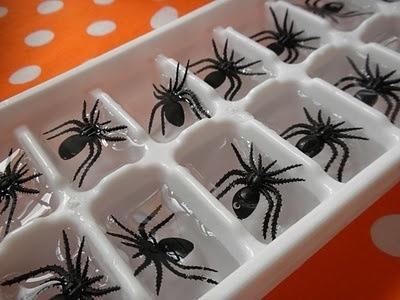
Spider Ice Cubes, Love This Pic

Pumpkin Cooler, Southern Living

Mummy Door, Honey and Fitz

In the Fun Lane, Ravens and Driftwood
I love the idea of using branches or driftwood with Halloween decor…and I love the candles too 

{images via Southern Living, Honestly YumPinterest, Food Network, Love This Pic, Honey and Fitz and In the Fun Lane}

honey bear

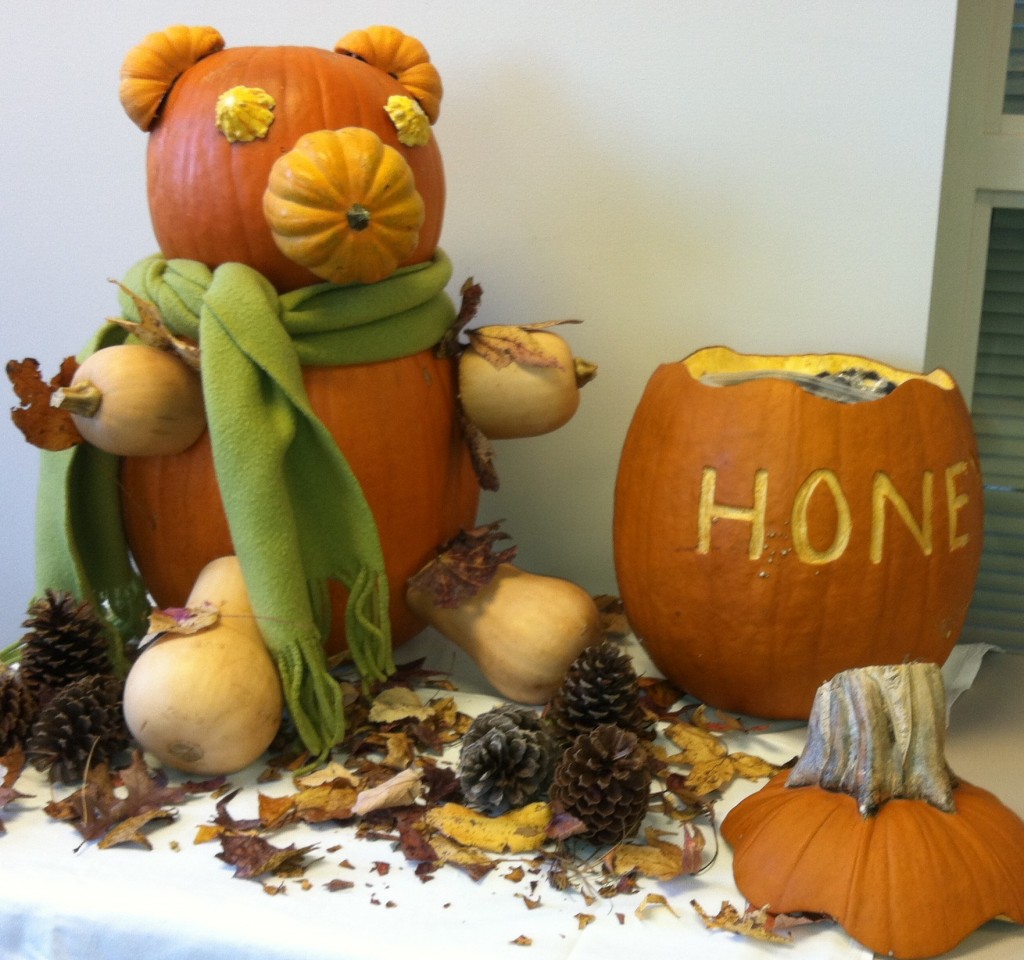
This is the cutest honey bear I’ve ever seen! Seriously, it’s so creative, and sweet! This would be darling decor during the month of October or at Thanksgiving.

My sister-in-law’s friend Molly shared a tutorial of this adorable project with us today. She was inspired by a similar honey bear she saw in her PT clinic in North Carolina. Thank you, Molly, for sharing it with us.

Here’s her inspiration…

And, here’s her ‘take’ on it. Job well done, Molly.

From Molly…I bought three large pumpkins.  One for the Honey pot.  Two for the bear. For the honey pot, you can see how I carved a top out and then obviously scooped out the “guts.”  I wrote HONEY with a pencil and then took various tools–mostly different screw drivers to carve each letter.  Make sure to leave enough room in between so the letters can be fairly thick. You can fill the honey pot with candy (in a bag). 

The bottom part of the bear–I just cut off the stem of that pumpkin because it was a fairly flat pumpkin, and then I placed the top pumpkin on top of the bottom one.  I thought it might fall off, but it never did.  I didn’t want to cut the bottom one for risk of rotting.  I cut the stem off the top pumpkin also.  The ears are just small-sized pumpkin that I sliced off part of each one so it would fit against the head.  I actually used heavy-duty toothpicks to stick into the ears and into the head.  I did the same thing for the nose.  The eyes were made of a different pumpkin and on those I actually cut off the end and them scraped them out.  I only stuck a toothpick into the head and just let the eyes rest on it.
The feet are a type of squash that I just laid at the base of the bottom pumpkin.  The arms were a little difficult in that toothpicks would not hold them so I used very small dowel rods and put them into the large pumpkin, and then into the arms.  A scarf was placed around the head and body.  I finished it off with pinecones and colored leaves.
Tip from Molly: I googled how to “preserve” a pumpkin but did not have success.  I tried to clorox the first honey pot, and then added shellac on it, but it still rotted after about 5 days.  I’m sure it would do great outdoors or in cooler weather. 
{images via Molly}