Ice Cream Sundae Dessert for Easter Sunday {Free Printable}

happy easter sundae_jsorelle

We are planning to celebrate the upcoming Easter Sunday by first, spending time in prayer and reverence at church in our finest spring pastels, devouring a delicious brunch with family and friends {accompanied with a mimosa or bloody mary}, participating in an Easter Egg Hunt with the kiddos and then topping the Holy Day off with an Easter Sundae {beautifully and cleverly packaged, of course}.

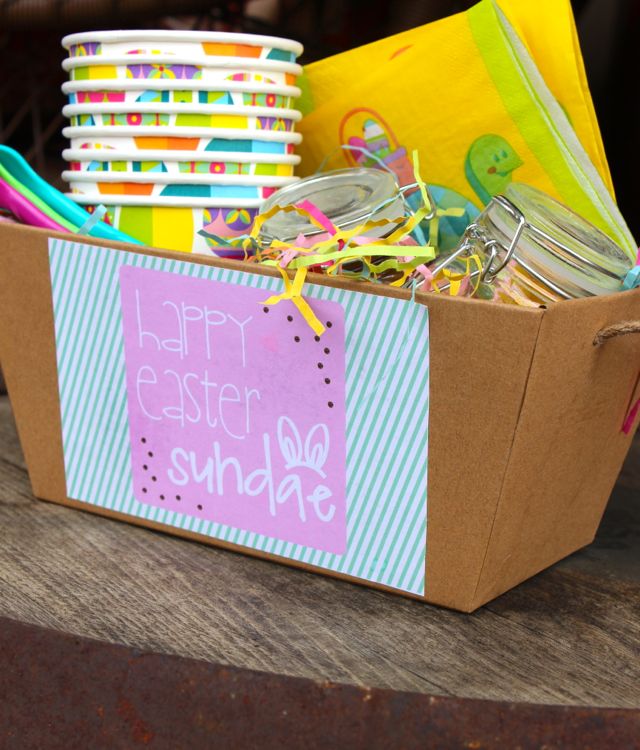
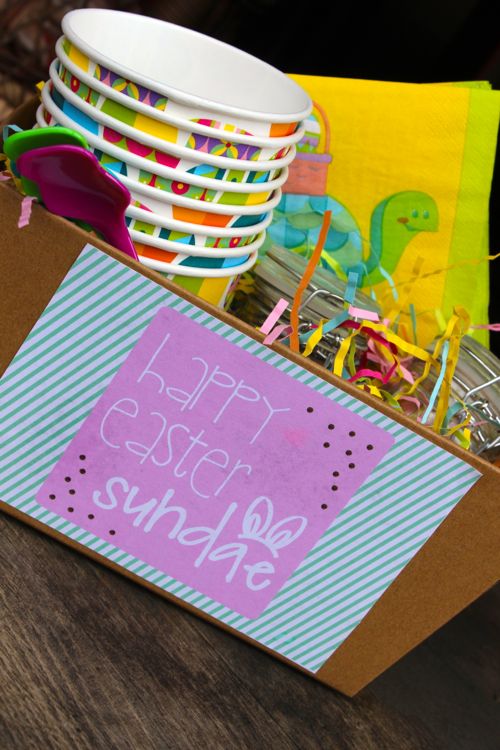
Our FREE Happy Easter Sundae printable is available now. All you have to do is download and print the free printable here, find a cute box or bag, and get to the store to buy ice cream and all the yummy sundae fixin’s. This makes for a lovely hostess gift on Easter, and also a fun end {or beginning if you want} to the day. Vanilla ice cream covered in torn pieces of a Reese’s Peanut Butter Egg sounds so amazing right now!

easter sundae_jsorelle_FREEPRINTABLE

happy easter sundae_jsorelle

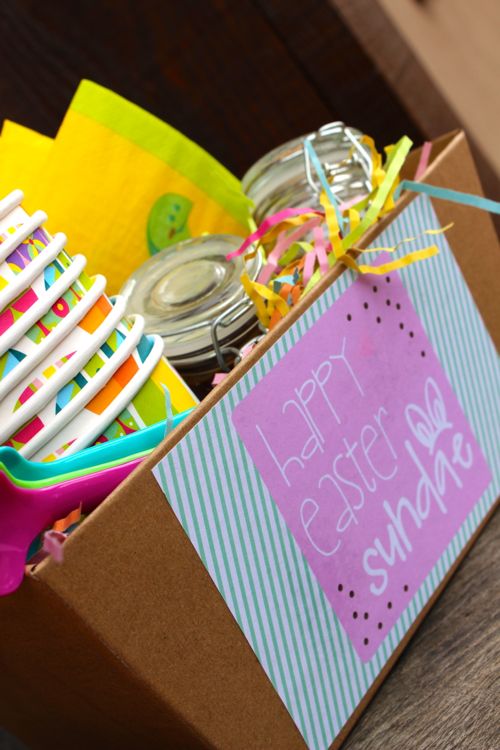
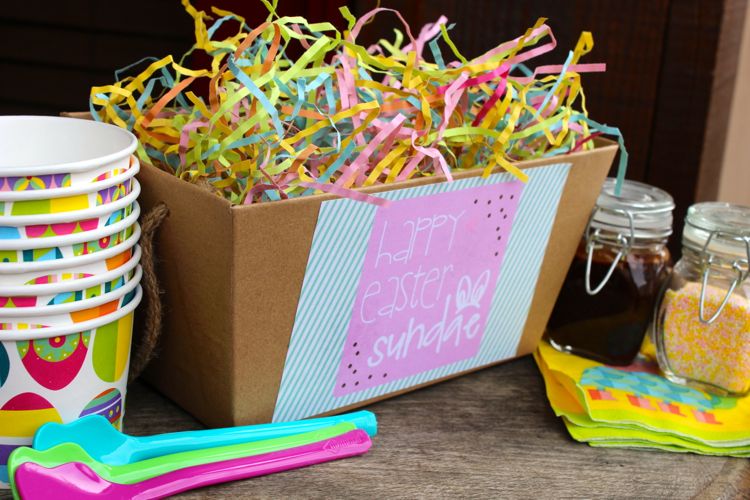
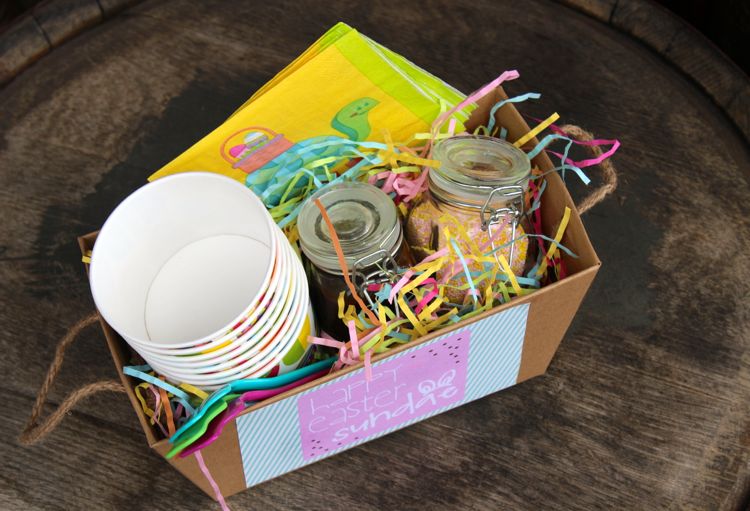
I bought my Kraft box at Target {$3 in dollar bins…omg, I LOVE and crave the dollar bins at Target}, and filled it with pastel paper shreds, treat bowls, colorful spoons and napkins, and chocolate syrup and sprinkle toppings conveniently stored in adorable $1 glass jars {also from the Target dollar bins}.

happy easter sundae_jsorelle

happy easter sundae_jsorelle

happy easter sundae_jsorelle

{images via j. sorelle}

DIY Sunflower Bouquet for Easter Centerpiece

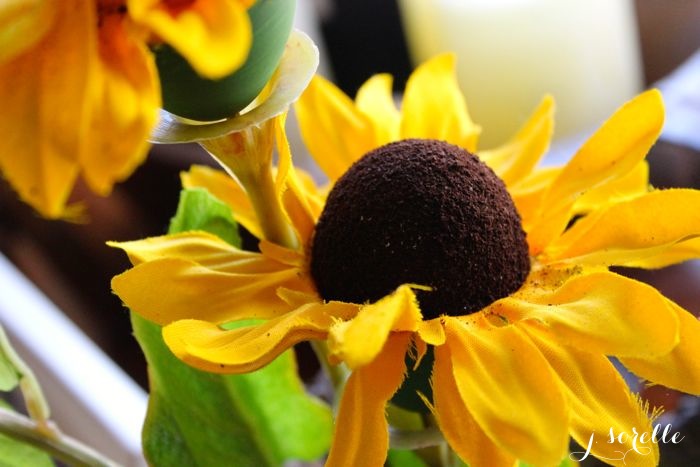
sunflower eggs_jsorelle

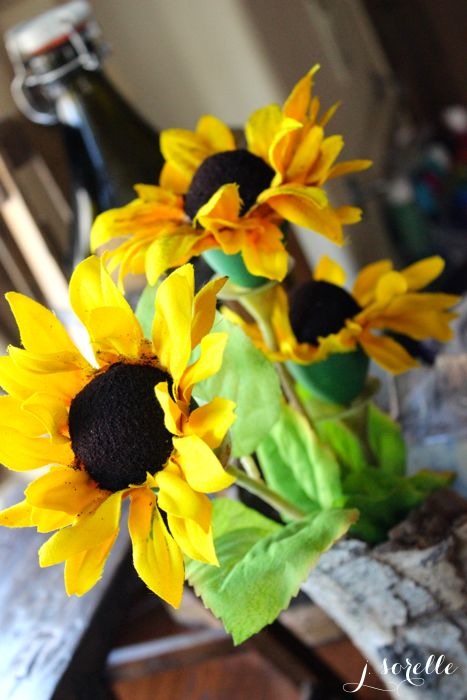
Martha Stewart’s team sent out an newsletter e-mail with information about an Egg Decorating competition, and although they probably had thousands upon thousands of applicants, part of me thought, ‘why not just attempt a semi-creative egg and see how it turns out, and maybe I can enter?’ Well, it turned out to be a fun project for the kids and I on a cold day, and I like the way it turned out.

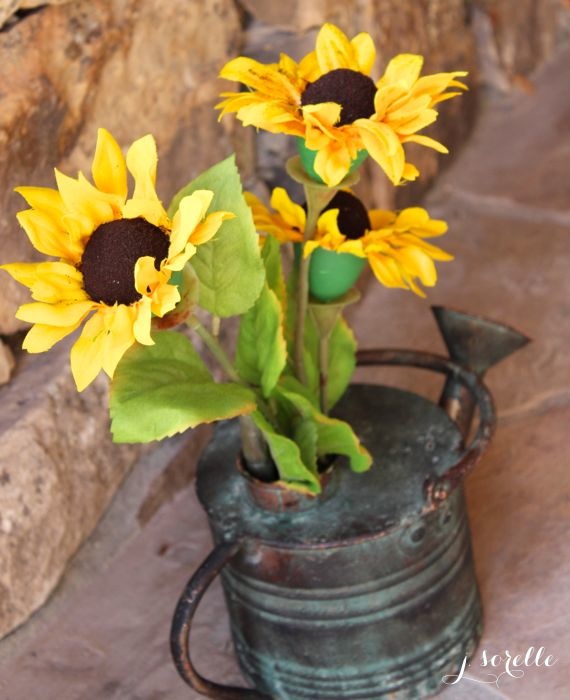
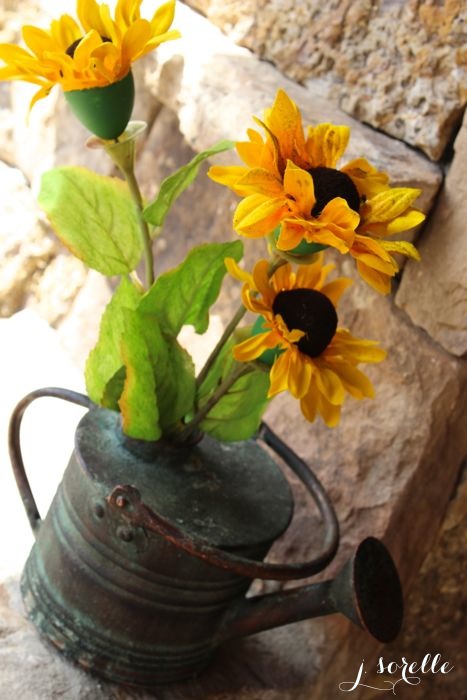
I know sunflowers do not typically go hand-in-hand with Easter, but the texture with the ground espresso {oh, and the amazing smell} and the bright yellow color lured me in. Maybe you can follow some of the same steps below and use eggs to create Tulips for your Easter table? If you do, pretty please send me photos.

You’ll Need:
sunflowers
hard, white eggs {they are not plastic, but more plaster and do not open}
hot glue gun
a screwdriver {to screw or drill a hole into the bottom of the egg}
green acrylic paint
scissors
ground coffee or espresso beans {they add the sunflower texture}

How To:

egg sunflower 6steps_

1. Find a sunflower you can part with, and remove it from the stem {I was able to just pull mine off}, and remove all the greenery under the leaves.
2. Cut a circle in the center of the flower – I guessed at the size, and when it was too small, I cut it to make it larger.
3. Slide the flower over the egg and put a little tu-tu {otherwise known as sunflower leaves tu-tu} on it. If it fits snugly, fantastic, and if not, add some hot glue to keep it in place.
3.5. {not pictured} Use a screwdriver or nail and hammer to put a small hole in the bottom side of one egg. I did this, with not much muscle strength.
4. Pull all the leaves back and hold them with your hand. Add a generous, but not too heavy, amount of Modge-Podge.
5. Gently rub the Modge-Podge covered egg in espresso or ground coffee beans.
6. Insert a toothpick in the hole, and paint green acrylic paint on the bottom of the egg. Then place in cardboard or styrofoam to let it dry.

Once it’s dry, add the egg flower back to the stem {mine had little stems to keep them in place}.

You will have an egg-stra special centerpiece for your Easter party!!

diy egg sunflower centerpiece_jsorelle

DIY egg sunflower_jsorelle

diy egg sunflower_jsorelle

{images via j. sorelle}

easter baskets

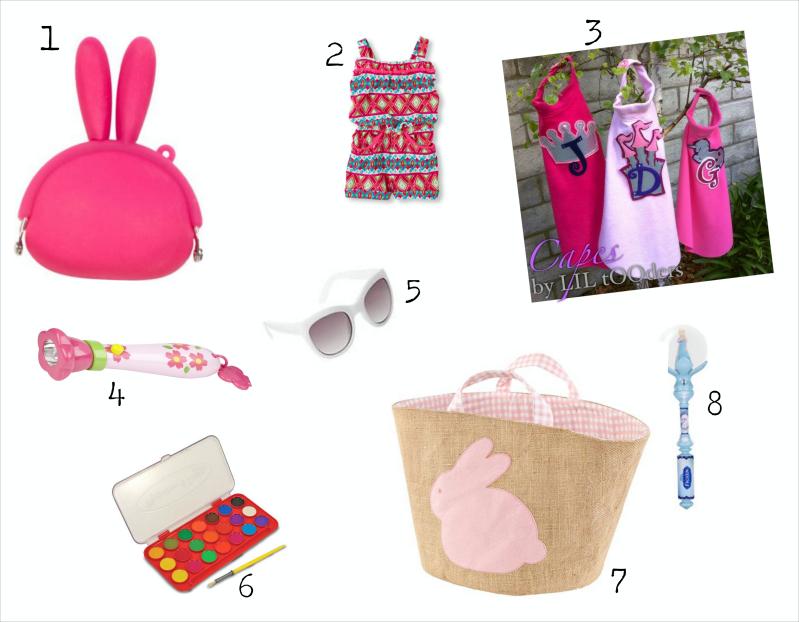
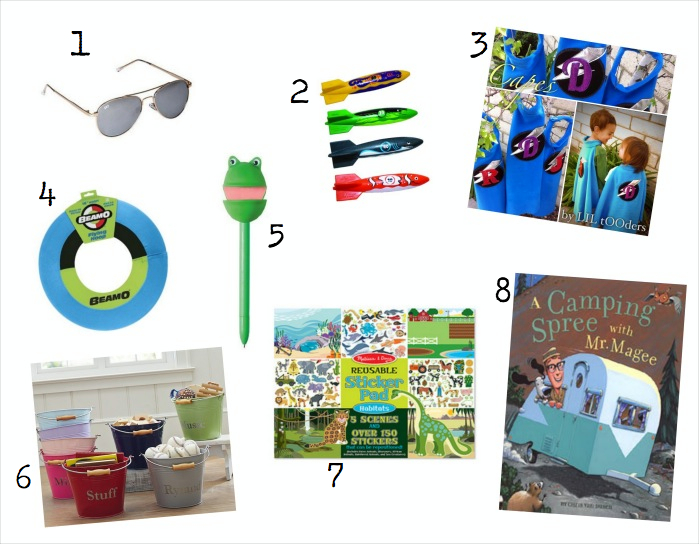
We’ve gathered some of our favorite gifts for the kids Easter baskets this year. Hop to it!

easter_girls basket_jsorelle

FOR THE PRETTY LITTLE LADIES
1. Pink Bunny Coin Purse, Paper-Source
2. Tropical Romper, The Children’s Place {I just bought this for my daughter – LOVE}
3. LIL tOOders Superhero Custom Cape – enter a giveaway for a free cape {including an Anna or Elsa cape from Frozen} here.
4. Melissa and Doug Bright Flashlight, Yo-Yo
5. Sunglasses, Gap
6. Melissa and Doug Watercolor Paint Set, Amazon
7. Bunny Jute Bin, Land of Nod
8. Frozen Snow Wand, Target

easter basket ideas for boys

FOR THE HANDSOME GENTS
1. Aviator Sunglasses, Gap
2. Swimways Torpedo Bandits, Amazon
3.  LIL tOOders Superhero Custom Cape – enter a giveaway for a free cape here.
4. Woosh Frisbee, Amazon
5. Green Puppet on a Stick Pen, Amazon
6. Galvanized Bucket, Pottery Barn
7. Melissa and Doug Habitats Reusable Sticker Pad, Amazon
8. A Camping Spree with Mr. Magee, Amazon

{images via The Children’s PlaceGap, Target, LIL tOOders, Amazon, Yo-Yo, Paper-Source, Pottery Barn, Land of Nod}

a merry DIY christmas

You know me – love me some DIY! And, when our list of people to buy for is long, it can get expensive. If your feeling crafty, you still have time to make friends and neighbors gifts made with love. Here’s some great ideas from some very talented folks.

DIY Woodslice Chalkboard, Lisa Leonard Blog
…you can also add your friends monogram on it

Chalkboard Printable for Cute and Cozy Toes All Winter, Tailored Expressions

Sharpie Mug, Life Styled Simply

DIY Chalkboard, Shanty-2-Chic

DIY Acrylic Tray, A Fabulous Fete

DIY doormat, Lisa Leonard Blog

 {images via Tailored ExpressionsLife Styled Simply, Shanty-2-Chic, A Fabulous Fete, Lisa Leonard Blog}

DIY Twig and Branch Snowflakes for a Rustic Holiday

I love all different holiday ‘decor’ styles. Some days I wake up and want everything to be white. Other days, I want gold metallic to glisten the room and every so often, I want colors that are merry and bright. But, I always love a touch of country or mountain rustic.It’s warm and inviting…and reminds me of Christmas in Colorado, especially the mountains of Colorado.

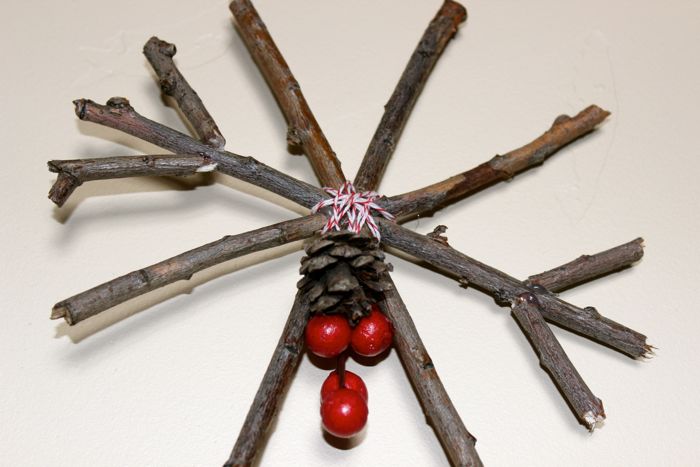
I had a box of twigs and branches in the garage that were just waiting to be sculpted into something…and after a recent shopping trip to Pier 1, I was determined to create DIY snowflakes out of branches, just like their branch snowflake ornaments. It only took about 2 hours, and I saved $14 per snowflake.

You’ll Need:
Thin twigs or branches that can be easily broken with hands {about 20-30}.
Hot glue and glue gun
Red and white twine
Faux greenery and berries {I bought 3 small bunches of greenery for $1 each}

How To:
Find one straight and strong twig for your snowflake ‘base’ {I positioned it vertically on the table}.
Find another twig and ‘eye’ the length as you slant it sightly to the left from your ‘base’. Snap the twig in half, and glue each side to the sides of your ‘base stick’.
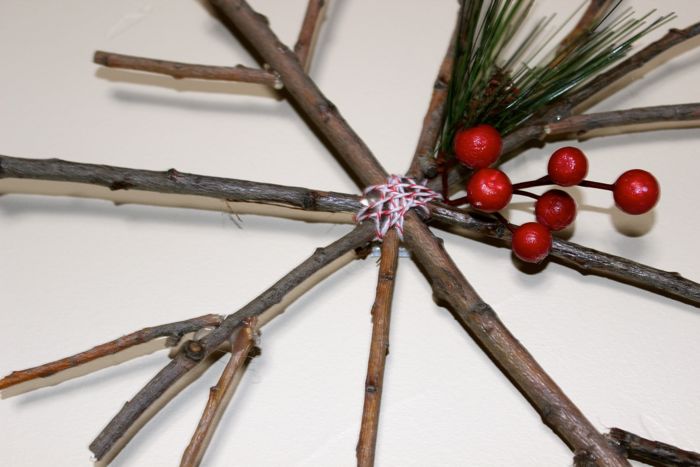
Continue to add more sticks around your ‘base’ to complete your snowflake – measure to make sure lengths are really close, snap and glue. You can design it as you like, even adding smaller twigs that branch out from the larger ones.
Once your snowflake is complete, use twine to wrap around each stick in the center, and tie a knot in the back. I did this so it looked more festive, and it covered the hot glue.
Pull apart your faux greenery and glue the pieces onto your snowflake.
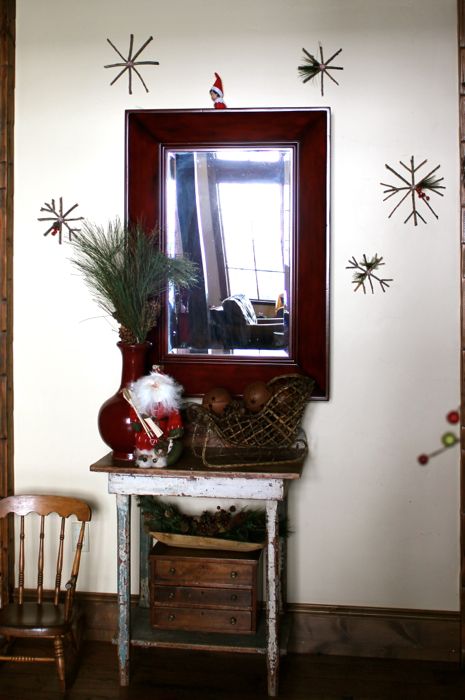
You can either use the twine to create a ‘hanger’ to hang these as ornaments, or use Command velcro to adhere to the wall. I only use 4 small pieces of the Command adhesives, and cut them into small squares.


{images via Tutto Bella}