DIY Concrete Heart Magnets with Gold Leaf

love-you-diy-concrete-hearts-gold-gilding-valentines-day

Our first experience with concrete, thanks to The Home Depot, was a good one. We kept it simple, and made it all about the ambiance. It left an impression with us, because concrete continues to make the DIY supply list. We never thought we would mix concrete for a Valentine’s Day DIY simply for the idea of creating a heart of stone, but we never thought life would turn out as it did in 2015 either. Life continues to surprise us!

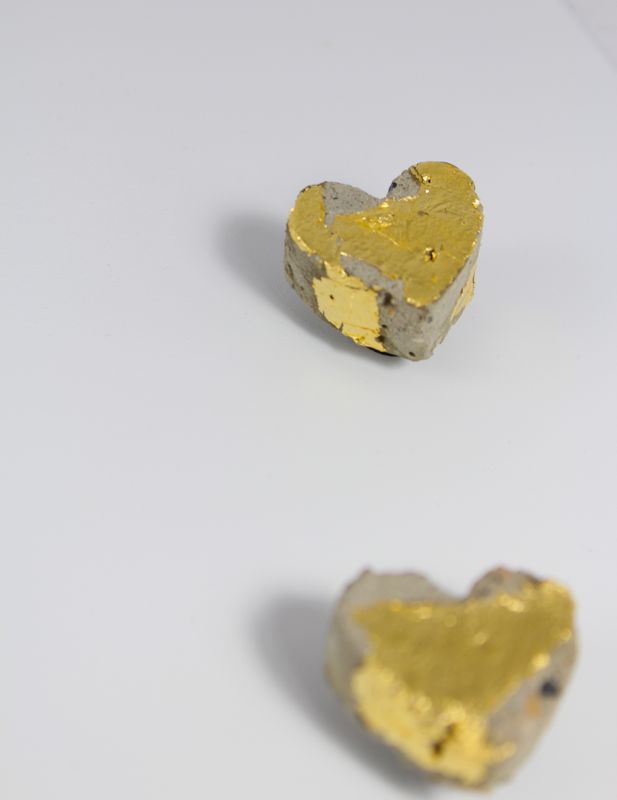
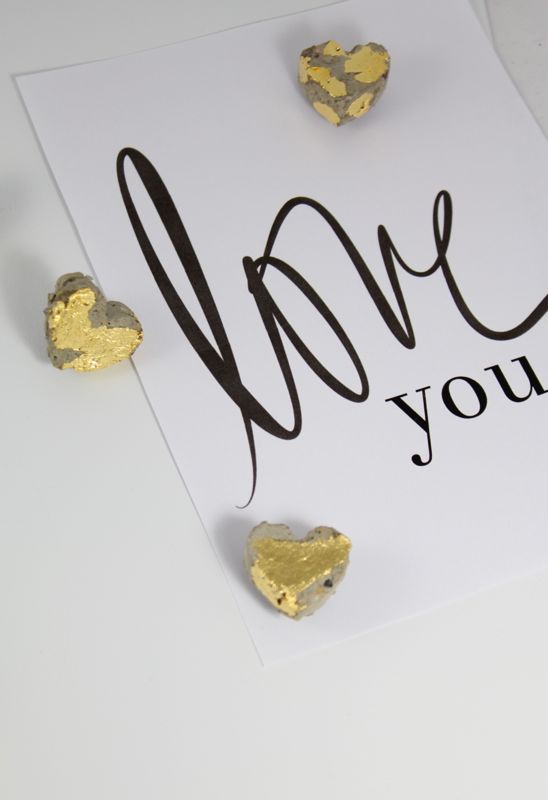
Make some DIY concrete heart magnets with gold gilding this Valentine’s day for friends who truly have hearts of gold.
love-you-diy-concrete-heart-magnets-gold-gilding-valentines-day

Materials:

Directions
Mix 1-2 cups concrete with water. I gradually added water until it was the right consistency, about ¼ cup. Mix thoroughly.

Spray the entire heart mold with cooking spray.

Use a spoon to fill the heart cavities with concrete. Make the top of the hearts as even and as smooth as you can.

Once all the hearts are filled, wipe the top of the mold {in between the hearts} with water and a paper towel. Let the hearts dry for 5-12 hours.

Push the hearts out of the molds – they should just ‘pop’ out.

Wipe the hearts with a dry paper towel to get the excess gravel off.

Apply E-6000 to small magnets and glue to the back of the hearts. Let sit for an hour.
love-you-diy-concrete-hearts-magnets-gold-gilding-valentines-day

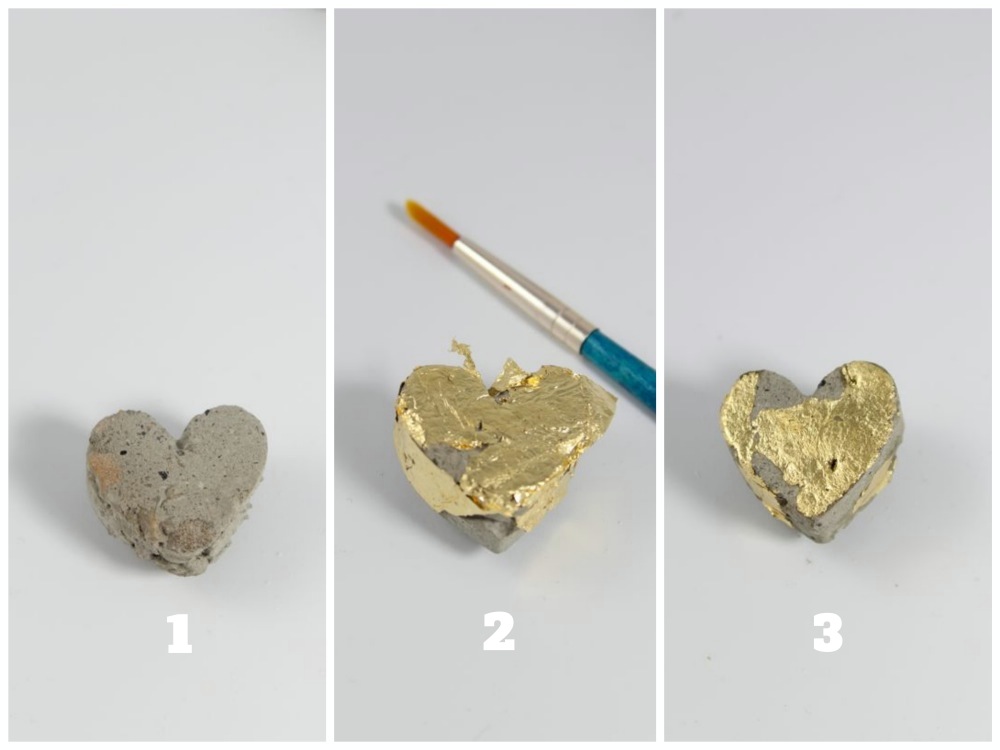
Apply gilding adhesive with random strokes. Follow the directions on the packaging, but you will have to wait until the adhesive dries {when it turns from white to clear, its tacky and ready}.

Press gold leaf sheets onto the clear spots.

Let the gold dry for 2 hours, and then use a soft brush to brush off the excess gold.

Seal the hearts.
love-you-diy-concrete-heart-magnets-gold-gilding-valentines-day
Hooray, you made concrete hearts of gold. Now you can hang a pretty printable from the magnets like this Love You one from Avery Street Design.
love-you-diy-concrete-heart-magnets-gold-gilding-valentines-day

love-you-diy-concrete-heart-magnets-gold-gilding-valentines-day

DIY Heart Coasters with Gold Leaf

gold-gilding-hearts-diy-coasters-valentines-day

Do you mom’s crave quiet moments where you can sit and sip your coffee and tea? We know we do. Our coffee moments consist of…

  1. re-heating the cup about 20 times because we don’t have a minute long enough to sit and drink them, only to find the half-drank cup sitting in the microwave at the end of the day.
  2. driving in the car while sipping our to-go coffee mug listening to Let It Go on repeat.
  3. wiping coffee spills from our kitchen counter, our car’s cup holders and our laps.
  4. being so utterly exhausted we can hardly enjoy the amazing taste of the miraculous, ground coffee bean; instead we wait for the kick-start energy boost we so desperately need.

It sounds worse that it is. We wouldn’t trade our lives of motherhood for anything or anyone. Those quiet moments will come one day, but for now our cup of joe that we love oh so much will be cold, on-the-go, covered with tiny hand-prints and extra strong.

Whether you get those quiet moments to drink your cup of tea or coffee, or not, we have DIY coasters you can make for yourself, a Valentine’s Day gift for a friend, or a special DIY engagement gift.

gold-gilding-hearts-diy-coasters-valentines-day

Materials:

Directions:

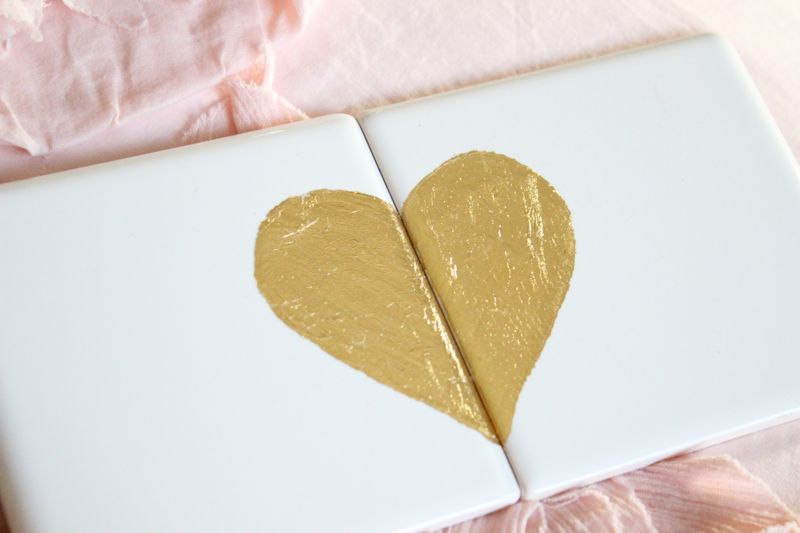
Cut a heart shape from paper.

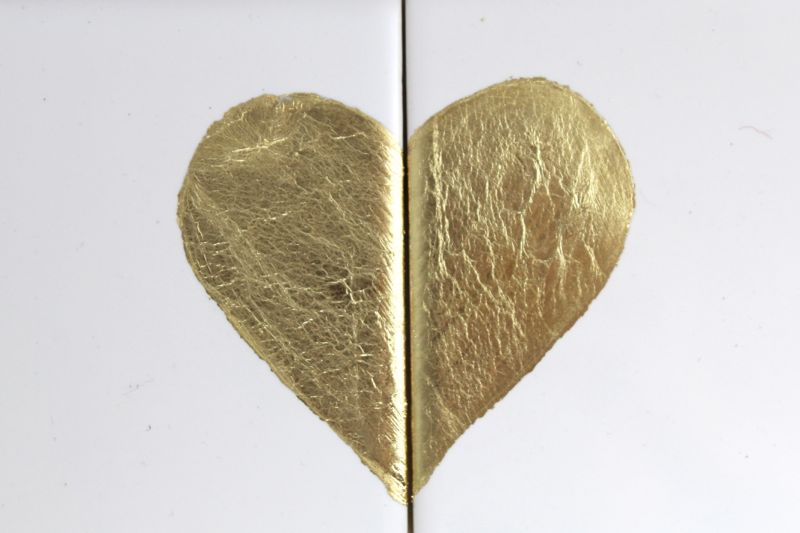
Set the two coasters together and place the heart on top. Trace the outside of the heart with a pencil.

Paint Martha Stewart Crafts gilding adhesive onto the coasters along the heart border and the inside of the heart.

After about 30 seconds to 1 minute, when the adhesive turns from white to clear, place the gold leaf sheets on top. Let it dry for about 2 hours, and then brush the excess gilding off.

gold-gilding-hearts-diy-coasters-valentines-day

Seal the coaster with the metal leaf sealer.

Glue cork board or felt pads onto the bottom of the coasters.

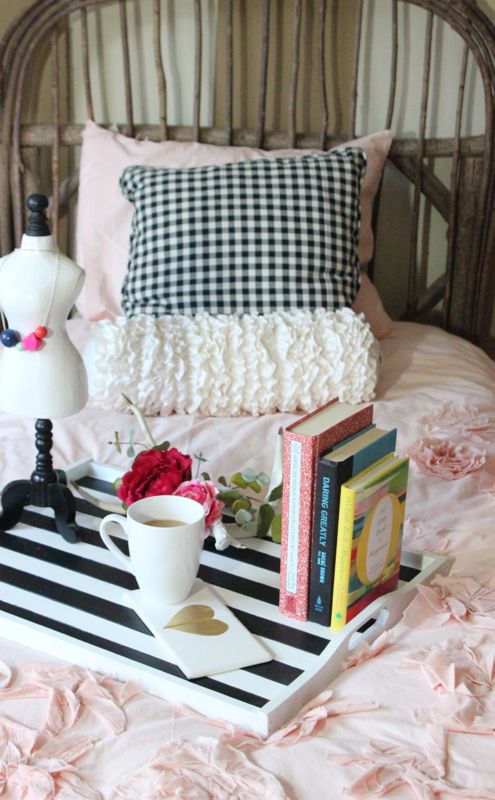
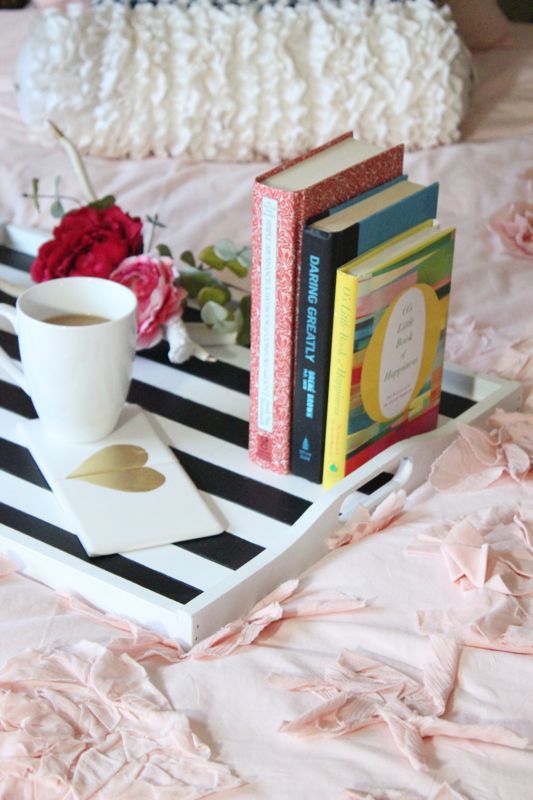
This setting – a lovely tray with some favorite books, a hot cup of tea, new DIY heart coasters and a pretty-in-pink bed {linens from Land of Nod} – is a quiet moment just waiting for us.

This Valentine’s Day make a special place for you to spend time with loved ones or yourself doing something you love. We hope you get a chance to sip something warm and set your cup on these cute, new coasters.

gold-gilding-hearts-diy-coasters-valentines-day

gold-gilding-hearts-diy-coasters-valentines-day

gold-gilding-hearts-diy-coasters-valentines-day

gold-gilding-hearts-diy-coasters-valentines-day

DIY Emoji Valentine with Lemons

emoji-faces-diy-valentines-day-lemon-heart-emotions-love

emoji-faces-diy-valentines-day-lemon-heart-emotions-love

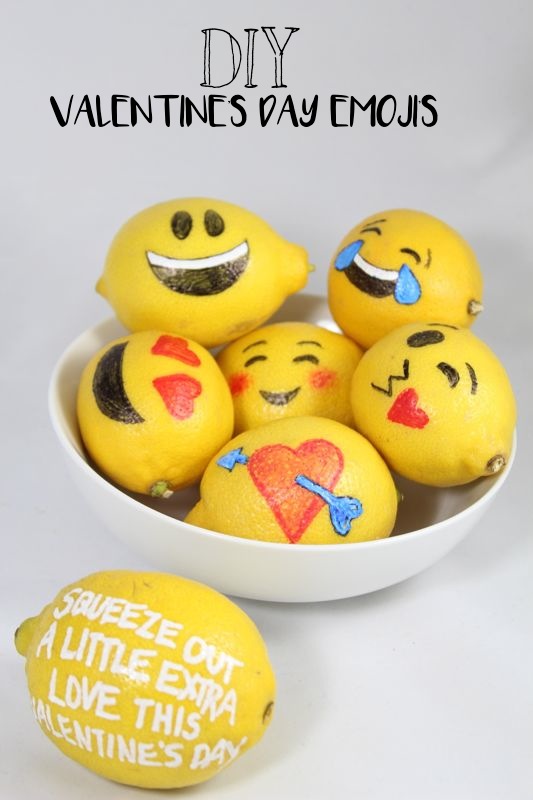
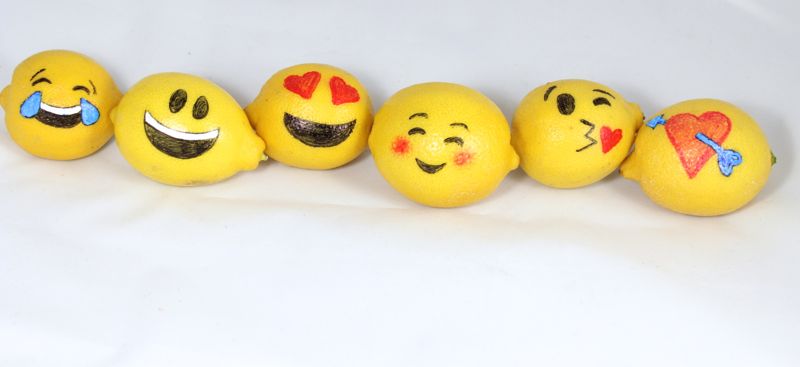
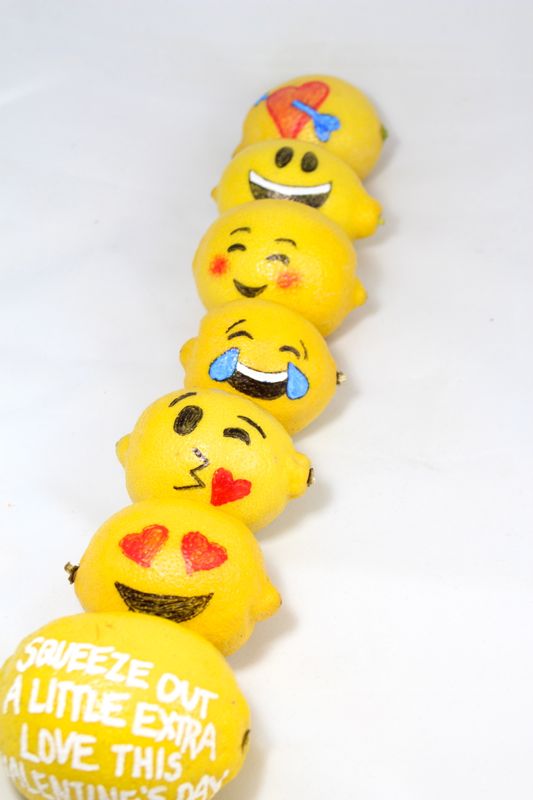
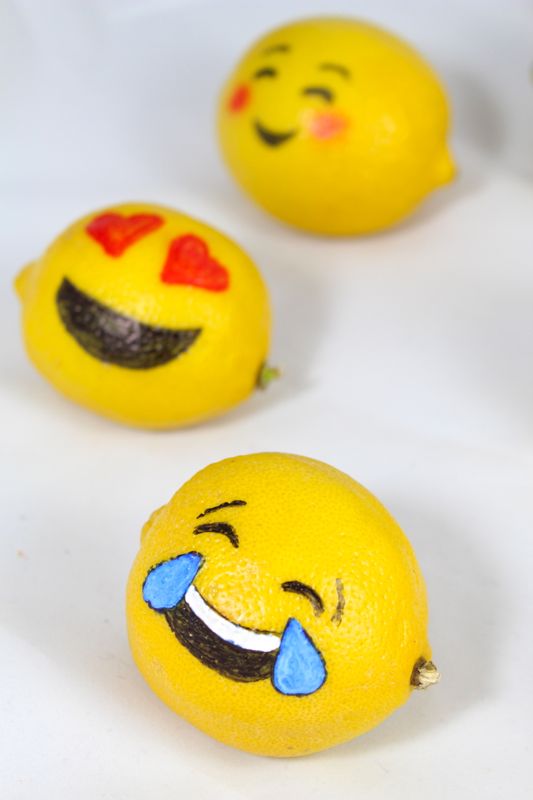
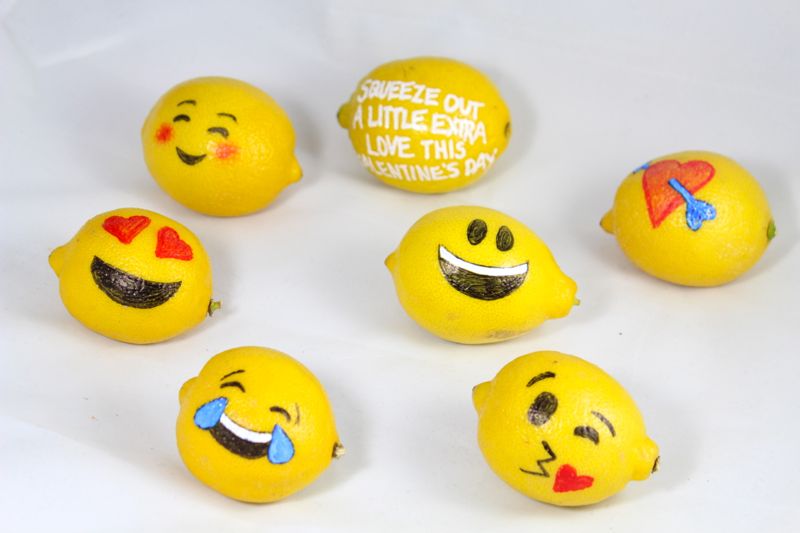
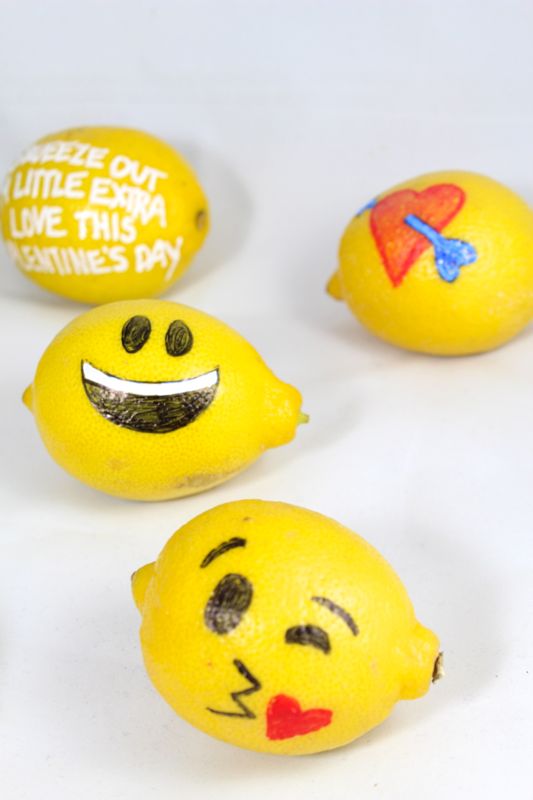
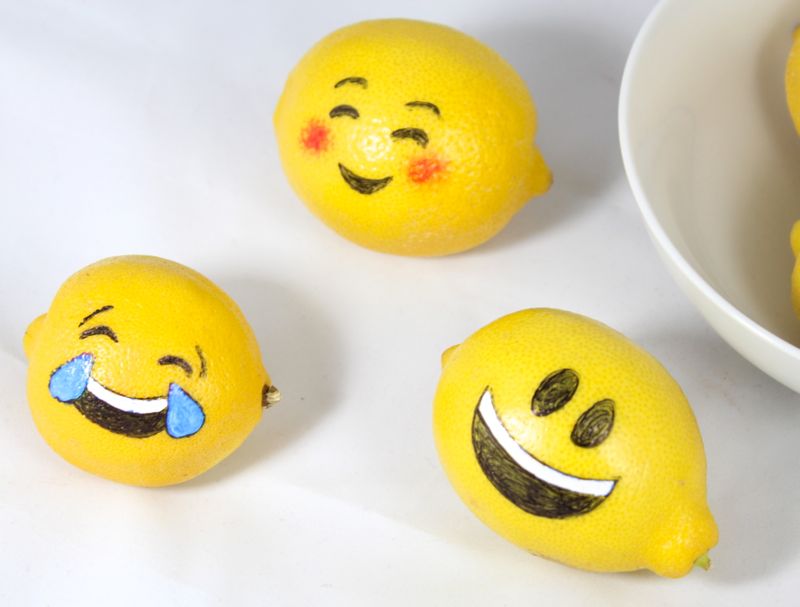
We use emoji’s to express our emotions on a daily basis, so it’s no surprise we decided to use emoji’s to express our feelings of love this Valentine’s Day.  It’s a cute, cheap and fun way to squeeze out a little extra love this Valentine’s Day, plus it makes for a great gift. We drink a cup of lemon water first thing in the morning, so to see a bowl full of little yellow, happy faces would be a lovely start to our day.

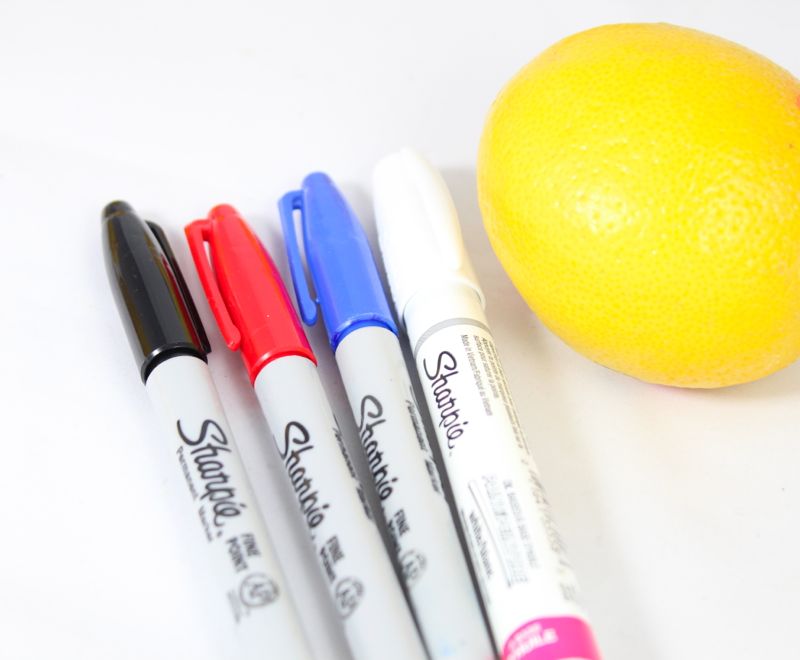
Materials:

 One-Step Directions {OMG, yay, one step}:

  1. Draw emoji faces on the lemons. We didn’t use any stencils – just free hand it, baby! We decided on all the ‘love-related’ faces…and went with the phrase, “Squeeze out a little extra love this Valentine’s Day!

emoji-faces-diy-lemon-art-valentines-day-heart

emoji-faces-diy-valentines-day-lemon-heart-emotions-love

emoji-faces-diy-lemon-art-valentines-day-heart

emoji-faces-diy-lemon-art-valentines-day-heart

emoji-faces-diy-lemon-art-valentines-day-heart

emoji-faces-diy-lemon-art-valentines-day-heart

emoji-faces-diy-lemon-art-valentines-day-heart

emoji-faces-diy-lemon-art-valentines-day-heart

ABC Block Hook Rack is a Nursery DIY to Try

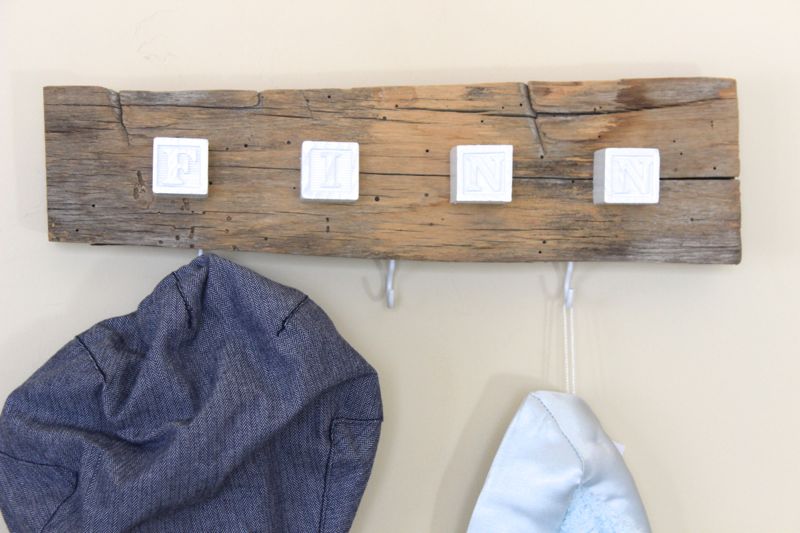
abc-block-diy-baby-gift-nursery-decor-finn-white-blue-wood

This DIY nursery project is made with ABC blocks, and honestly, it’s as easy as 123.

ABC
Easy as
One, two, three
Or simple as
Do re mi
ABC, one, two, three, baby, you and me girl!

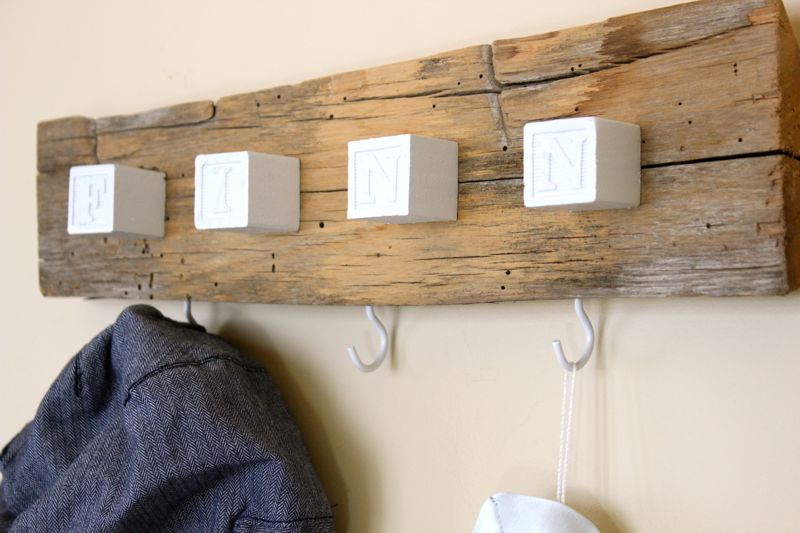
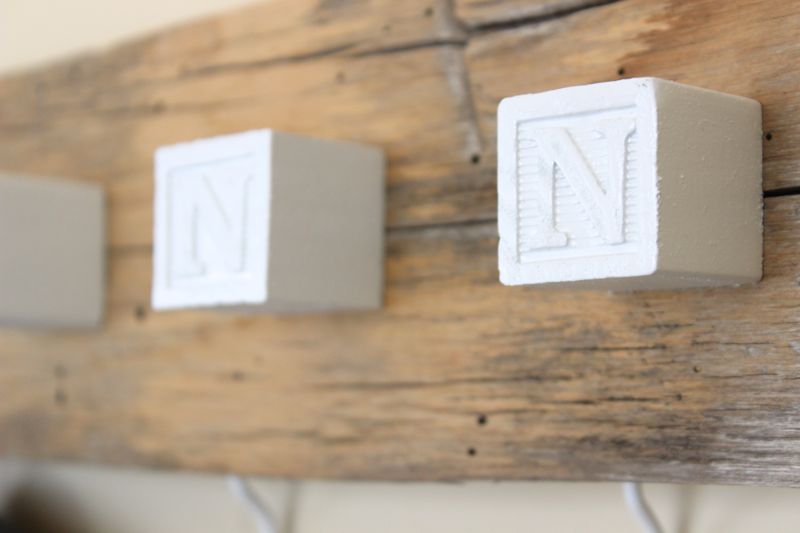
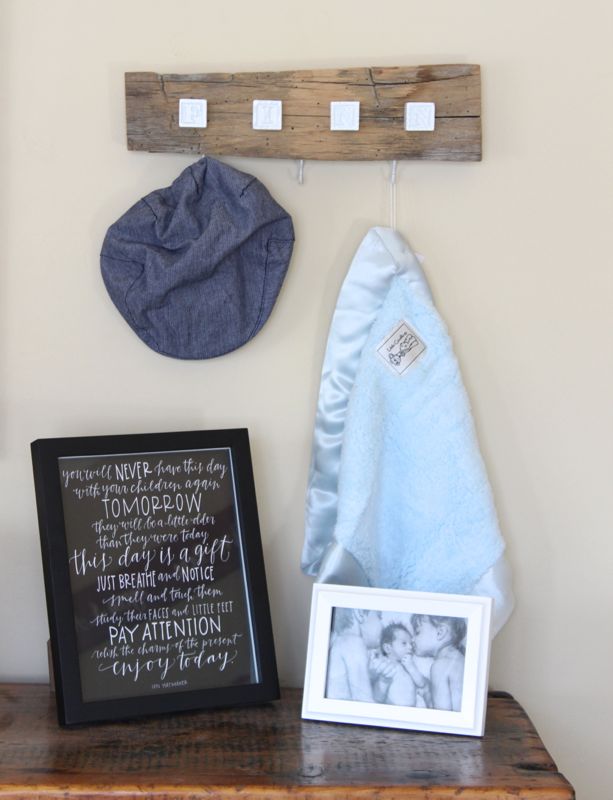
ABC blocks are a favorite among moms, and our kids love to play with them, so we used them for our custom, DIY baby name hook rack. A special and beautiful little man named Finnegan {Finn} was born in December, so we wanted to make a custom DIY piece for his nursery. Armed with spray paint, gloves, a drill and an open garage, we went to work.

abc-block-diy-baby-gift-nursery-decor-finn-white-blue-wood

Materials

  • Baby blocks – antique blocks from antique shows, Amazon, Toys ‘R’ Us and in our case, Target
  • Piece of wood – a new piece from Home Depot, or salvaged wood like we used, the length of the baby’s name
  • Spray paint {primer + paint}, Home Depot
  • Wood glue
  • Hooks
  • Drill

Directions
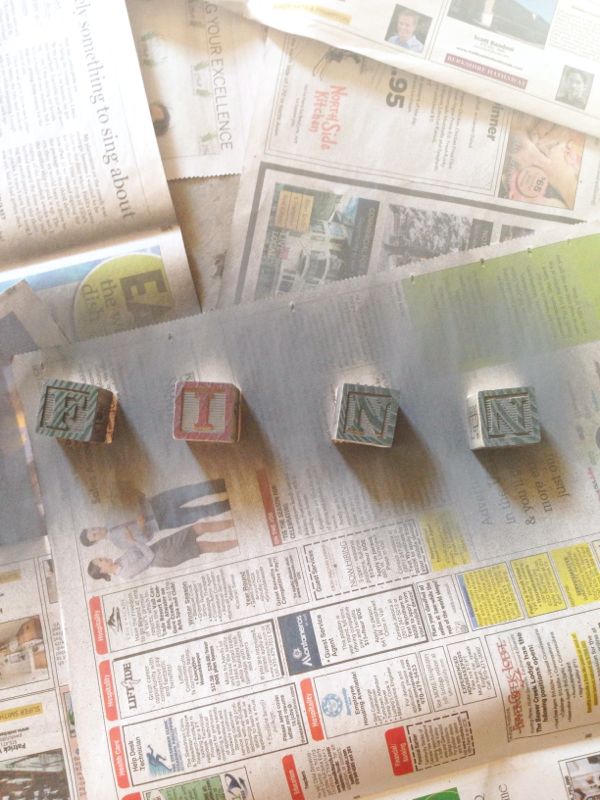
Spray paint the baby blocks. It took about 3-4 coats to cover the blocks, with a light coat of primer {our half-empty primer can ran out and a trip to Home Depot felt impossible with the kids at the time, so an all-in-one paint and primer was our go-to on this project}. Let them dry for 12-24 hours.

baby-blocks-finn-abc-kids-diy-nursery

baby-blocks-finn-abc-kids-diy-nursery

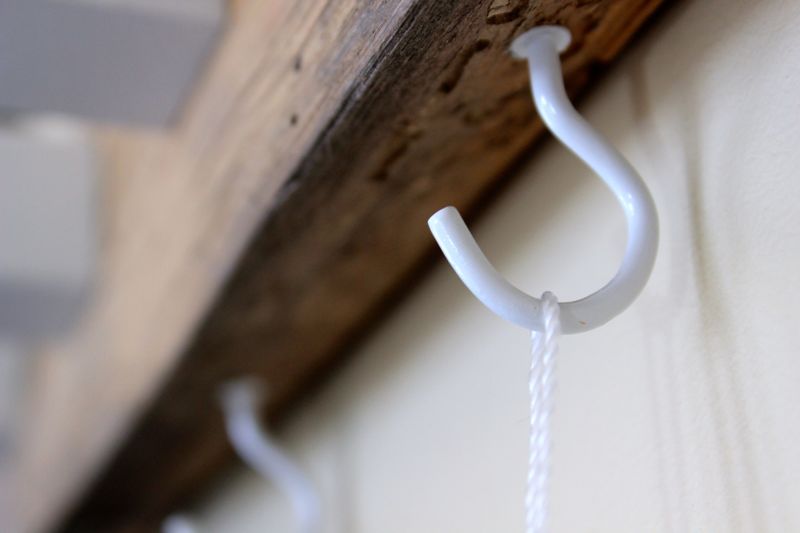
Measure and drill 3 holes {about ¼ the size of the length of the hook} into the bottom of the wood. Twist the hook into the hole and continue to turn until its tight.

abc-block-diy-baby-gift-nursery-decor-finn-white-blue-wood-hook

Apply wood glue to the back of each letter block and glue to the wood. Apply a clamp, or in our case, stack heavy books on top. Let it dry for 12 hours.

abc-block-diy-baby-gift-nursery-decor-finn-white-blue-wood
Find a couple little gifts/items to hang from the DIY custom hook, wrap it with extra love, and then send it to the bundle of joy.

abc-block-diy-baby-gift-nursery-decor-finn-white-blue-wood

DIY Glitter and Motivational Magnets

diy-magnets-black-white-office-decor-motivation-glitter-pink-boss-babe-you-got-this

We have high hopes for 2016. But that doesn’t mean life won’t take some twists and turns along the way – some good and some bad.

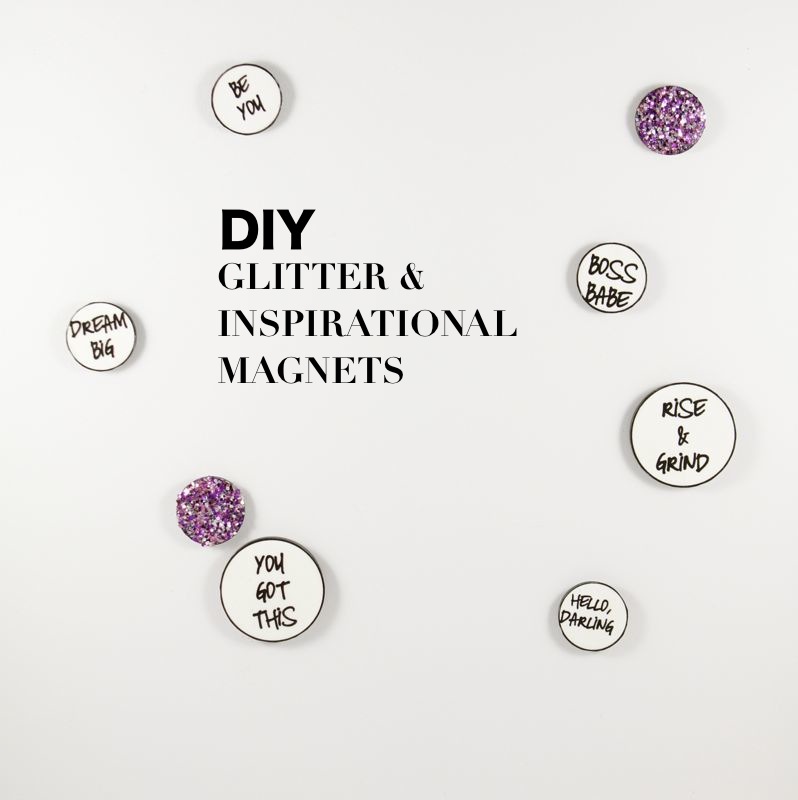
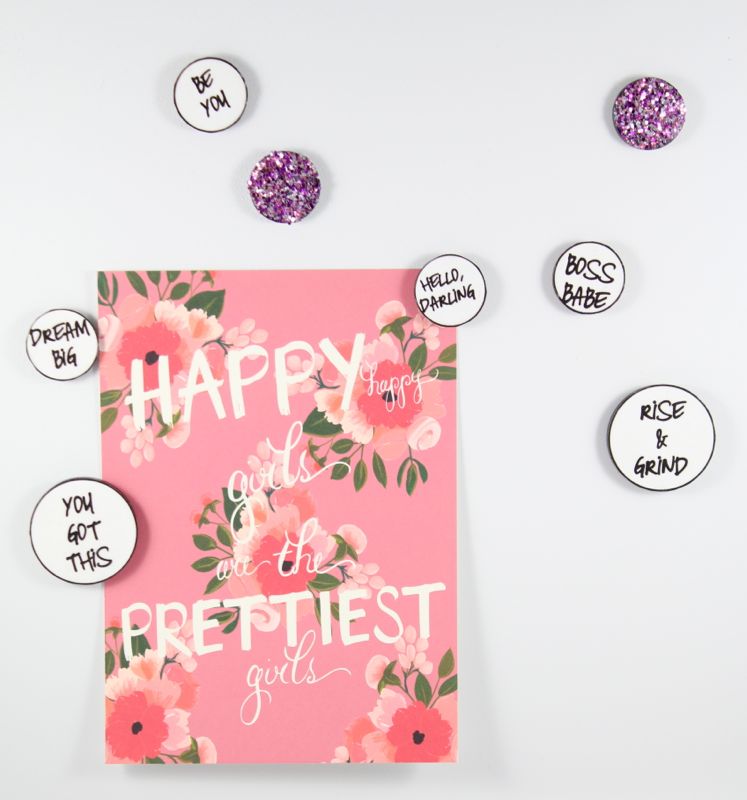
We will try to remain motived and optimistic no matter what life throws our way, or what side of the bed we wake up on, but just in case we need a little extra motivation in the office, or at home, we made some magnets. You should do it, too!

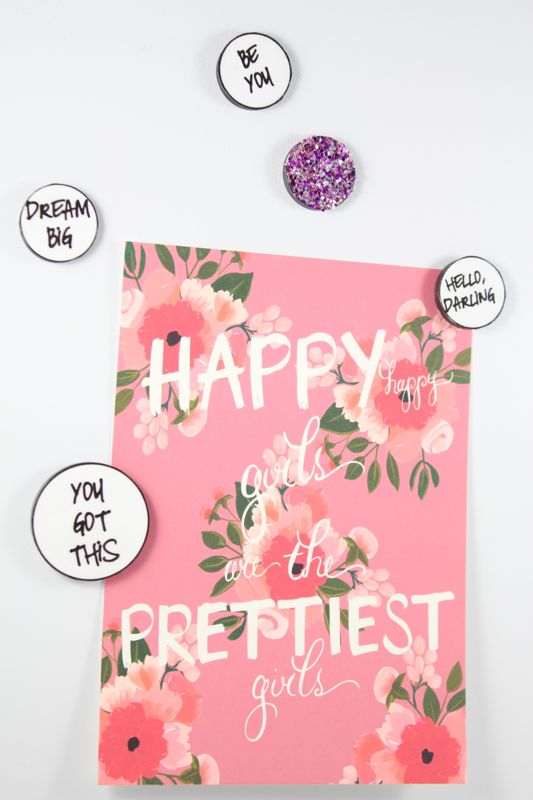
Once you make the magnets, find happy art prints and photos with good memories to put the magnets to use. We love this art print, Happy girls are the prettiest girls, from one of our faves, The First Snow.

diy-magnets-happy-black-white-office-decor-glitter-you-got-this

Materials:

Directions:

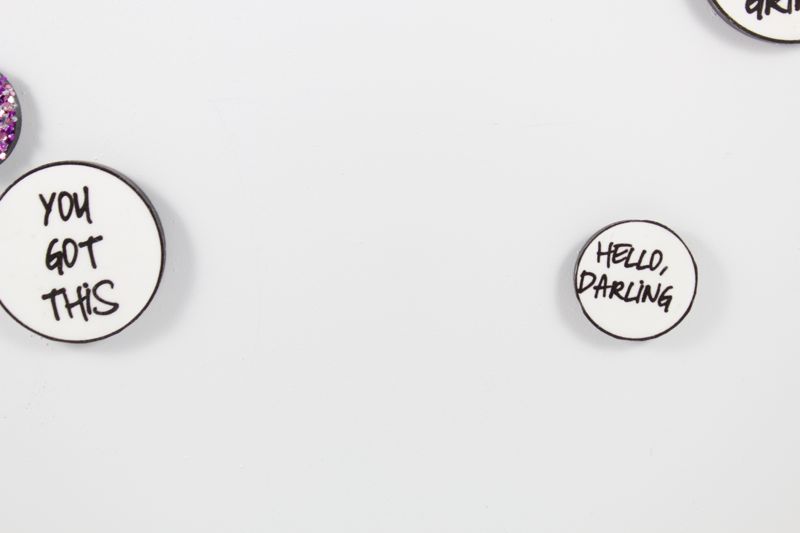
  • Design circles with your motivational words to the size of your magnets. You don’t need a fancy design program – we just used Microsoft Word.
  • Print on white card stock.
  • Cut the circles out.
  • Use the paint brush to add a thin layer of Mod Podge to the top of the magnet. Place cut-out circles on top and press down. Remove excess around the sides if you have any.
  • Paint a thin layer of Mod Podge to seal the top. Don’t swipe it too many times, or the ink will smudge.

you-got-this-diy-hello-darling-diy-magnet-gift-office-decor

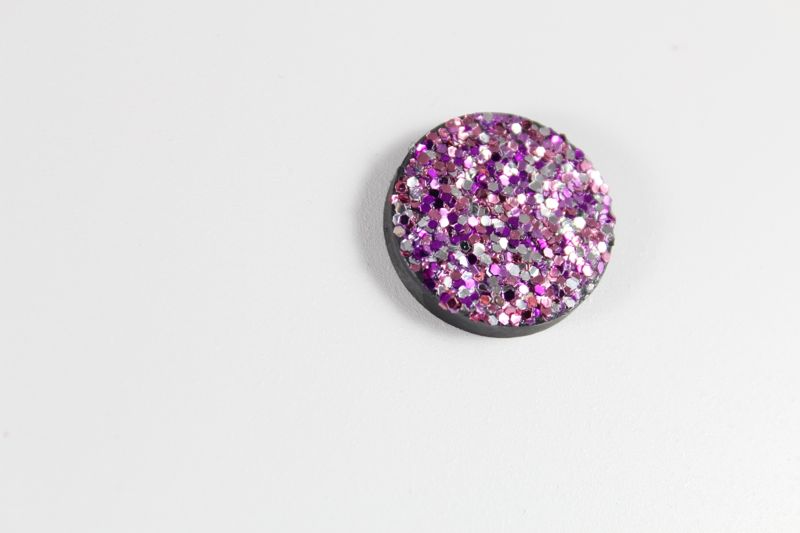
  • For the glitter magnet, paint a layer of Mod Podge on top of the magnet. Sprinkle glitter on top until the entire magnet is covered. We used 3 different pinks and a silver.
  • Let the glitter dry. After about 10 minutes, gently dab a generous layer of Mod Podge over the glitter. It will look white, but it will dry clear. This step will seal the glitter so it doesn’t fall off.

glitter-magnet-diy-office-decor-motivation

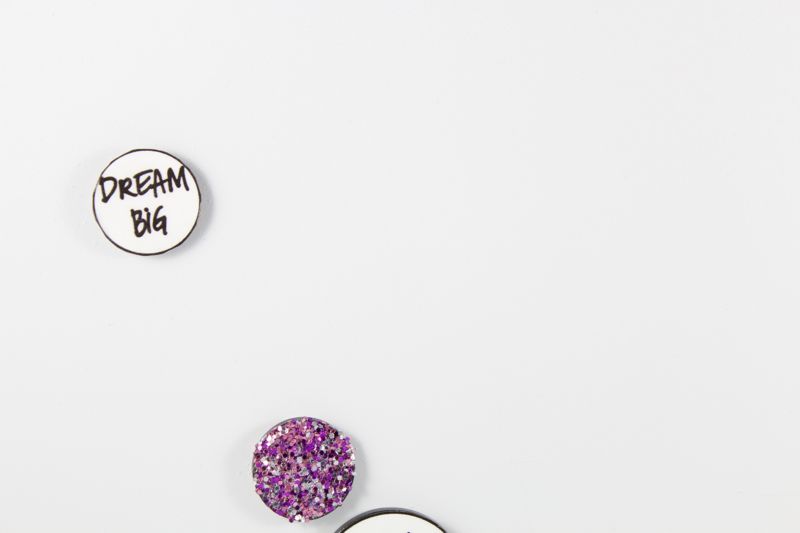
dream-big-diy-magnet-glitter-motivation-office-decor

diy-motivation-magnets-black-and-white-glitter-happy-girls-boss-babe

hello-darling-diy-magnets-glitter-motivation-magnets-office-decor